


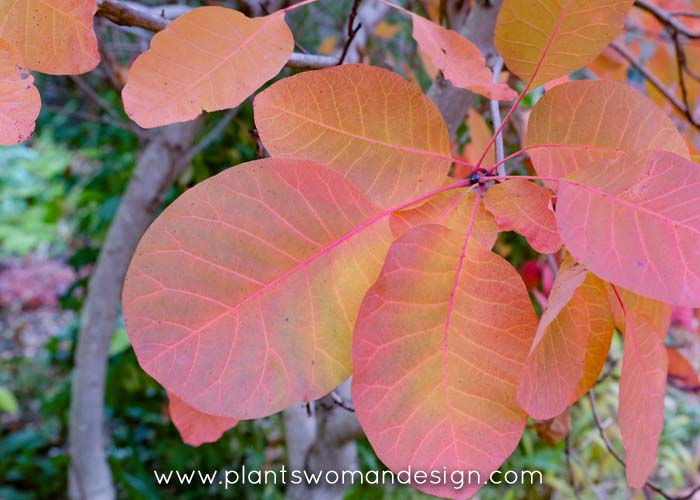


Blowing, raining, storm after storm. Finally, the ground is showing signs of recovering from this summer’s drought. The fall leaves have been spectacular this year. Beautiful colors because we had a good rain followed by cold temperatures. The garden beds...
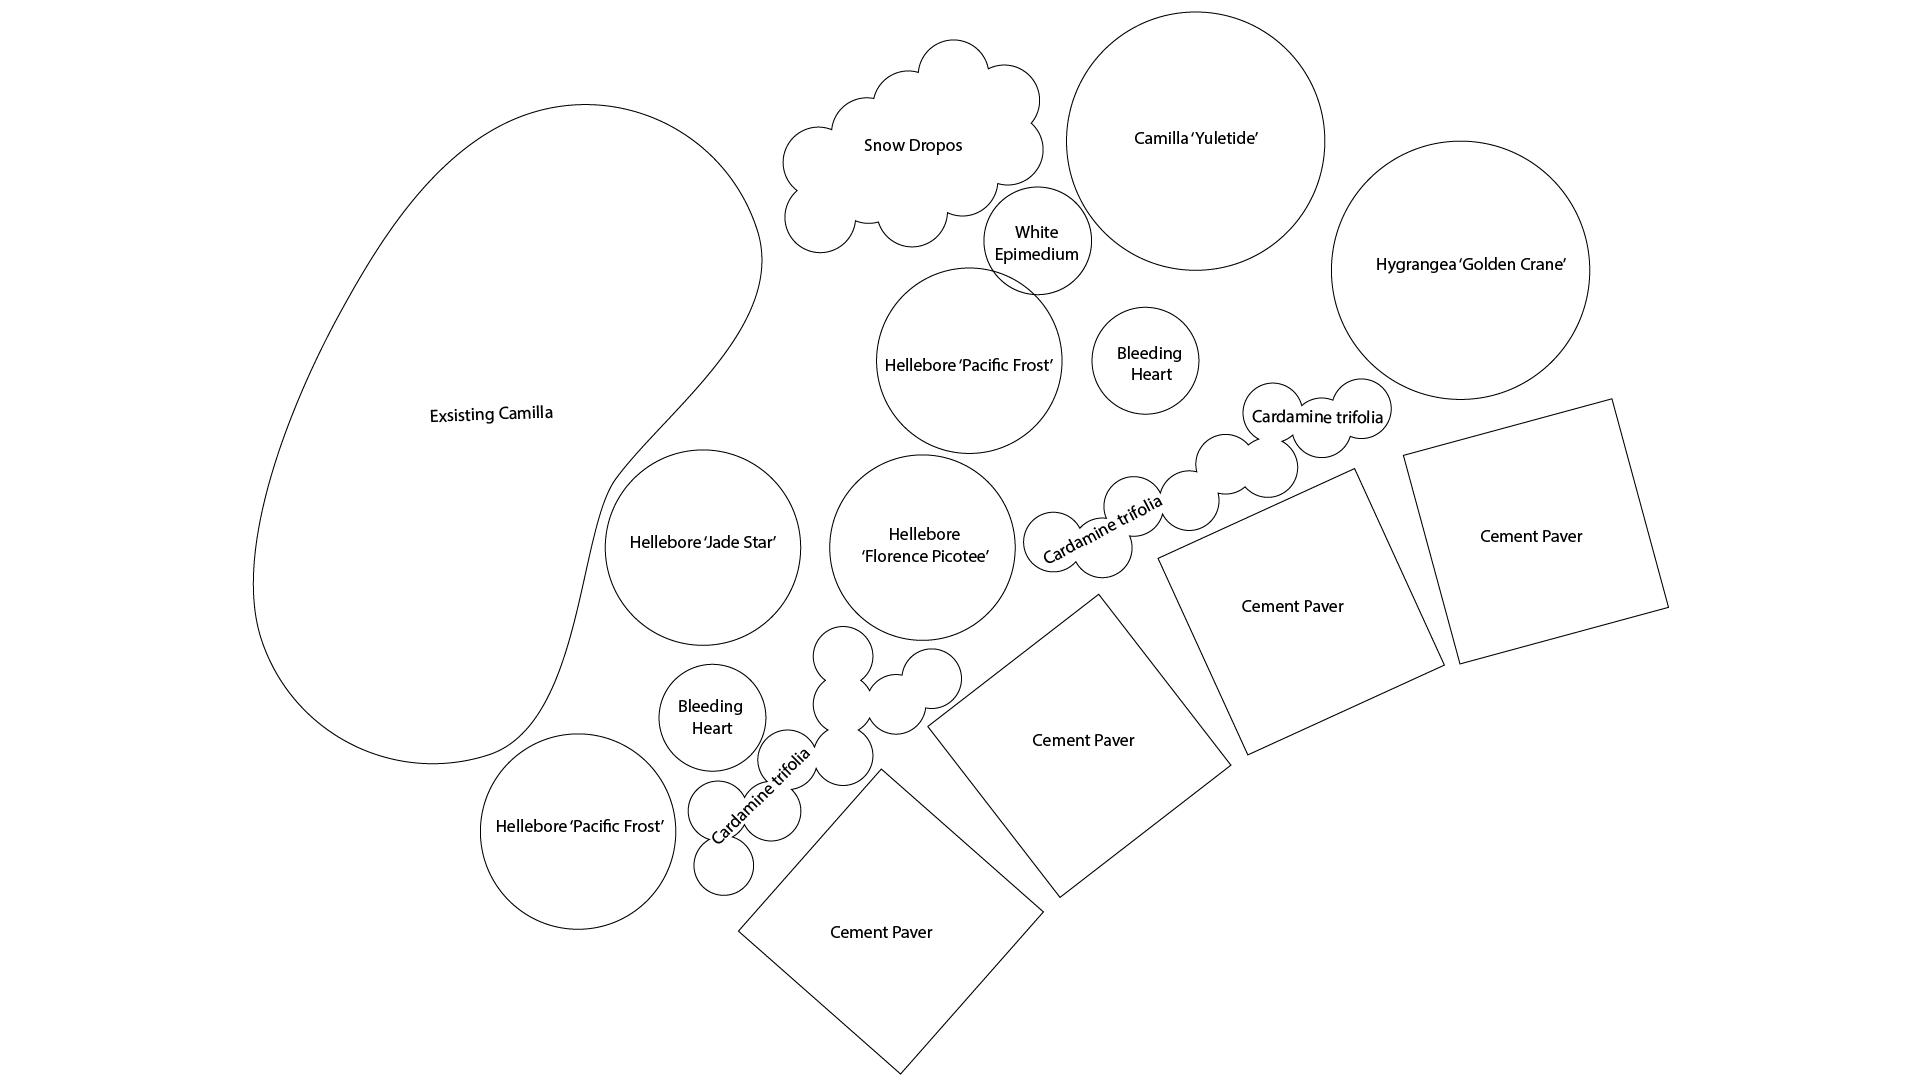
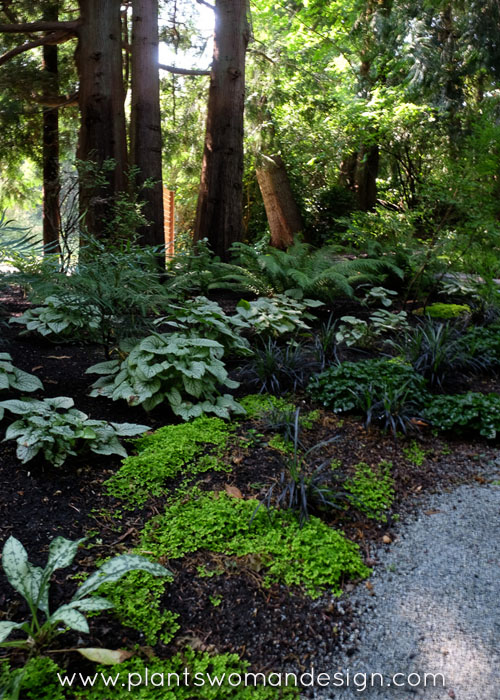
Streamside Planting
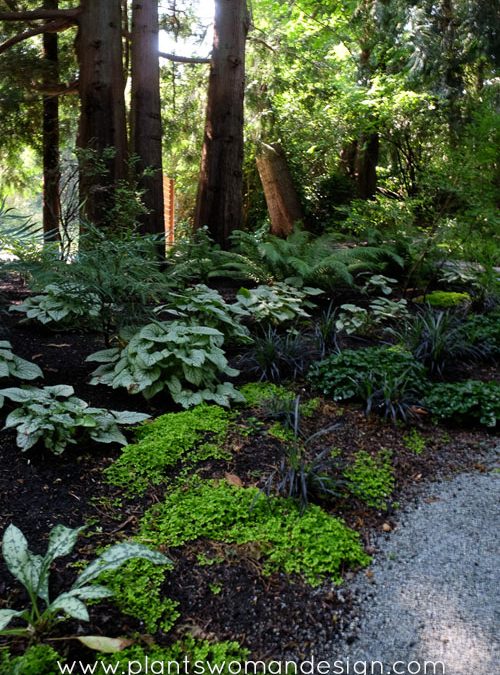
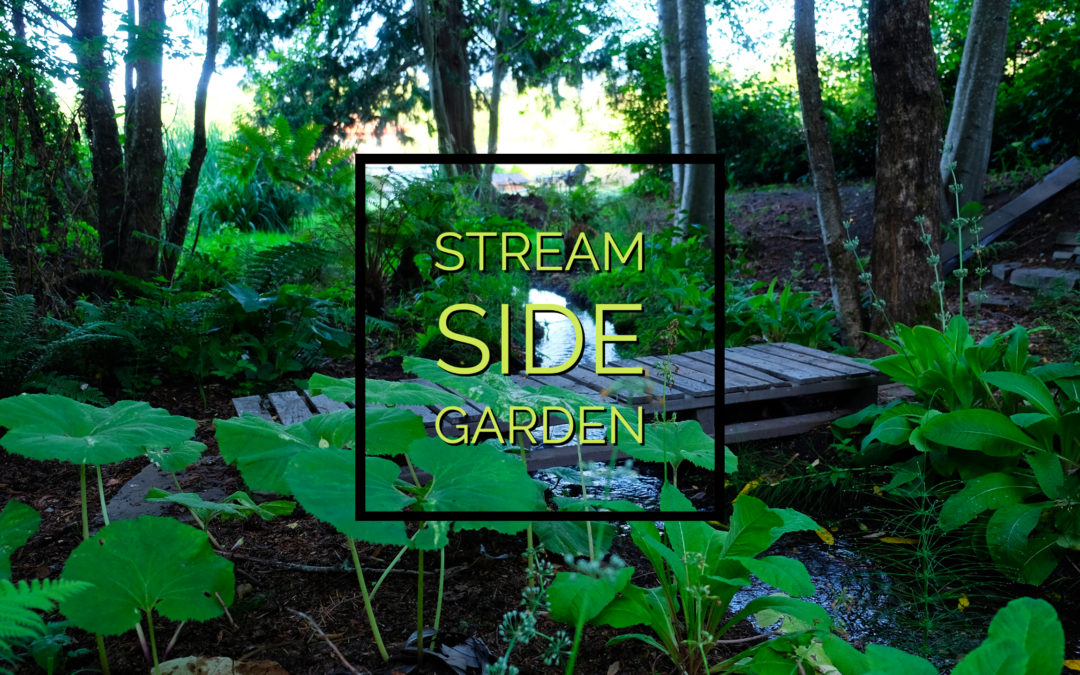
Opportunity Knocks
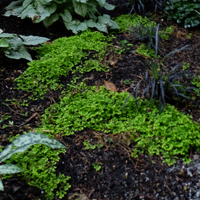
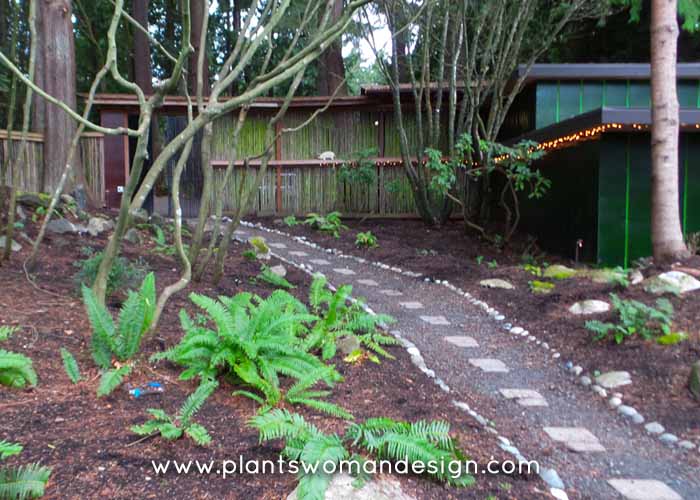
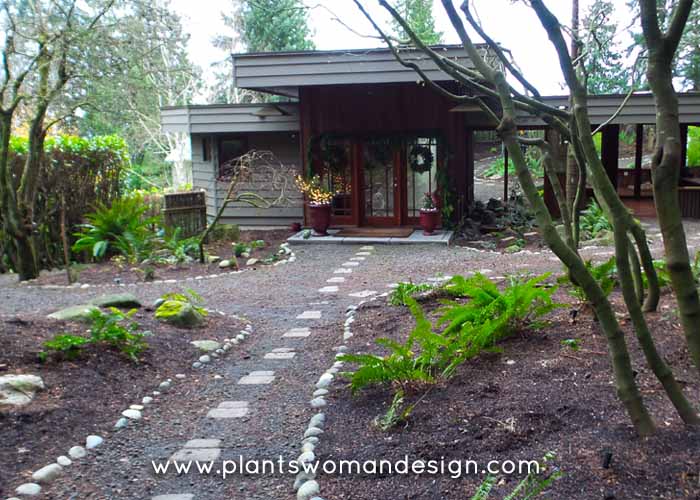
Often a bad situation brings about an opportunity to create something new. In this case, a property line definition blocked off access between two sections of my garden. The wildflower garden and the shade garden have a stream between them with lots of brushy weedy plants that I hadn’t really attended to yet. To take full advantage of this opportunity I created a new path and a bridge made of an old pallet, then brought in all the plants. The boggy ground is perfect for ligularia, primrose, rodgersia, gunnera, Salix, red twig dogwood, and ferns. A couple of trees in the center of it all hold the platform of a treehouse for visiting kids. Taking adversity and turning it around is a principle we should all practice more.
stream side garden
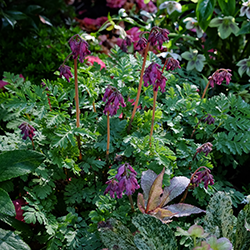
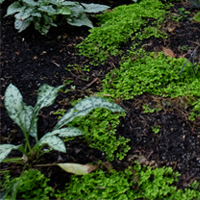
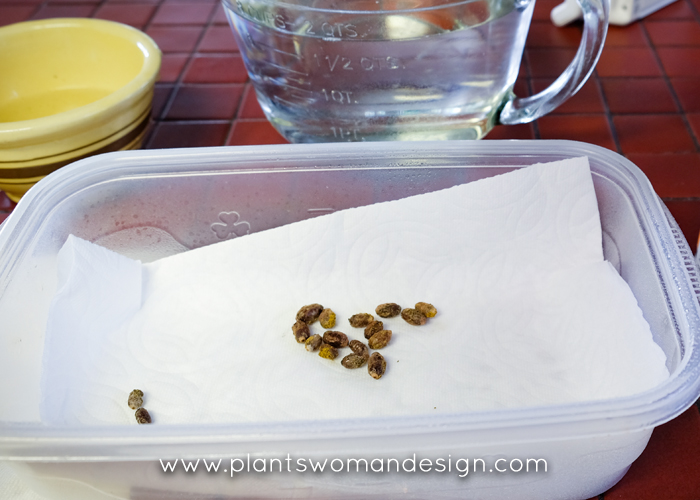
Jack in the pulpit
plants
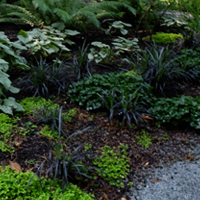
stream side garden
ALL
the
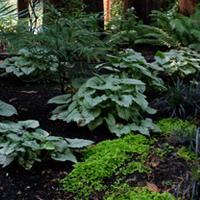
Ferns
plants
stream side garden
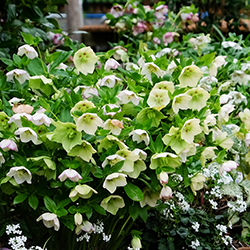
Prim-ula
plants