by Susan | May 15, 2015 | LB Tutorial: Design Challenge, Plantswoman Design
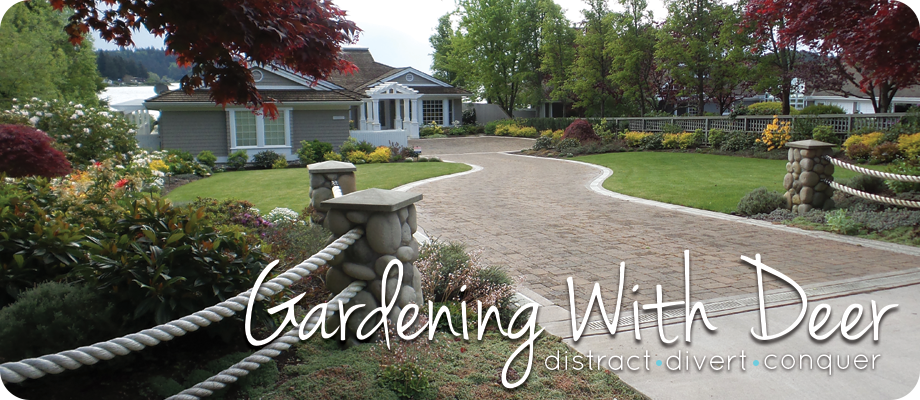
Many times clients ask me to design a deer proof garden. On Bainbridge Island there are many deer. They are so rough looking that they look like much loved stuffed animals. You may have heard the old adage that there is no such thing as a deer proof garden. And that can seem true as deer will eat anything if they are hungry enough. All you can really do is plan and experiment to see what works for your area. Sometimes deer at one end of the island will eat different things than the deer at the other end. I’ve seen them leave the hosta to be eaten by slugs (maybe they don’t like slugs either) and eat tender fern and rhododendron leaves. While at other places anything that looks like a hosta is eaten to the ground.
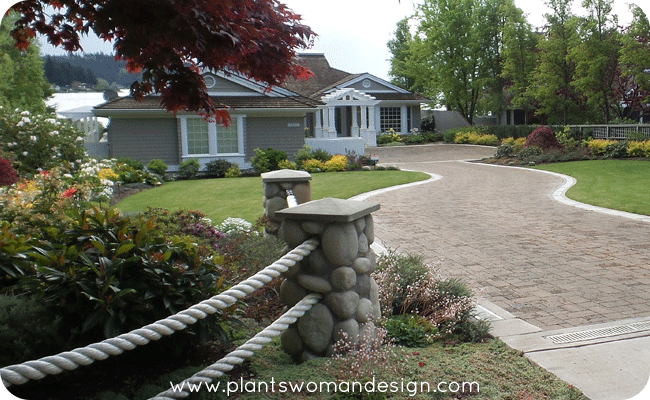 This is a beautiful coastal garden in the Point White area of Bainbridge Island. The clients are not here in the winter but come back in the late spring to the blooms I’ve planned for them.
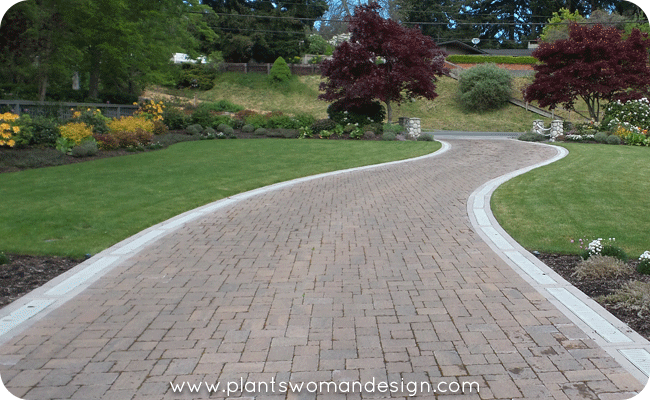 The paver driveway is good for the moist site and any excess water is directed down the edge drains. A combination of grasses, heathers, sedums are on raised berms to keep their feet from getting too wet.
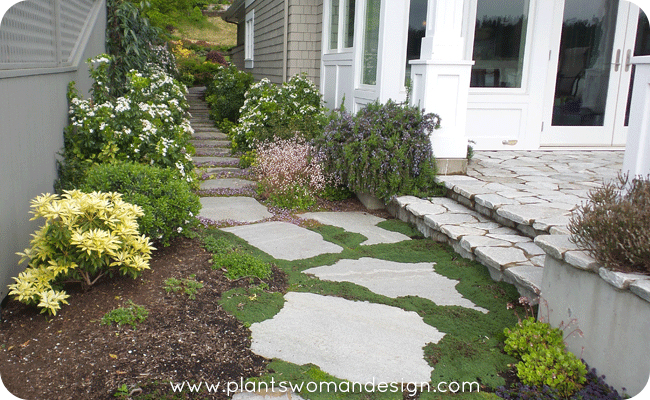
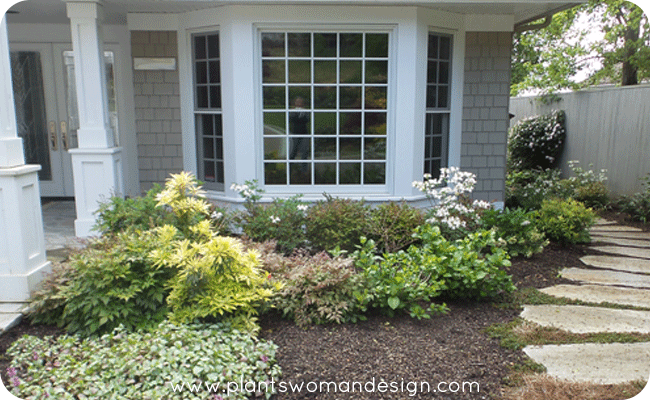 The owners requested evergreens and good blooms, they also love hydrangea (aka deer candy). We tucked these in close to the front door so they can be enjoyed and are less likely to be eaten. One thing the deer have eaten are the blooms off the Bergenia. The leaves are fine but the blooms are gone. Who knew?
Here is my go to plant check list:
- Plants with fuzzy leaves like yak hybrid rhododendrons.
- Plants with strong fragrance like lavender, Sarcoccoca, and herbs
- Grasses (sedges really) with edges on the leaves.
 Design Tips:
Plant ‘must haves’ like hydrangeas close to the house, by a tight side yard, near a patio or screen fencing. Deer like some hydrangeas better than others. Oakleaf will be eaten as soon as there is a leaf showing while paniculatas are often left alone.
Plant Roses on trellises so they bloom above the reach of deer.
Repetition is your friend. Planting something like heather, pine, or Hebe and repeating it gives a great look with less worry about feeding it to the deer.
Put out a couple of sacrificial plants to see what the deer might be eating in your area. You will soon know what their favorite food is. You can always bring it back to the greenhouse, holding area or give it away if you can’t place it.
Plant ‘deer candy’ surrounded by other plants deer don’t like. It often distracts the deer and they will leave it alone. I have one customer that has a beautiful oak leaf hydrangea surrounded by a belt of Berberis thunbergia – Red Barberry. Roses surrounded by Lavender also works.
Get a dog. Even non-aggressive dogs will keep deer away…. I’m just kidding really. Sometimes a digging romping dog is more trouble than the deer!
Share what you do to protect your plants from deer. Maybe you have a different problem like rabbits. They can be devastating too. What are your ‘go to’ tips for dealing with uninvited wild life?
by Susan | Apr 18, 2015 | LB Tutorial: Design Challenge
As many of you know I design and love beach gardens. When meeting with clients I always discuss several possible areas for sitting. So often they say they want to sit with the view of the water, obviously, that’s why they bought the property in the first place. But as anyone who lives close to the water knows there can be major fluctuations in climate between the different areas of your garden. The front of the garden facing the water can be windy and cold in the morning but warm in the evening, or warm in the morning and cool in the evening. Extremes in temperatures, wind, and sun need to be intentionally planned for. Having multiple areas for sitting and gathering provides a way to be outside whenever possible and that is important.
This winter has proven an eye opening (or eye closing) experience. Here is what I’ve learned…
- The wind is strong off the water even when elsewhere in the county there is no wind. (yes I said county…)
- The structure of the house is sound and has the ability to withstand the wind. The garden has to be the same way.
- The view to the water must be maintained but the exposure to the elements tamed, quite a challenge.
As I worked on an area in the back of the house I was reminded of my design suggestions I mentioned in the post What Comes First The Plant or the Plan. I have not thought this would ever be an area where I would hang out as it is behind the house with access through the kitchen door. It was the logical place for the BBQ but more of a ‘dart out there and do it’, than a destination. Two things this winter have changed my mind: 1. The seemingly constant wind and 2. The western exposure. Wind from the water is blocked by the house and the sun swings around the side of the house and ends up behind it. There are no windows on that side so I didn’t realize how sheltered it was until I was working over there. Hmm (which comes first the plant or the plan )….. While this little corner does not have a spectacular view of the sunset there is bit of water and the sky is lovely as the sun slips over the horizon. The back of the house retains warmth from the last bit of sun and actually provides a great place to sit in the eventide.
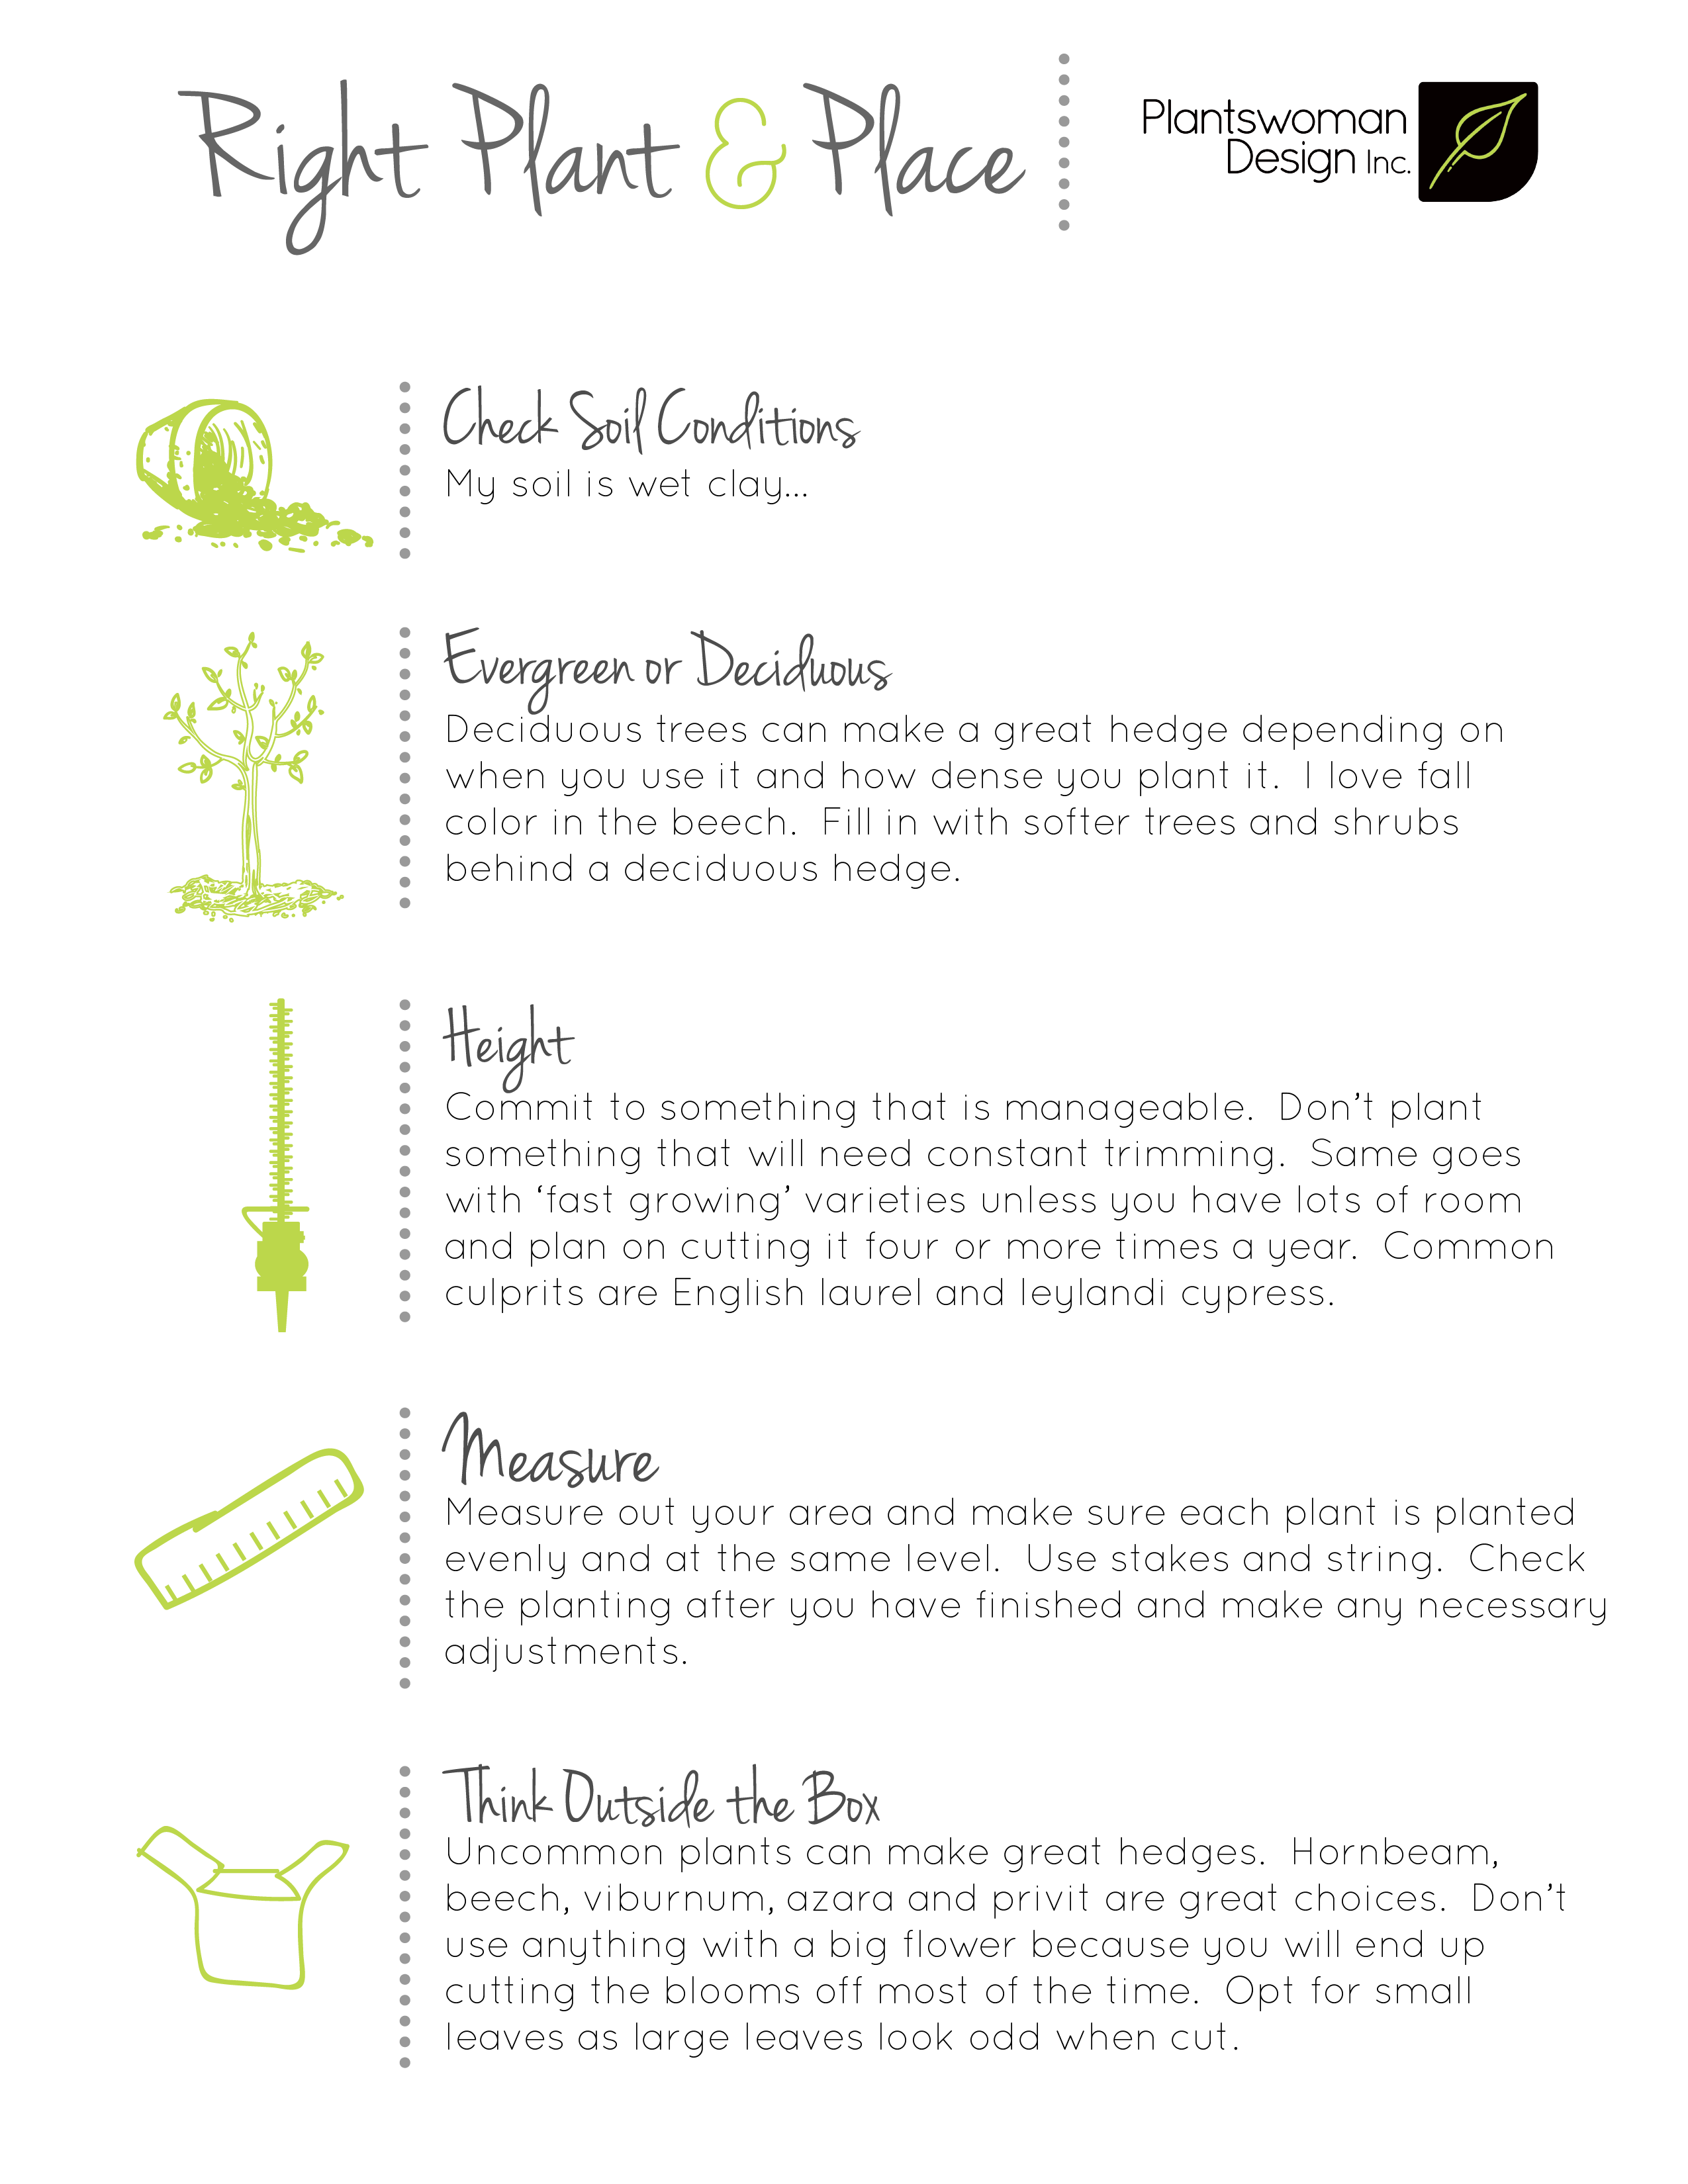
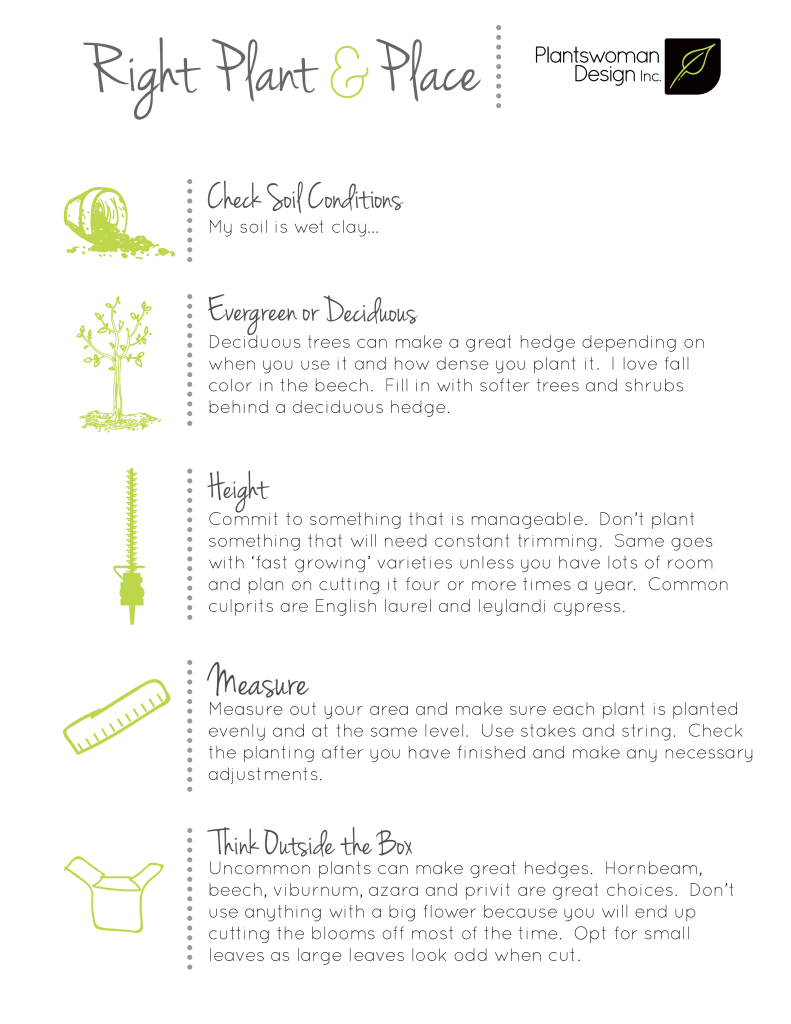
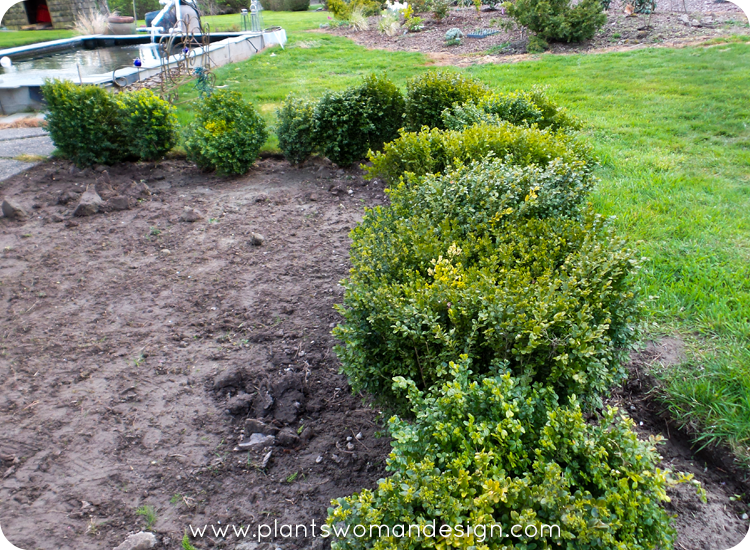 Now I had to plan for privacy from the neighbor’s driveway. When you don’t spend a lot of time in the back of your house there is not that great of need for privacy. The grass has been removed from the area and a boxwood hedge has been placed around the squared off area and I could see more screening would be needed, further away and a little taller.
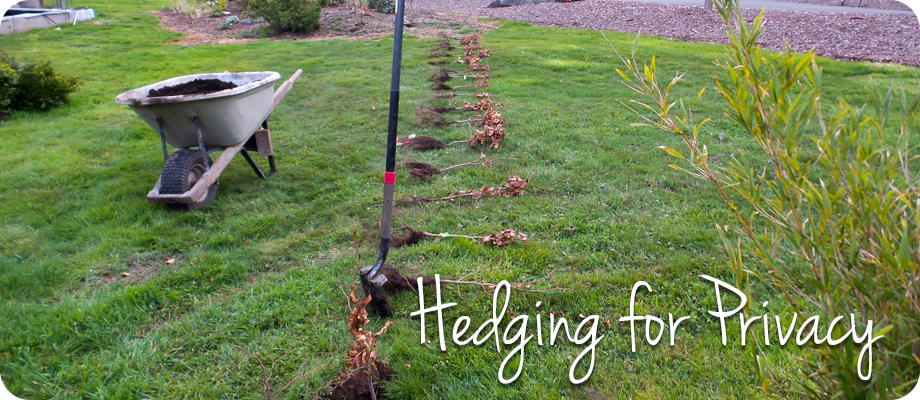
 The driveway behind goes at an angle but I did not use that angle to plan the line for the hedge. I picked an angle off the house that runs parallel to the house and repeats the line of the boxwood hedge. It is stepped back from the boxwood about 20 feet and connects to the propane tank covered area. I left a space for walking and mowing (will not mow this area eventually) and marked out the spacing for the hedging.
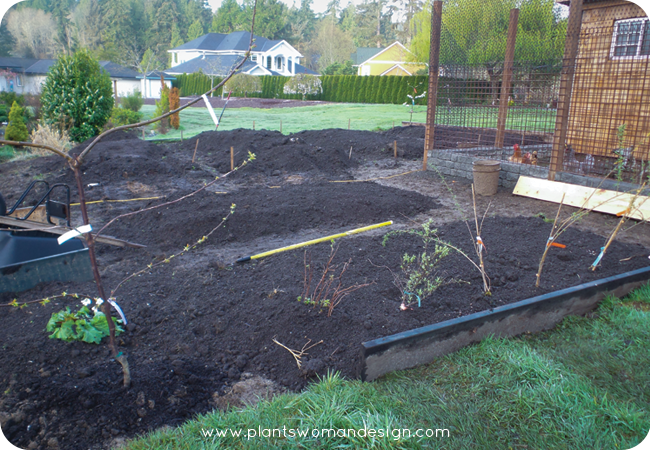
 It is early enough in the spring to get bare root plants still. Fagus sylvatica was my choice for the plant material. Measuring the area I placed the plants at equal distance apart and started to dig holes. This area is not totally cleared and prepped for the planting but because it is a hedge the ground can be worked after the plants have been established. Sometimes you just have to get plants into the ground and work the ground around it later.
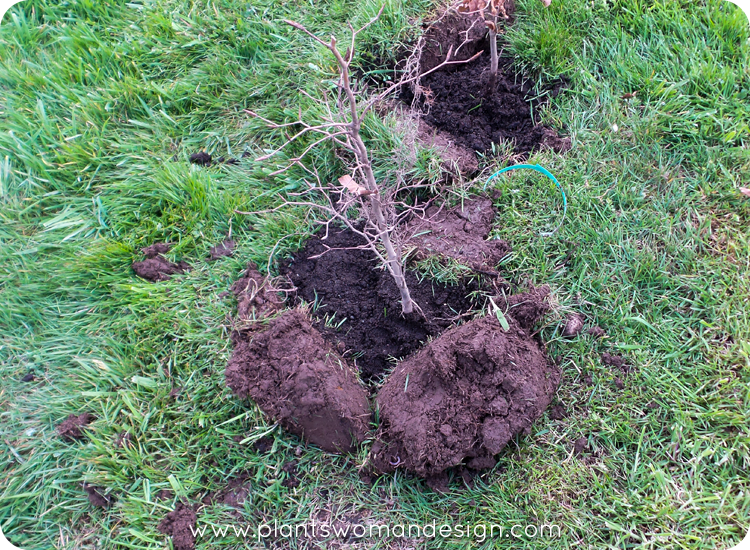
 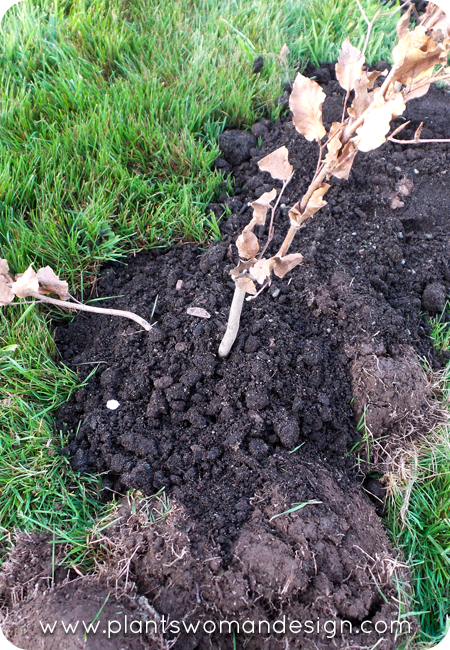 As you can see the holes were dug and the edges of the grass removed were just turn over and placed on the downhill side of the hole. Although not a big slope it does provide a little bit of a well for the water to remain around the plants. The soil in the hole was mixed with a good compost/soil mix I use in all my beds. The roots were then spread out over the soil mound in the hole and back filled with more good soil. Firm tamping down of the soil around the roots insures good soil connection with the roots. Yippee! The hedge has been ‘laid’ in English gardening terms. Later the lumpy grass clods will break down, and can be raked out. A great method for creating planting beds with cardboard and mulch will finish off the project (watch for this in an up coming post, ‘The Easy Peasy Planting Bed’). In the meantime here are some additional tips for planning your own privacy hedge.
by Susan | Apr 3, 2015 | LB Tutorial: Design Challenge
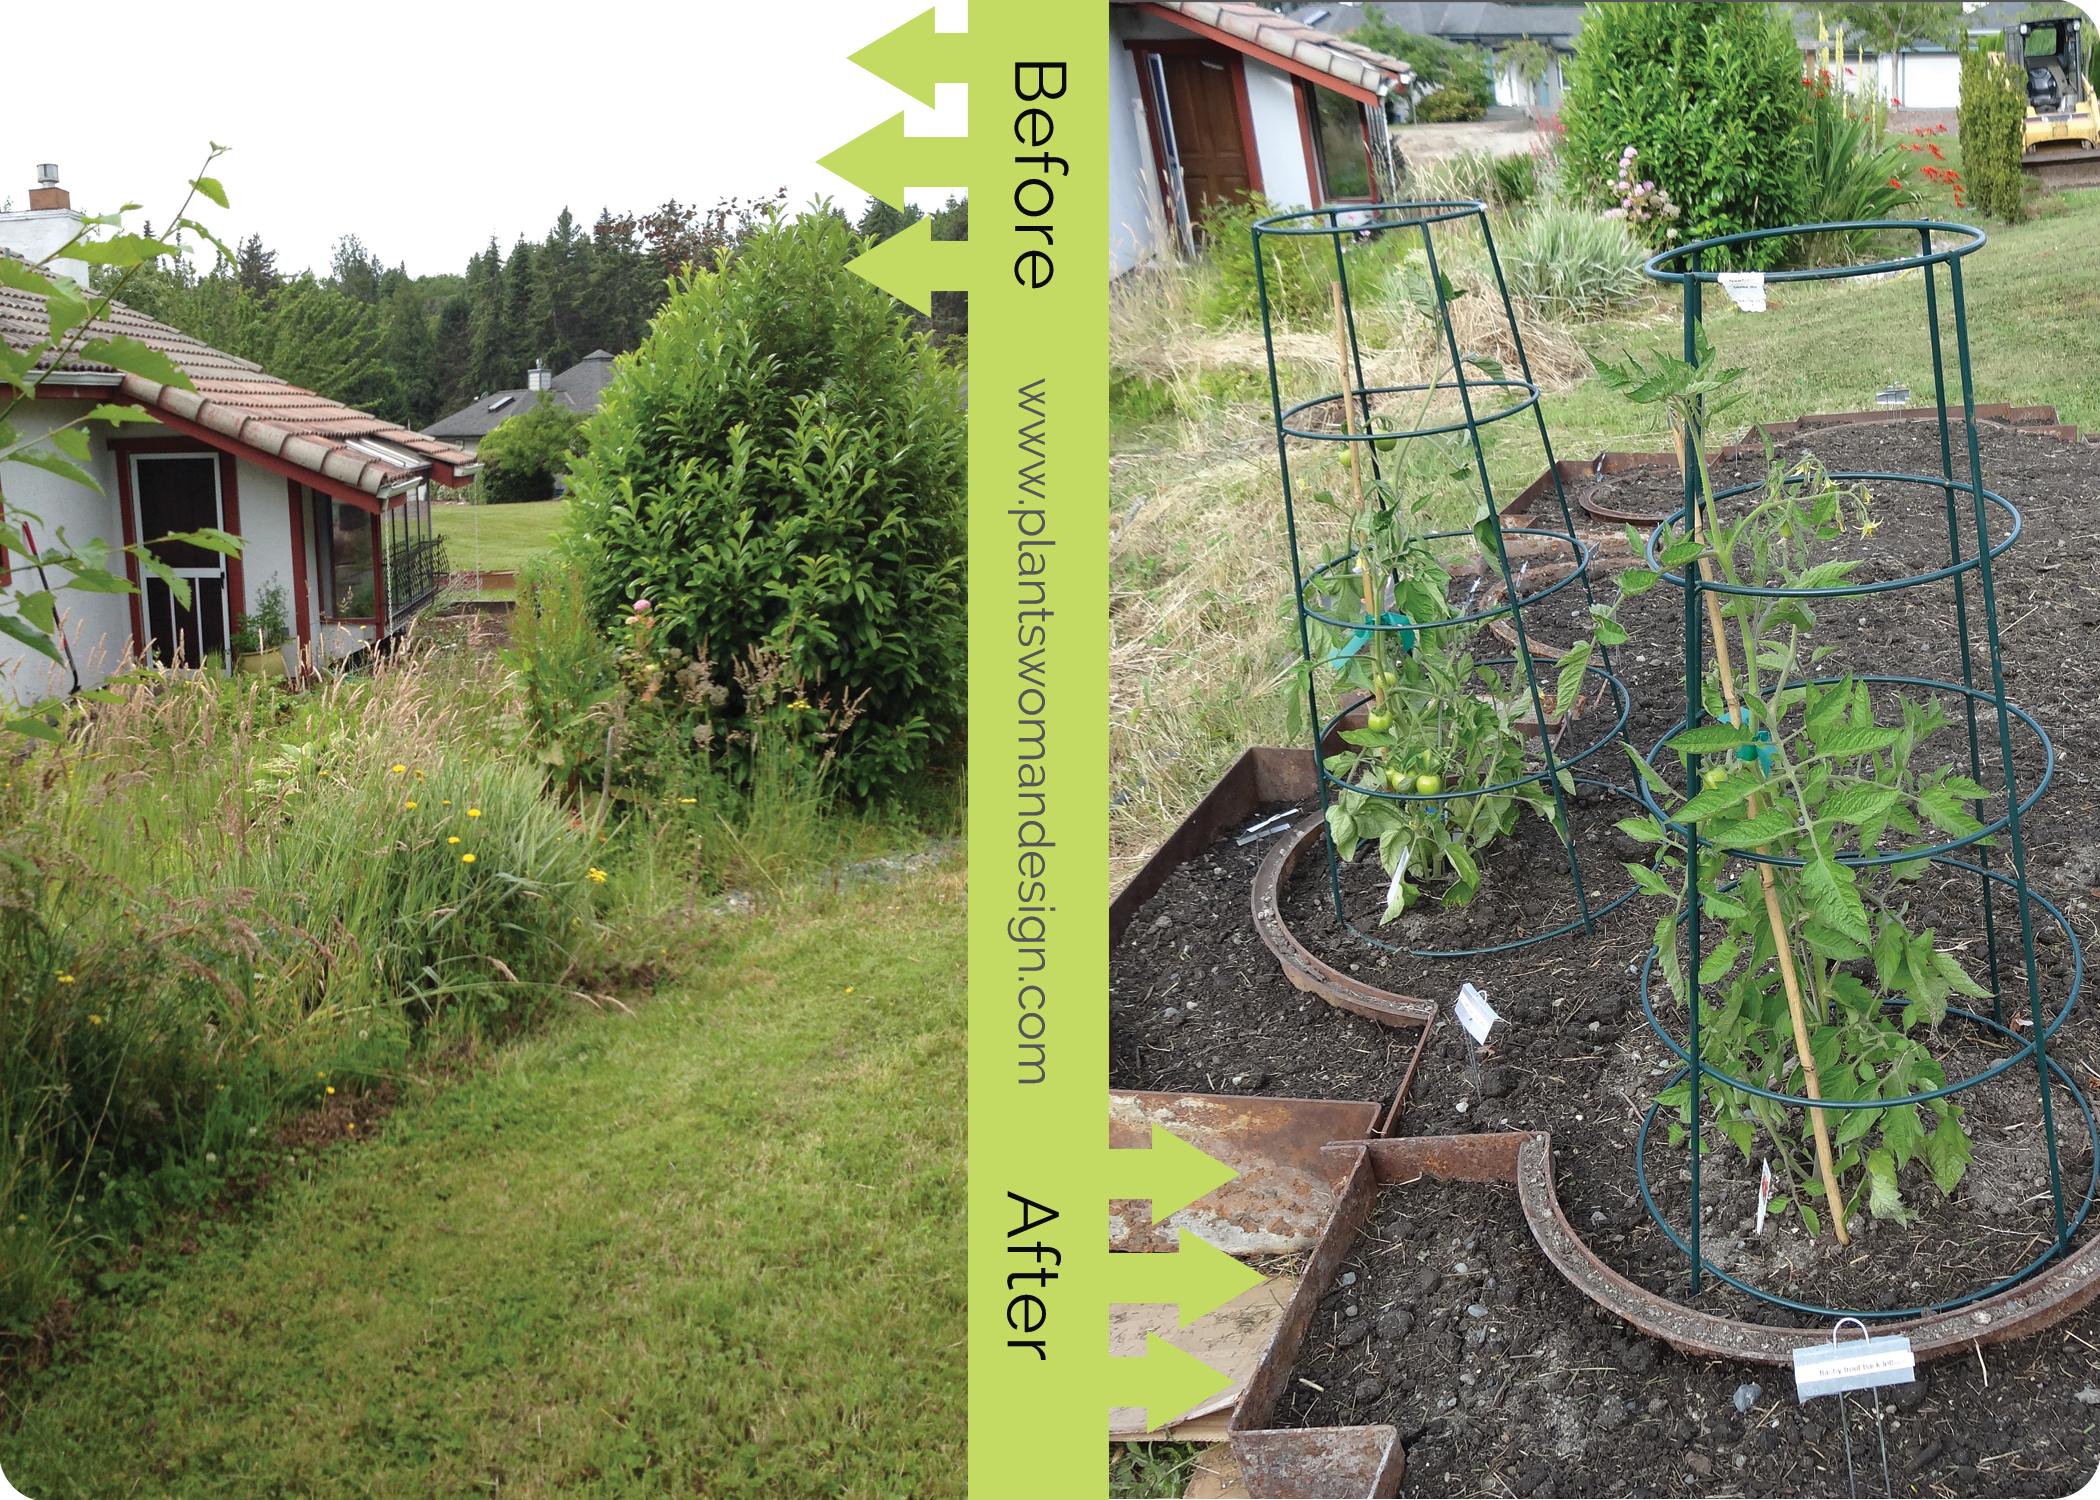
 I often tell my clients when we meet that I come in and make a big mess before I put it back together again. That has to happen at my house too. Last week I pulled up all the metal pieces that I had for the vegetable garden.

before: when I first moved in | after: metal edged garden
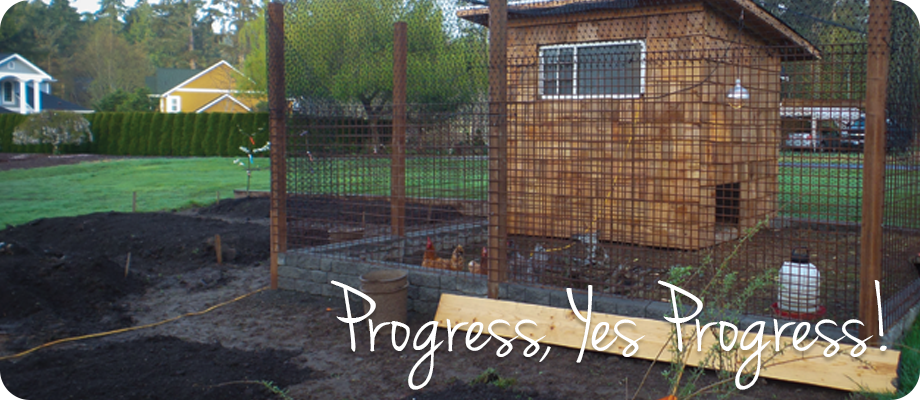
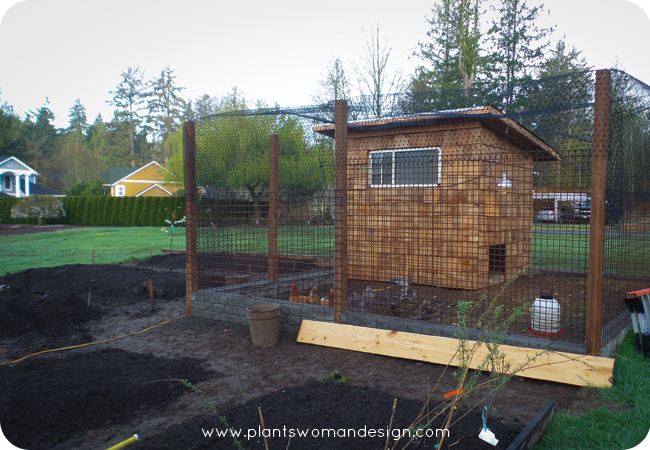
I removed grass (little bites at a time right?) and moved soil into beds. You can see the new chicken coop in the background. It is still a work in progress too (watch for a feature on the chicken coop soon).
 Spring is early this year and I’m looking forward to getting the vegetable garden planted. Several of my friends have looked at it and commented on the size. Yes it is a lot of dirt for just one person. BUT I have a method to my madness. There are several community service opportunities in planting vegetable gardens for the homeless and food bank participants.
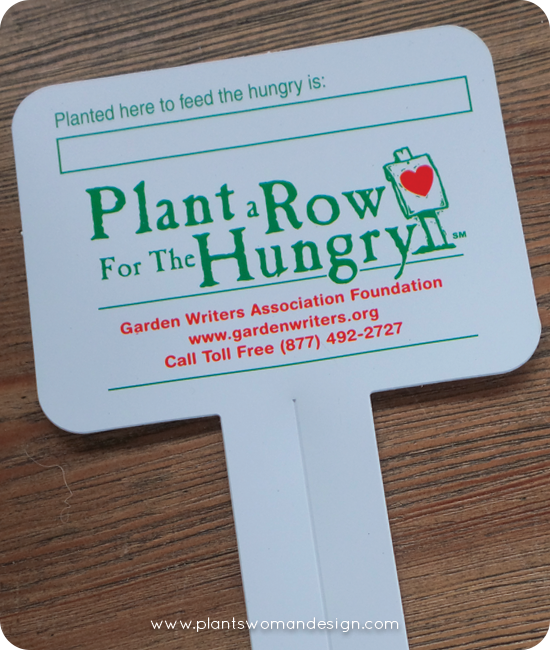 One such program is ‘Plant a Row for the Hungry’ by the Garden Writer’s Association of America. They encourage gardeners to not simply give away their excess but actually plant a row specifically for that reason. A great local resource is the Solid Ground website www.solid-ground.org. This web site has information about Seattle’s Giving Garden Network, P-Patch programs and Lettuce Link. In 2014 these community gardens donated 55,198 pounds of fruits and vegetables. We can all do our part too.
click here to read
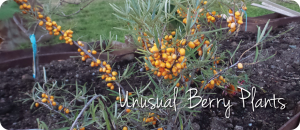
For right now the soil is ready. I have to add some borders around the edges to keep the grass out and contain the soil and gravel. I will add gravel pathways for now and eventually put in pavers. The long beds will be the main vegetable beds. A shorter bed to the east will have the gogi berries from last year (click on the picture to read that post) along with rhubarb, blue berries, and raspberries.
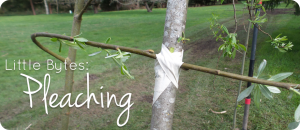
 The corner has been planted with two espalier cherry trees and have three different types of cherries on the same tree. My vision is to weave the branches together and graft (called pleaching) them into a living fence in the corner.
click here to read
Pleaching is a simple type of grafting. Weaving and shaping branches in this way is an ancient practice farmers have been doing for centuries. By carefully interweaving plants, clever (and patient) gardeners have made gorgeous, functional, long-lasting structures out of trees and vines.
Grafting is easier than you think! It requires a sharp knife and some grafting tape or electrical tape. Creating a willow tent for kids play area will be a fun project that I will try first. Using something that is easily grafted like willow or red twig dogwood is the best for a first project. Fortunately I have many willows on the property so using them is easy.
The other side has two espalier pear trees in a row. One more is needed to satisfy my des ign brain. An old gate will go into the area between the row and the Chicken coop.
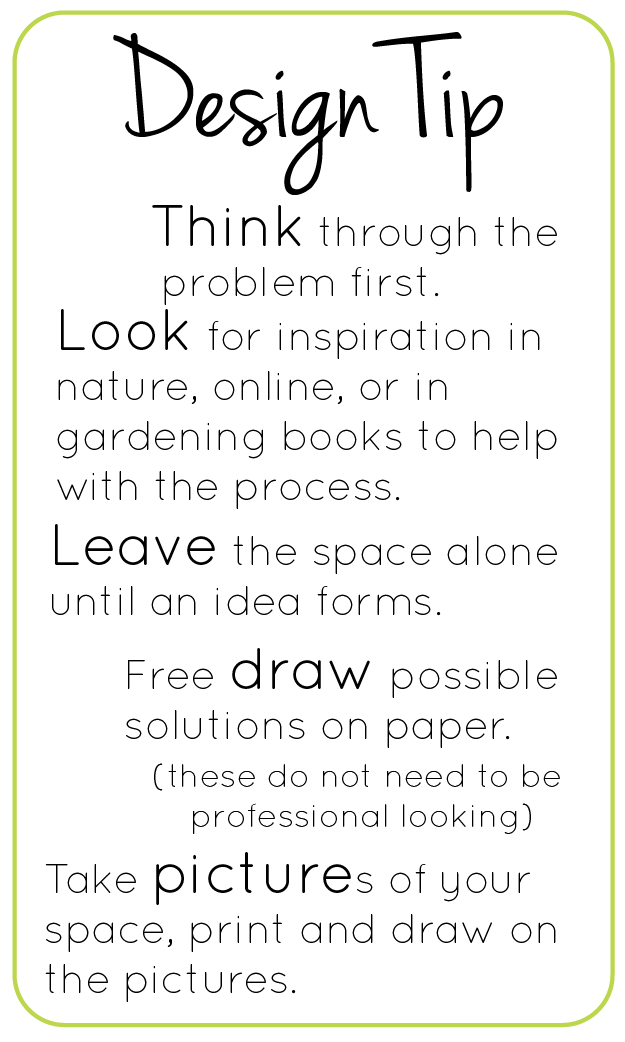
One of the biggest challenges is the soil on the bank between the greenhouse and the vegetable garden. It is very yucky clay soil and very wet. I had thought to put herbs there but because herbs mostly like dry soil that will not work. It would be a great place for Asparagus but the soil is not great so I’m not sure they would be happy there. A small wall could be created and the soil filled back in, so many choices. This is one of those times when leaving it alone is a good idea. Creating a pathway and a ramp will be necessary for travel back and forth. Working on a problem in design can be frustrating unless you take your time to think the problem through. Not doing anything until you come up with the exact right idea is better than doing the wrong thing a couple of times. I will admit sometimes I’m impatient and just want it finished and that usually gets me in trouble.
I’ll keep you posted on my projects as they progress. What projects are you working on this spring? Are you going to try pleaching with me?