Protecting Your Vegetable Garden: Galvanized Fencing

Protecting Your Vegetable Garden: Galvanized Fencing

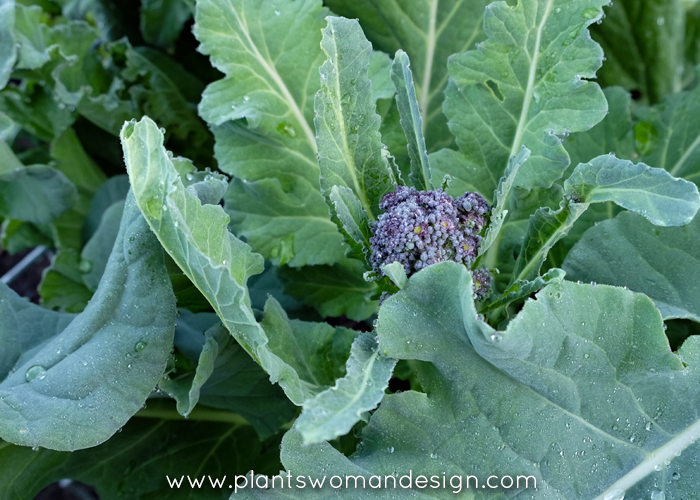
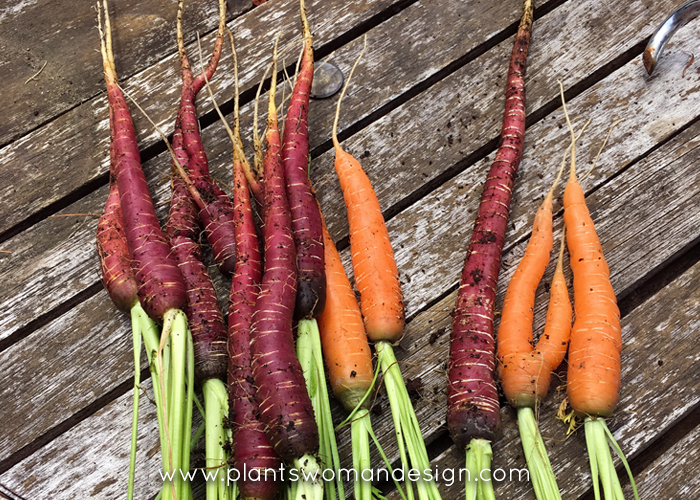
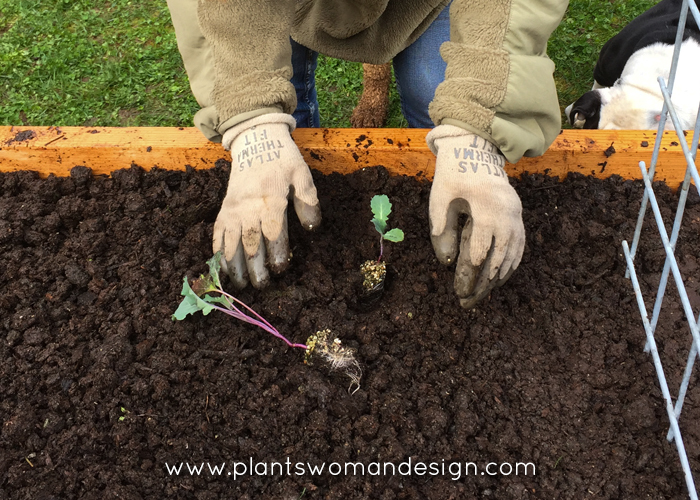
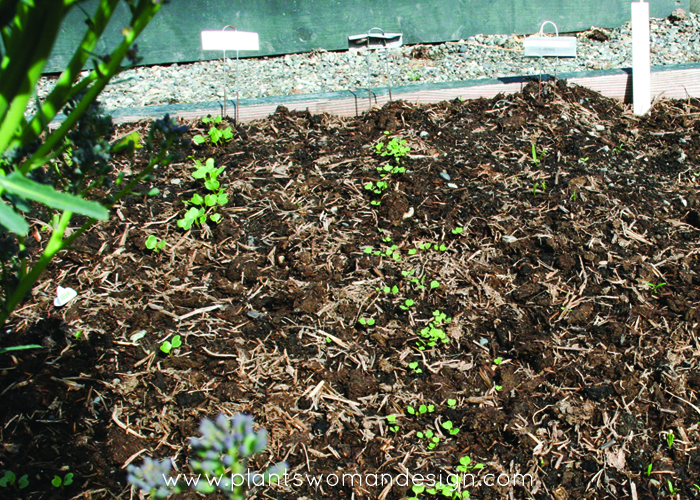
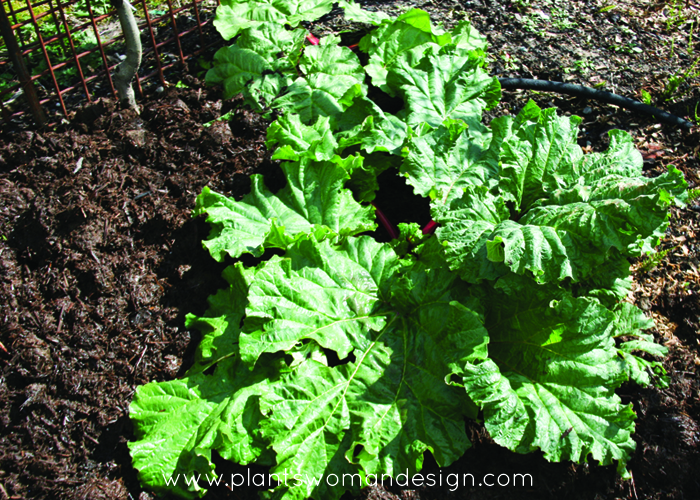
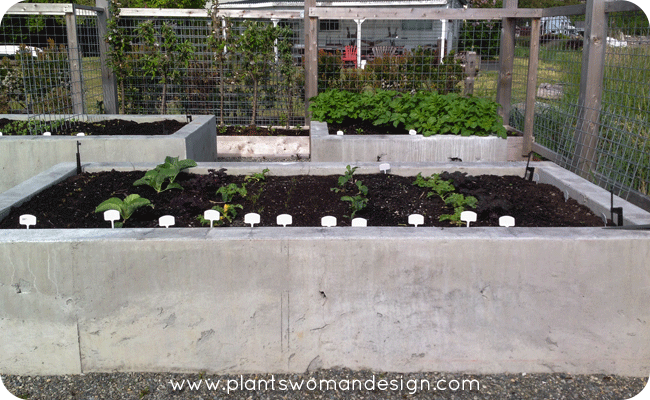
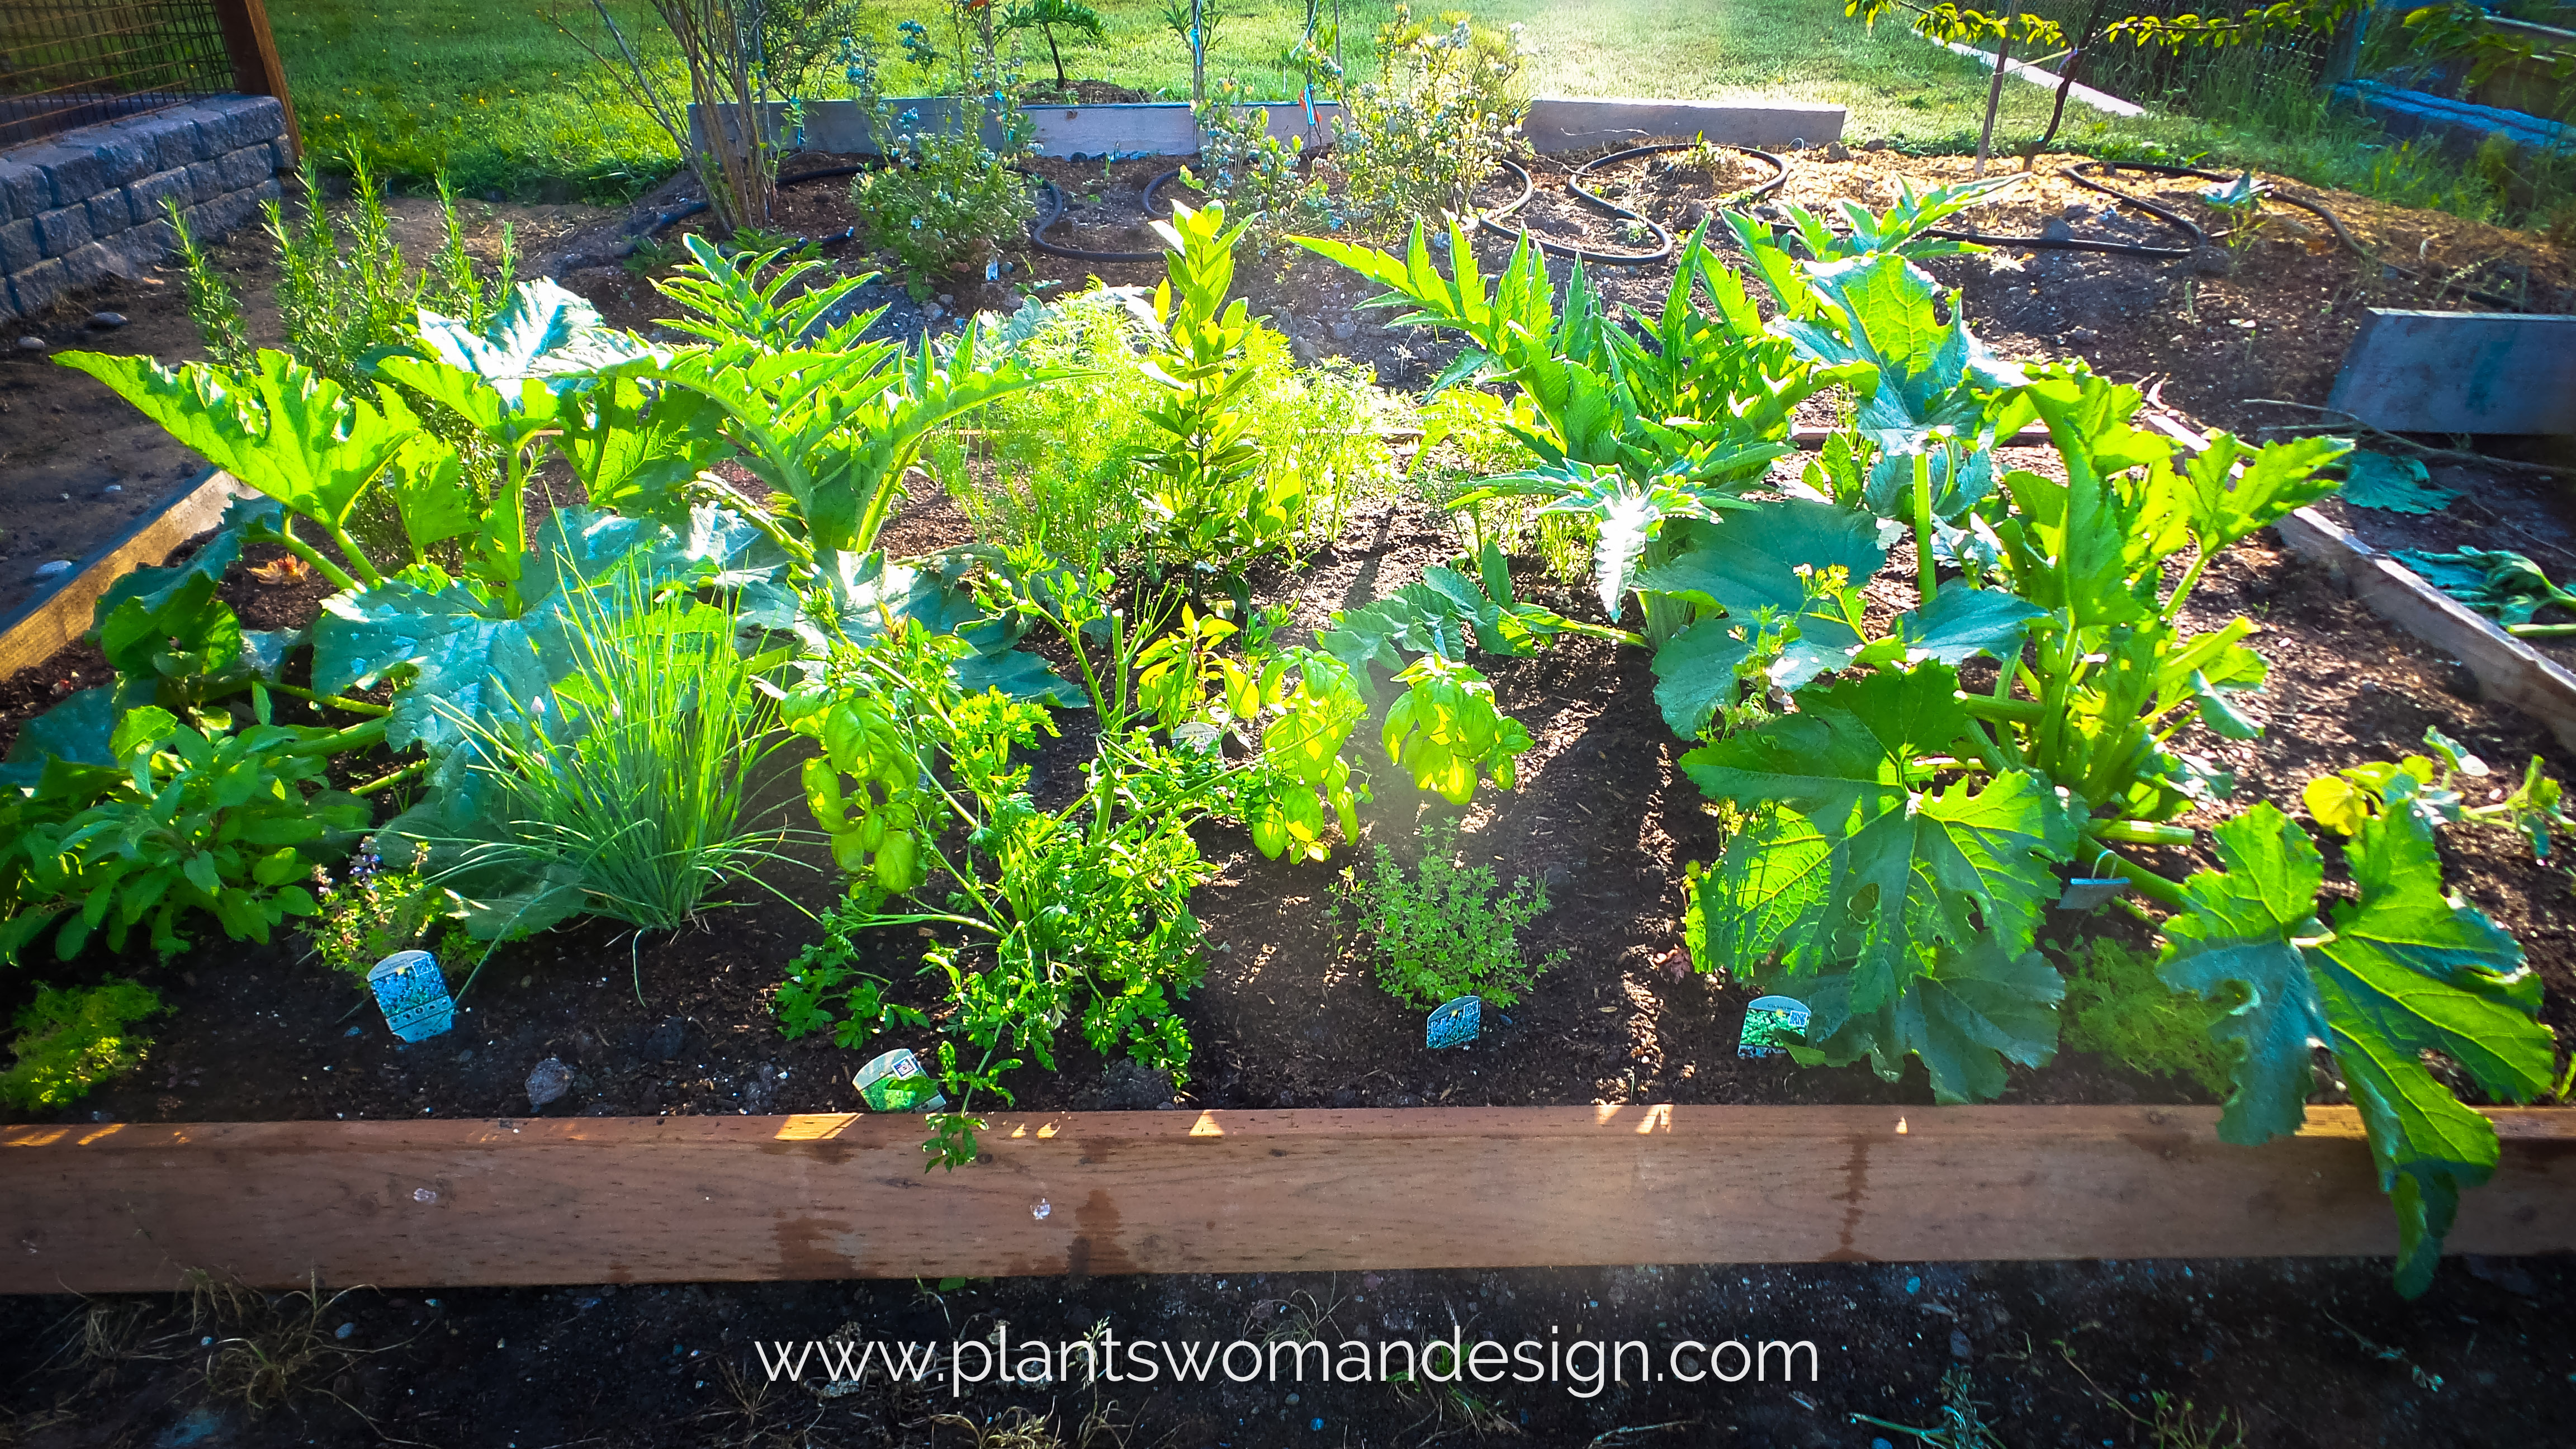
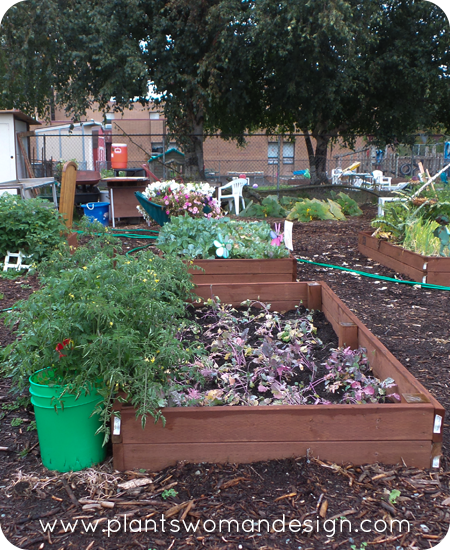
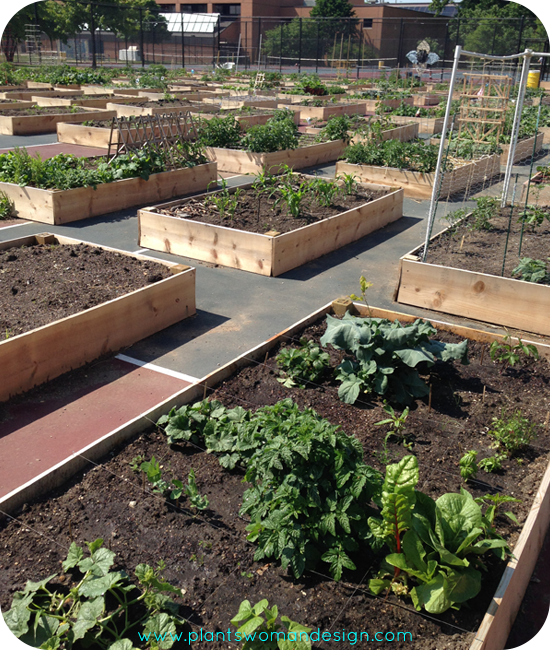
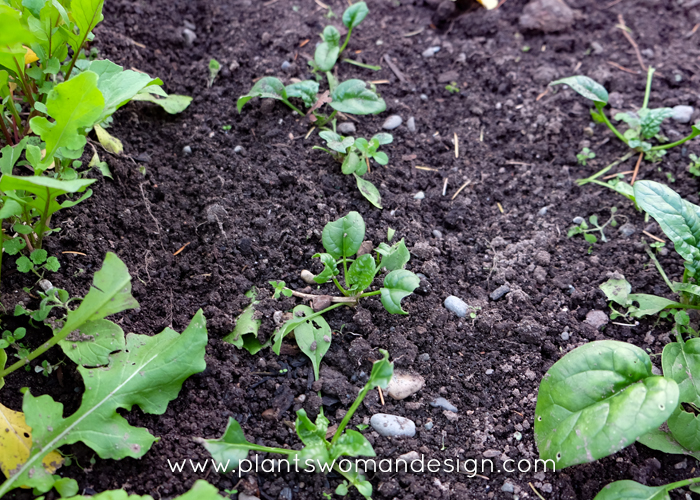
When Autumn comes along, it is hard for me to give up my vegetables. I especially miss the ability to go out and grab just a few leaves of something to make a salad or to add to an omelet.    Every year I reserve a small section of my veg garden for my fall crop of salad leaves.  Planted at the middle of September the small plants are coming along just fine.  During the summer, my local rabbits munched on some of my salad greens, a few peas, and tops of carrots.   Not liking to spread stinking spray or trap, I just let them have a few bites.  However, every leaf counts in the fall and I’m not willing to share with those fuzzy little beasties. Their munching makes a big dent in my fall harvest and they will have to be kept out.
plantswoman design vegetable garden protection
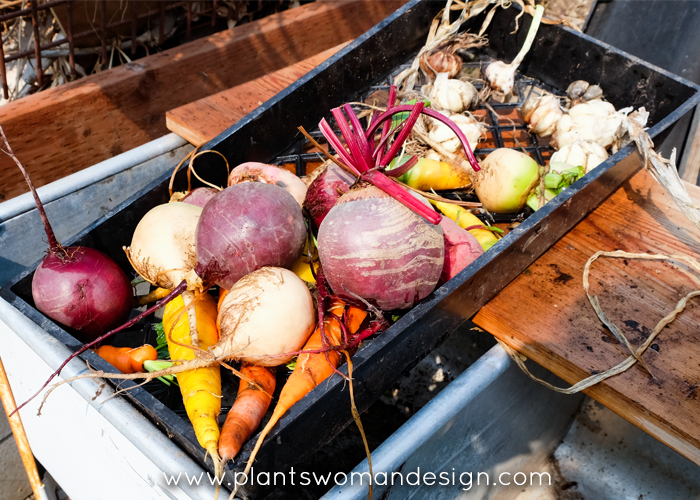
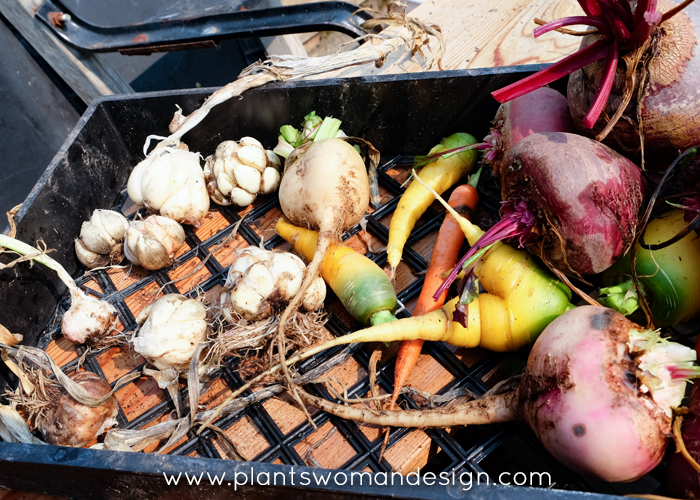
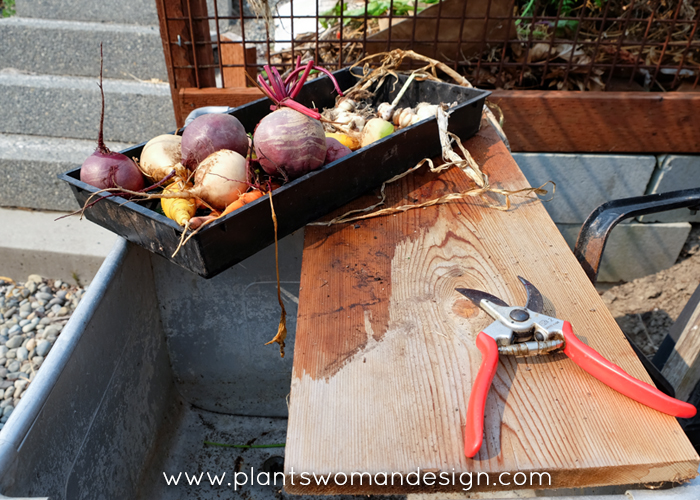
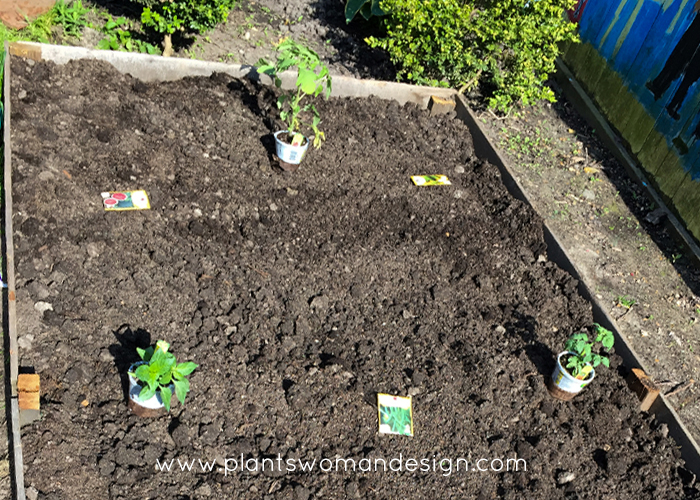
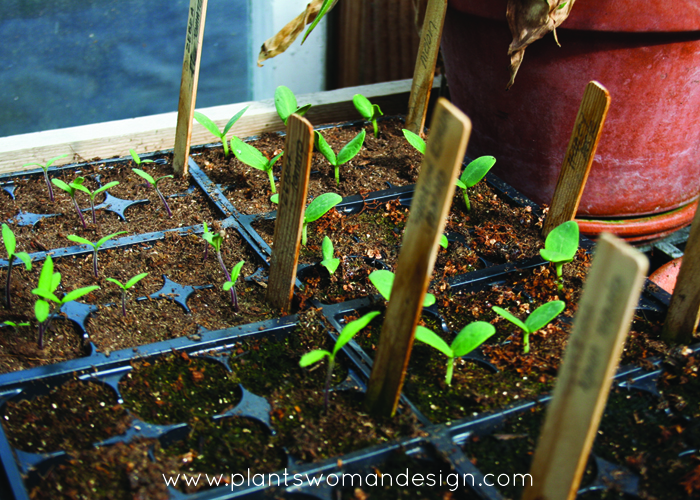
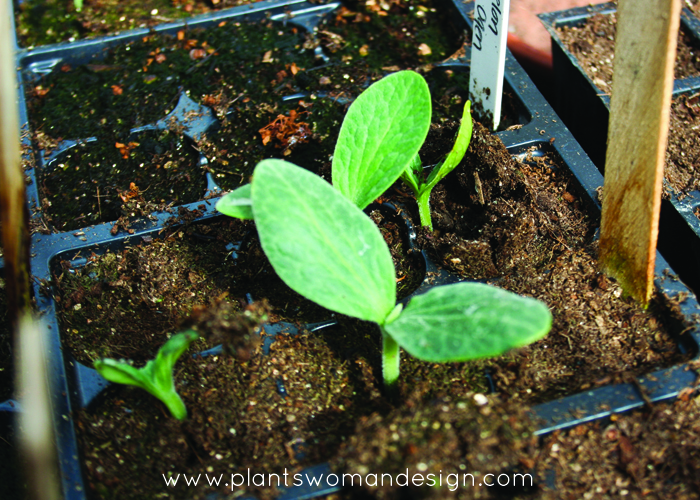
I have used pot trays to keep the leaves from being eaten until now but as the leaves get bigger they will need more room to grow.
plantswoman design vegetable garden protection, galvanized fencing panels,
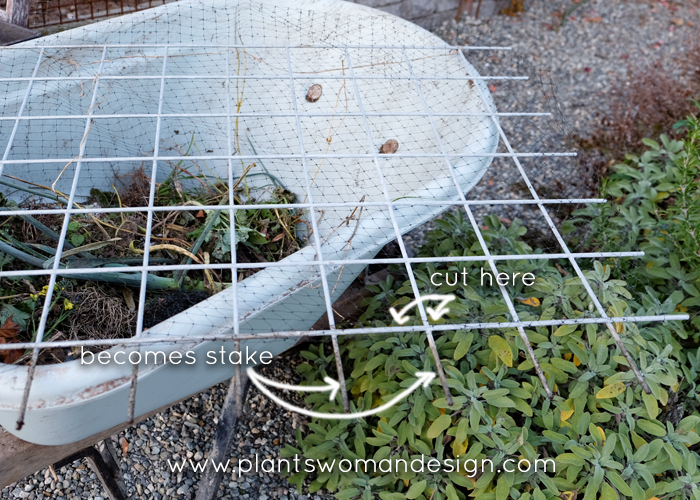
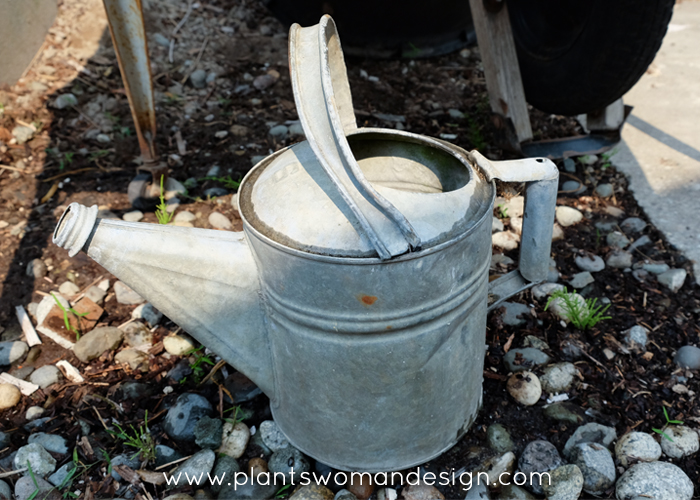
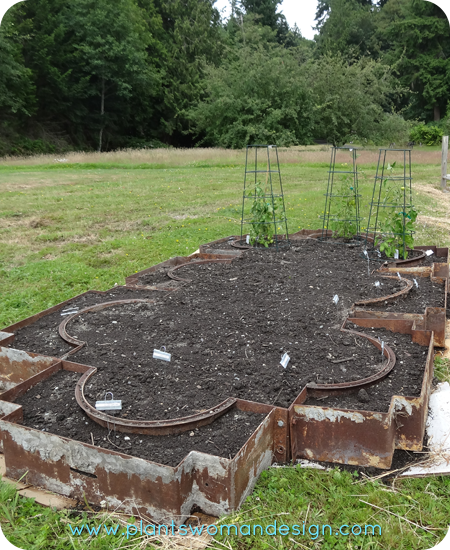
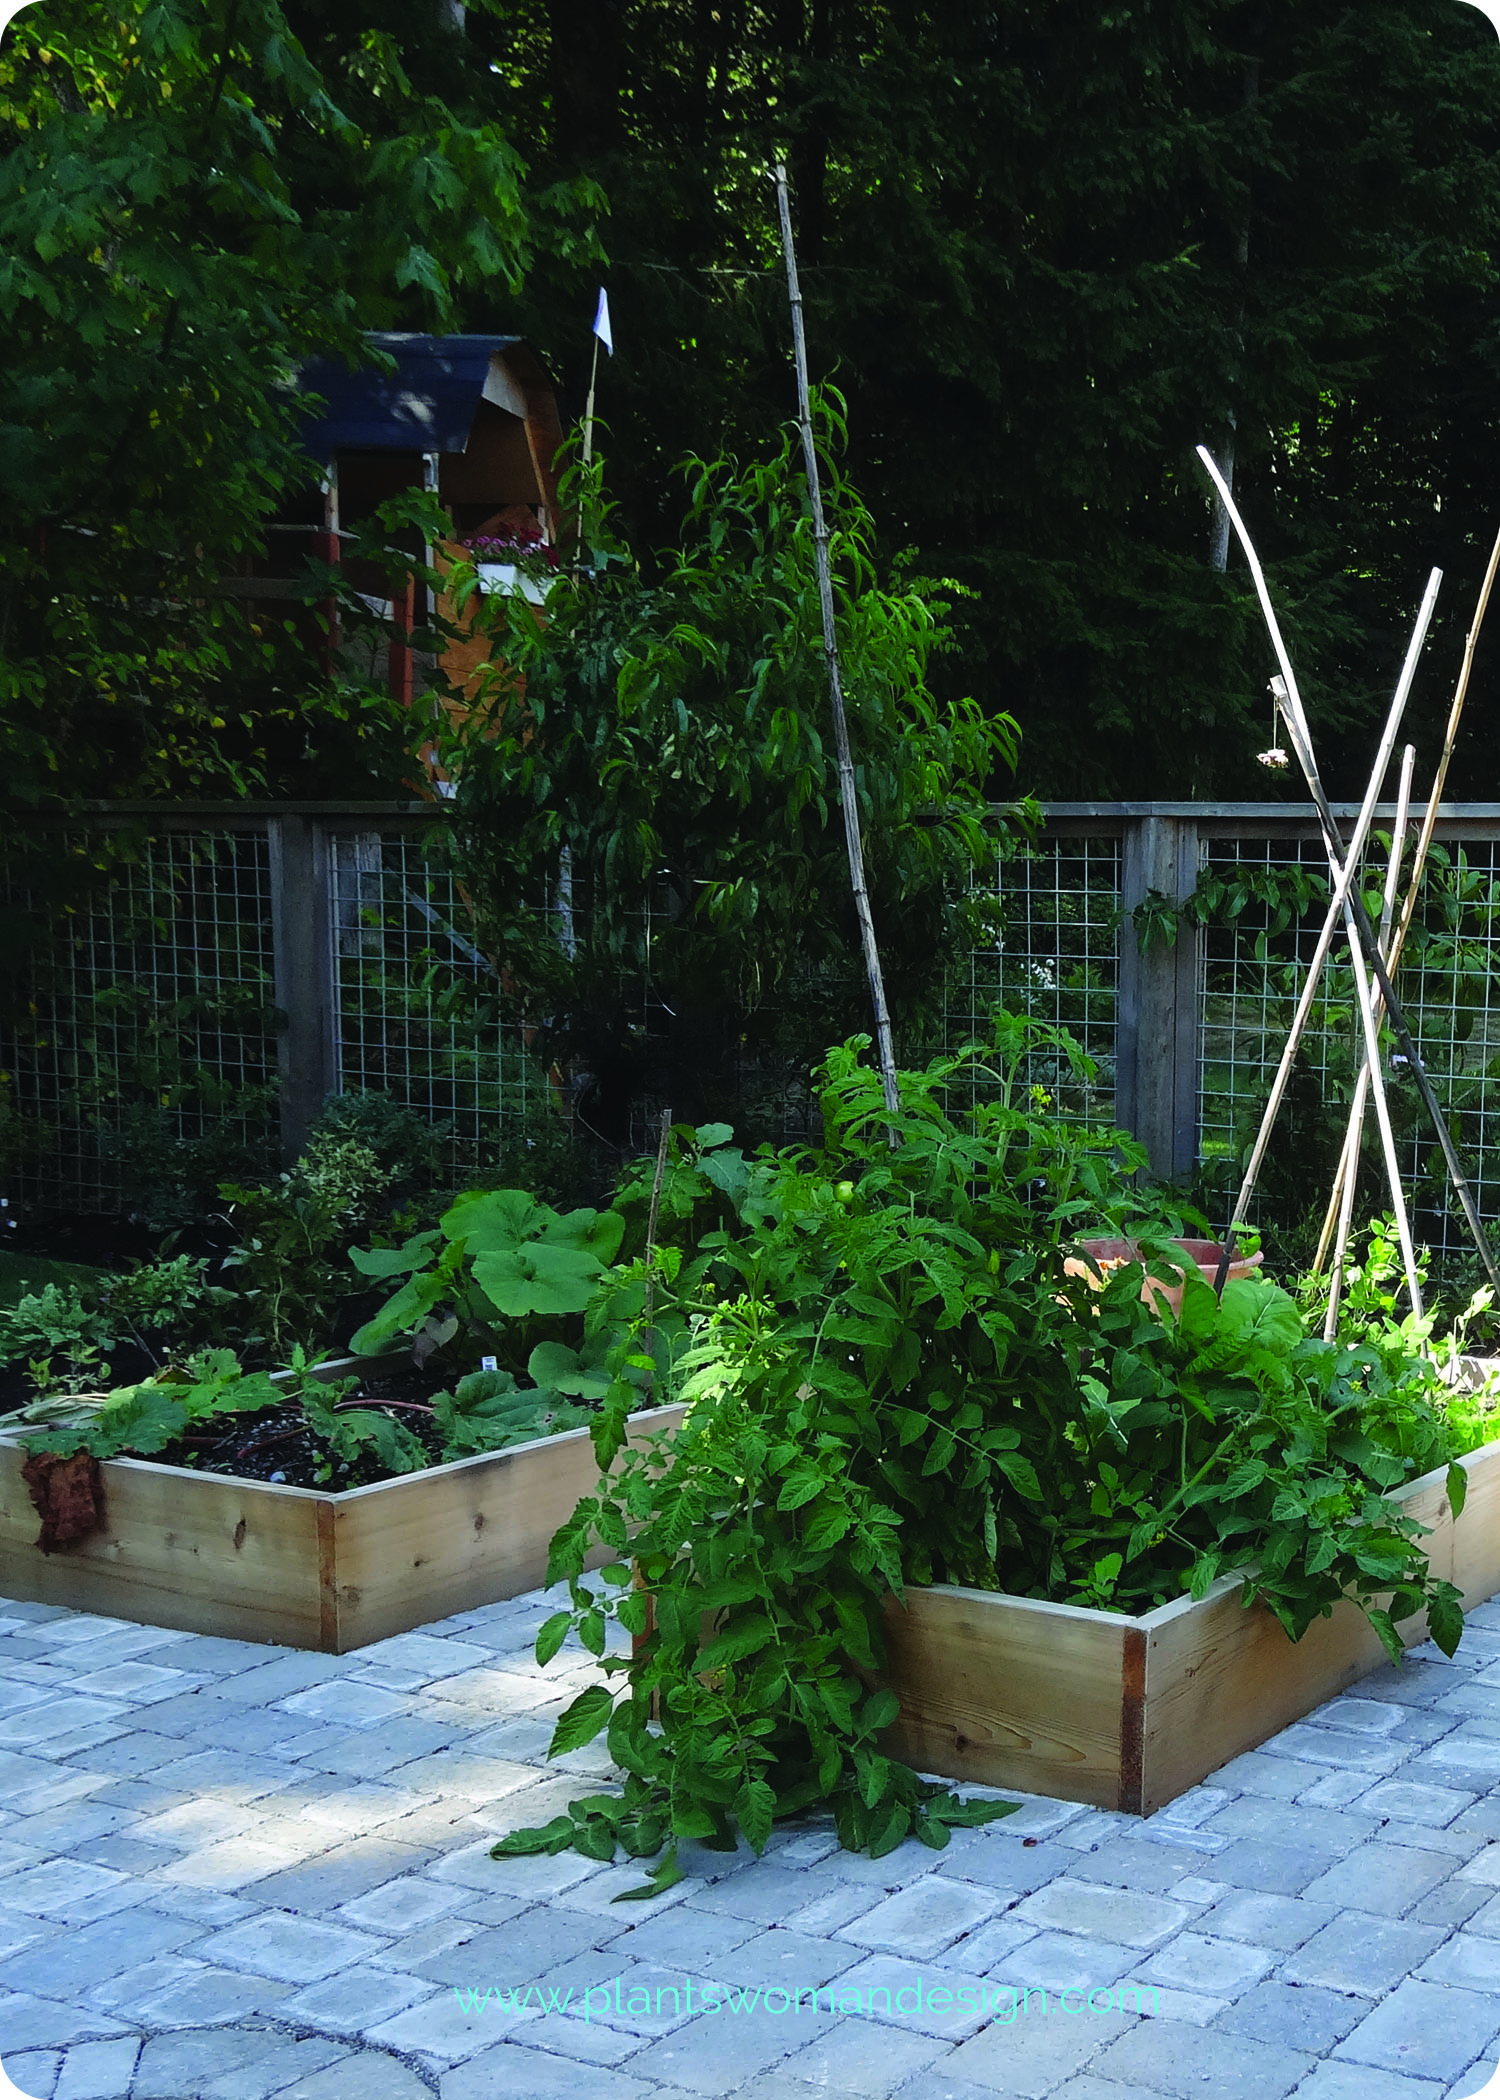
One on the most useful things I’ve found for my veg garden are pieces of galvanized fencing.   Purchasing one big panel can provide several pieces that have multi-use functions.  The fencing can be cut with bolt cutters so a saw isn’t needed.  Cutting off the bottom cross sections (either one or two) make them self staking. For my small plot of winter salad greens, they can be used to keep out the munchers.   But because the rabbits are pretty small netting needs to be attached to the fencing to keep them from getting through the holes.   Using netting from the fruit trees is a great way to re-purpose and reuse.
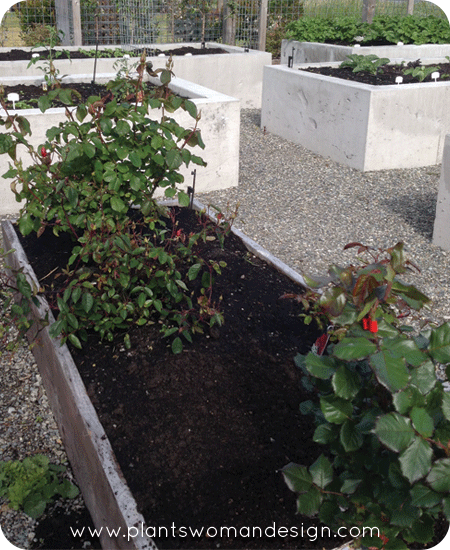
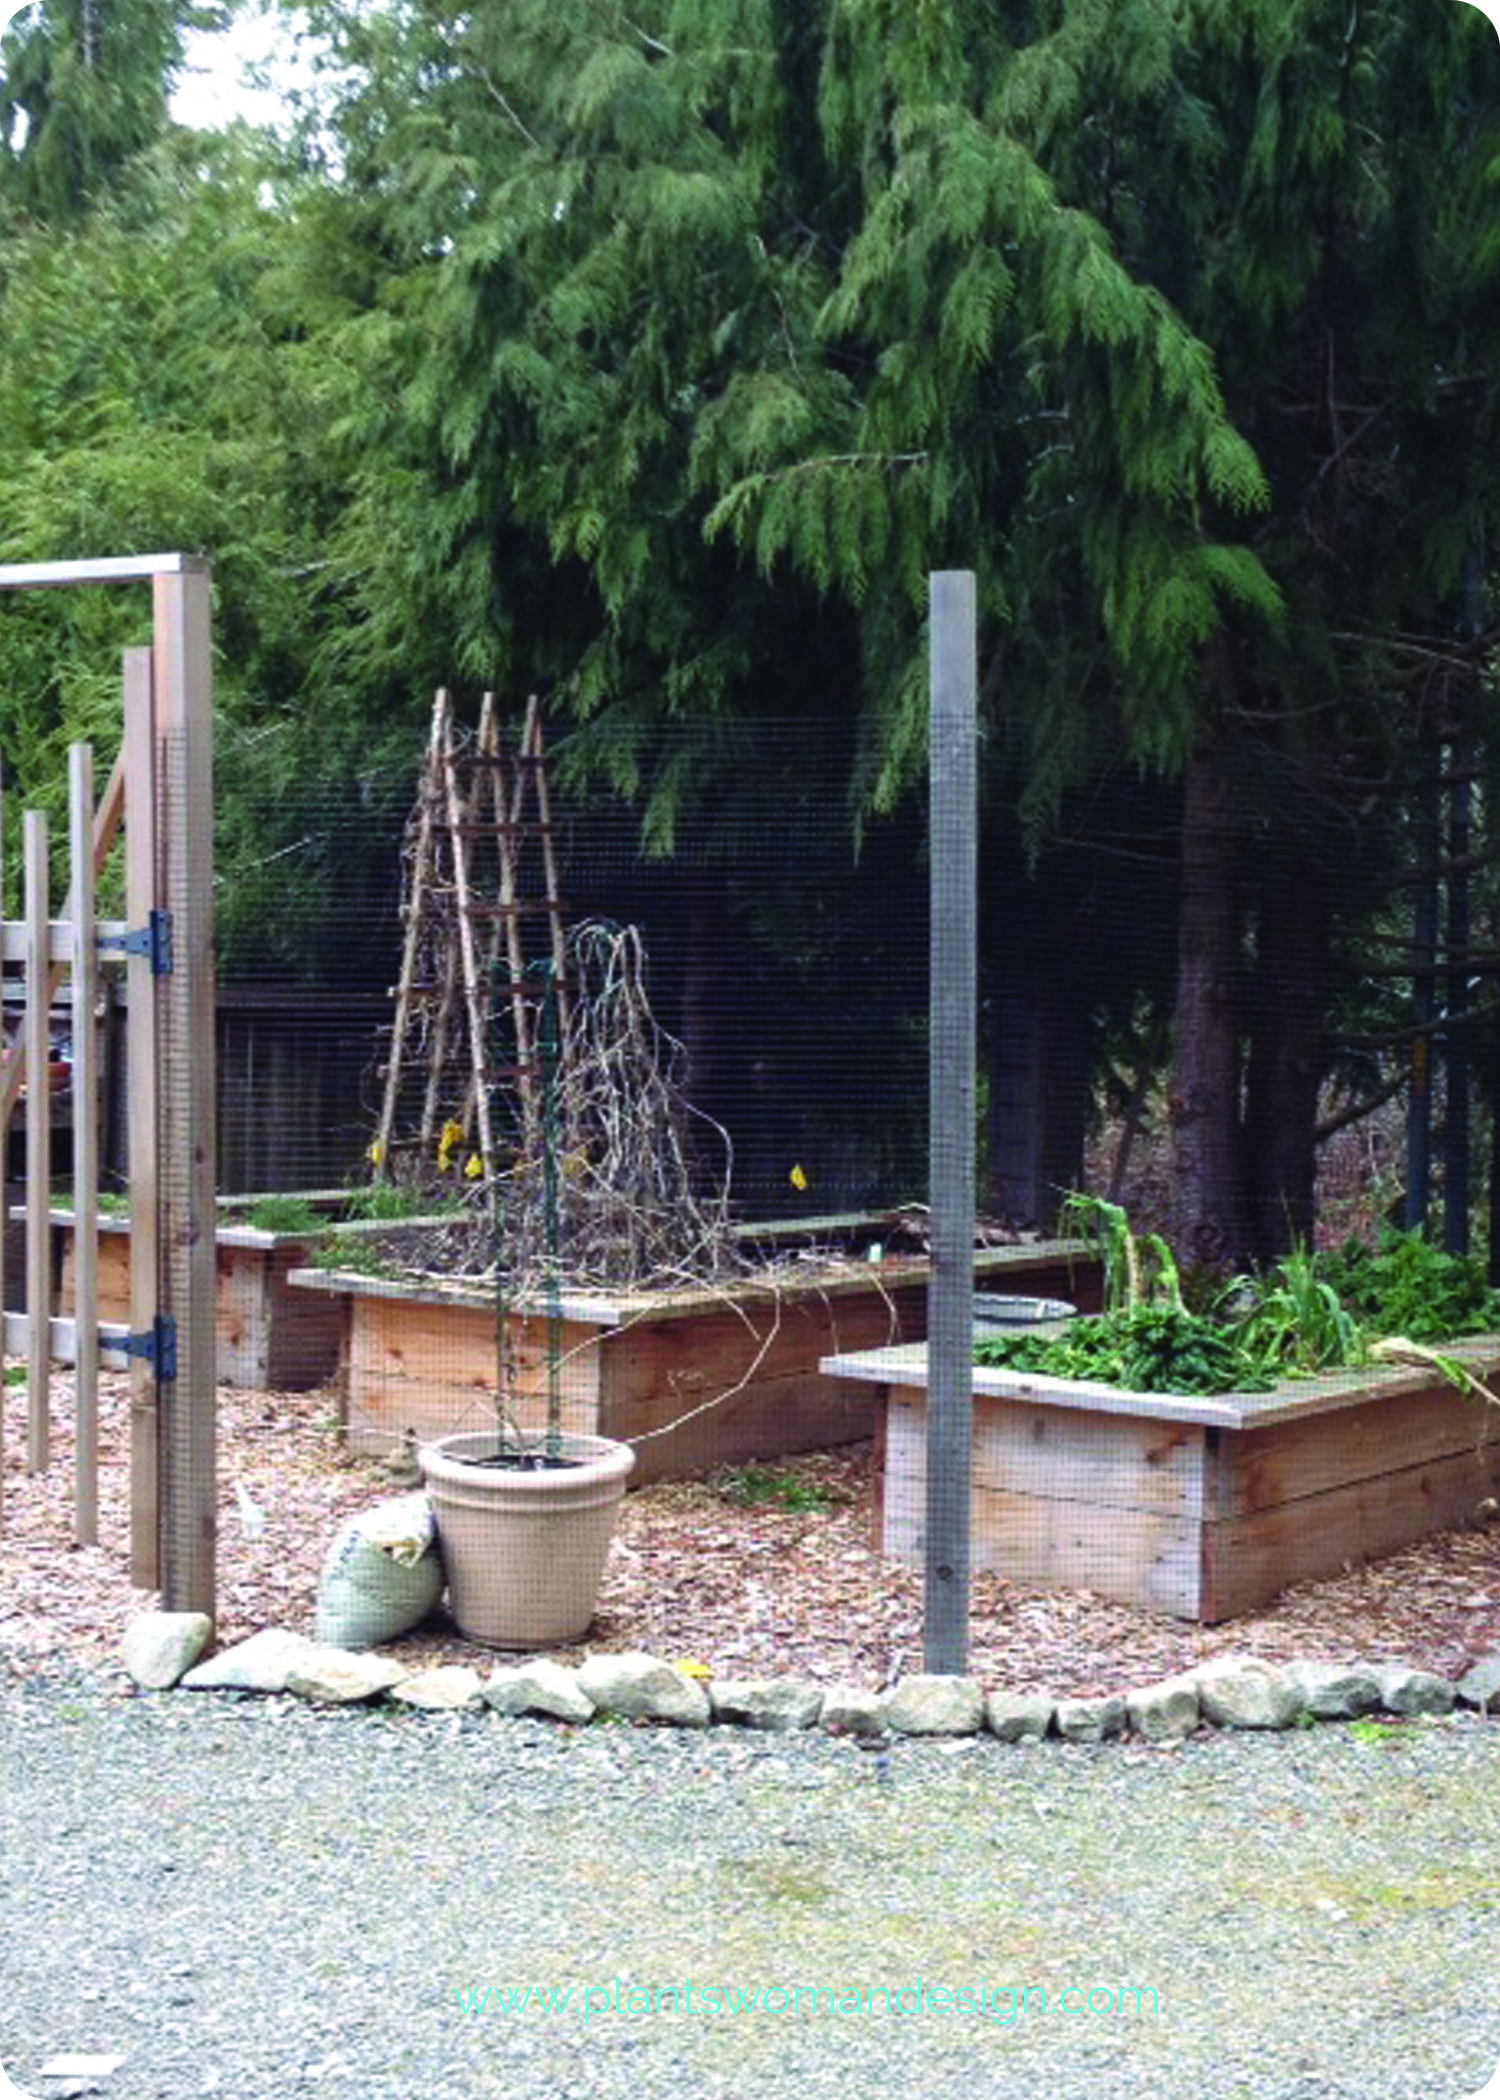
The netting can be placed around 3 sides of the panel with the bottom tucked under the self-made stakes that are created from cutting the larger panel into smaller ones.   As the smaller panels are forced into the ground the mesh is caught and held tight.   Use garden twine to secure the top portion of the netting.  Since the rabbits don’t really jump, 2 – 3 feet is all that is needed to keep them out.  Cover the fourth panel in netting independently so it can be removed when you need to work inside the bed. 
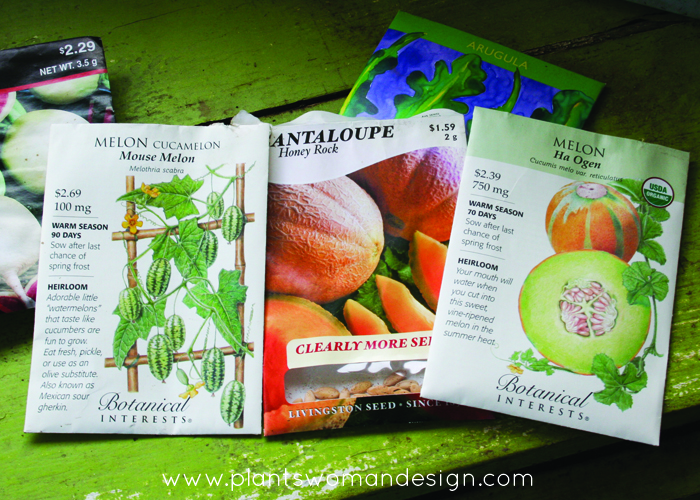
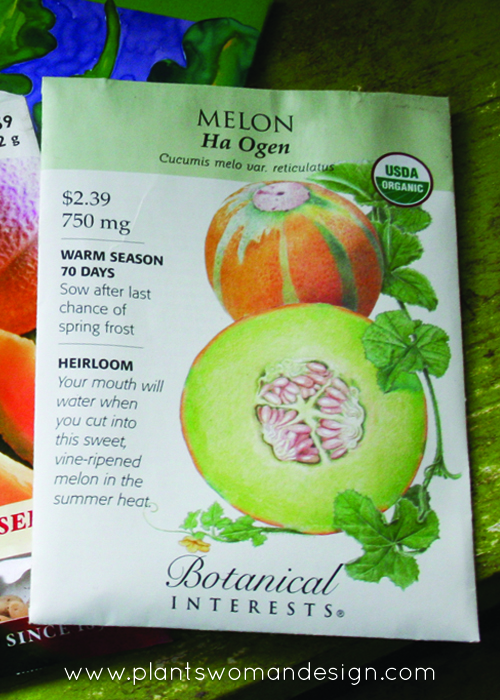
For added weather protection grow cover can be spread over the top to increase heat and keep frost off, either attached or just laid on top depending on wind conditions.   It has been sunny and warm in the daytime and about 45 or so at night in my area. You can find seeds that are suitable to the conditions in your area at your local nursery.   Spinach, arugula, and leaf lettuce are good to start with.    Usually you want to start fall crops about 4 – 6 weeks before the first frost date in your area.

Six Ways To Use Galvanized Fencing In Your Garden:

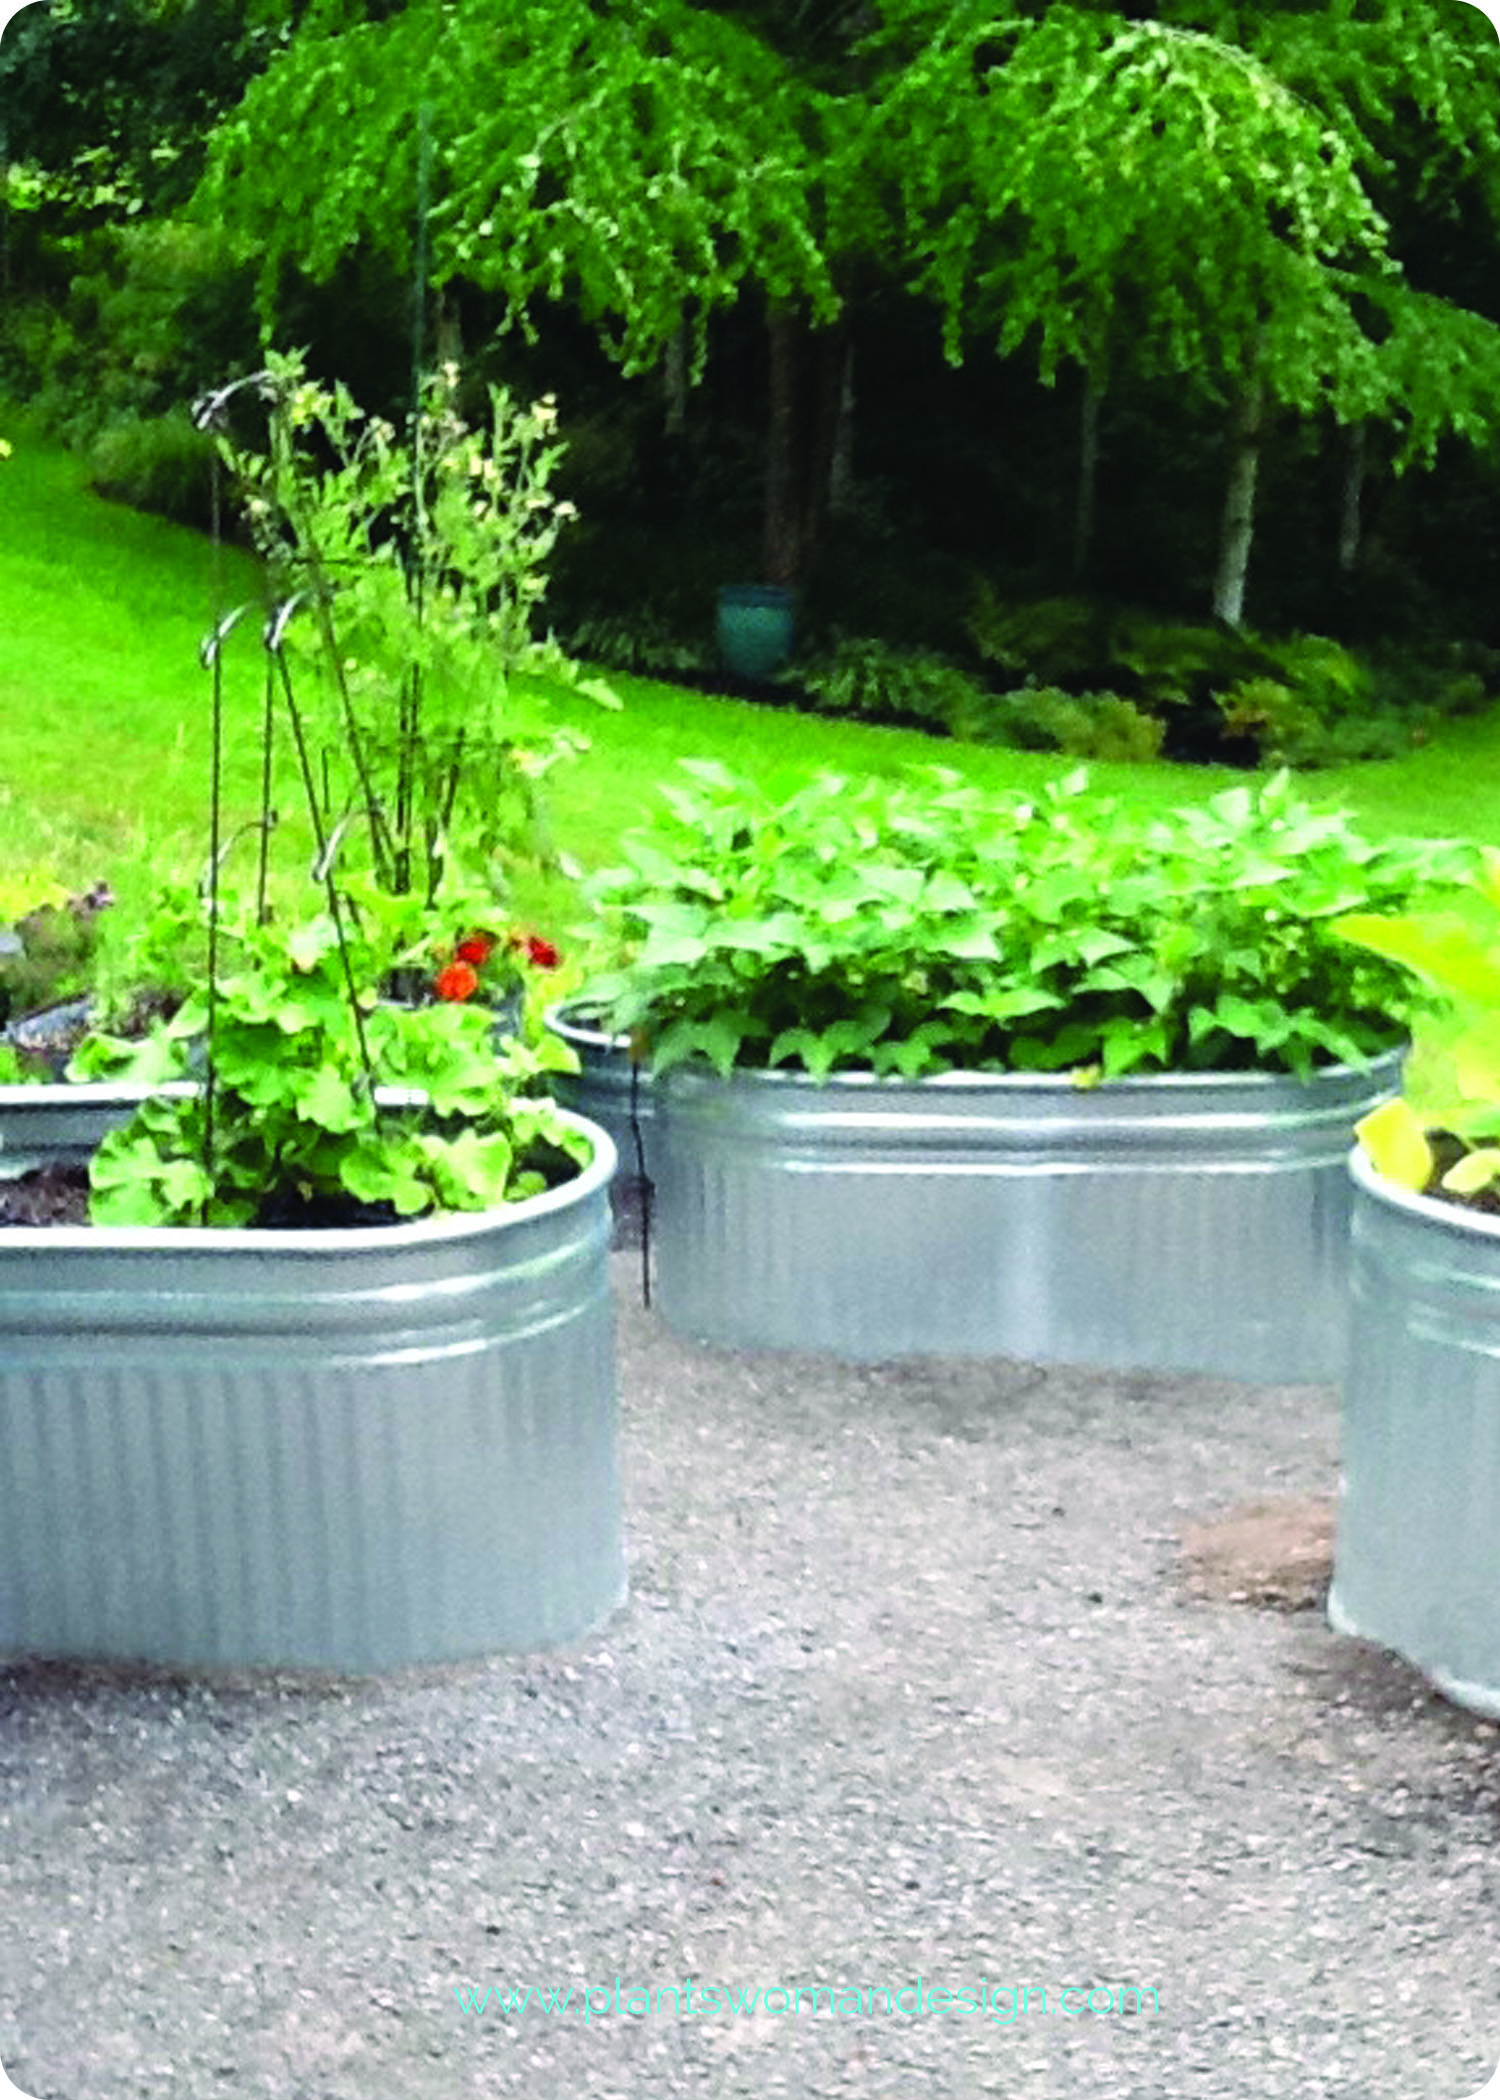
  • Support for vines like squash to keep them off the ground.
  • Permanent fencing
  • Support for peas and beans.  They will climb up them easily.  They can also support bush beans from falling over.
  • Permanent espalier support
  • Temporary fencing to keep out animals (including chickens).
  • Walls for compost bins to help with air circulation.
Let me know if you have ever used galvanized fencing and what you did with it!  Comment below.
Vegetable Harvesting

Vegetable Harvesting

As the harvesting duties start to pile up I needed an easy way to clean vegetables before bringing them into the house for processing. Cleaning dirt out of the kitchen sink is never fun and after trying to hold the hose and the vegetables at the same time I figured there must be a better way… I found an old metal washtub on legs at the local secondhand store. But just sloshing them around inside didn’t make sense because they didn’t get really clean.
After searching around I found a couple of things to make it easier. First, using a plastic plant tray to harvest helped to sift out the dirt back into the beds before taking them to the wash basin. Keeping the soil in the beds is a good thing since it took so long to get that lovely soil to be lovely soil.
Second, using a board across the top ½ of the basin gave me a shelf to set the harvest on while I work and a place to sit while it dries out. You can also use the tray to keep vegs from shifting in the standing water. A hose on spray will knock most of the dirt into the water while a soft vegetable scrub brush might be needed to get the root veg really clean. Some Vegs do not like to be totally dried off before storage including, leafy things, some cucumbers, and kale. As soon as they are mostly dry (don’t leave them out for days) store them as they would normally be stored.
I store leafy greens and kale in clean plastic bags slightly moist. Cucumbers like to be slightly moist and carrots, leeks and beets humid but dry. Hang the onions and garlic to dry or store in baskets. Tomatoes, eat or process when you can refrigerate until used. I also dry my hot peppers, basil, thyme and dill by hanging them in bundles inside the greenhouse (unheated and not humid yet) or in the house.
Remember to use your water wisely.  Collect the dirty water into buckets or watering can to be added back into the garden. Don’t let it just run onto the ground. How are you processing your harvest this year?  Be sure to share back any ideas you have had for making harvesting easier. Happy Vegetables make Happy Bodies!
Color in the Vegetable Garden

Color in the Vegetable Garden

We have all seen great pictures and even visited designed vegetable gardens. Some great potager, or kitchen, gardens are famous for their beautiful symmetrical designs. My kitchen garden sports simple raised beds in a fairly linear design. I’m planning on revamping the configuration of the beds next year.  I’ve found that the long beds that are wide (6 feet) are easy to plant but hard to harvest. Stepping into the bed is not optimal and sometimes there are such a tangle of plants in the middle the harvest is lost. That, however, does not keep me from planning some good color combinations in the veg garden.

This year I experimented with purple. I already had purple artichokes from last year and they are lovely again this year.   Not only do they lend great sculptural qualities but their color is amazing. A combination of purple and green that holds it color even when dried for fall decoration.

Purple peas are growing, rambling and producing the loveliest pea pods. The peas inside are green and flavor is amazing. The pods are too tough to eat but there are so many pods that the harvest is good for shelled peas. This is a tendril pea so the strange flower like tendrils were odd looking for me. I did pick some and did a quick sauté to go with halibut cheek. Pretty great!


Sugar Magnolia Tendril Peas:

70 days A marvelous innovation in sugar snap pea breeding from Dr. Alan Kapuler, the first ever purple podded sugar snap pea! We love the dusty purple blue pods that really pop in a sea of green foliage. … The flavor is perfect, not too sweet, with a great snap!

[From Territorial Seeds]


Purple broccoli is another purple plant that has a wonderful color with contrasting dusty sage green leaves. The flavor is great and it produces well. Baby leaves can be used in salad as well.  My plant came from the nursery in a pack and unfortunately, they don’t list the seed variety on the plants. I have tried the purple sprouting kind before and it is best in the fall and winter. It over wintered and produced small broccoli pieces all winter.

In my blog post, Easter Gift Of Plants, we planted purple carrots at my grand daughter, Kayla’s, request. They’ve done well and are great to eat, beautiful to look at in salads. (that garden is doing quite well!)

Of course, you can’t help but love the purple blue color of blueberries in the garden. The fresh lovely blush or purple/blue as it becomes deep blue is so beautiful. In the early morning with dew they become a reflection of the sky and the green leaves around them. These are an unknown variety rescued from a garden under construction. The border around the fruit beds are Vaccinium Bountiful Blue, an evergreen blueberry that produces great fruit and is beautiful all year round. Fine Gardening has this to say about it.

An award winning variety with the bluest foliage of all! Pink-blushed flowers produce a large crop of large, sweet, juicy berries on a compact, mounded shrub. Perfect for massing in the landscape or featuring in large tubs. Self fertile, though planting another variety may yield a more prolific harvest. Requires just 150-200 winter chill hours. Semi-evergreen in mild climates.

Care: Provide rich, acidic, well-drained soil. Water regularly during the growing season to maintain a deep, extensive root system. In extremely hot and arid summer areas, best with some shelter from harsh, reflected afternoon sun. Before new growth begins, prune off twiggy growth, leaving only main stems to prevent overbearing.

Read more: http://www.finegardening.com/bountiful-blue-blueberry-vaccinium-corymbosum#ixzz4mp1pdVz0
Follow us: @finegardening on Twitter | FineGardeningMagazine on Facebook

There are two more purple things in the garden that are not quite ready yet. Some seed samples from Burpee seed included a Depurple cauliflower hybrid. The plants are doing well but not ready for a picture yet. Burpee seed description.

Ravishing new purple cauliflower with buttery-sweet flavor.

Full Description

In foodie land, cauliflower is now a thing—a flavorful, delicious thing—inspiring culinary rapture, with food writers reaching for apt superlatives. ‘Depurple’, a ravishing new purple cauliflower, is a trendsetter with delectably textured, buttery-sweet, nuttily nuanced lavender-blue florets. Adds magical color and savory rich flavor served fresh, broiled, sautéed; as fritters, or in a summery cool purple soup. The distinctive color comes from anthocyanins, the antioxidants found in red wine, so purple cauliflower is more nutritious too. To retain the color, sprinkle with vinegar or lemon juice before steaming, roasting, or sautéing. A must-have selection for 2017.

80 days to maturity, sun, plant in fall or spring.

I also picked up some purple brussel sprout seeds from Territorial seeds.   The Rubine Brussel Sprout seeds are in the house now.   They are 4 leaves and will be ready to go out in about two weeks. 85 days. An heirloom variety not often seen in the garden. Rubine offers up a bountiful harvest of gorgeous 1-1 1/2 inch purple-red sprouts that are full of wonderfully rich old-time flavor. A striking addition to any vegetable patch and a gourmet special for your table. Grows to 24 inches and performs best when planted early.

I’ll keep you updated on progress and will take pictures of the varieties as they continue to produce. Many of the seeds are available for fall planting so it is not too late to start gardening in color!

Mother’s Day Garden

Mother’s Day Garden

Not to be outdone by the Easter Garden the grand-kids in Illinois (zone 6a) planted a garden with their mom for Mother’s Day.  Let’s join Kristen for a quick tour…

raised bed garden plantswoman design

We started prepping our garden back at the end of April.  If we wanted to we could call our little garden the Secret Garden because it is hidden from view in the side yard of the neighborhood church’s 2-flat.  Most people don’t even know there are garden plots back there unless they are brave enough to ask the right question to the right person.  It is a perfect little spot for us amongst a few people lucky enough to get a spot.  Our patch is roughly 8’x16’.  We used the boards from a section of old fencing to build the retaining border and used drywall screws to secure the boards to wooden stakes we drove into the ground with a hammer.  This proves that you can build a garden bed with just about anything you have on hand.  It doesn’t have to be perfect or Pinterest worthy.

raised bed garden plantswoman design

While we were digging through the soil to put in the raised bed boarders we found tons of worms doing their work, which was such a good sign.  Our son made it his job to find as many as possible and ended up finding the biggest worm any of us had ever seen in life.  Even with all the worms the soil here is full of clay.  We amended the soil with manure and compost.  Our daughter just couldn’t believe we were planting seeds in poop.  We assured her it was ‘clean’ poop but that didn’t help.

On Mother’s Day we joined the throngs of people at Home Depot and purchased three tomato plants and a red bell pepper start along with seeds for watermelon, cucumber, carrots, beans, lettuce and spinach.  Because of our small space, we chose bush varieties for the melons, cucumber and beans.  Just like the Easter Garden we also found seed tape for the spinach.

raised bed garden plantswoman design

Back at the garden we laid out the seed packets to find the best placement for each vegetable.  Because of how the sun travels over the garden we chose to forego traditional rows and plant in groups instead.  With the tallest plant, the beans, in the middle and the vines in the corners, so they could spill out over the edge if needed, I’m hoping the design will make the best of the sunny hours.  When the time comes to stake up the tomatoes and beans I want to take a page from the Planstwoman show garden and use metal tubing to prop them up.

raised bed garden plantswoman design

Since planting the garden we had a week of 85+ degree weather which really gave our seeds a good start.  It has been chilly and wet since then but the sprouts fighting their way up through the soil.

What have you planted in your garden this spring?

raised bed garden plantswoman design

Easter Gift of Plants

Easter Gift of Plants

It is always a struggle to find something to give to a 16 year old for Easter… Dress? No GMA. Little white gloves, hat, chicks, bunnies, stuffed animals? No GMA. This girl doesn’t even like candy that much. A Starbucks card is good but pretty ordinary. So, this year I just asked her… ‘A Vegetable Garden’ was the answer.

WHAT? A garden? How fun! I can so do that.

raised beds plantswoman design

Raised beds were necessary so with the help of her Dad they made two raised beds a few weeks ago. They have dogs, cats, goats, and horses so anything edible needs protection! Last Saturday on a rainy (surprise, surprise) morning I brought a little dump truck full of soil and washed manure. Kayla, her mom, and I filled the boxes in about an hour while slipping and sliding in the spilled soil and rain. Lovely thing about soil with the manure is the amazing amount of worms!

planting raised beds plantswoman design

Kayla had a huge list of plants that I ordered from Botanical Interest Seeds and Territorial seeds. So many that they will not all fit into the beds. She did her research and picked things that will be the right size for their raised beds. And fun things too like 3 Colored Carrots, Purple Beans, and sunflowers!

broccoli raised beds plantswoman design

Of her huge list only the early season crops – sugar magnolia peas, little snow pea, Bullet Lettuce, pot and patio lettuce blend, Olympia Spinach, and Kaleidoscope carrot collection, could be planted now. We also had some purple broccoli and green broccoli starts to plant.

bean trellis raised beds plantswoman design

We used a left over piece of galvanized fencing to support the peas (they get 24 inches tall).   The soil in the beds was so wet and clumpy it was like planting in mud. We may have to replant some of the seeds if they don’t make it because of the wet. We also put some grow cover over the beds to protect the soil from excess compaction and to raise the temperature of the soil for germination. Good thing we did because the temperature two days later was 28 degrees. The average last frost date for Seattle area is March 24th. Guess this year is anything but average. We have also had 60% of the total average rainfall for the year already.

We will continue to report on the status of the Easter present.

Happy Spring!

kayla's garden plant list plantswoman design

Garlic Harvest

Garlic Harvest

As the pumpkins start to take over the garden bed I know it is time to harvest the garlic.  You may remember that I planted garlic last fall. I can tell it is ready to harvest because the tops are starting to turn yellow. Some gardeners wait until the tops are completely brown but I don’t like to take a chance that they will start to flower. This will break up the head and sometimes makes the garlic bitter and very strong in flavor.

garlic harvest plantswoman design

A handy hoe that I got as a gift works wonders for digging the heads. Running it along side the row loosens the roots without damaging the head. There are two different kinds of garlic but I don’t really care to keep them separate. The plant tray is a good thing to put the harvest on so they can be cleaned easily letting the soil and water falling back into the bed.

garlic harvest plantswoman design

The greenhouse is mostly empty right now so the plant tables are available to dry out the heads. These have been drying about 2 weeks now. A final brush of the remaining soil and clipping off the roots and they are ready for storage.

garlic harvest plantswoman design

You can still make a braid of garlic at this point in time if you want. The ones I made while the tops were still green had some problems with rotting. A beautiful head of garlic is better than a beautiful braid with moldy garlic. Store them in a dry spot until ready to use. The garage is a great place for my storage. Not too hot and dry.

Cheers to a lovely garden harvest!

And So It Begins…

And So It Begins…

The days have been very warm for April and the garden beds are ready to plant. I don’t know about you but sometimes I get carried away with new seeds I’ve purchased and forget about the old ones. This year I sorted through my boxes of seeds and found several packs with just a few seeds left that were outdated. Wondering about the germination of old seeds (and reading about them too) I decided to plant some in the greenhouse to see if they would germinate.

expired seeds germinating

The zucchini seeds were from 2011 Italian seed source. Out of 12 planted 6 came up which is actually a pretty good ratio. I will get them into the garden this next week. My first vegetables were planted last week using the expired seeds also. Germination was a little spotty but it is warm this year and there is plenty of time to reseed if needed. Seeds of spinach, arugula, lettuce and radishes went into the beds that still look a little rough.

seedlings in mushroom compost

Mushroom compost is my usual amendment for the vegetable beds. This year instead of my purchase of bagged mushroom compost I decided to purchase it by the yard. The compost was not as smooth and delicate as the bagged goods. I was hoping that it would breakdown a little more after the prep of last month. It didn’t really look like much of a change but I took the chance and planted anyway.    The seedlings are tough! They are coming through the organic matter just fine.

melon seed packages, botanical interests

New to me this year are the Cucamelon or Mouse Melon and the Ha Ogen Melon. Last year my first ever cantaloupe was so thrilling. I know, thrilling, really? Well, never thinking it was possible to grow them, and then actually eating them was, for me, thrilling.

I found a recipe on #gardenchat for pickled Cucamelons. They were so beautiful I had to try them. They are not up in the greenhouse yet but I should see them soon.

Here are the specifics for the Cucamelon:

botanical interests cucamelon seeds, cucamelon seed package

Cucamelon Mouse Melon HEIRLOOM Seeds

Melothria scabra

90 days. Cute, grape-sized fruits look like tiny watermelons but have a cucumber flavor, often with a hint of tartness. Also called sandita or Mexican sour gherkin because the fruits turn more sour as they mature. Long vines up to 10′ produce plenty of “watermelons” to harvest from summer to fall. Plants don’t seem to be affected by insects that typically cause problems with cucumbers and melons. A terrific container or hanging basket variety!

Days to Emerge:
7 – 21 Days
Seed Depth:
1/4″
Seed Spacing:
3 seeds per mound
Mound Spacing:
4′
Thinning:
Not required

When to sow outside: 1 to 2 weeks after average last frost, and when soil temperature is at least 65°F.

When to start inside: 4 to 6 weeks before average last frost.

Harvesting: Pick fruits when about the size of a grape or under 1″ long for best flavor. As fruits mature, sourness increases.

The Ha Ogen melon matures in less time than the Cucamelon so it should do even better in my garden. I’m still remembering a melon I had in the San Juan’s at a farmer’s market there. It was amazing and looked similar to this one. Hopefully it will taste the same.

Here are the Melon Ha Ogen details:

botanical interests melon ha ogen seeds, melon ha ogen seed package

Melon Ha Ogen Organic HEIRLOOM Seeds

70 days. One of the sweetest, most aromatic melons you will ever taste! Ha Ogen is quick-growing, open-pollinated melon that has a long history of devoted connoisseurs. The 3–5 pound fruits are pale green inside with a salmon-colored ring around the seed cavity and a sweet and spicy flavor. If you have room in your garden to grow only one melon this year, Ha Ogen should be your first choice!

Days to Emerge:
5-10 days
Seed Depth:
1/2″
Seed Spacing:
2-3 seeds per mound
Mound Spacing:
4′-6′ apart
Thinning:
Not required

When to sow outside: 1 to 2 weeks after average last frost, and when soil temperature is above 60°F.

When to start inside: Recommended for cold winter climates. 2 to 4 weeks before average last frost. To minimize transplant stress, use paper or pulp pots and transplant pots directly into soil.

Harvesting: Harvesting at the right time is very important with melons. Commercial growers harvest before melons are ripe, forcing them to ripen off the vine, but the last few days of ripening on the vine put a lot of sugars into the melon; so melons taste significantly better when vine ripened. How do you know when Ha Ogen melons are ripe? A ripe melon will have a pleasant, fruity aroma at the blossom end; and a crack will form on the stem right near the point of attachment (this is called the “slip stage”). In a few days, the melon will detach from the vine with little effort and pressure. If it is somewhat difficult to detach the fruit from the vine, the melon is not ready yet. Do not allow to over-ripen.

purple broccoli
rhubarb

In the garden right now the purple sprouting broccoli from last year and the rhubarb are looking great! Almost time for some rhubarb deserts!

Every gardener should plant a seed. There is something about the anticipation of the plant emerging from the soil that creates spring. It is actually your tangible contribution to the cycle of life. While instant gratification is all the rage and can definitely be seen in the massive amounts of seedlings in the stores the planting of the seed itself in the warm earth connects you to the earth in a different way. Even if you usually don’t plant seeds, give it a try. Whether flower seeds or vegetable seeds give it a try this year. Oh! I think I still have some expired seeds to share too! Just leave a comment and I’ll send you some.

Raised Bed Gardening

Raised Bed Gardening

As I wait for the seeds to arrive it’s time to start working on my garden beds. I choose to use raised bed gardening for my vegetable beds and have helped many customers to do the same.

Raised bed gardening has several advantages. They give a greater depth of soil (which results in better roots), improve drainage, and the soil is quicker to warm up in the Spring. The beds don’t require tilling or double digging to improve the soil. In fact the more you stay off of them and don’t compact the soil the better it is.

I’ve made raised beds out of galvanized tubs, cedar, concrete, and stone. All of these bring the garden up to a level that it is easy to work in. My method is open box wood built with leftover planks from a long ago garden show. The grass was removed and boxes built and put in place. Some people just leave the grass and pile soil on top but I feel the breakdown of possibility of grass and weeds coming through is not worth the chance.

Here are some tips to get your raised bed garden ready for the spring.

  1. Remove any old plants and weeds out of the beds. I have some broccoli and leeks left in the garden from last year. Now it is time to remove them and create space for the next planting. There are some weeds that seem to return every year and now is the time to get the jump on them. I leave the onions and garlic that I planted last fall alone except to add some bone meal to the sides to give them a little boost. Living with a zone 7 garden the ground is not frozen but this year it is absolutely saturated with water. When pulling the old plants from the beds I try to knock most of the soil from the roots so the soil stays in the bed. The roots and tops of the leeks go into the compost bin, the weeds into the debris pile, and the leafy bits to the chickens. Everybody is happy.

(see the notes below about how I sort my garden piles)

  1. Check for holes and needed repairs to make sure every thing is sound for the upcoming year. There are some rodent holes in the edges of the beds so I work in some large rocks under the corners to block up holes. My chickens can also be messy in there so sorting out the soil and raking it is needed. I don’t dig into the soil at all right now for two reasons. First, the soil is too saturated with water and digging through it will break down the structure of the soil. Second, resting the soil and adding amendments on top create good worm action.
  1. Add mushroom compost to the top of the beds. During the gardening year the beds can lose soil from harvesting. Topping up the beds with mushroom compost creates a perfect bed for new seedlings. Usually the compost from the bin is saved for the non-vegetable beds. The ornamental beds love it and if there are a few weeds left in the compost they are easily dealt with.

Garden Piles:

Compost

gets vegetable leftovers, leaves, cuttings, and prunings.   It also gets the clean out of the chicken coop including the white pine chips and manure. Newspaper and cardboard too.

Debris

gets weeds, clumps of grass, cedar branches, any invasive plants like lamium, horsetail, or bamboo.

Woody

gets bamboo stakes, left over wood from projects, larger branches from fallen trees or wind damage

Looking for some raised bed inspiration?

Reap What You Sow & Sow What You Reap

Reap What You Sow & Sow What You Reap

I’m not a big seed saving person but I can’t really resist seeds when they are lying right in front of you. If you have never tried saving seeds before here is a little introductory tutorial for you. Veg seeds are easy to work with and usually very successful for home gardeners.

Before I start I realize that many people don’t see the need to save seeds. Lots of gardeners think that the $3.00 or so for a packet of seeds is not a big deal in the grand scheme of things and are happy to support the seed companies. When I think about the history of gardening the seed companies were the last ones on the scene. Historically gardeners always set aside a section of their garden to save seeds for the next year. The way many plants were shared throughout the globe was by seeds. Seed trading was a valuable monetary contribution to small communities and villages in exotic places. Precious peony seeds were traded and sold for extravagant amounts. Even now the trade of snowdrops seedlings and seeds is a crazy horticultural frenzy in the UK.

The other thing to think about is the ability to have a variety of veg that does really well in your garden with all its exposure and water variables. A spinach plant comes to mind. It was so great in my garden, didn’t bolt, lasted a long time with out the leaves getting too big. Now I’m kicking myself that I didn’t save the seeds since I can no longer find them. It was not popular enough to continue to produce large amounts in a big seed company.

If you are a person that is worried about the climate change, end of the world, and GMO variables in our food supply then seed saving doesn’t need to be explained.

Most plants want to produce seed. It’s a survival thing. Herb seeds are particularly easy to grow. There are perennial herbs and annual herbs. The perennial ones can be counted on year after year but the annuals like basil and dill need to be planted each year.

Dill Florets, dill seeds

Here is a picture of the dill florets with seed attached. They spill everywhere and are not hard to collect inside. Sometimes if they are very dry I cut them into a large paper bag so I don’t lose most of the seeds on the way in the house. I place them on a paper towel so they are easy to see.

 dill seeds

The key with most seed saving is making sure that the seeds are totally dry before you put them into storage. I like to keep them on a towel in a west-facing windowsill for at least two weeks.

basil, dried basil

Basil harvest is a little different. The remaining plants are brought in and leaves are picked and dried separately from the seeds. See my great little wire bakery rack for drying herbs.   It works well and is decorative for sitting around my kitchen for a week or so.

basil, basil seeds

The Seeds are taken off and spread out. If they are already dry then they can be separated right away. If they are on the green side they need to be dried out until you can separate the husk from the seed.

basil, basil seeds

Here is a picture of the seeds and husks.

Again to the paper towel these go, and another spot on the windowsill is secured.

I have friends that lay all the onions, and other dryable vegs in the garage and open the garage during the day and close it at night so the sun helps with the drying and the closed door keeps it from getting moist again at night. Herbs can be done this way if you are in a fairly wind free area during the drying process.

beans, bean seeds

Bean seeds are also easy to keep. This pile of beans is from the ground and dried on the plants. If you forget to pick them they will dry up and are ready to be saved when you take out the plants for fall.

beans, bean seeds

Beautiful seeds again collected and labeled. The Romano beans are all in rows together so it is easy to pick out the seeds. The other groups of seeds are three different varieties. Haricot vert, Nickel Fillet, and Baby fillet beans. It is fun to see all the varieties together and be able to pick out which ones were which. You can leave all of them in the packet together or separate them. They all grow about the same size and have the same maturity date. They may cross-pollinate and you could have a variety in your garden that is new.

Bean seeds need to be dried out as well so when you put them into packets they will not mold. Some of the beans are more dried than other when you are pulling them out of the shells.   After they are dried they should be close to the same size.   The moisture will come out of the bigger seeds and they will shrink.

DIY seed packets

Simple packets are available by checking out our ‘Leaving a Legacy’ post from last year. Blank seed packets are available on Amazon. They can make great gifts too.

What seeds are you saving this year?