One of the most amazing things about gardening is the way that gardeners share information. We are (and should be) willing to share methods and tips about gardening, things that worked for us and things that didn’t. What I want to share with you today is a gardening method that was shared with me by a great gardener over 15 years ago.
I was just out of college and was beginning to realize all that I didn’t know about gardening. Many people think they know so much when they get out of college, ready to tackle anything. I quickly found out that people who had been gardening since before I was born actually did know more than me. Ah, the arrogance of youth defeated!
Karen had been slowly reclaiming her forested plot into garden one bed at a time. She would plan out where she wanted the bed, clear it of sticks, large clumps of foliage (just cut back), and move anything worth saving. We have a small appliance company on the island and she would ‘recycle’ their cardboard by taking what she needed from the dumpster (original recycling at work). Several layers of cardboard with staples and tape removed would be laid on the ground where the planting bed would be. Mulch was next, at least 3 inches of mulch was laid over the top. She would use whatever she had and purchase what she did not. Wood chips from a fallen tree, leaf litter and manure were the usual materials. Sometimes there would be enough compost from her compost pile to use as well. If there were only woody materials she would add good compost mulch to the top. The materials would then be thoroughly soaked with water, making sure that the cardboard beneath was wet through. Then she just walked away. Amazing! In just 4 – 6 months the bed would be ready for planting. The weeds, plants, and grass in the bed were dead, the cardboard was gone and the bed was full of worms and great airy soil.
Admittedly I was a skeptic, until I tried it myself. Now if I can wait and don’t need to plant immediately I do this same method. In fact I used it last year to put in a late veg garden after I moved into my new house, 4th of July Garden. Because I was planting the bed right away I piled all the soil needed for the veg beds on top of the cardboard, about 6 inches, and planted away. Vegetables only need about that much soil to be successful. The raised edges of the beds held the soil in.
Now as I’m planning and planting the edges of my property I’m working on some areas to get them ready but don’t need to plant anytime soon. In the edge behind the west planting bed I wanted to get rid of a grass strip between my neighbor and I.
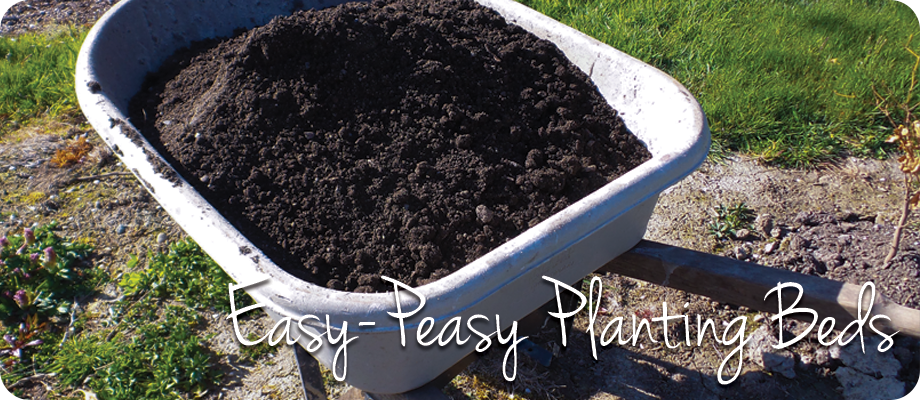
Here is a step-by-step guide for creating a planting bed the easy-peasy way.
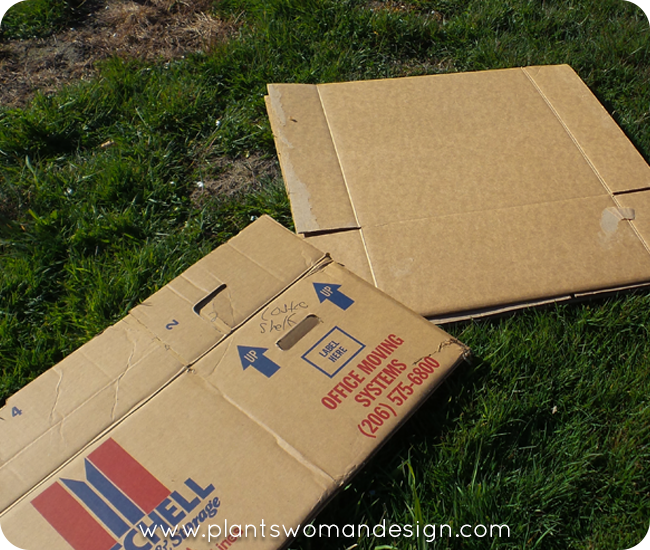
- Collect cardboard or newspaper. A layer of cardboard is a good choice but paper grocery sacks, newspaper and other recyclables can be used. No glossy magazines or plastic coated cardboard.
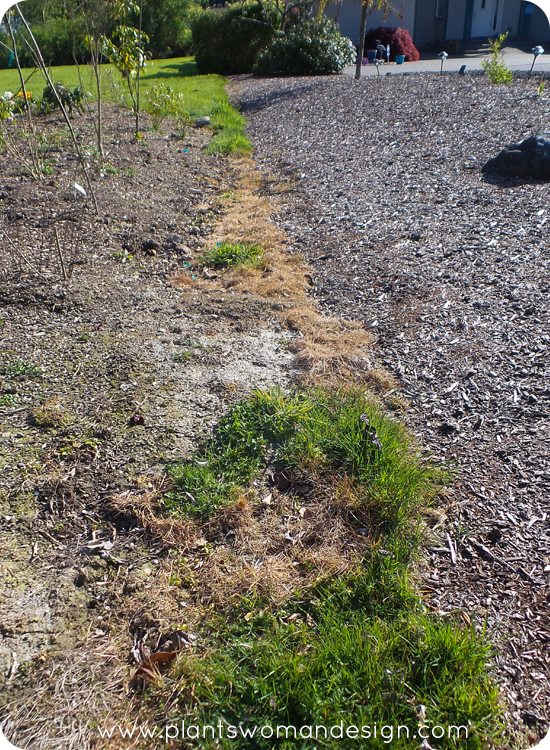
- Clear away any debris. Leave weeds, grass, bark mulch, etc. Warning- this method may not kill horsetail. It will lie dormant under it until you dig in the soil and will start again. It has killed every other weed I’ve covered.
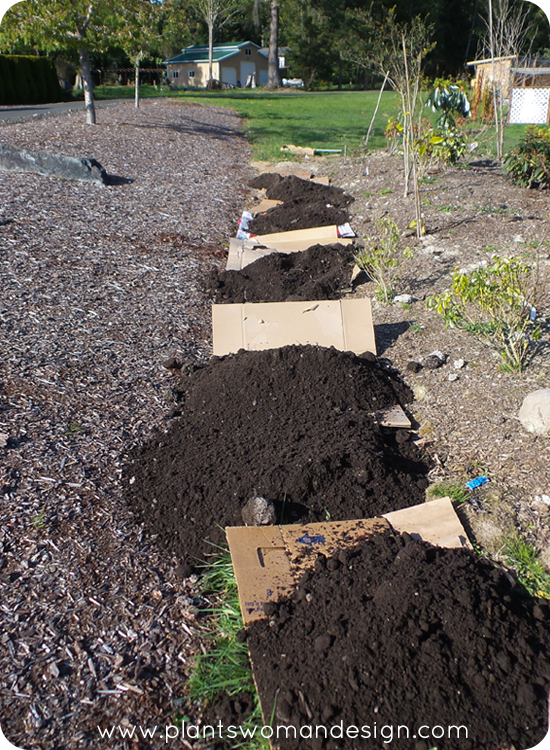
- Layer paper material. It should be at least 1 inch thick. Cardboard can have just two layers.
- Add composted material to the top of the cardboard at least 6 inches thick. I did not have any other materials so I used Fish Compost from our local supplier. If you do this in the fall there are lots of materials to use. The added benefit is that it is ready in the spring to plant. I can always add to the top as things become available.
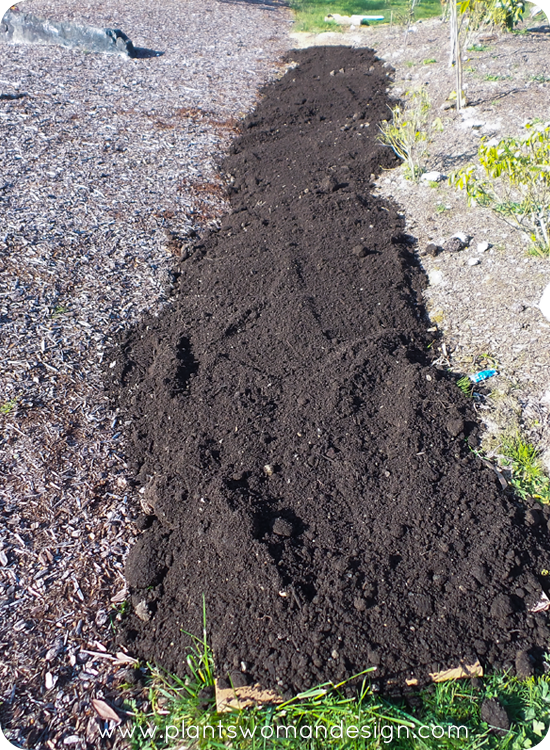
- Water the whole thing in good. In the summer you will probably have to water it occasionally to keep it moist. The worms will come and live in the cardboard and paper material and do the work for you. The lack of light and heat from compost will kill the weeds and the action of worms as they create habitat will give you good worm casings and organic material as it all breaks down.
- Walk away. Check the moisture level occasionally and watch for blown in weed seeds.
Have you have tried this method before? I love it because it actually looks finished and it’s not. I have so much work to do here that some finished looking beds are a good thing.
Sharing the love of gardening and tried and true methods of gardening is really an added benefit of gardening. The social aspect of sharing plants, secrets and swapping stories never grows old and broadens our viewpoint.