If you have been following the blog for a while you will remember in fall we pulled our begonias out after the first frost and stored them over the winter. If you didn’t have any to winter over they are available at the Nursery now and you can grab a couple of tubers and follow along with us. It is time to bring them out of their little dark box and bring them into the light. We will give them a soft bed of soil and water and they will be on their way again. Let’s have a look at the box where we stored them.
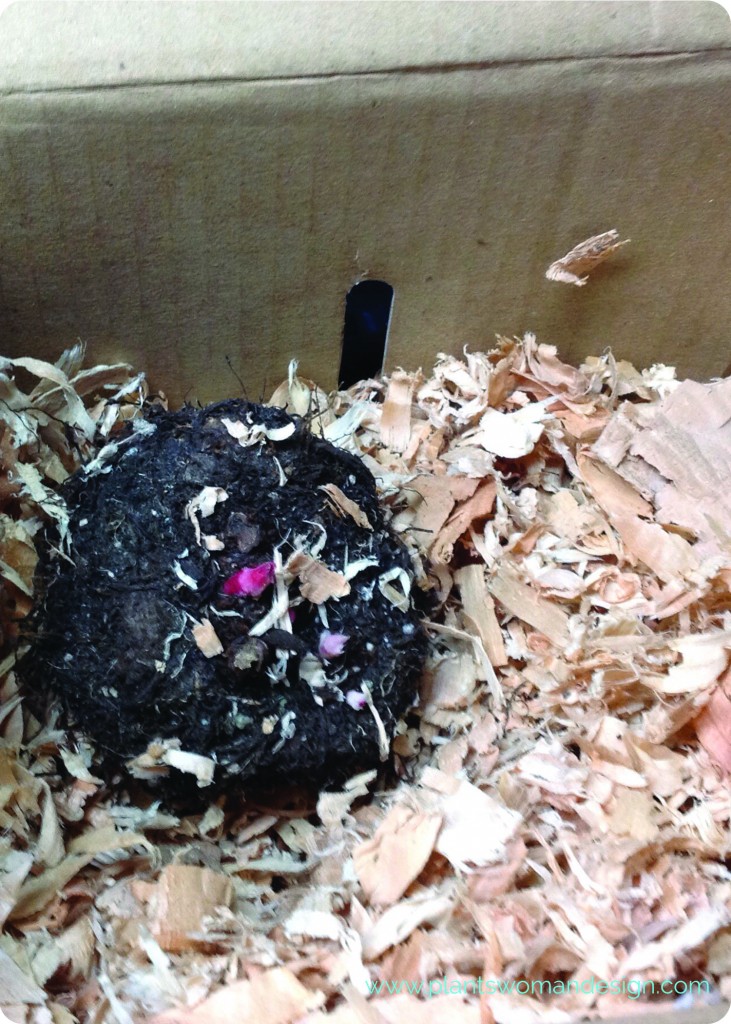 See the little growth points of pink? That is where the first leaves will come out and start their growth again. The tuber is solid and firm with no soft parts or mold (which is how it should be).
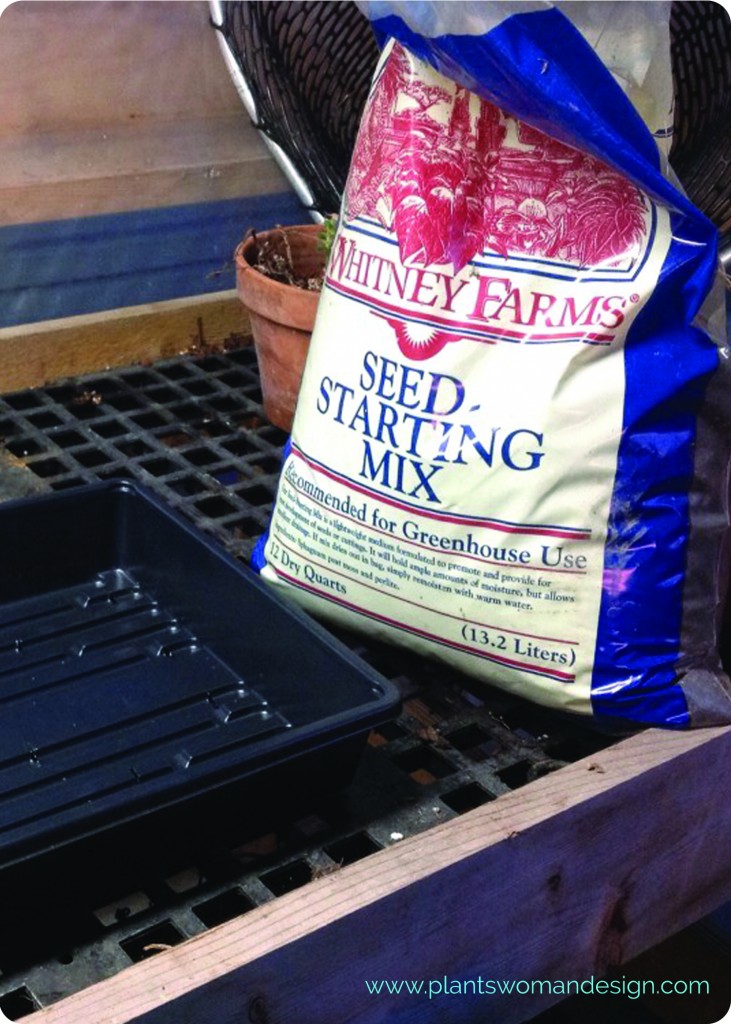 I usually prepare a long tray with fresh seed starting soil mix. This shallow tray is perfect for waking your begonias up, then they will be transferred to the container you want them to live in through the summer. We will transfer them after they have put on some good growth and the weather is warmer. You could put them straight into the pot when it gets warmer but it will take longer to get going and longer to get flowers. As you can see from the little buds showing they are ready to go too.
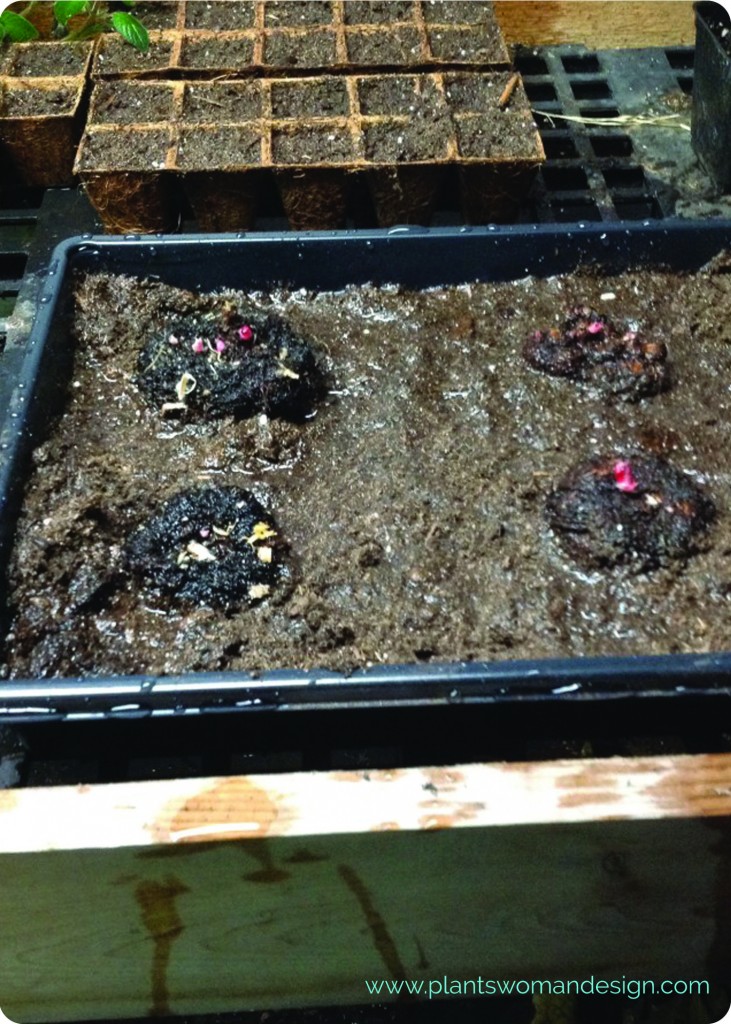
Let’s soak the soil through so there are no dry pockets. Then just set the tuber onto the soil and gently settle it down so the soil comes up about 1/2 way up the side. Now all you have to do is wait, water, wait, warm…. Maybe waiting is the hard part. It is one thing that gardeners have to learn that is very difficult. That’s it…… Really…. That’s it.
There is always a danger when going to the nursery just to buy a tray and seeding soil. Passing by other things that call to you and in this case it was a sweet little Hymenocallis.
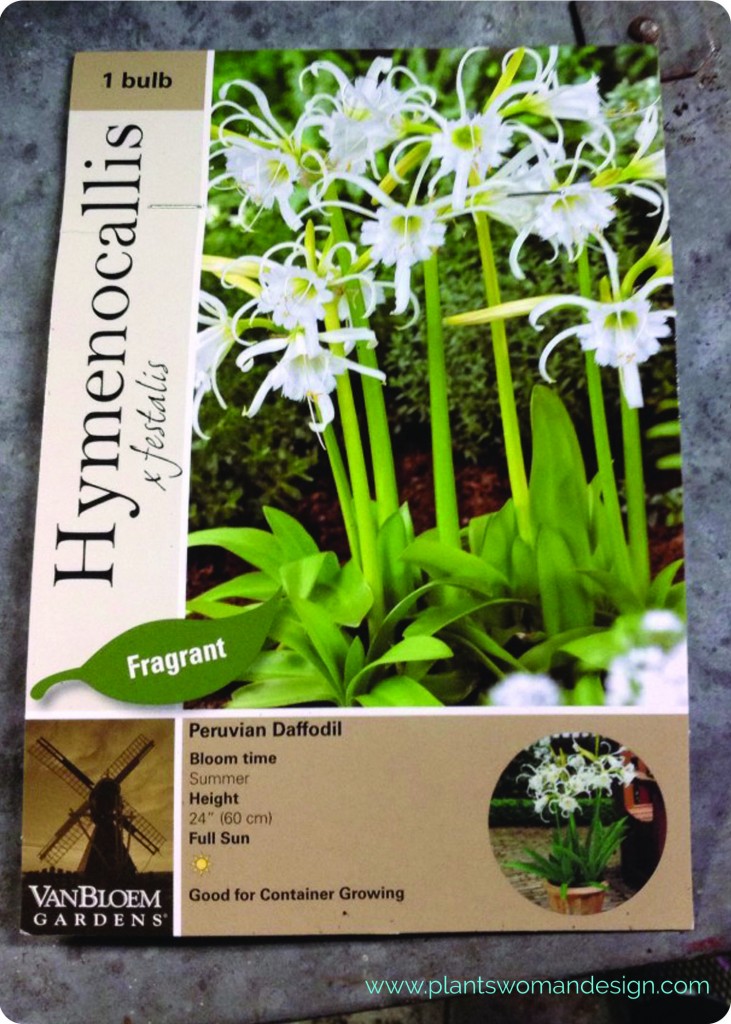
One of the funnest things about these is they can be put into a pot and brought out to brighten a spot in your home and bring in a little fragrance. This is super easy too. You can choose a similar flower or bulb. Look for a recommendation that it can be grown in a container. This will keep it easy. Just grab a pot that you like because this bulb will stay in it.
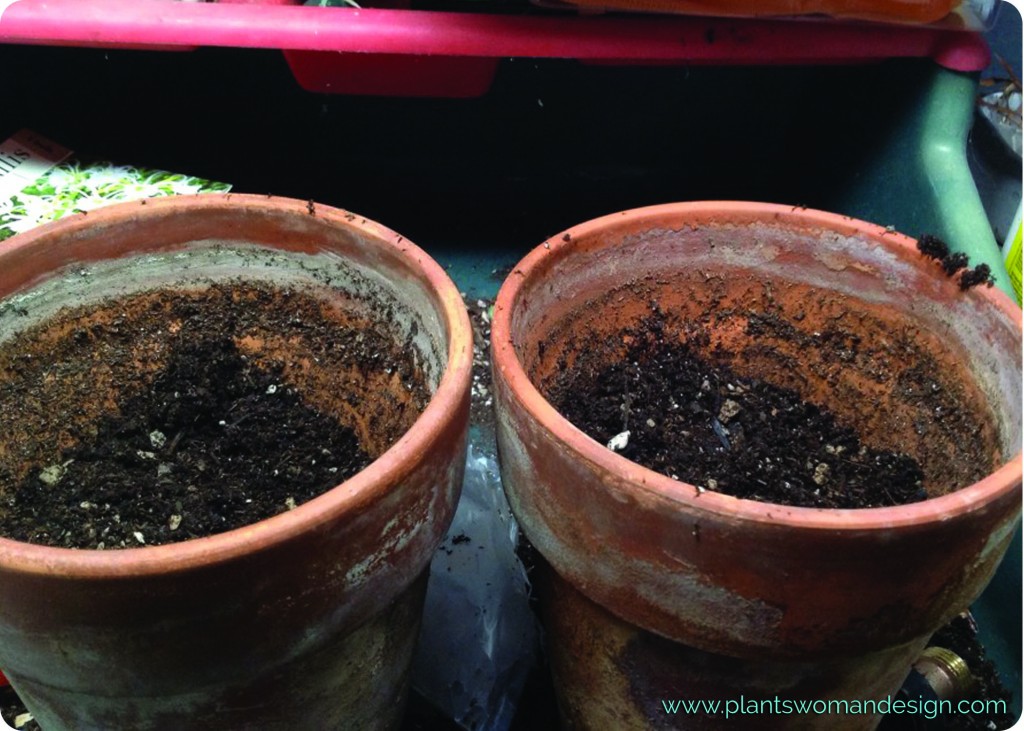 First put in enough soil to bring the bulb to the level on the back of the package. This is a fairly deep pot so there is enough room to do it. If you use a pot that is more shallow you may have to stake the bulb when it blooms. Just be sure there is at least 1/2 of the pot filled with soil before you plant the bulb. Sprinkle a little bulb food in the container and then put the bulb on top of it.
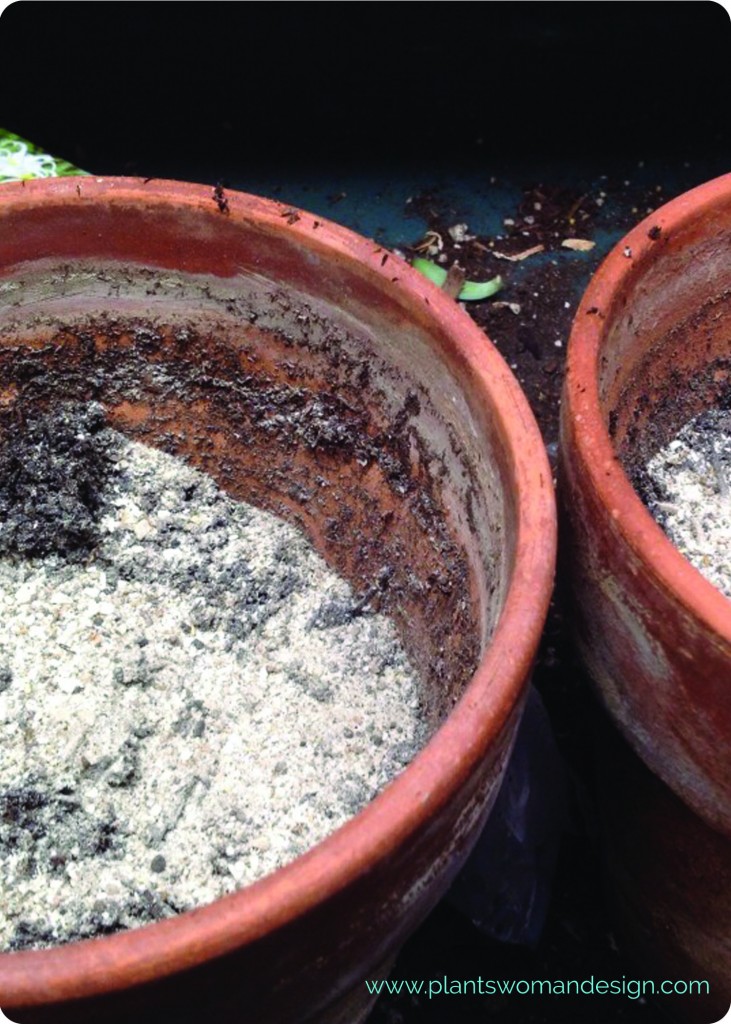
Drop the bulb into the soil gently spreading out any roots that are there.
Cover up the rest of the bulb with soil, water well, and …… wait.
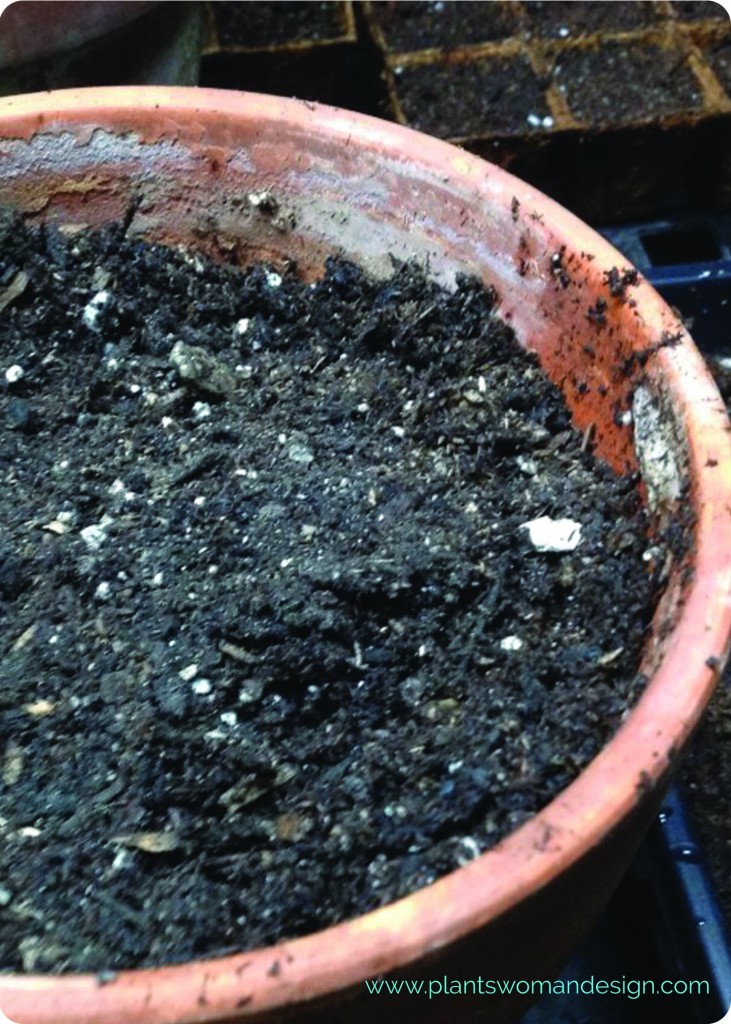 Remember you do not need a greenhouse to do these projects/experiments. Just a sunny window will do and they will be ready to transplant outside before they get very big.
In these days of ‘instant’ there is something unusual about waiting. We don’t really wait for much. I really admire the people who grow from seeds. They are so patient. They have learned the art of waiting and the excitement of seeing a seed sprout and become a wonderful plant. I read recently about a couple who grew trees from seed and live to see them mature and then harvest them. Some had been growing for 40 years. I think that would be hard to do. I do encourage each of my followers to grown something from seed. We will do easy seeds next week (lettuce) and I will start tomatoes by seed indoors later in the season.
Remember to share your gardening exploits with us here on the blog or via Facebook, Instagram (#susan_PWD) and Twitter (@susan_PWD)!

