Welcome back to Little Bytes! I’m excited to start our first container today. Jen will be my partner-in-crime for this demo.
Before going out to purchase the necessary supplies to plant her pots, Jen needed to figure out where to put them. She picked out a spot by her front door that gets good sun, is out of the dog traffic pattern, and someplace where she will see them and remember to water them. Each new gardener should take into consideration sun exposure, traffic patterns (human and animal), water availability, and enjoyment. Sun is essential for most vegetables.
Here’s what you will need to follow along with us and plant your own container:
- A container
- something sharp to poke drainage holes into your container (unless your container already has them).
- Small shovel or spade
- filler (packing peanuts, plastic bottles with lids on, crushed plant containers)
- Potting soil and compost
- Plants
- gardening gloves (optional)

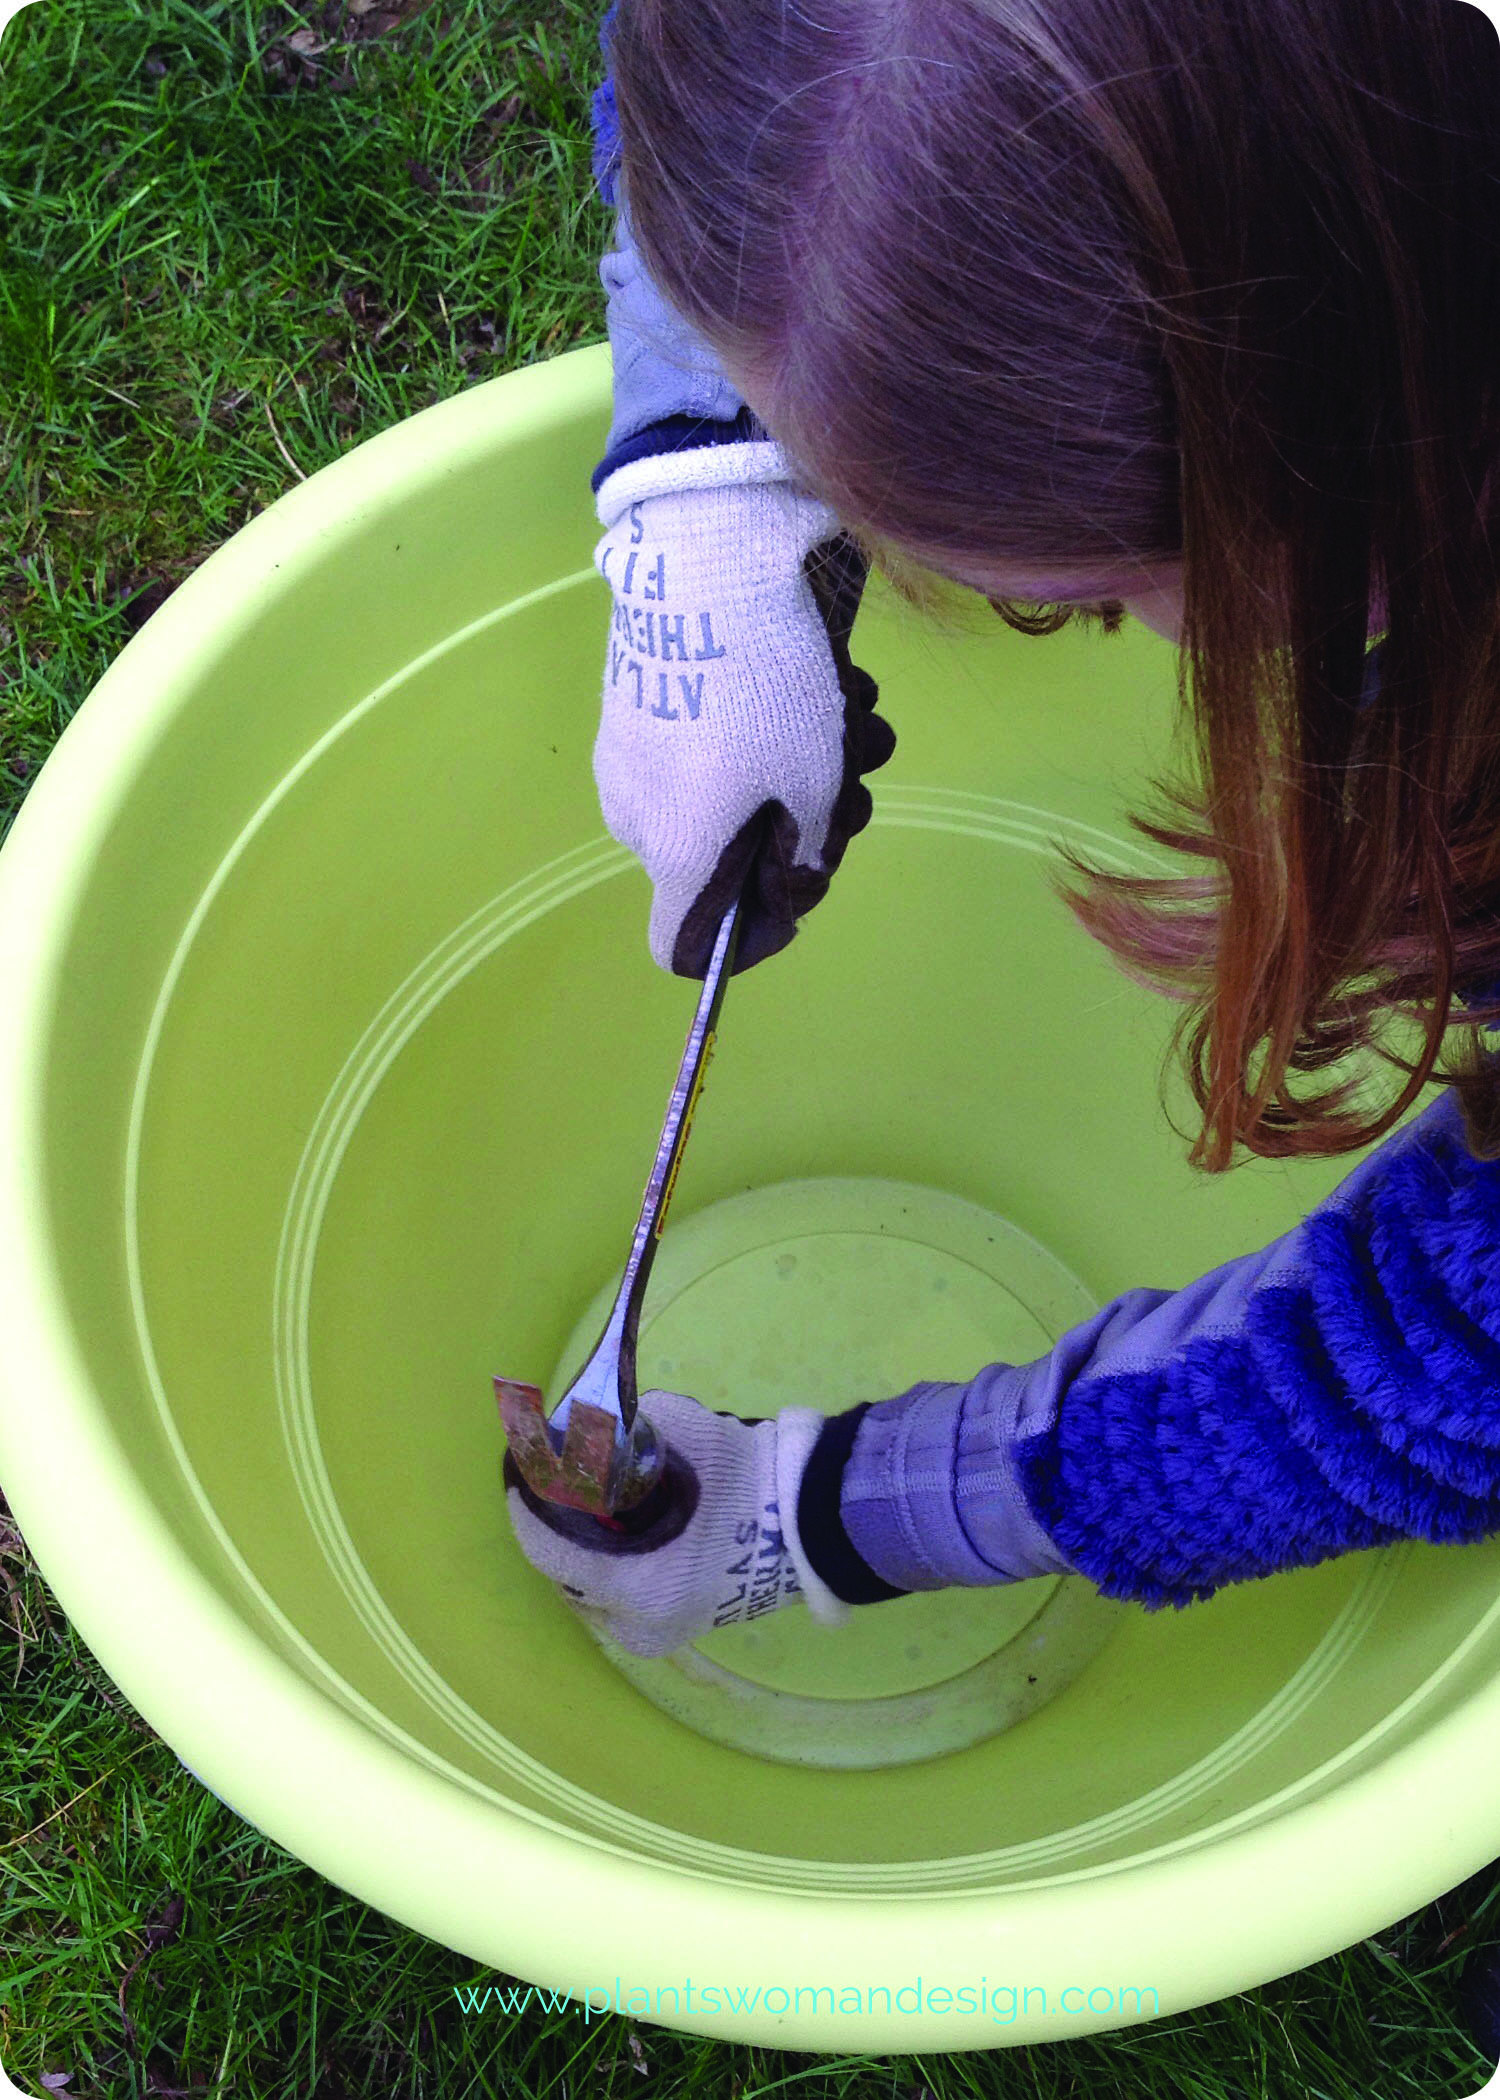
First we will need to provide drainage holes. These pots, purchased at Lowe’s, have ‘punch outs’ for the holes. Jen worked on punching out the holes with a screwdriver and hammer but ended up using a drill instead because the first container fractured instead of giving a nice clean hole. The integrity of the container is still there but it doesn’t look ‘perfect’ anymore.
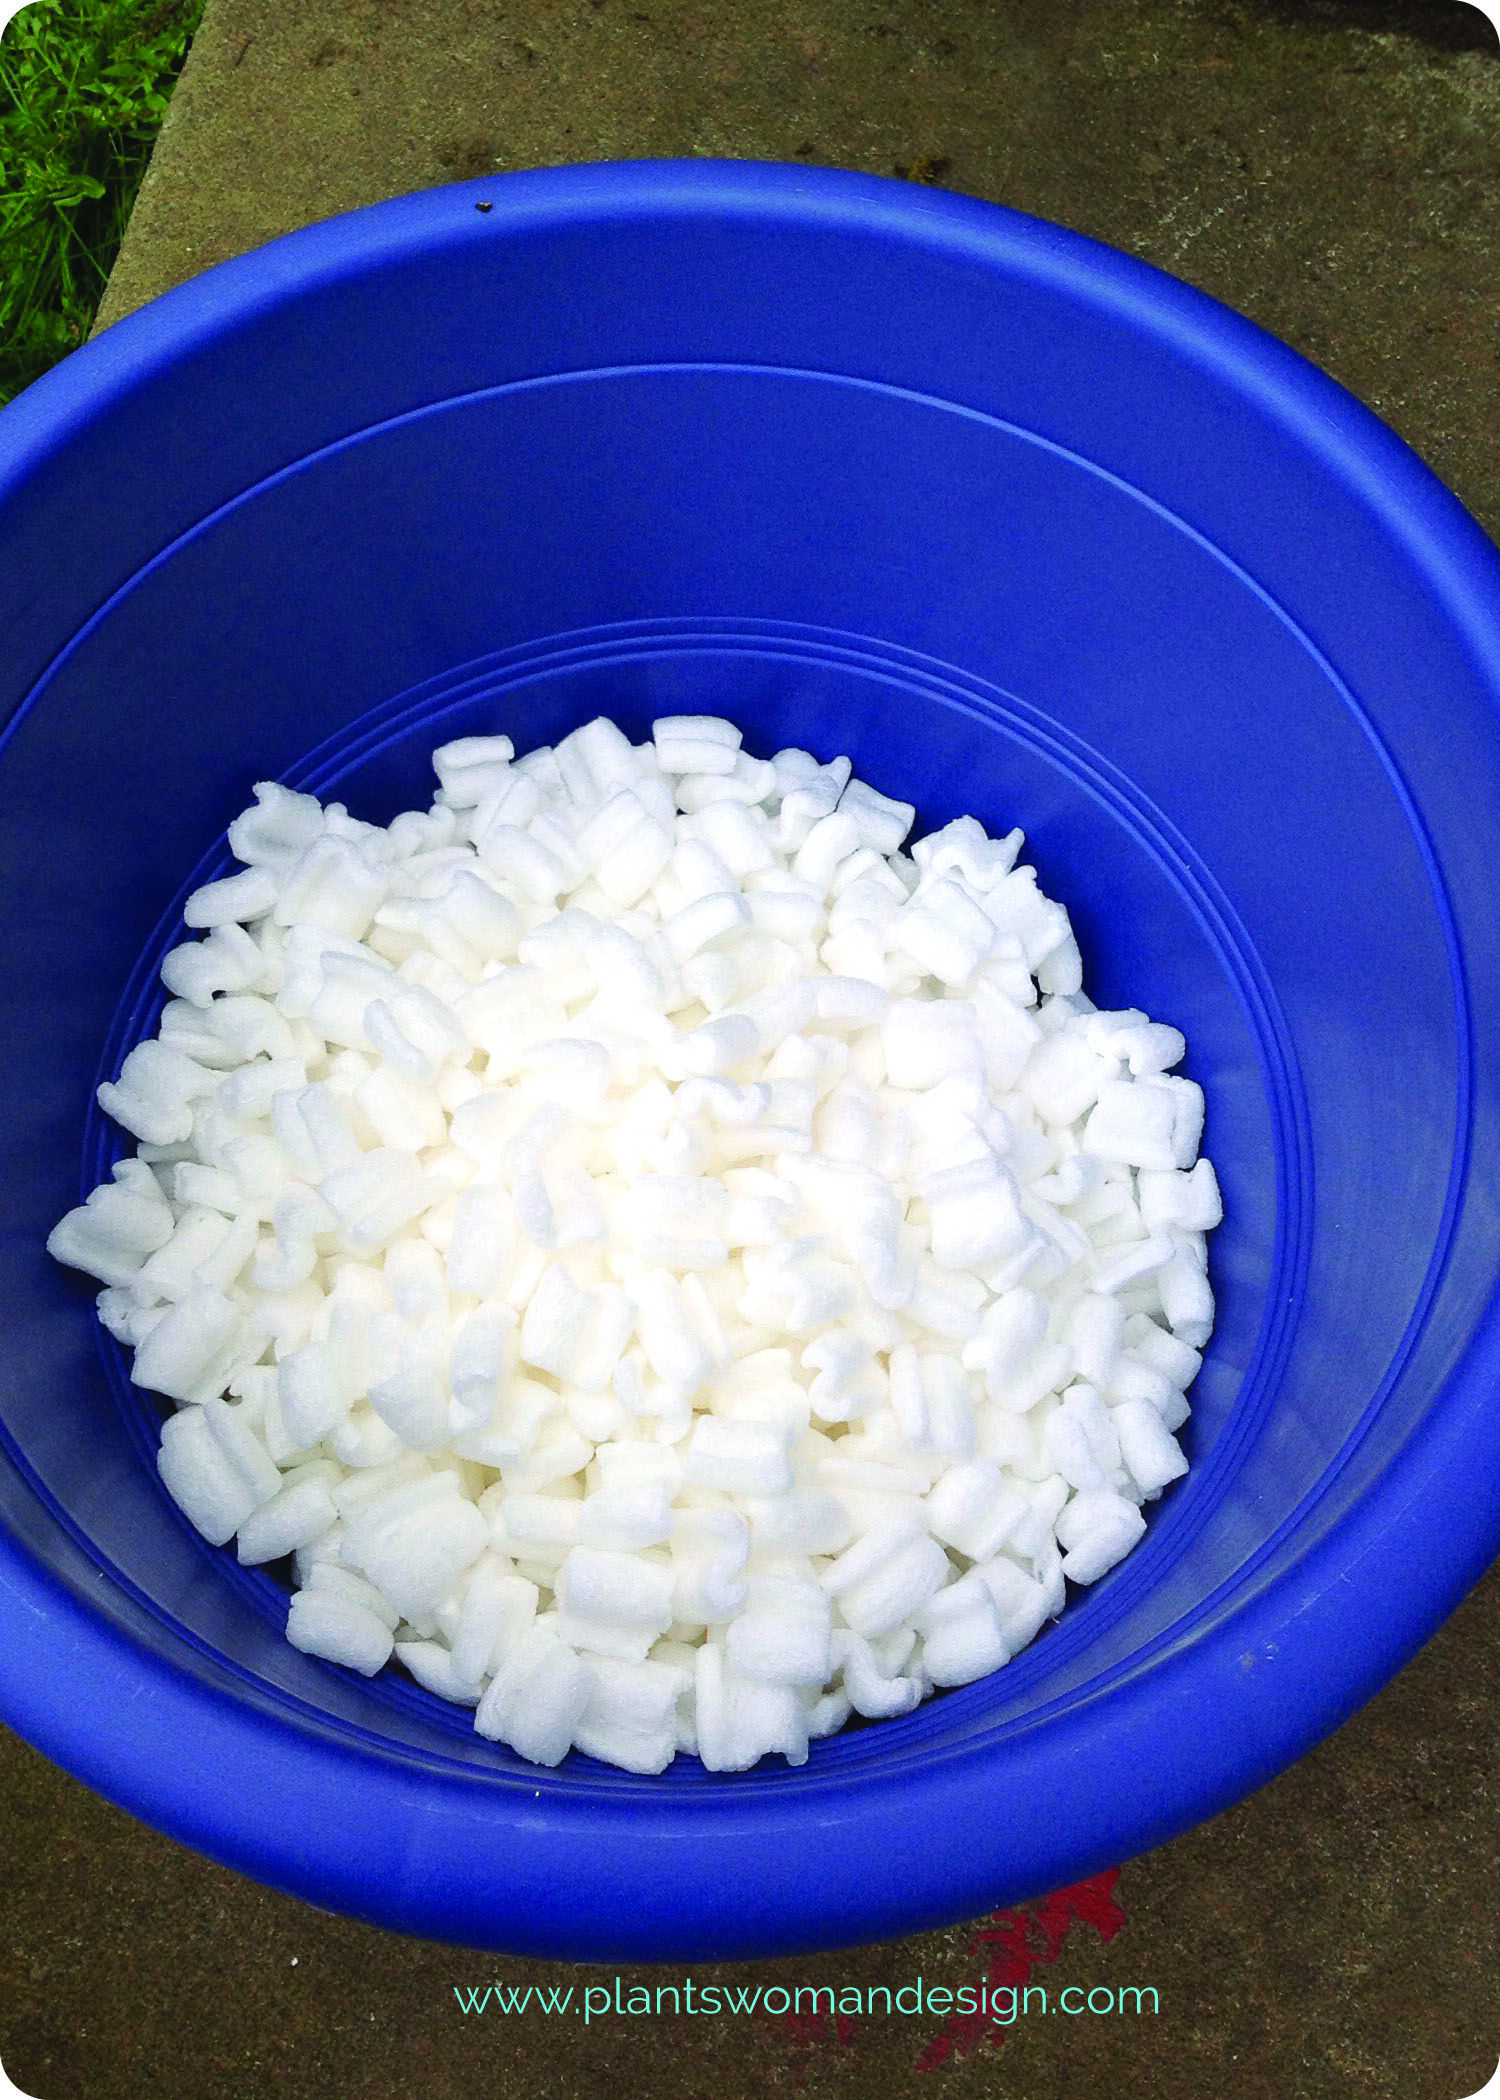
Next step is to add filler. We recommend choosing containers that are at least 2 1/2 feet tall by 2 1/2 feet across. Fill in enough space to leave 18 inches from the top. This pot will house herbs that can overwinter (stay out all winter with out dying) so they get a little more soil than containers that get to come inside for the winter. Adding filler allows the growing material to be easily reached, have just enough soil to grow plants successfully and aids in drainage. The root systems of most vegetables are about 6 inches to 1 foot down in regular garden beds, which is what our plants will get. Too much soil becomes waterlogged and can cause problems for the roots of your plants. Look for something light weight so the container can be moved easily if needed. Pebbles, rock and dirt are not a good choice. Packing pellets, plastic bottles with lids, or crushed 4 inch growers pots are good choices (and help you recycle). Keep in mind you want the water to drain past the filler material not get trapped in it. If your drainage holes are bigger than a dime go ahead and place a larger piece of broken clay pot or an upside down growers pot at the drain holes so they don’t get clogged.
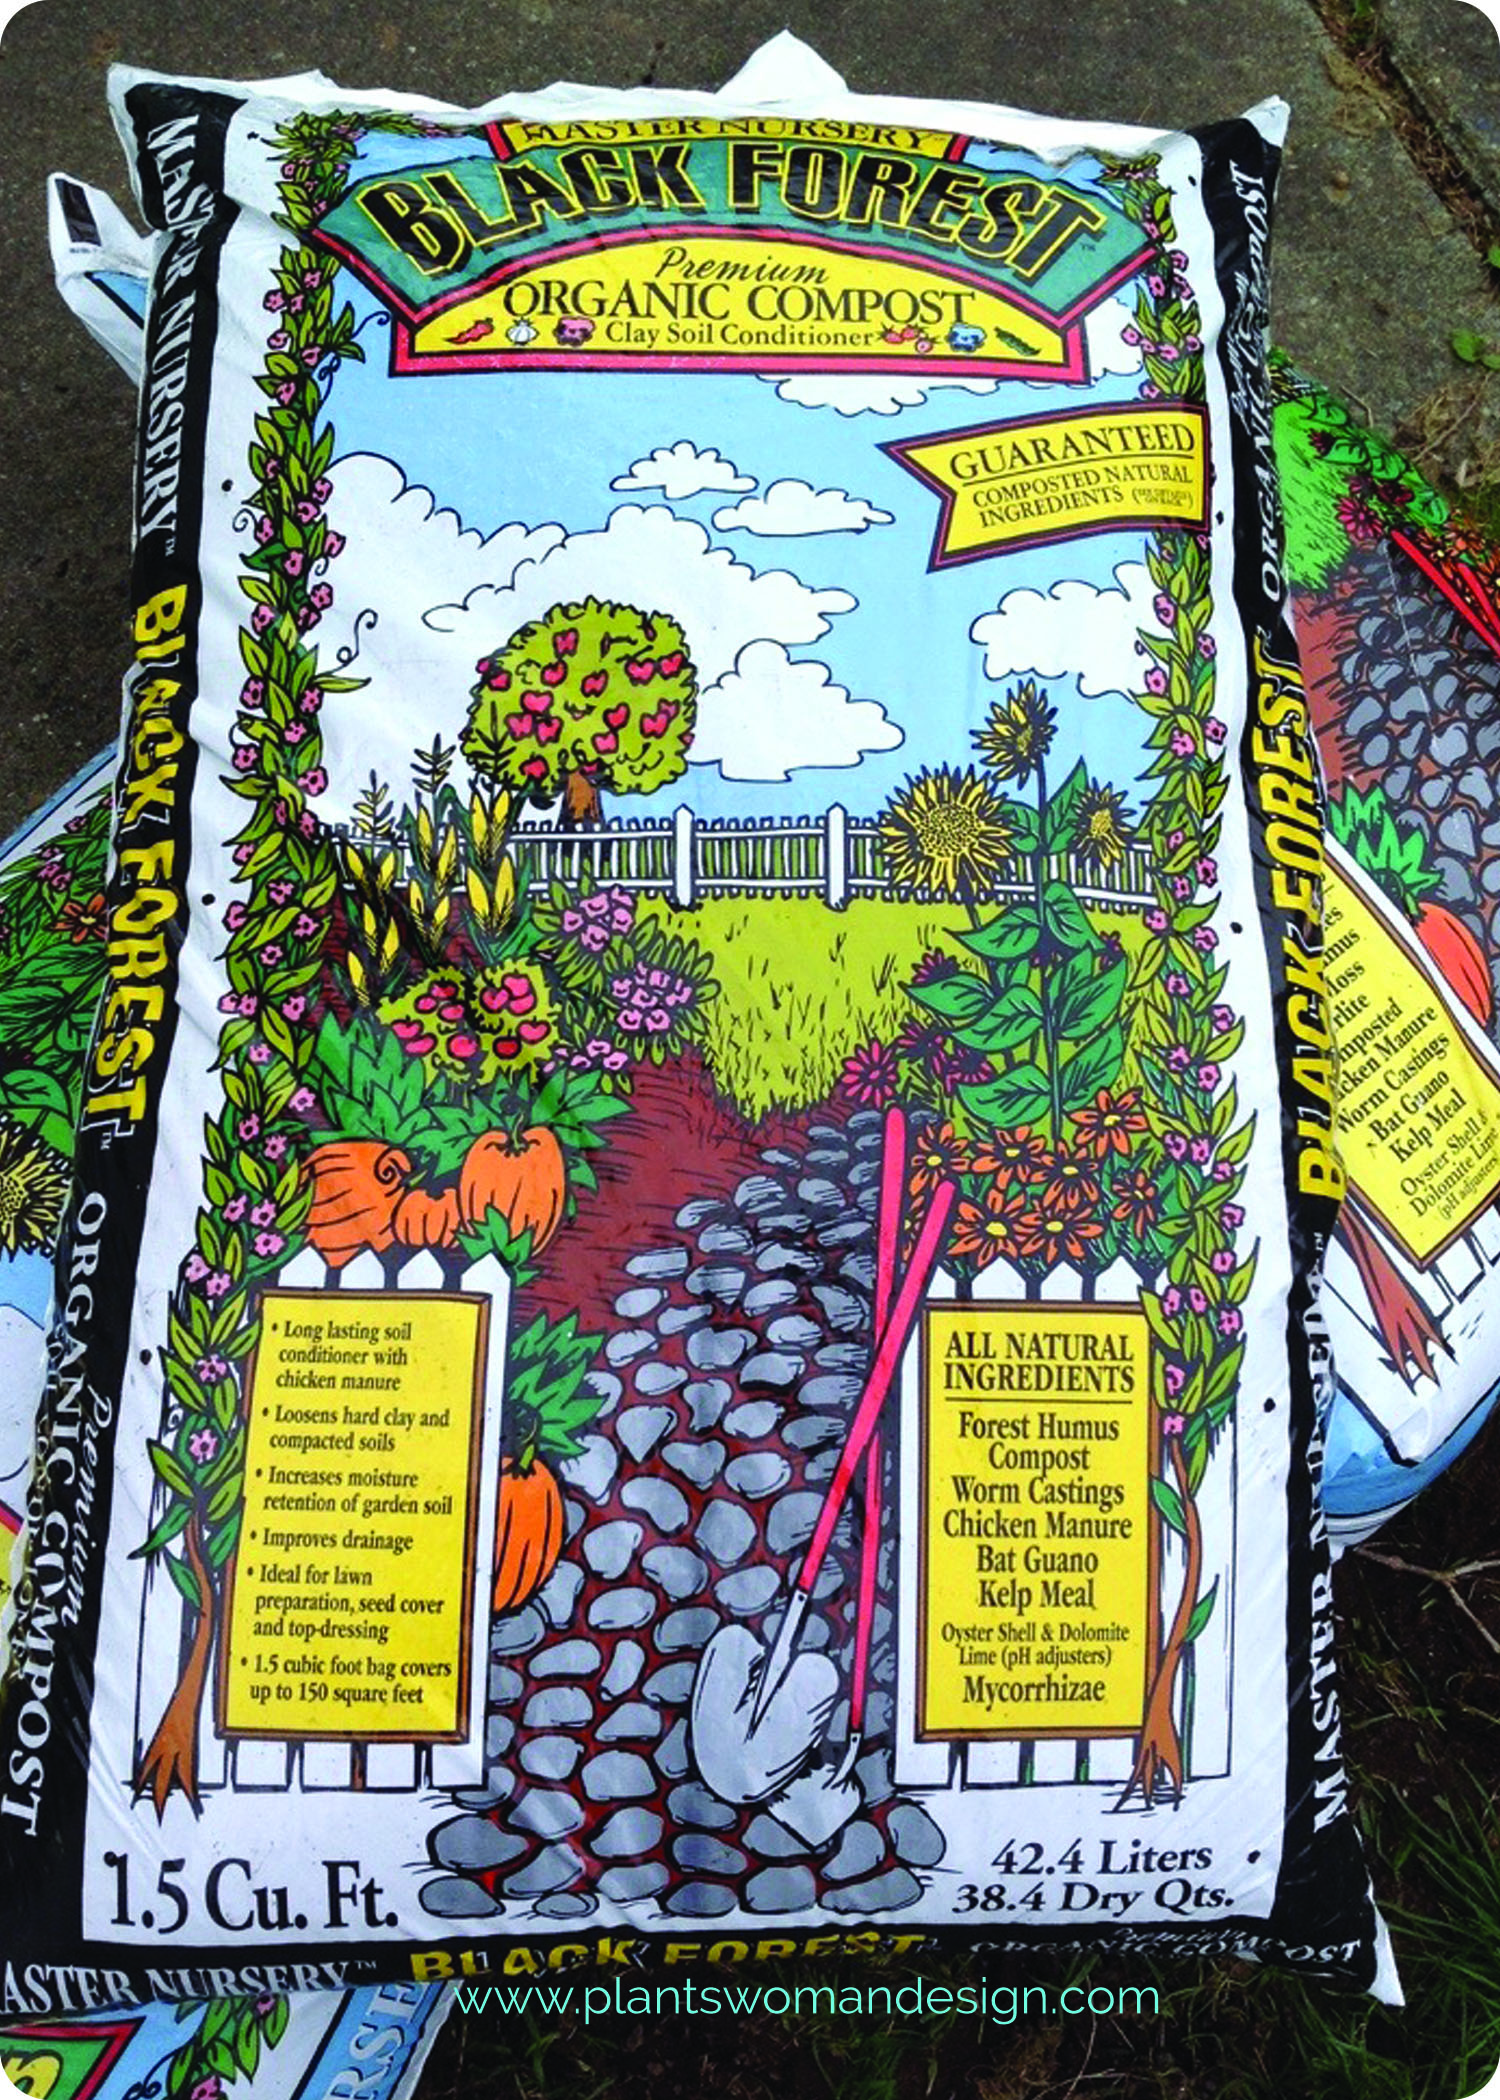
Next we need to add the soil and compost which we picked up at the local nursery. We chose an organic soil mix with no fertilizer in it and planting compost. I like to mix some extra nutrients into the potting soil using 1/3 planing compost and 2/3 potting soil mix.

Pour in your soil and compost then mix the materials together by hand…. Mmm, smells good as we mix the soil and compost. We tapped the container a few times to settle the soil and filled it up to about 2 inches from the top

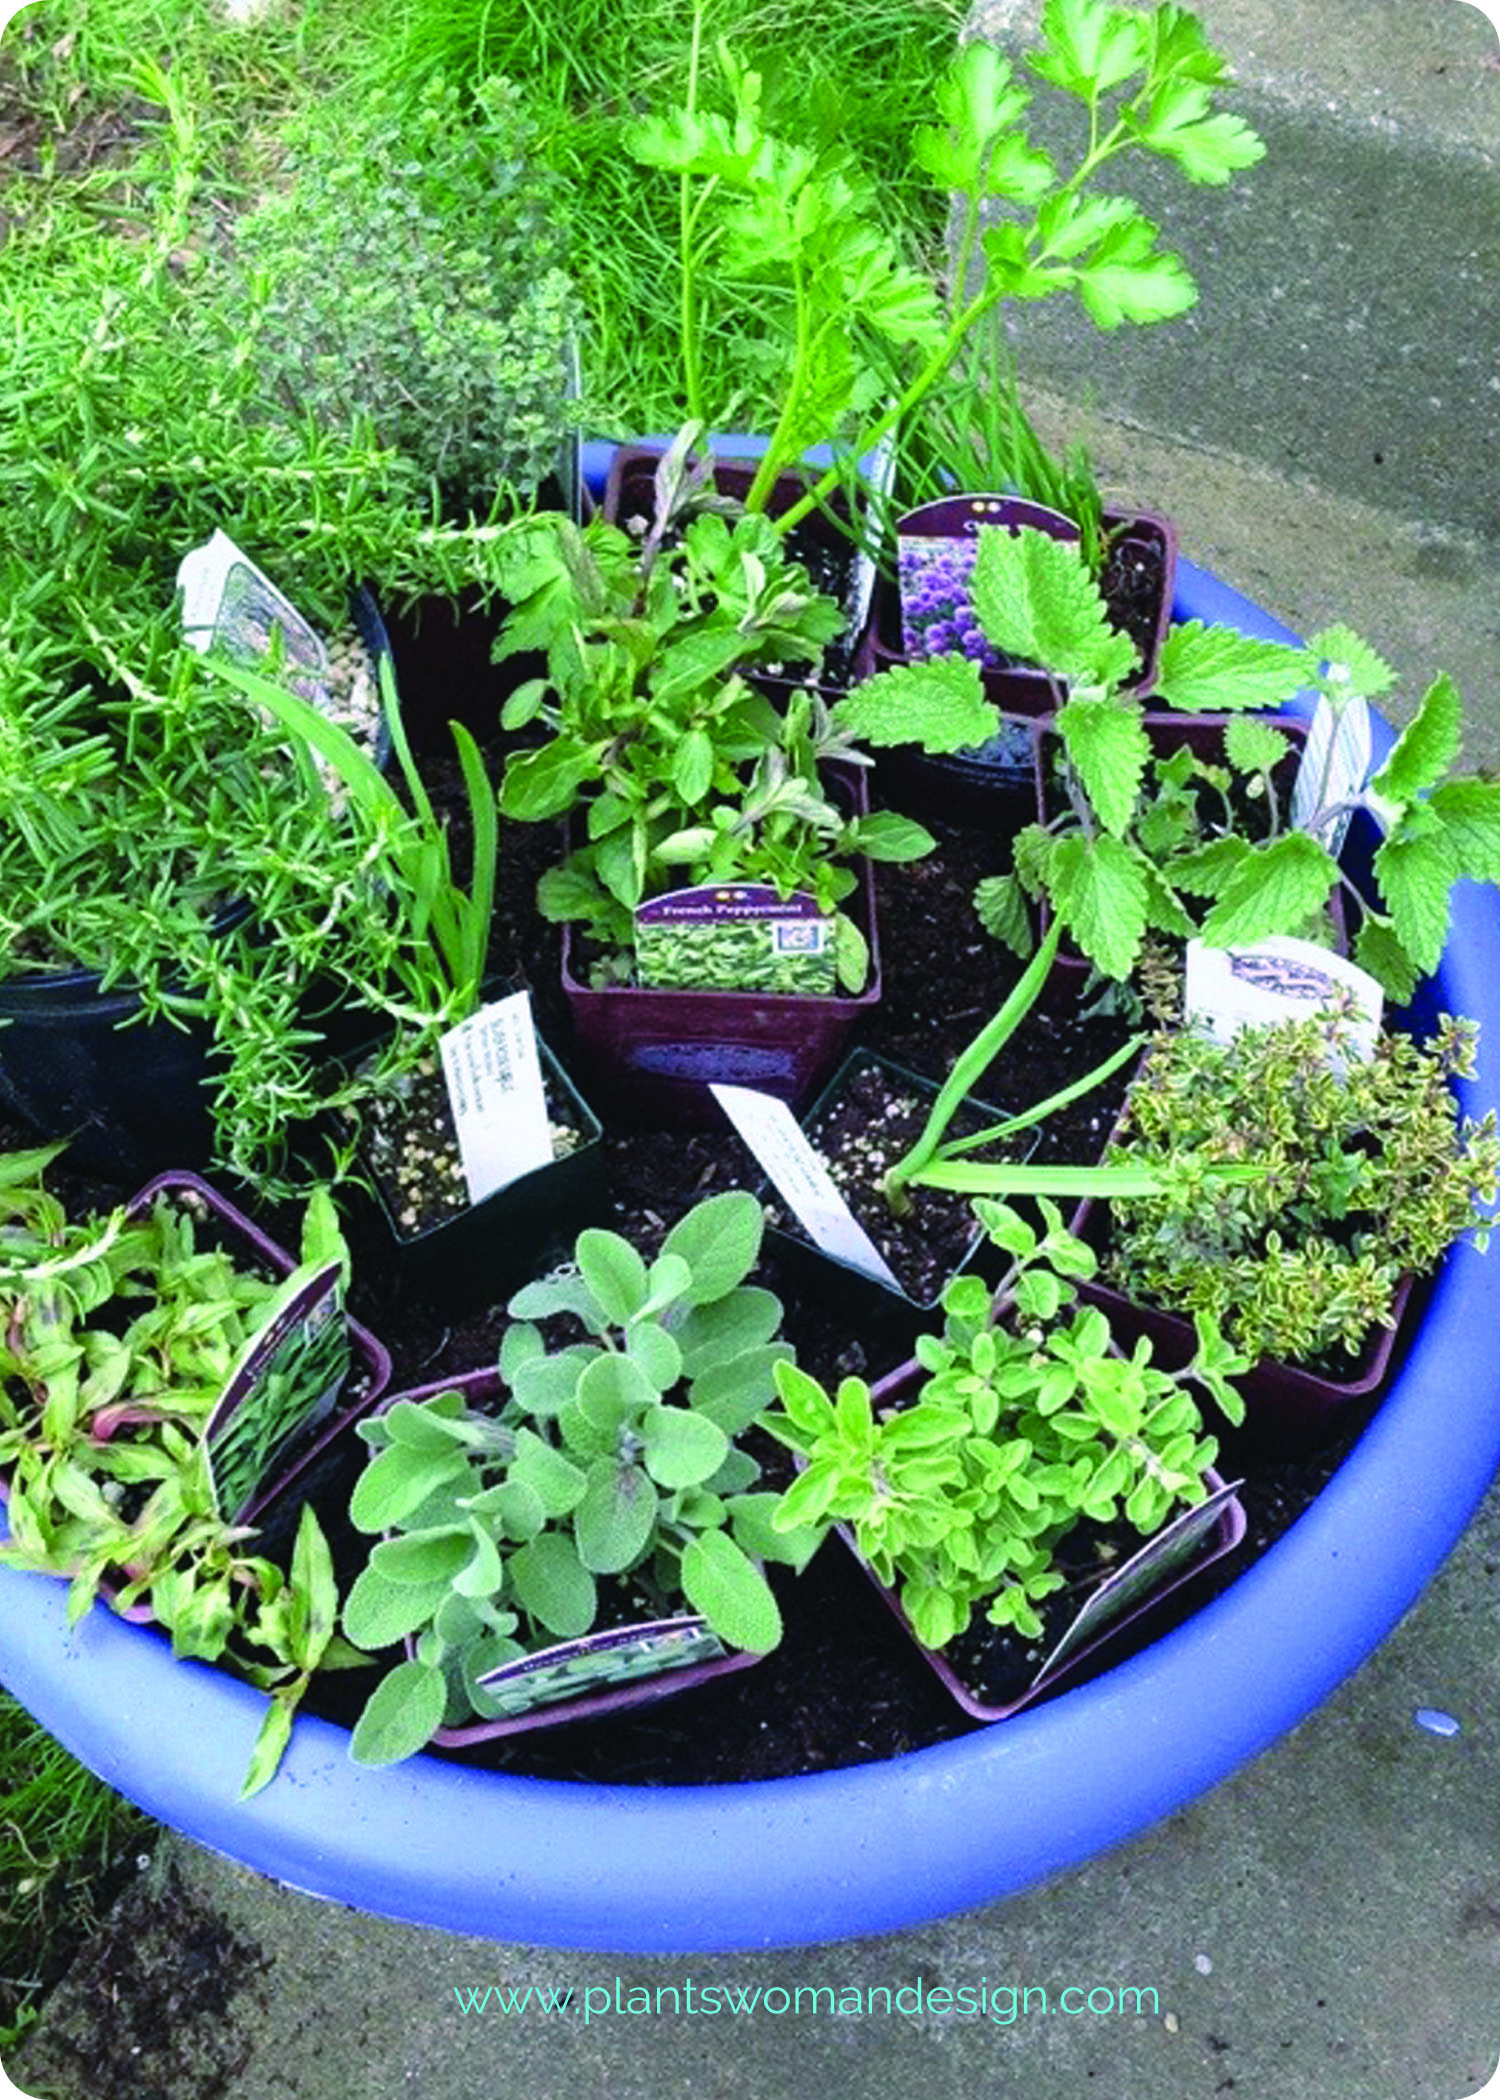
Now that your soil is ready it’s time to place our plants. In container planting I like to work with heights and textures when planning my container. Place all the herbs, still in their pots, into the container to come up with a pleasing arrangement. I like to put plants that are tall in the center and creepers towards the edge so they have somewhere to go as they grow (looks great and makes harvesting easier). Then arrange fat leaves next to small leaves and spiky in between. There is still a little room here for our basil seeds when it gets a little warmer. Be sure to keep them in order when you start planting so you can remember the arrangement.
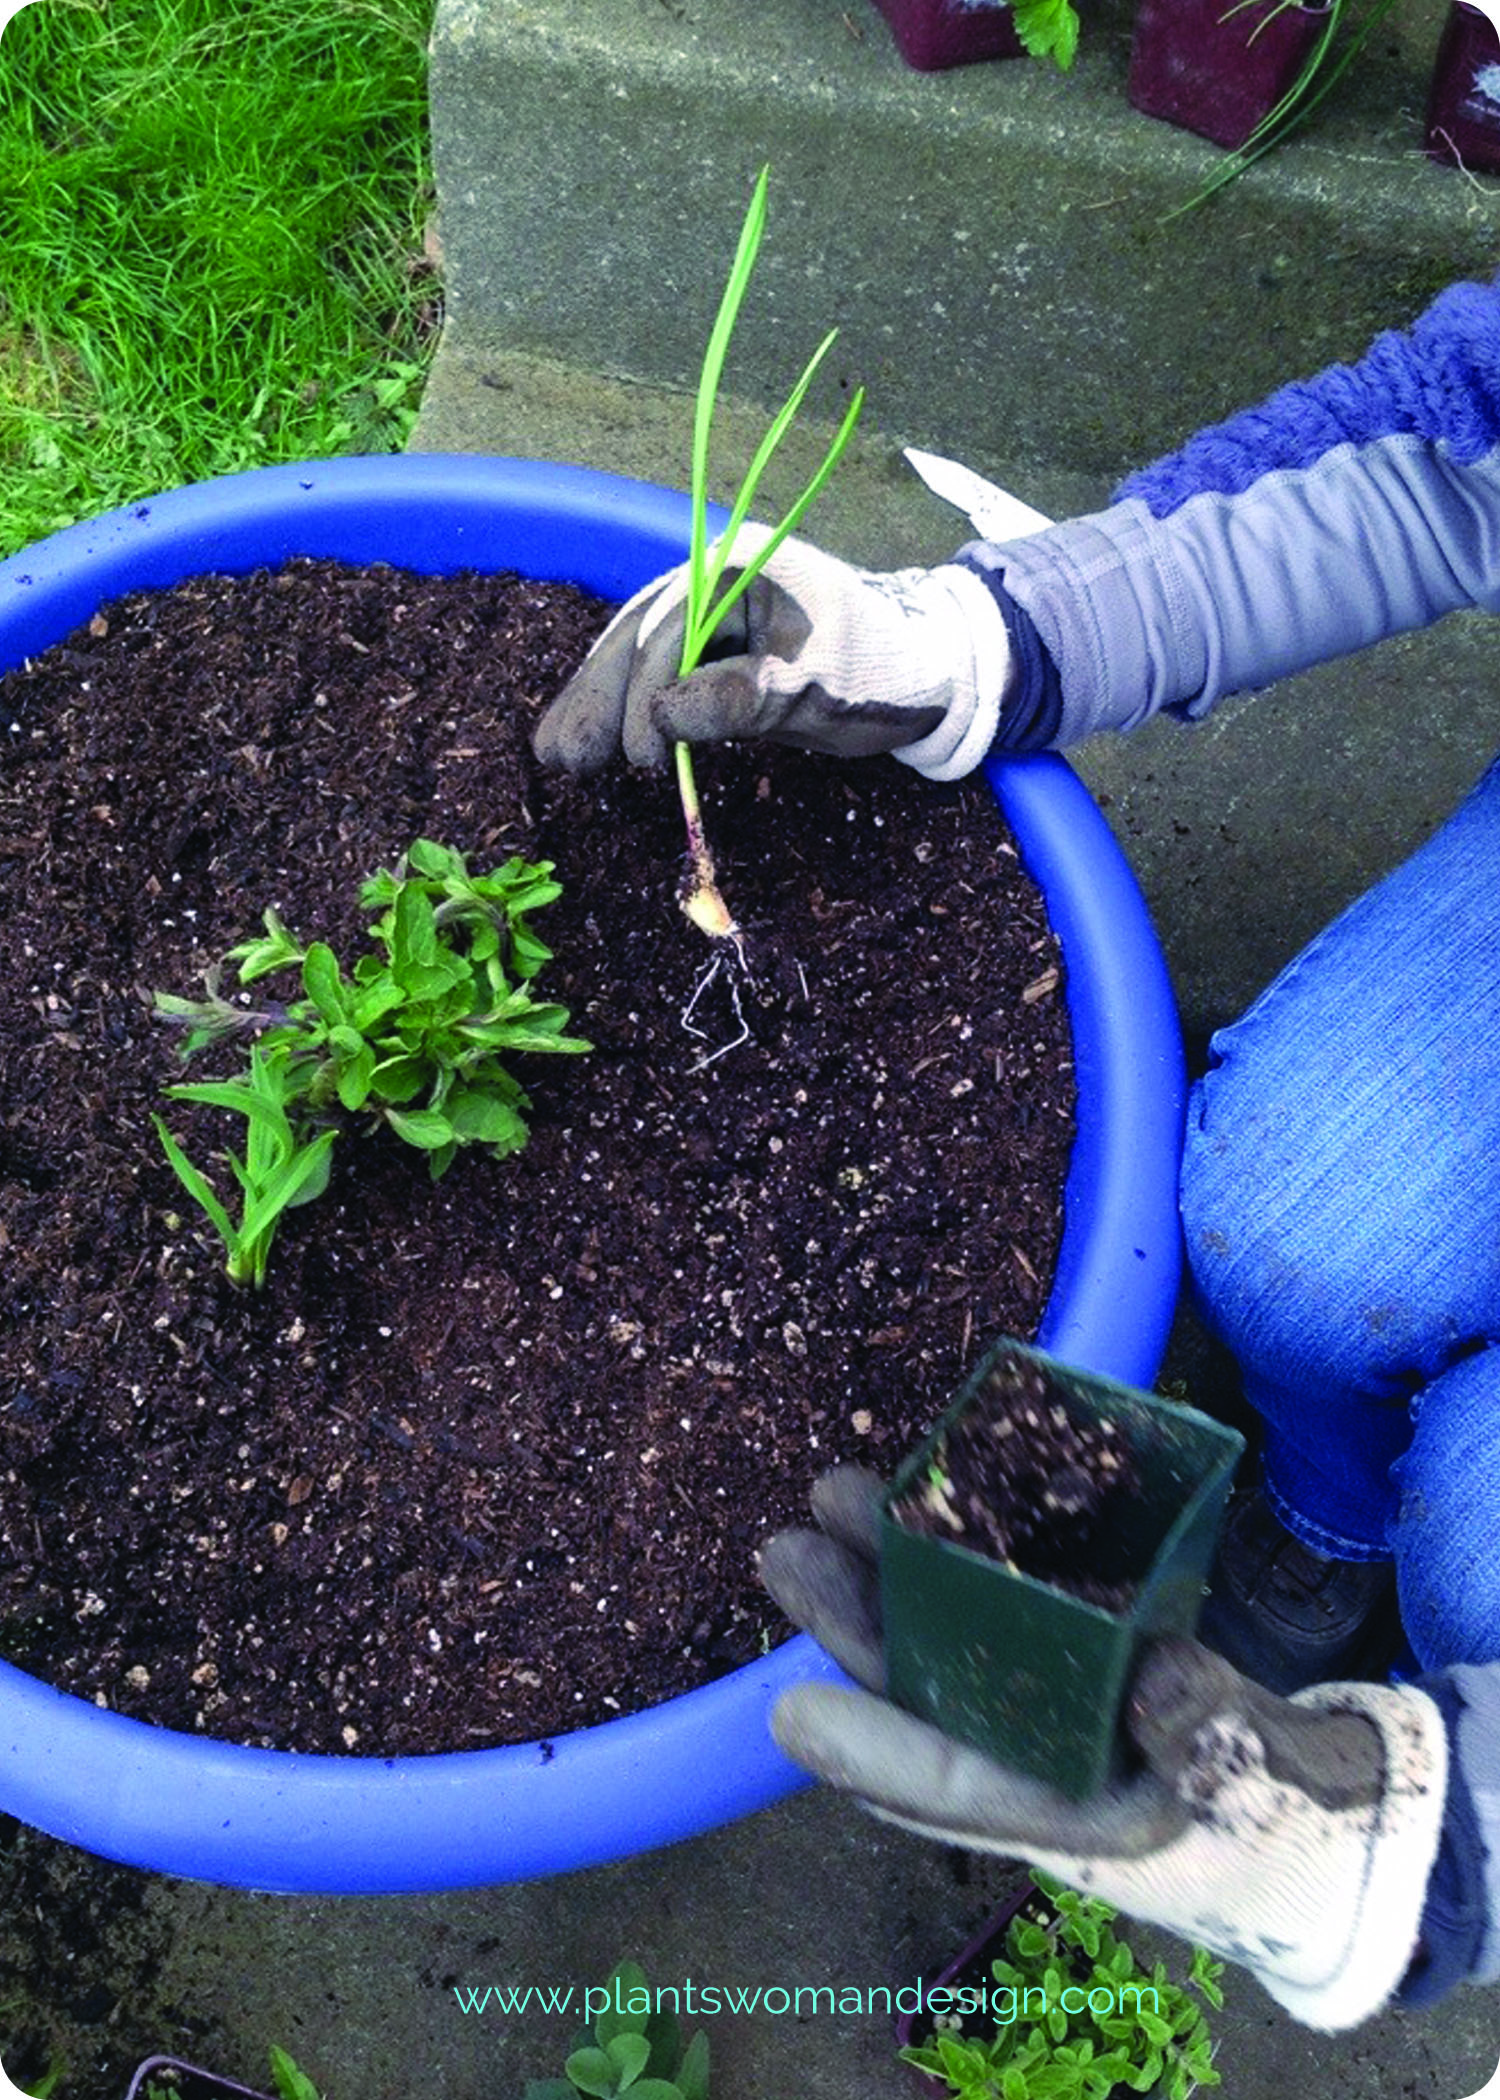
Now time to plant! Starting in the middle pull the plant out of the pot, gently tease the roots apart so they will start reaching out to the soil right away and plant it at the same soil height it had in the pot.
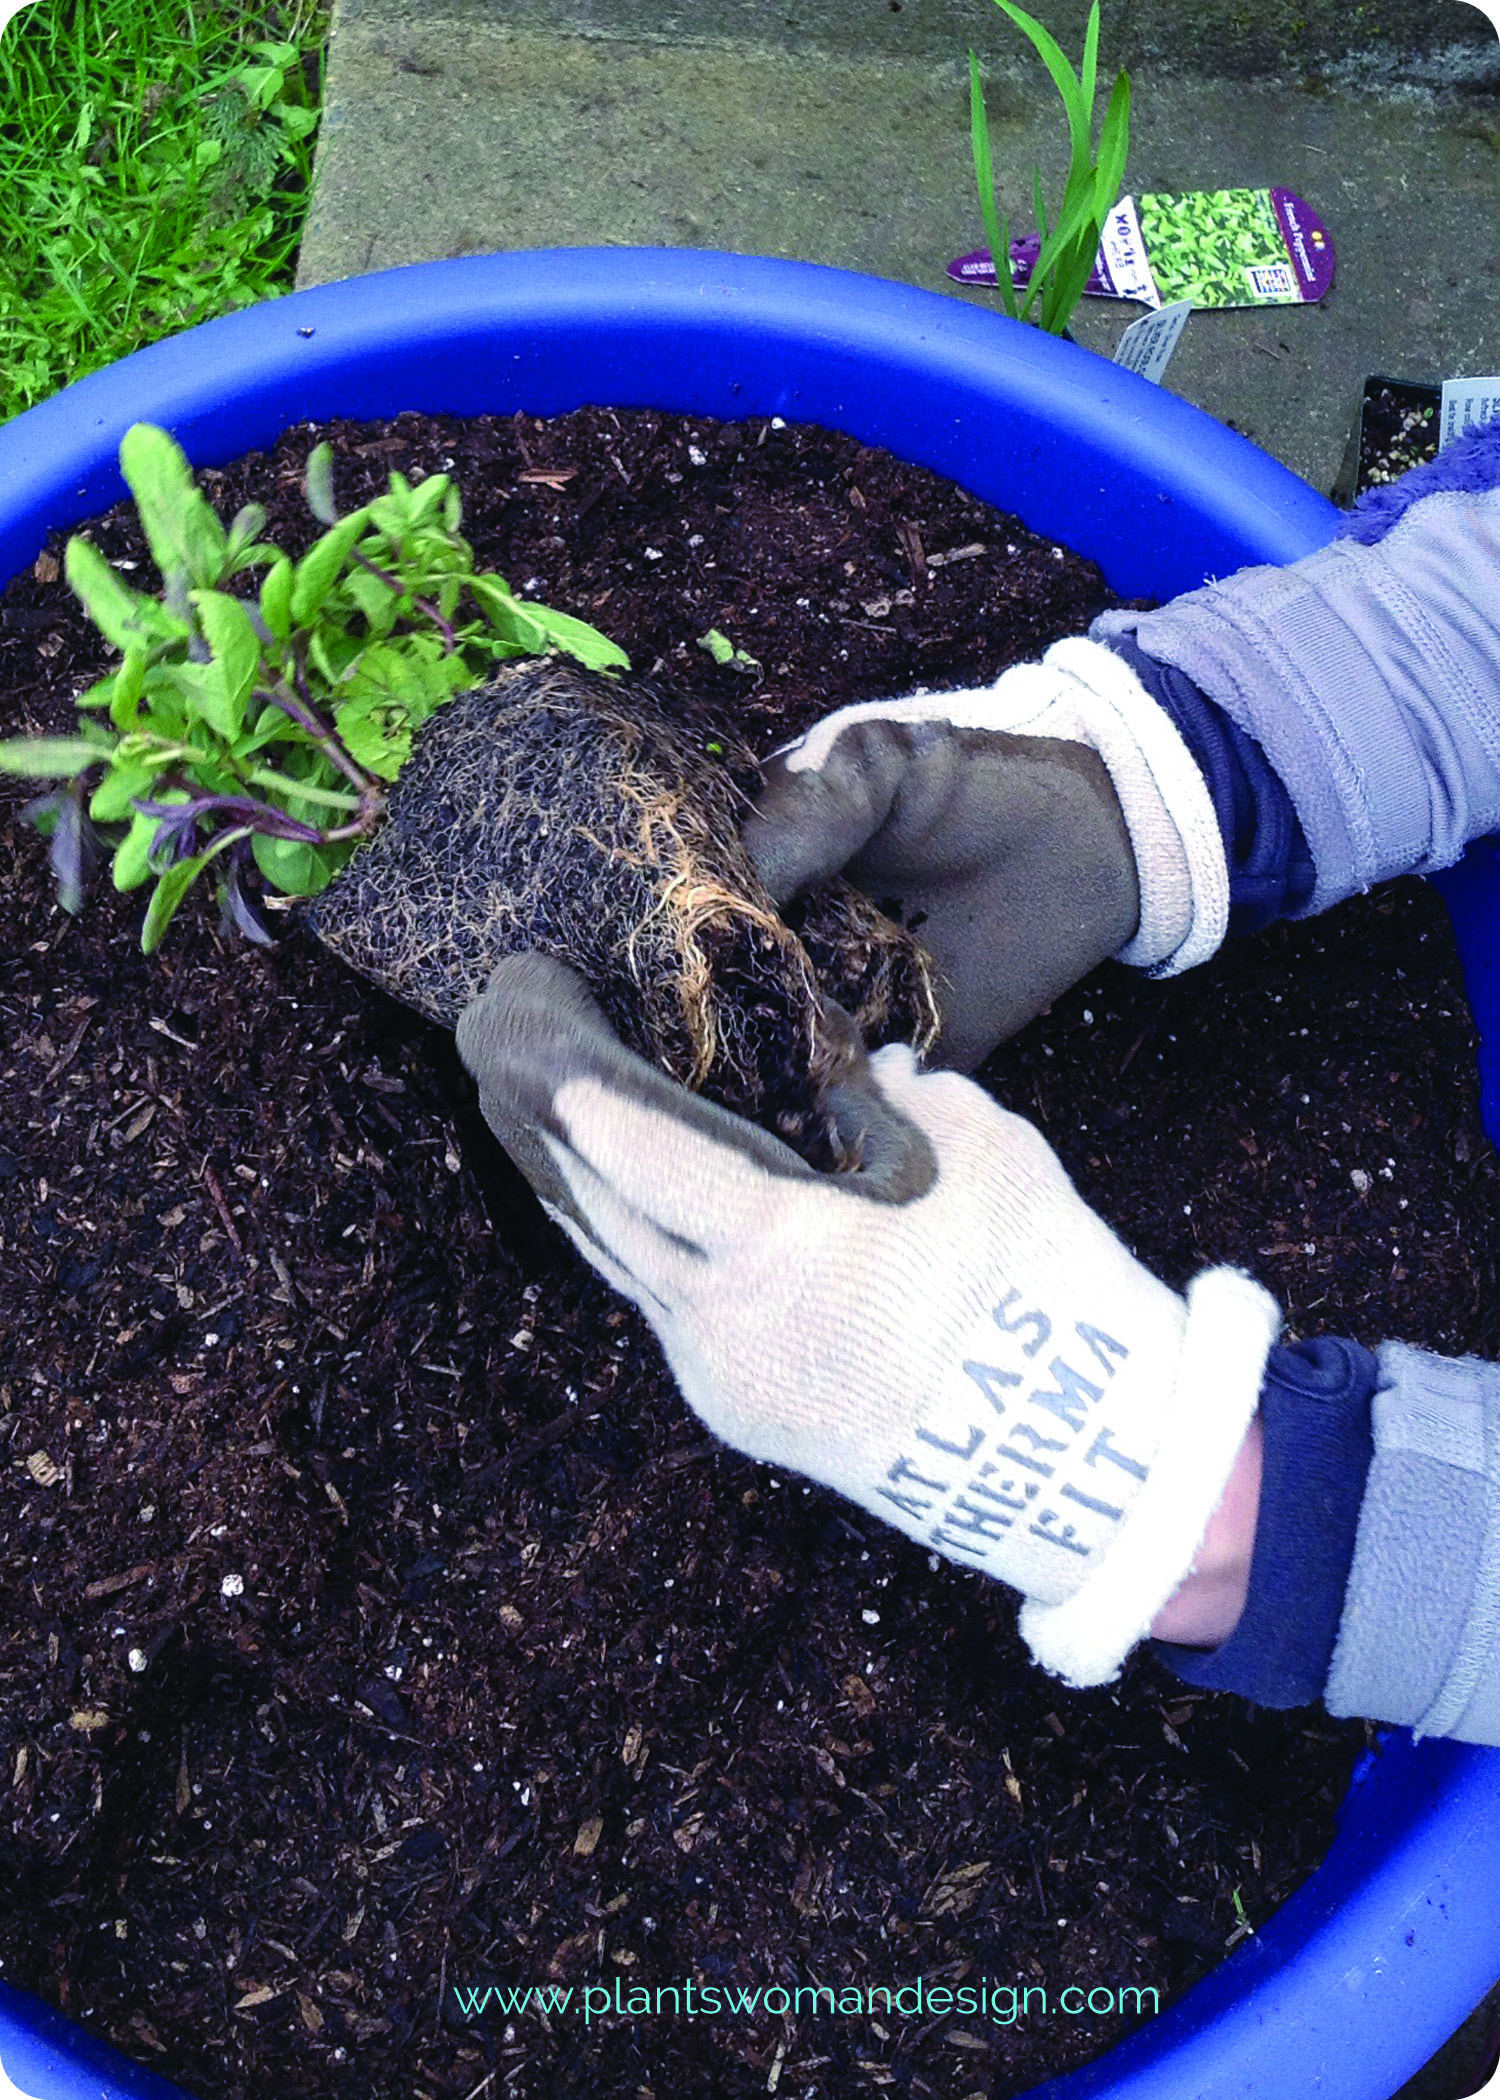
Gently firm down the soil before going planting the rest of the container in the same manner. This time of year the plants are not usually root bound (a tight network of roots from being in the pot too long). If they are you may have to get a little more aggressive with the ‘teasing of the roots’. Save all the tags and place them in the corner of the container in case you need to look at them.
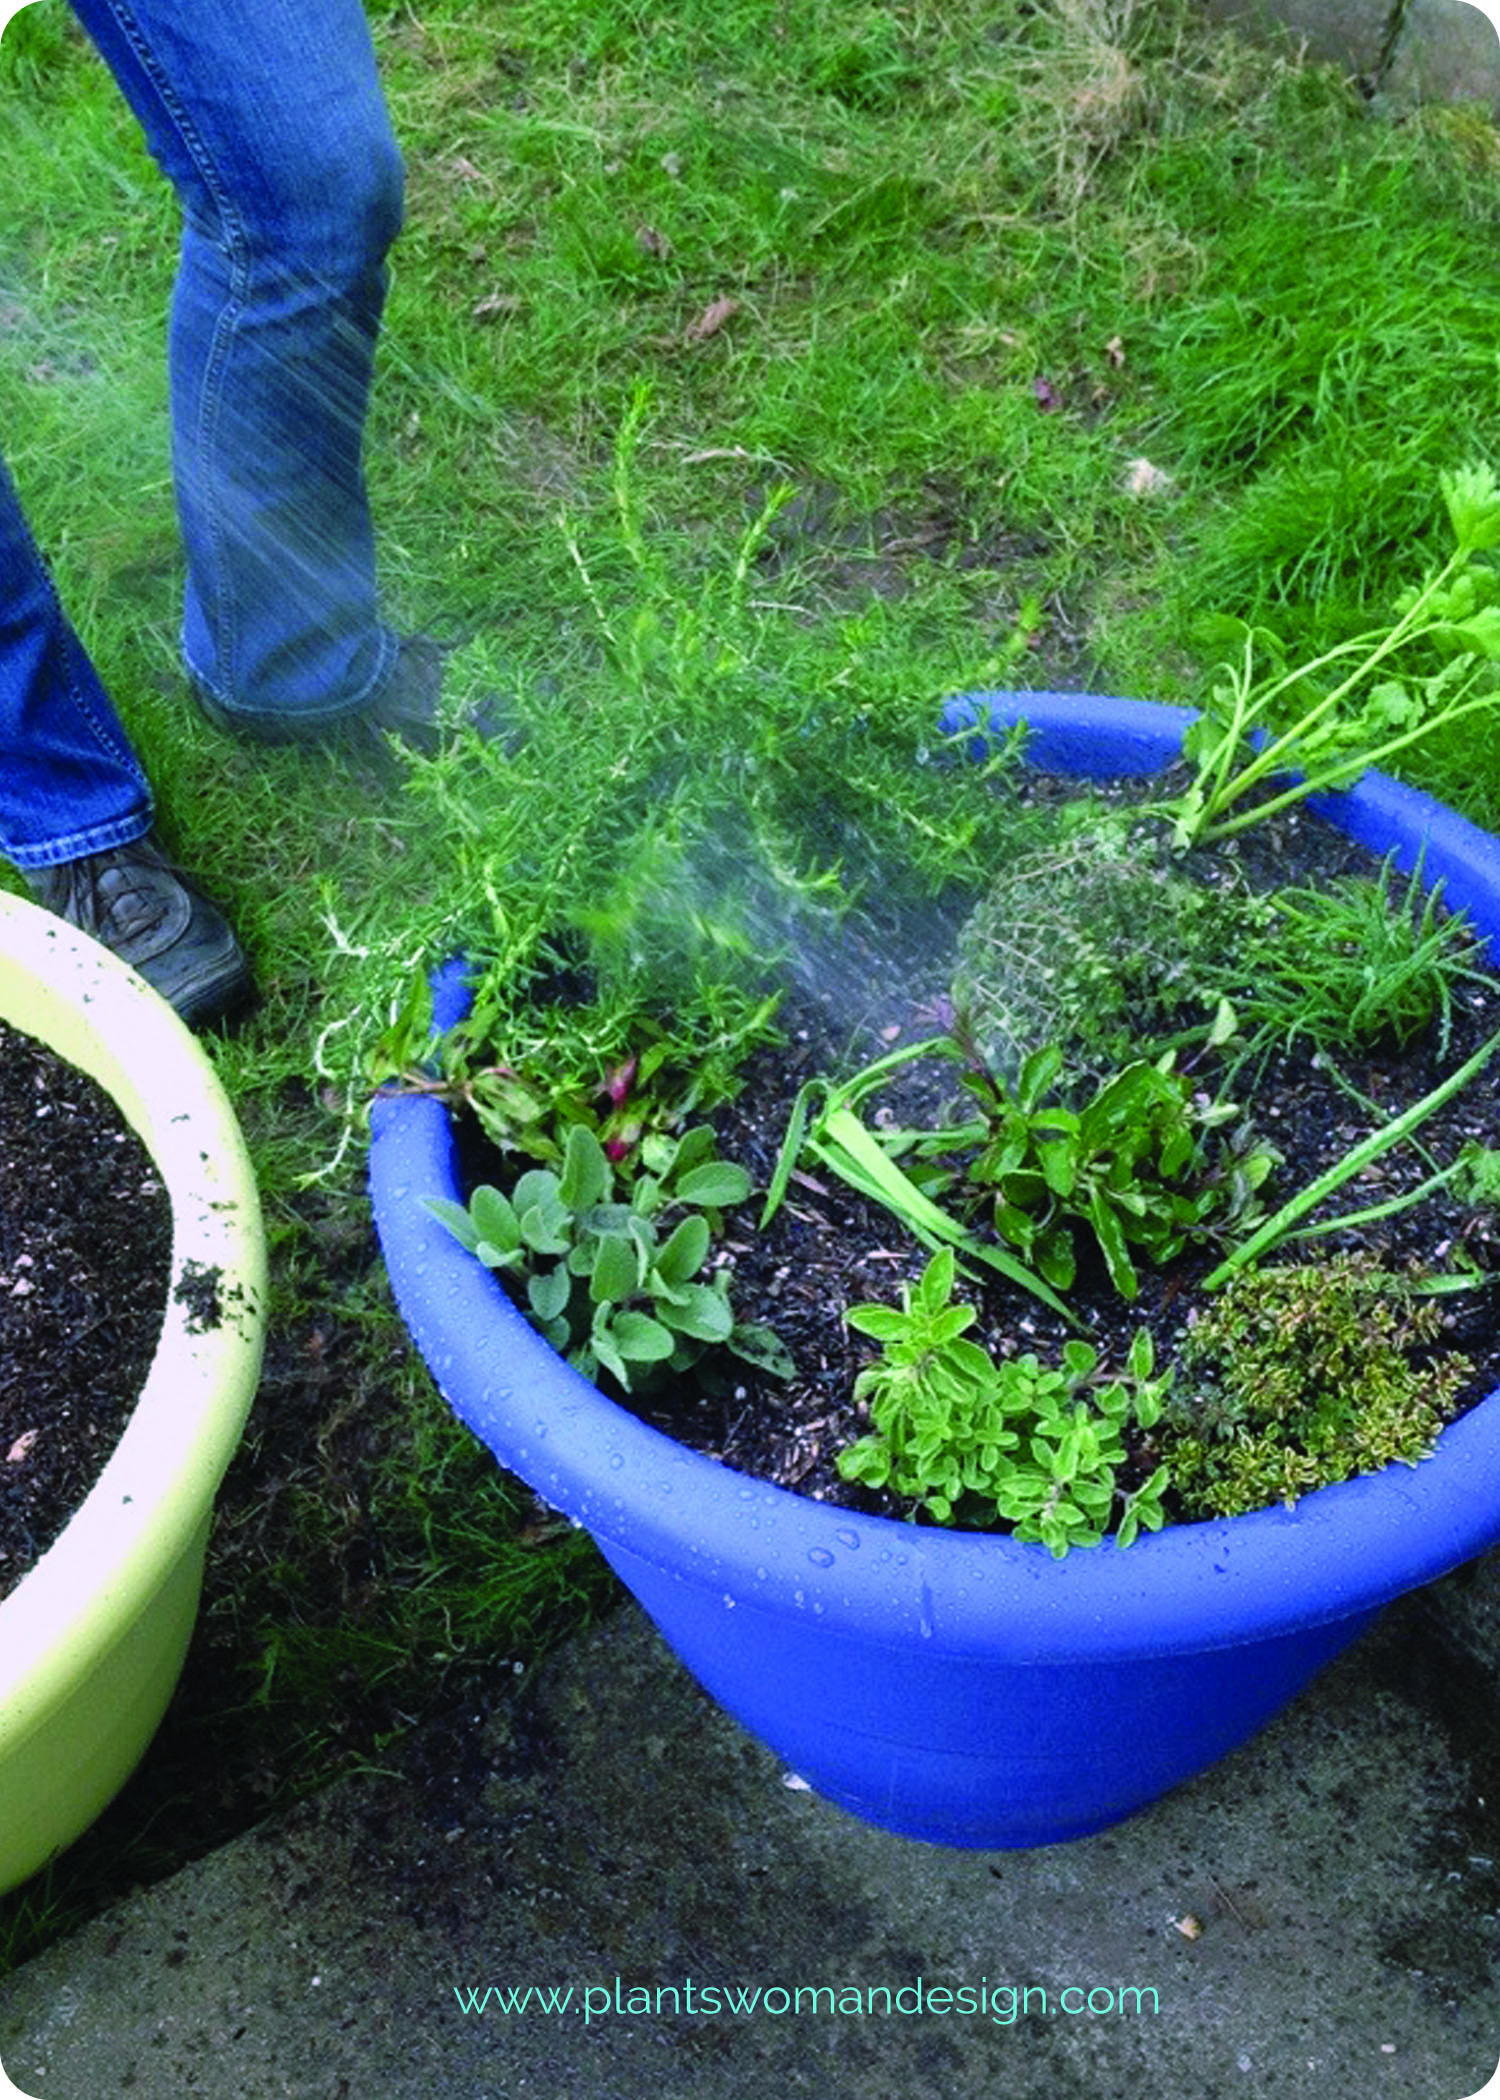
After all is planted it is time to soak the soil with water. Use a gentle spray of water until you see liquid running out of the bottom of the container. Check the plants to see that they are still firm in the soil (some may need to be re seated because of air pockets). Add a top coat of compost and you are finished! We will fertilize in a few weeks but I like to give the herbs a little time to adjust to their new home before fertilizing. For the most part herbs aren’t heavy feeders so we will only give them a little boost as they get started growing.
 And we are done!
See below for the list of the herbs Jen used. Kristen has the same herbs in Chicago and will post about her potting experience next week. She is in zone 5 so her spring is several weeks away so her plants get to hang out inside for a bit.
It’s always more fun to learn and garden together so let us know if you are joining in with us! You can let us know by posting to our facebook page, sharing on twitter (@susan_PWD) or leaving a comment below.
We will have harvesting tips and recipes to follow. We can plant, grow, and enjoy the fruits of our labors (literally)!!
Keep growing, Susan
Plant List:
- Rosemary Irene
- Silver Rose Garlic
- Chives
- Lemon Catnip
- Sicilian Oregano
- Silver Variegated Lemon Thyme
- Flat Leaf Parsley
- French Peppermint
- Berggarten Sage
- Vietnamese Coriander
- Gold Variegated Lemon Thyme