
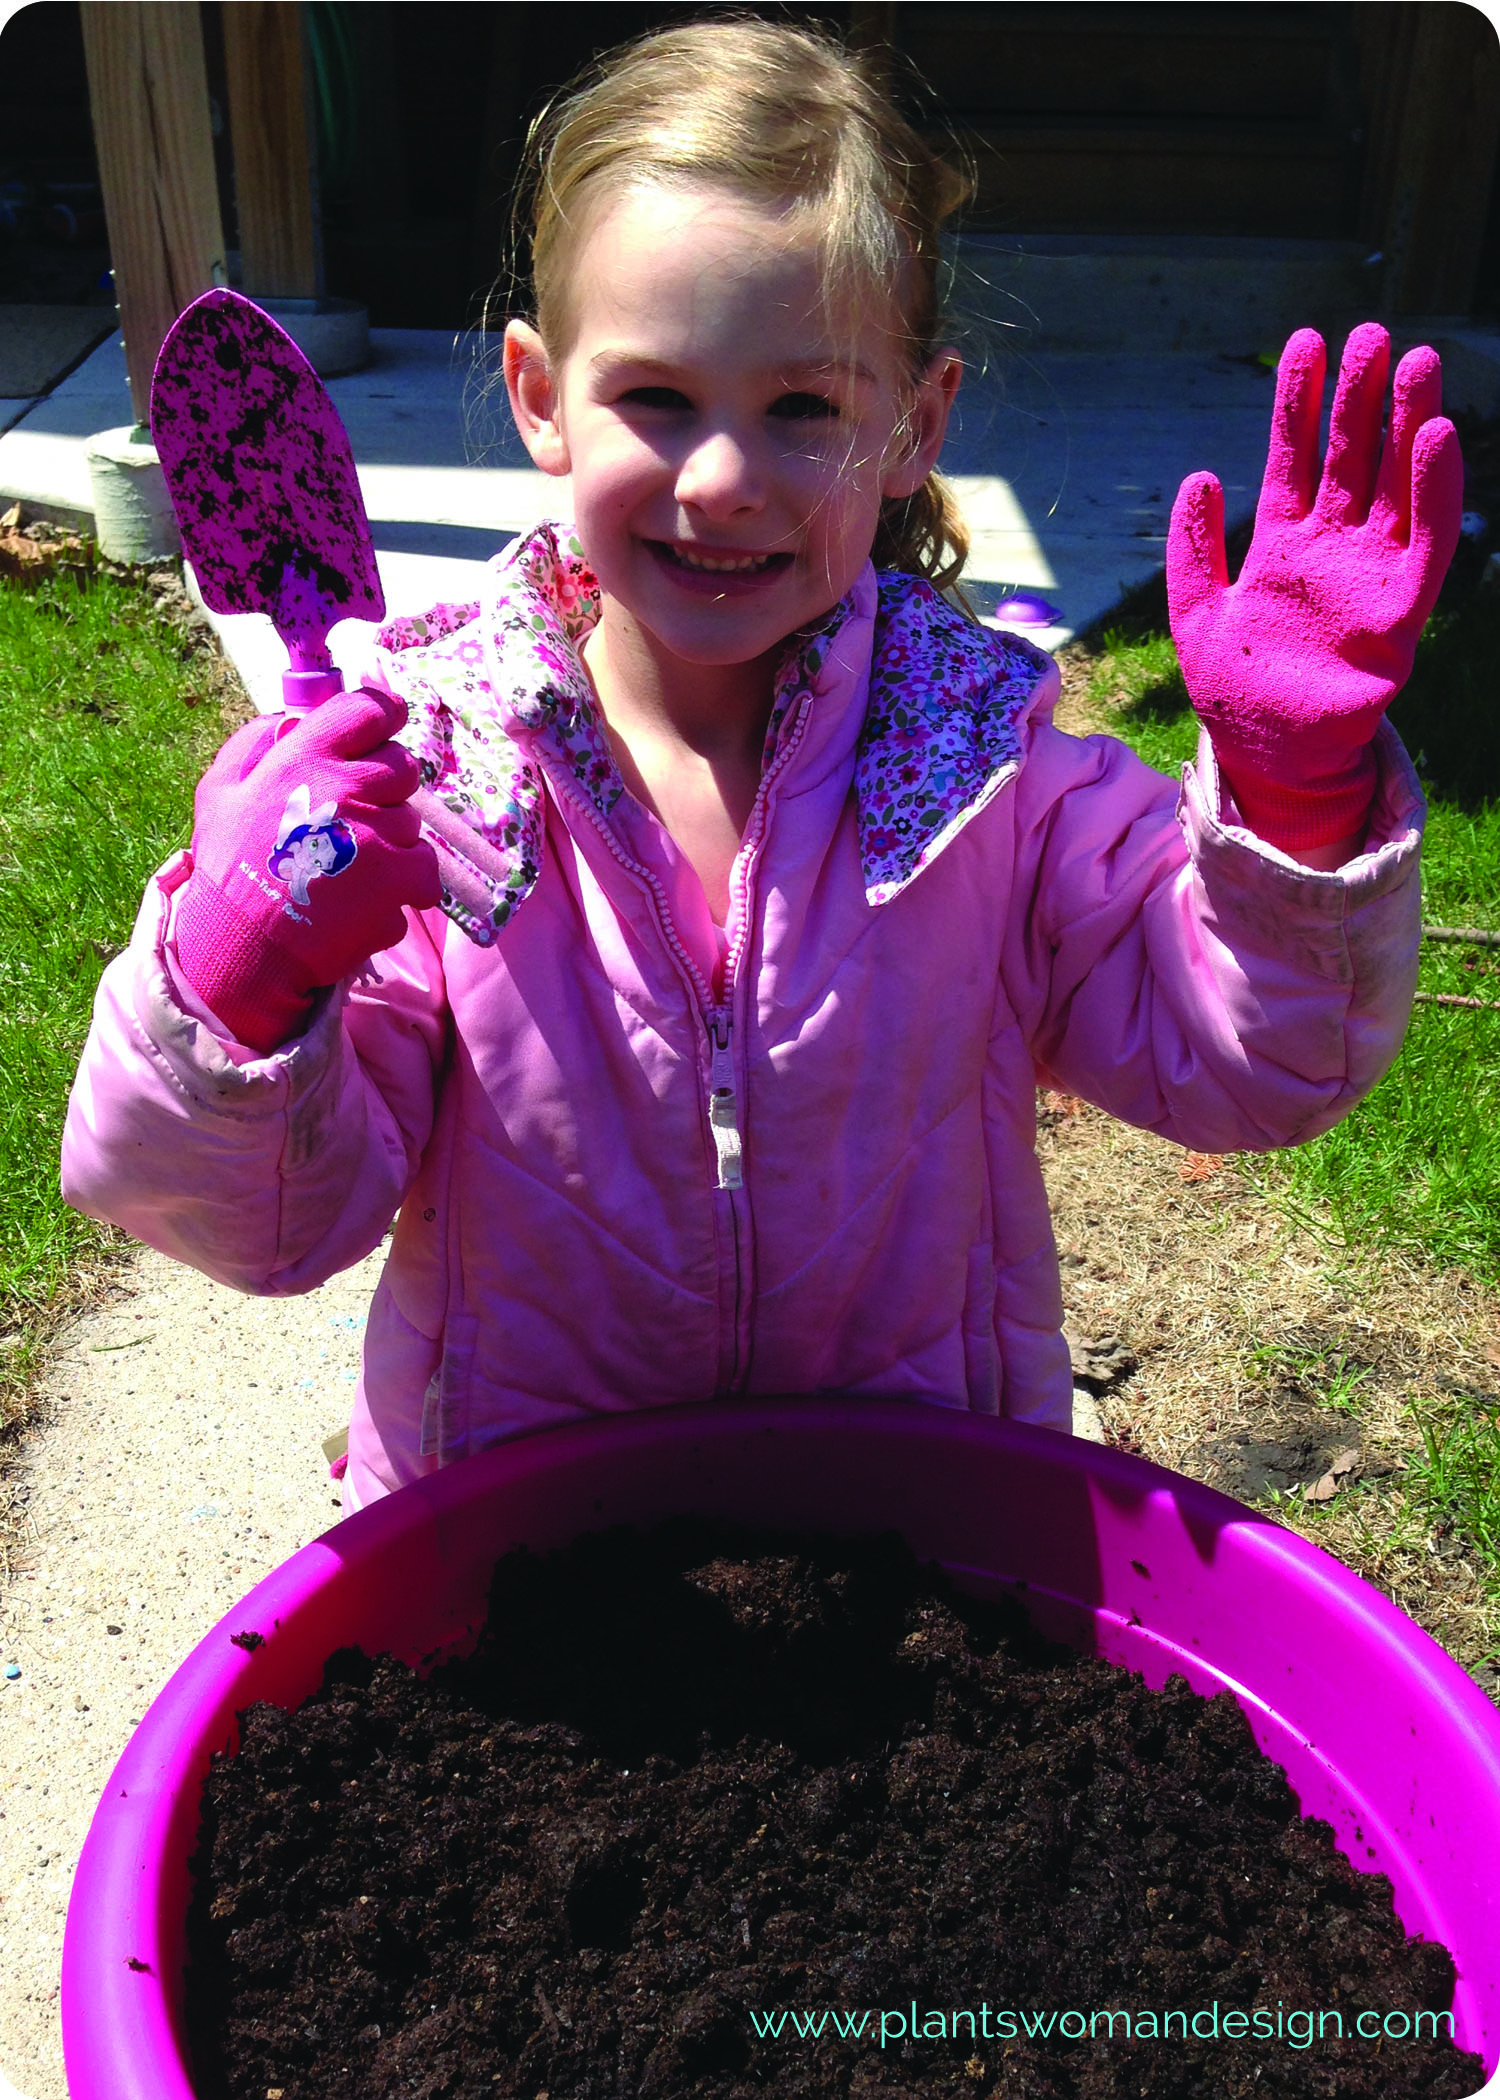
Hello everyone, Kristen here with our completed lettuce container. We had one of those perfect moments when the stars aligned and weather cleared giving us about an hour or so to get out and play in the dirt. If you missed our previous post with the instructions click HERE. My assistant for the day was my daughter, E (gloves and princess spade provided, via Easter basket, by the Plantswoman (aka G-ma)). When E found her basket she was so excited to have garden gloves and a spade all her own. She asked me if she could be a Junior Plantswoman and I told her that would be just fine. So, with out further ado here is our first, unofficial, Jr Plantswoman here to show you how we planted our lettuce seeds.
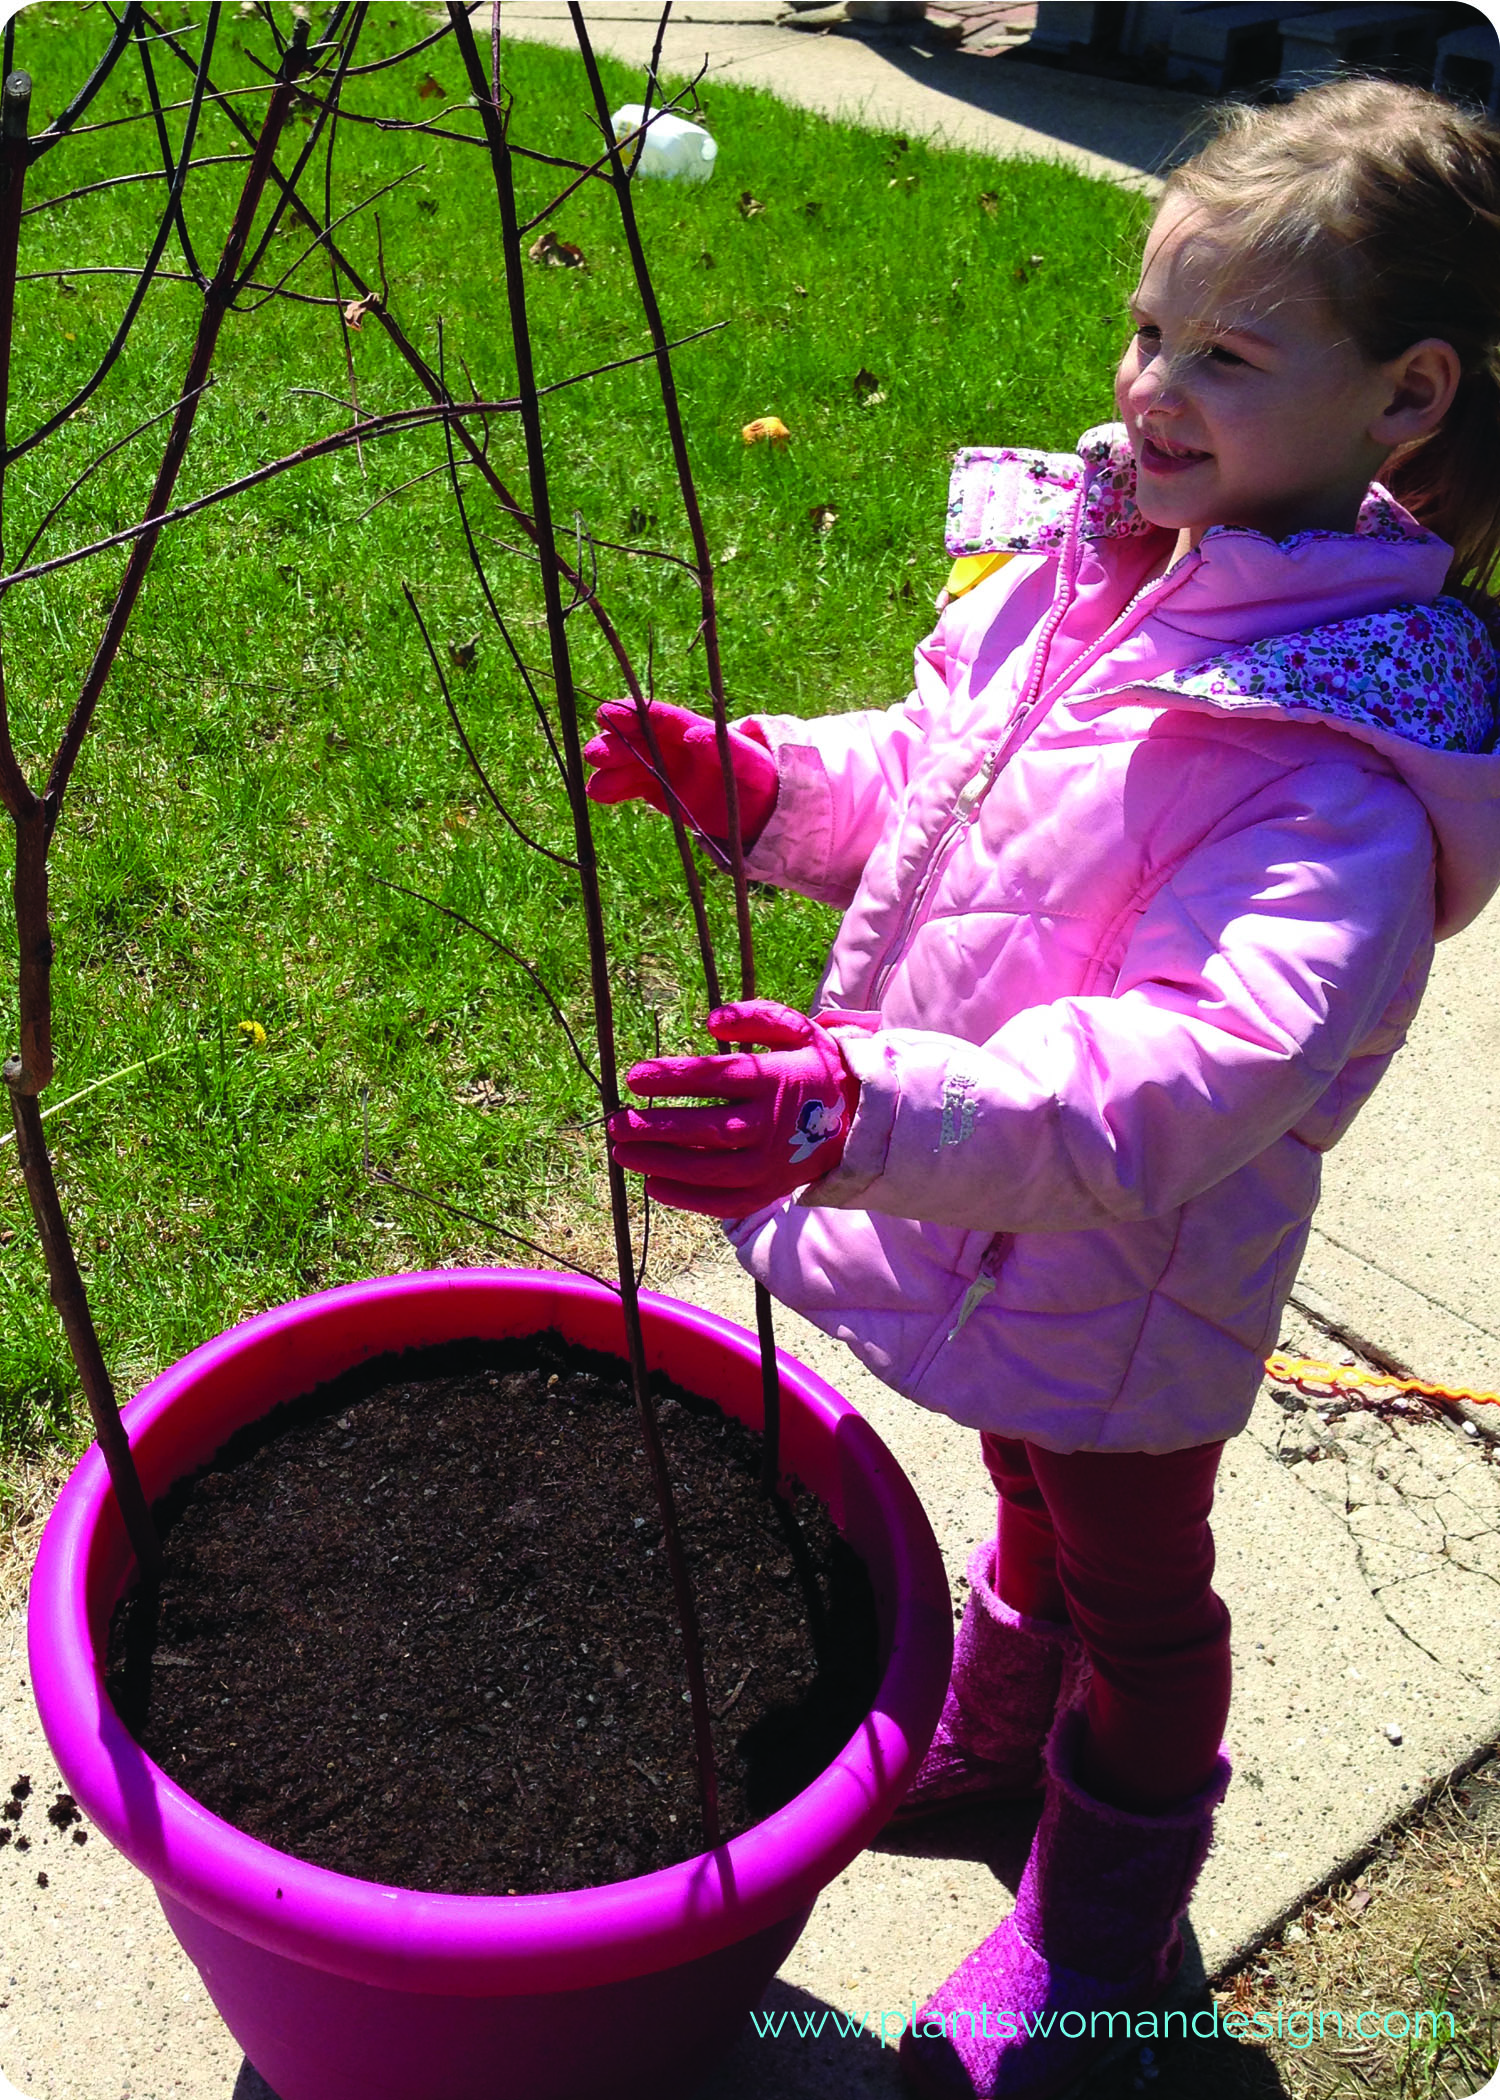
After preparing our pot as outlined HERE we installed our supports for our future beans. We used some branches we spotted on the college campus while walking home from school a couple weeks back. I had a true “I am my mother” moment as I stopped the stroller, ran over to the maintenance crew and asked if I could have some of the branches they were pruning. After the foreman gave me a funny look he said I could help myself. I’ve been saving the branches for an indoor project but I can spare a few for our lettuce containers. That being said, while Jen’s branches may bloom since she cut them fresh, I highly doubt my branches will do anything as they are pretty much dried out.
Once the support branches were secure we added our seed. E really wanted to dig holes for each seed so I had to catch her before she dug in, literally.
She spread the seed…
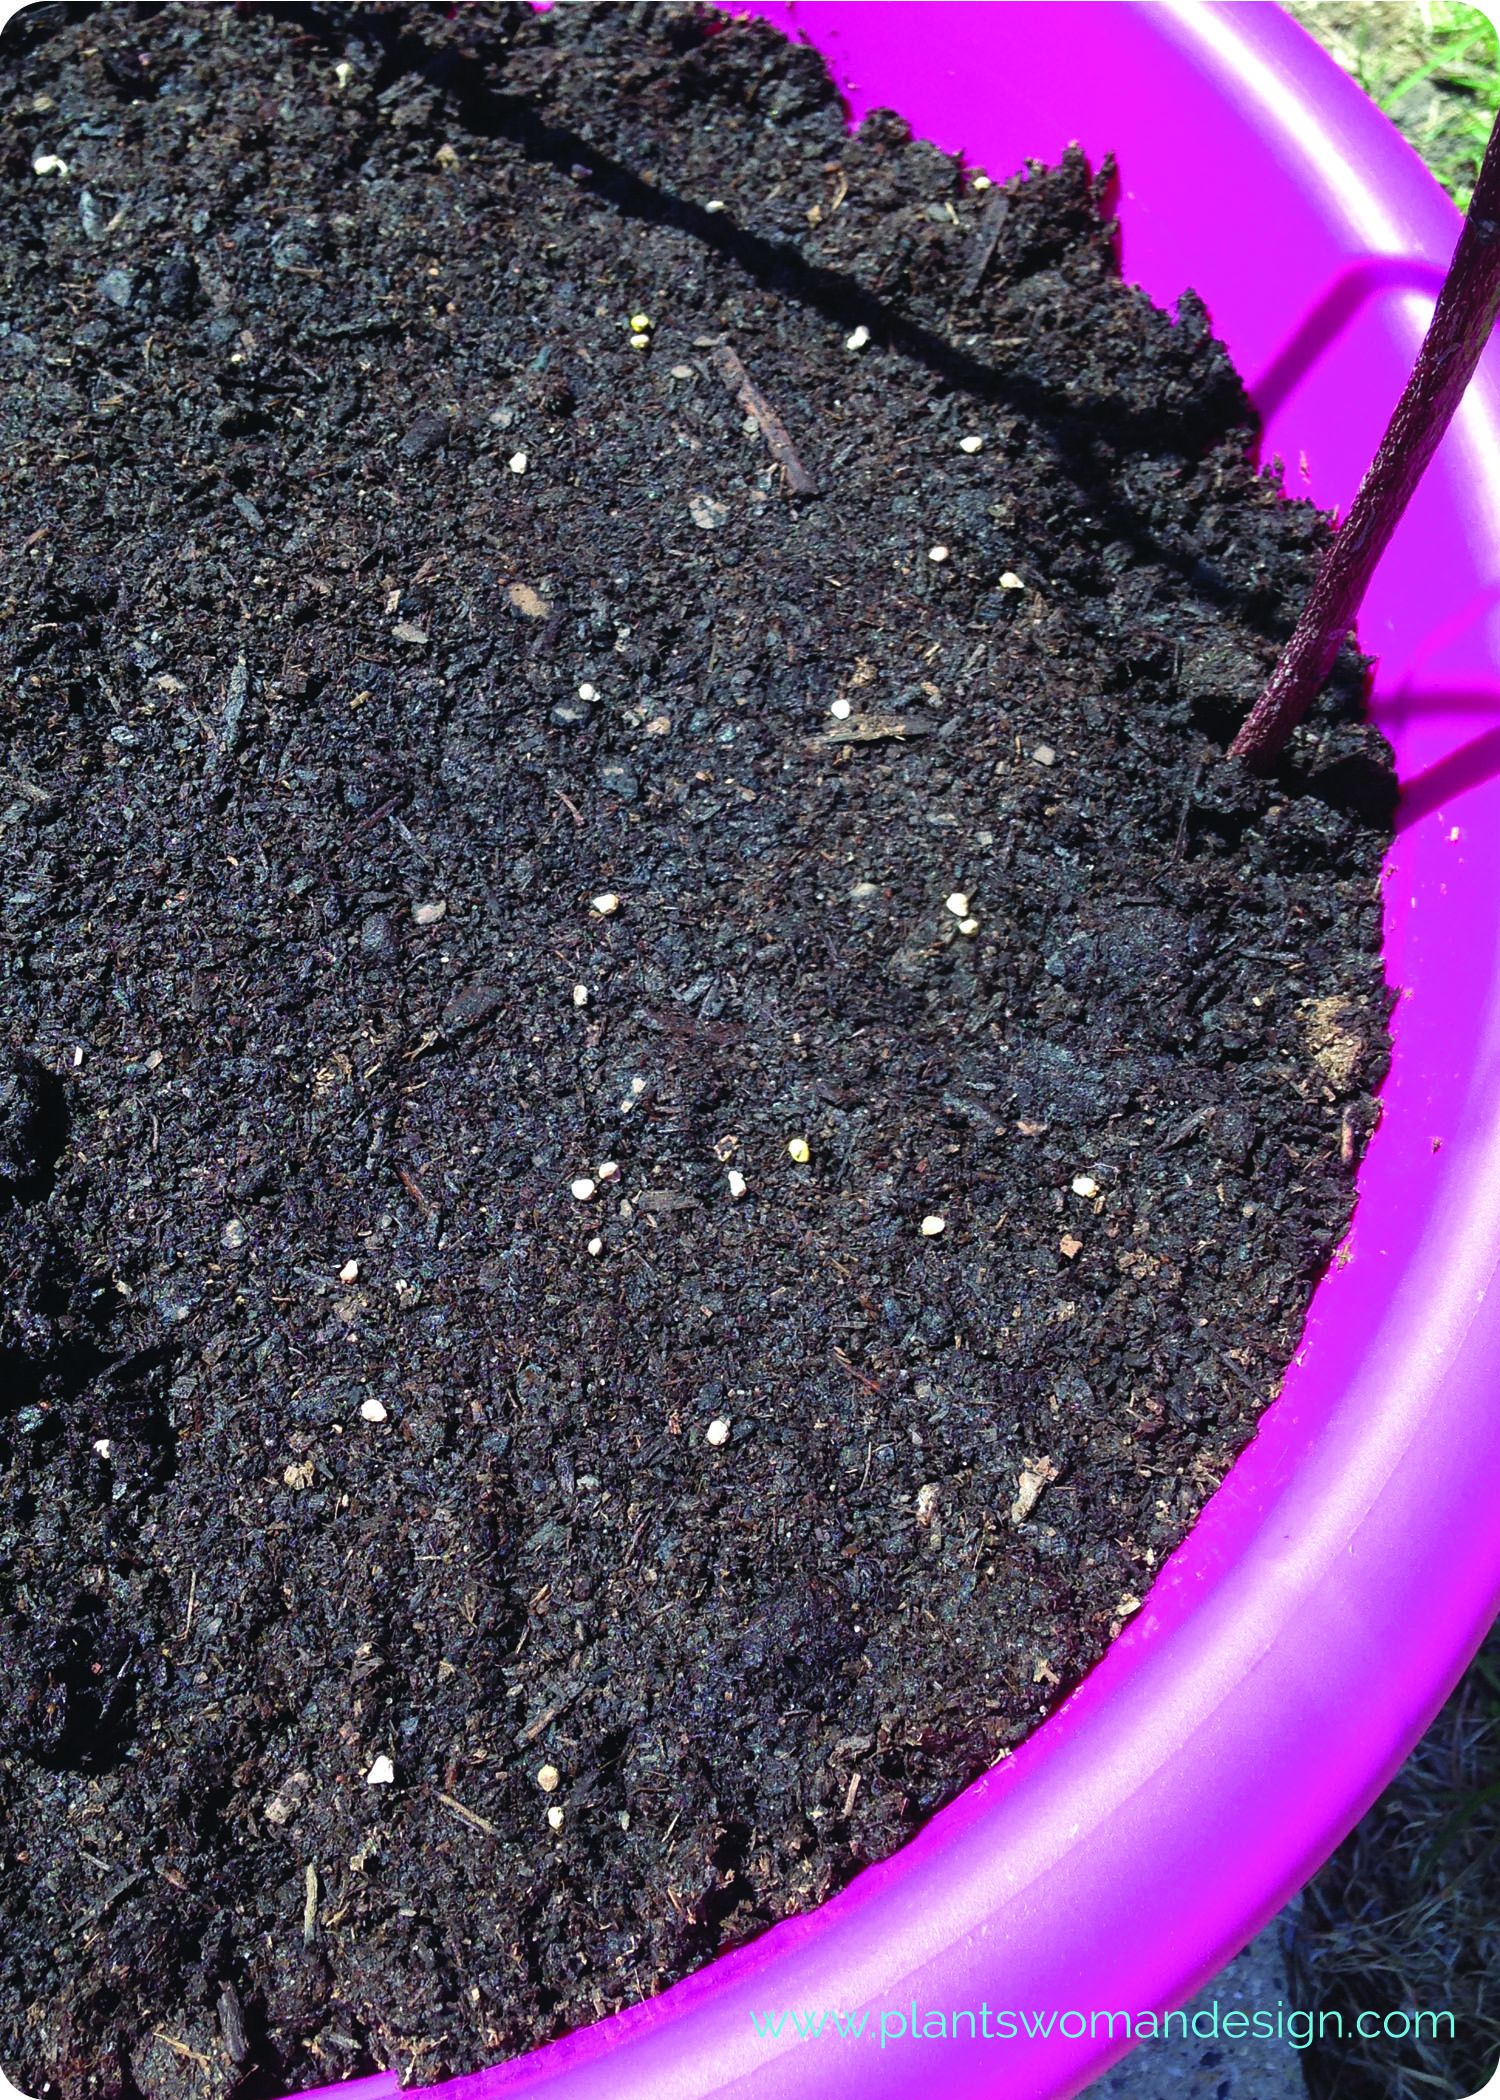 …covered it with more soil…
 …and pressed the soil down lightly (for a 5 year old that is).
 This is where we ran into a problem. The tutorial Jen and Susan did said to gently water with a wand attachment. We don’t have a wand attachment. It’s not that we can’t get one but we didn’t have one at that specific moment so we improvised. This idea is all over Pinterest and I thought we would give it a try.
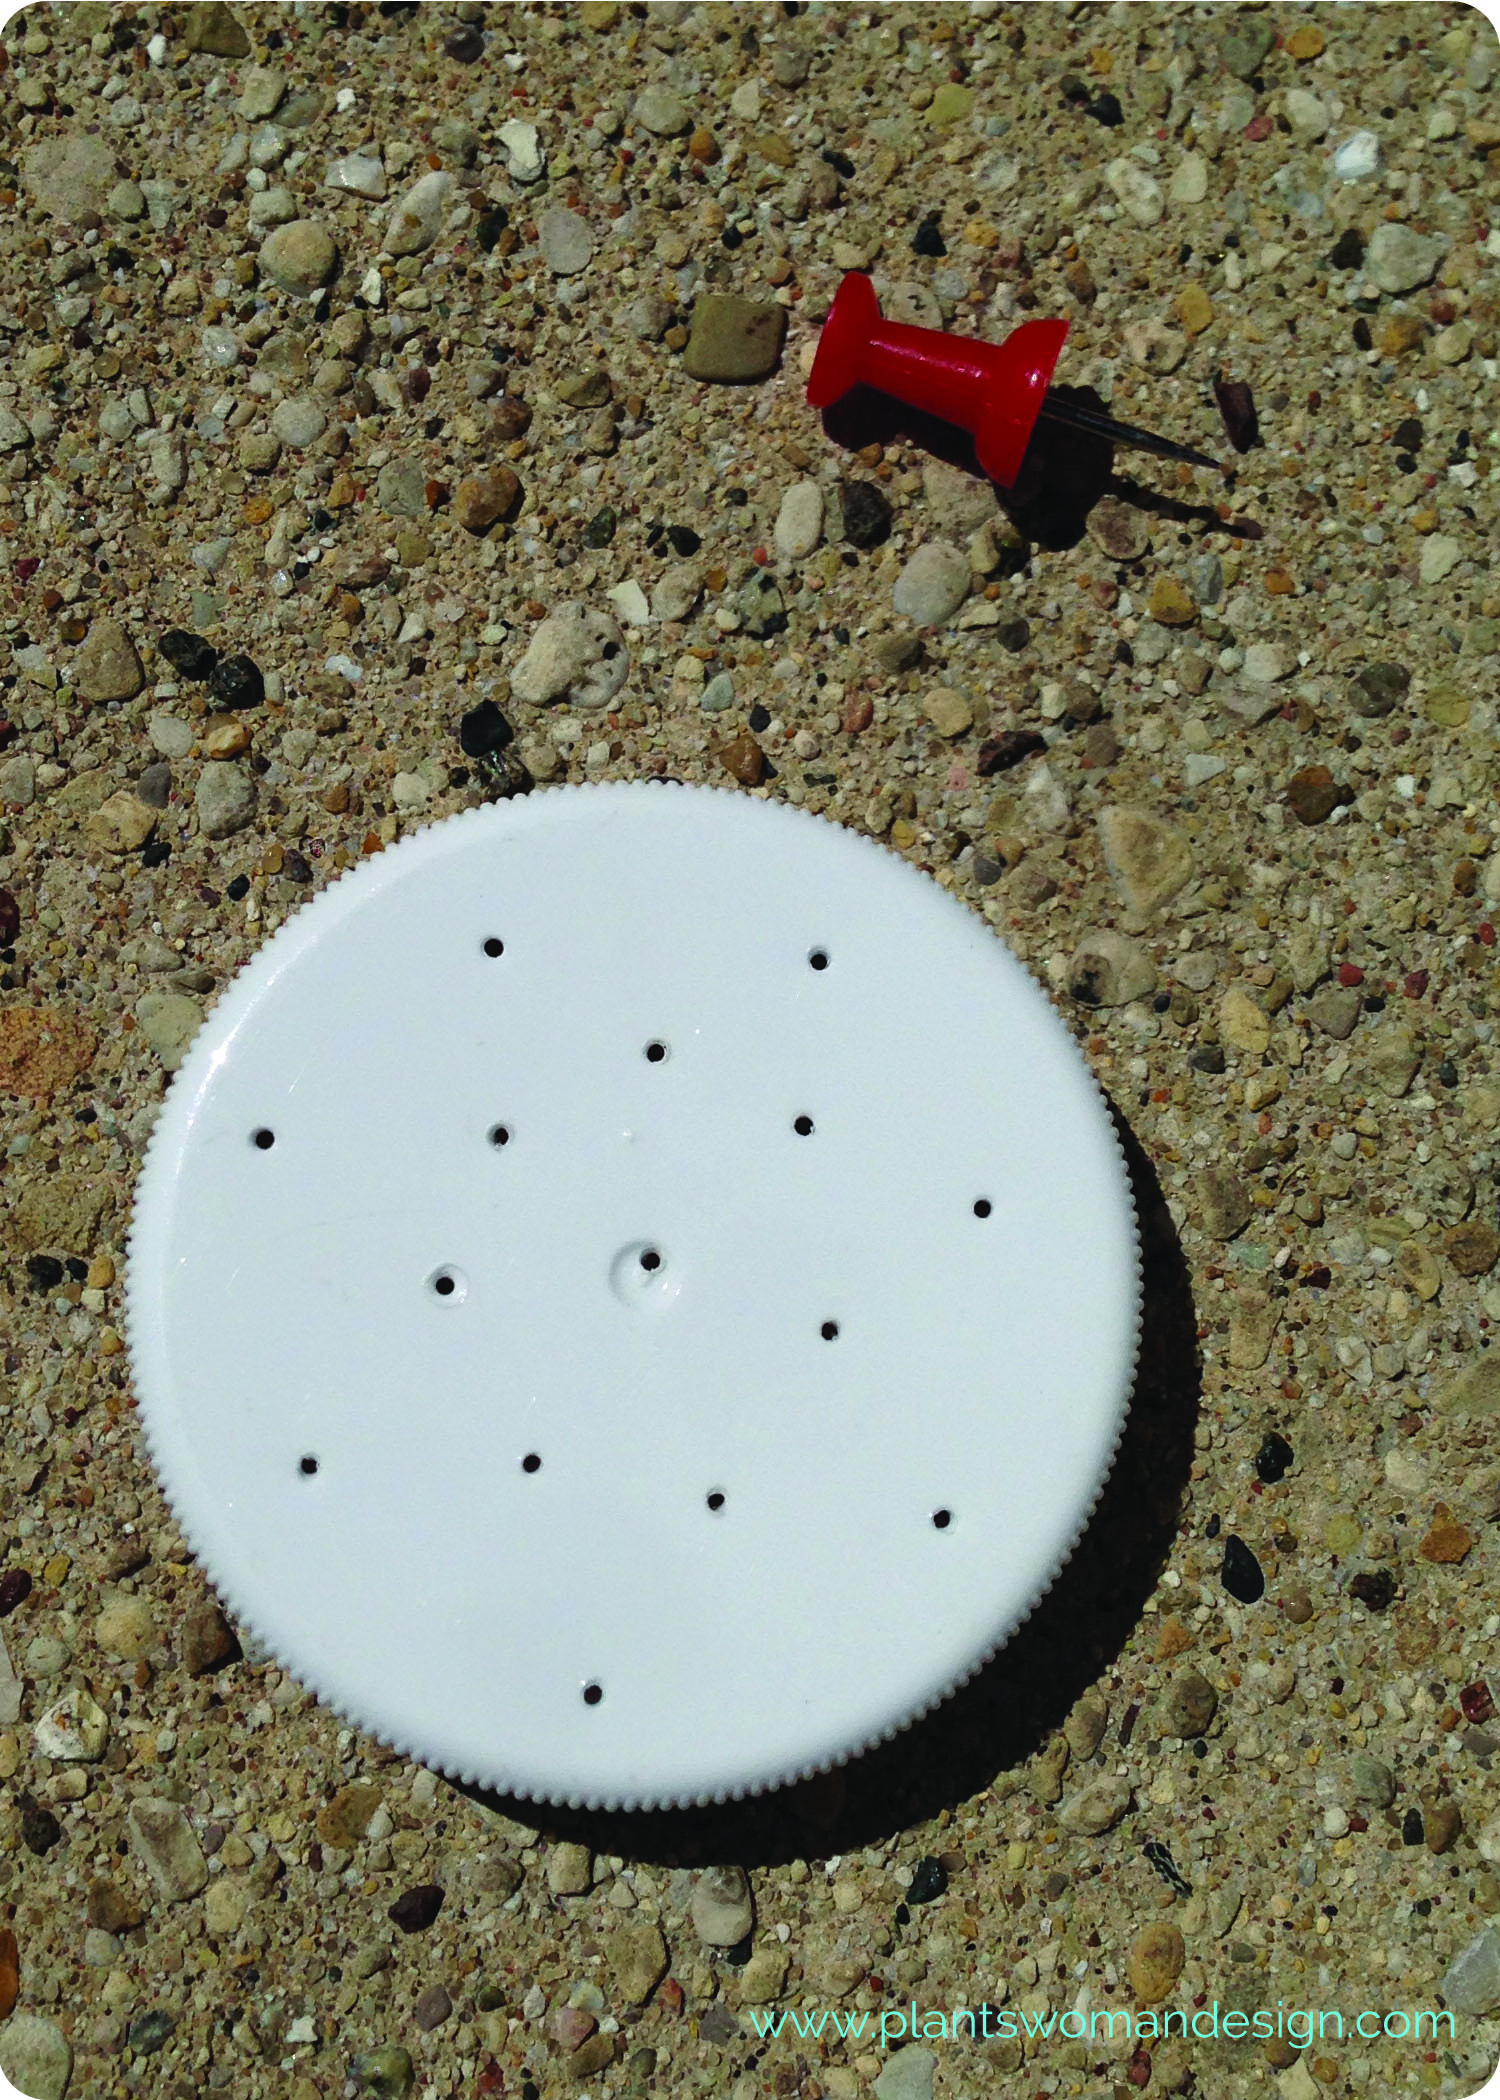
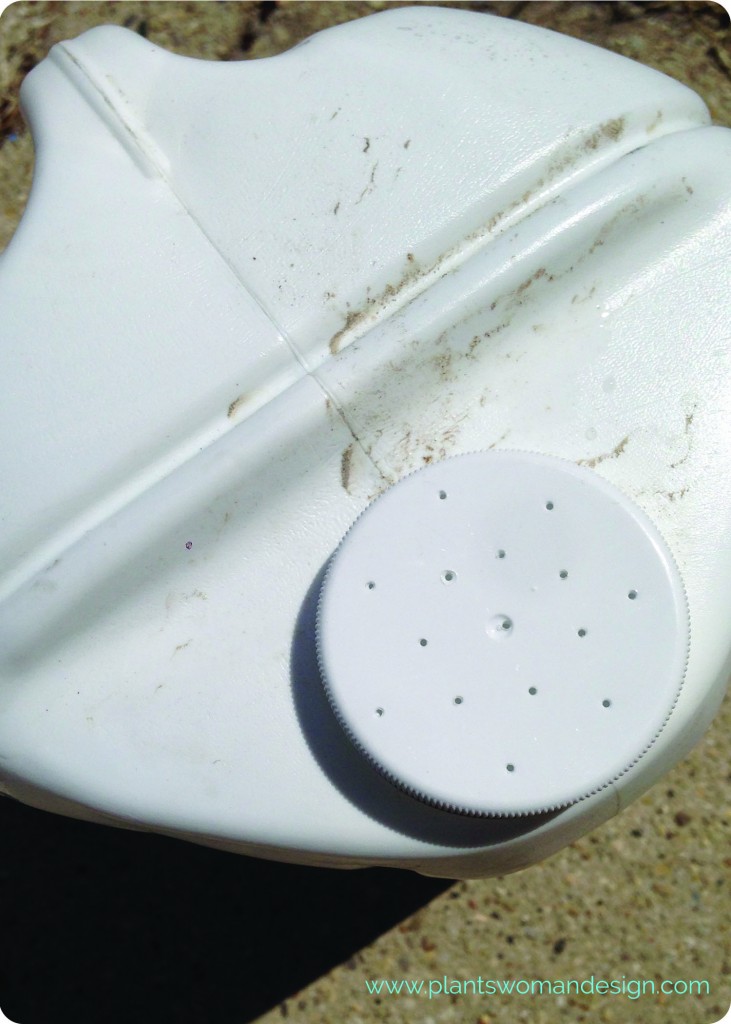
To make your own milk jug watering can you’ll need:
- A gallon size plastic milk jug with lid (ours is from milk we bought at Costco).
- Regular thumb tac
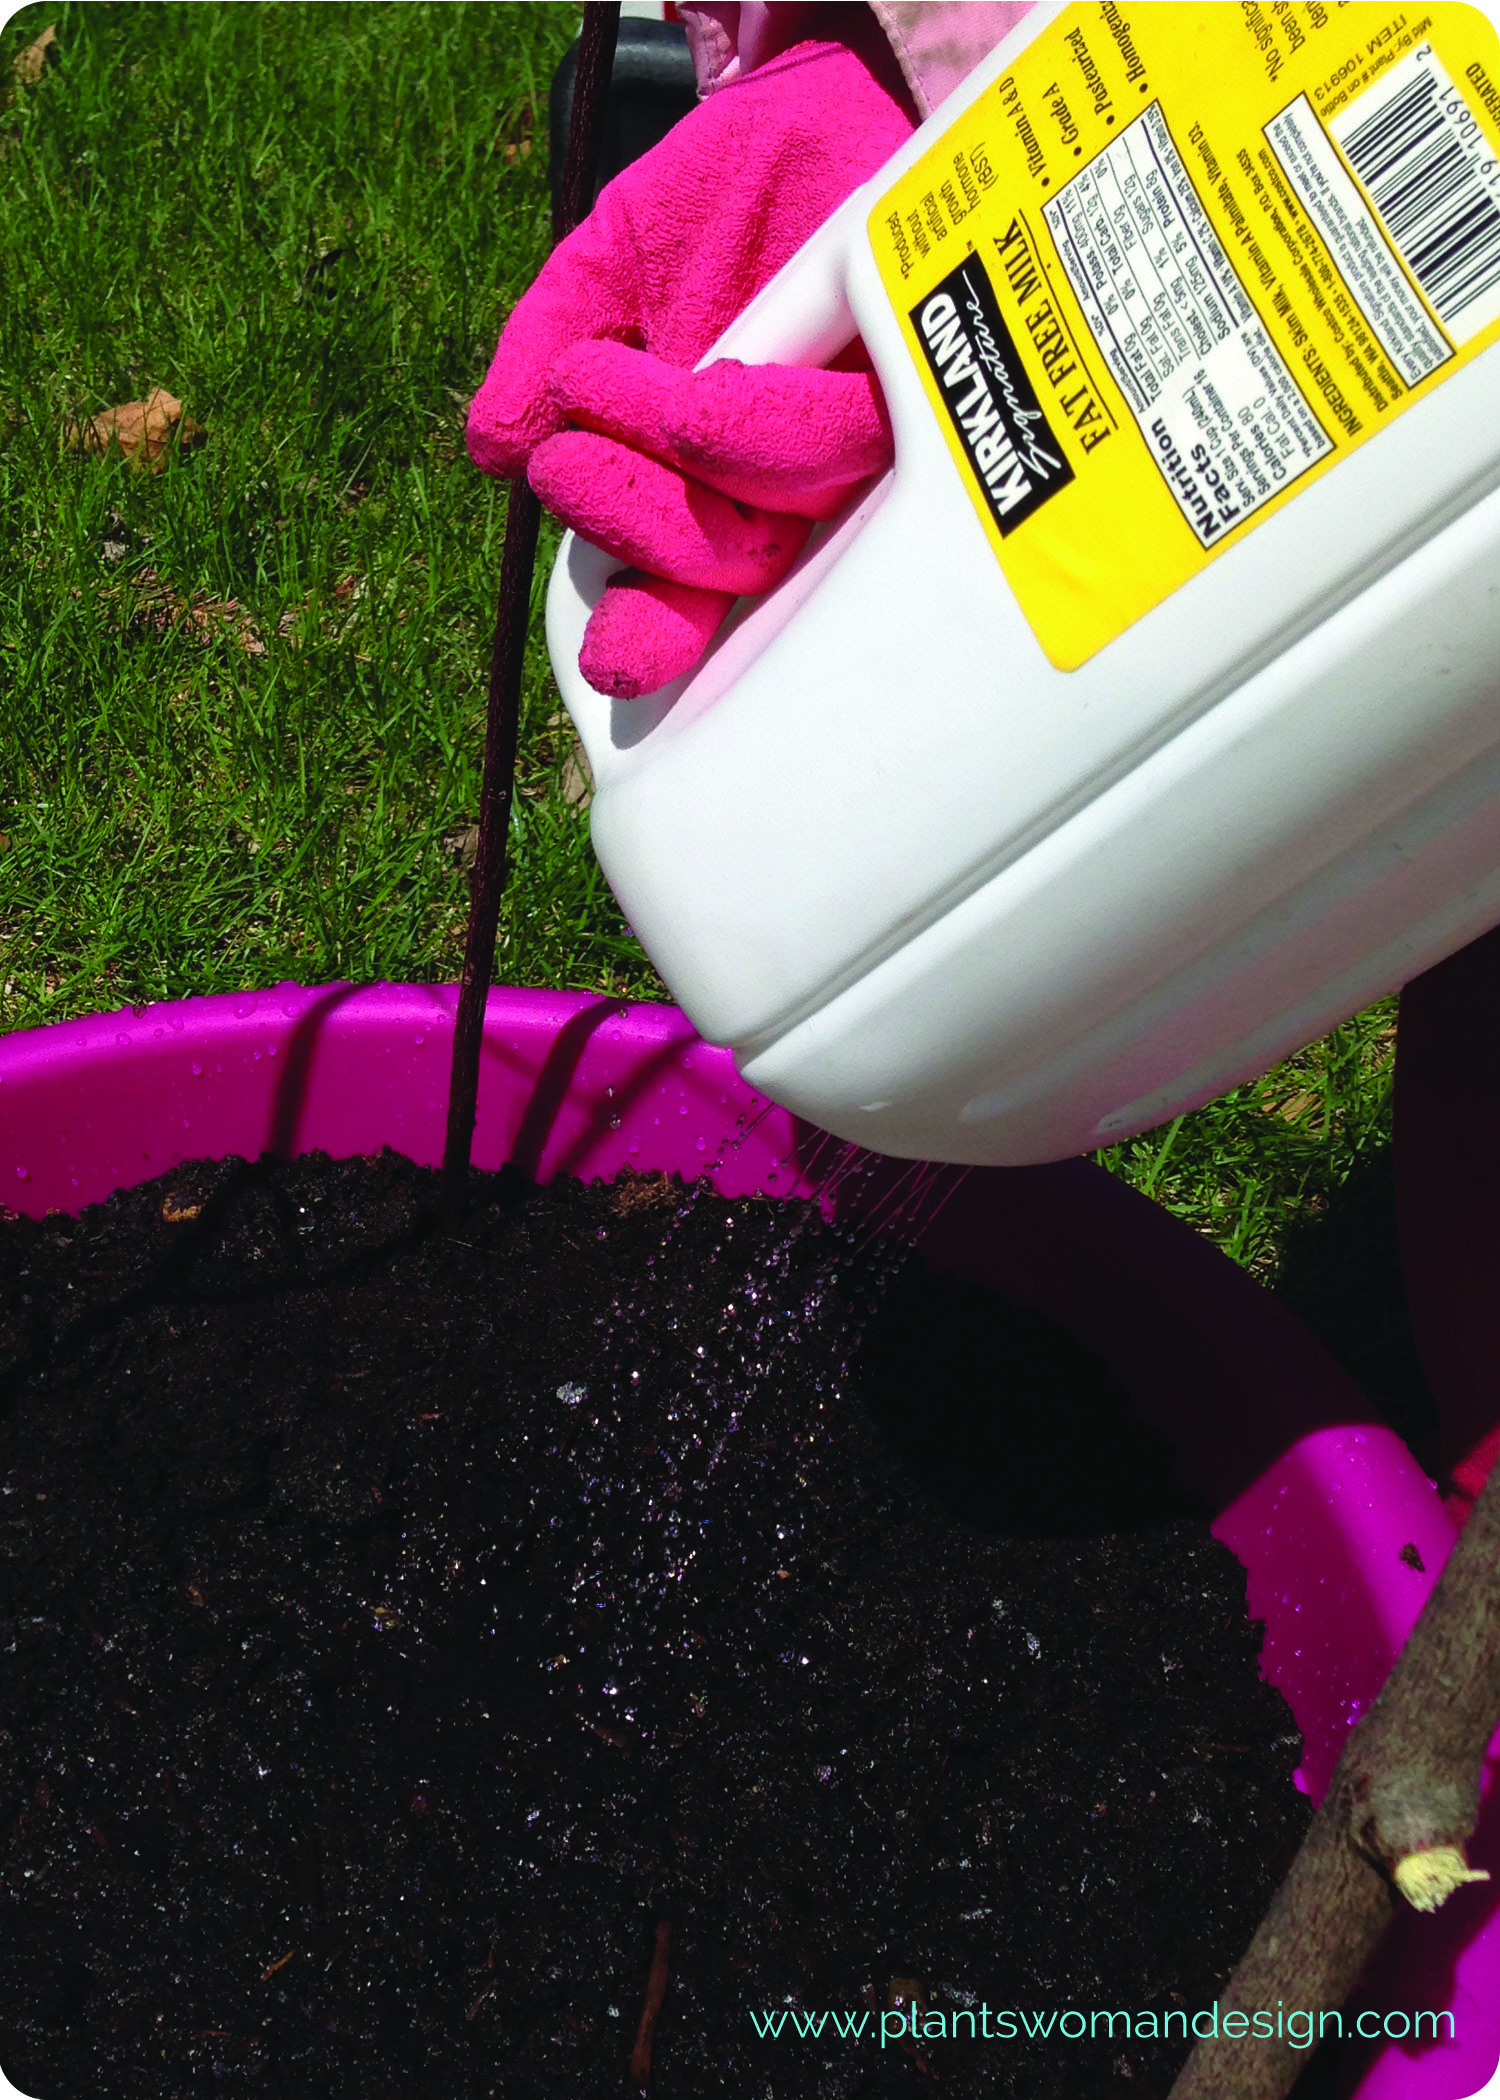
Once you’ve rinsed out your jug thoroughly take the thumb tac and push it through the lid numerous times. Then take the tac and make a hole or two by the handle of the jug to help the jug pour correctly. Fill your jug with water (since E was going to do the watering I only filled it half way), put the lid on and water whatever your heart desires.
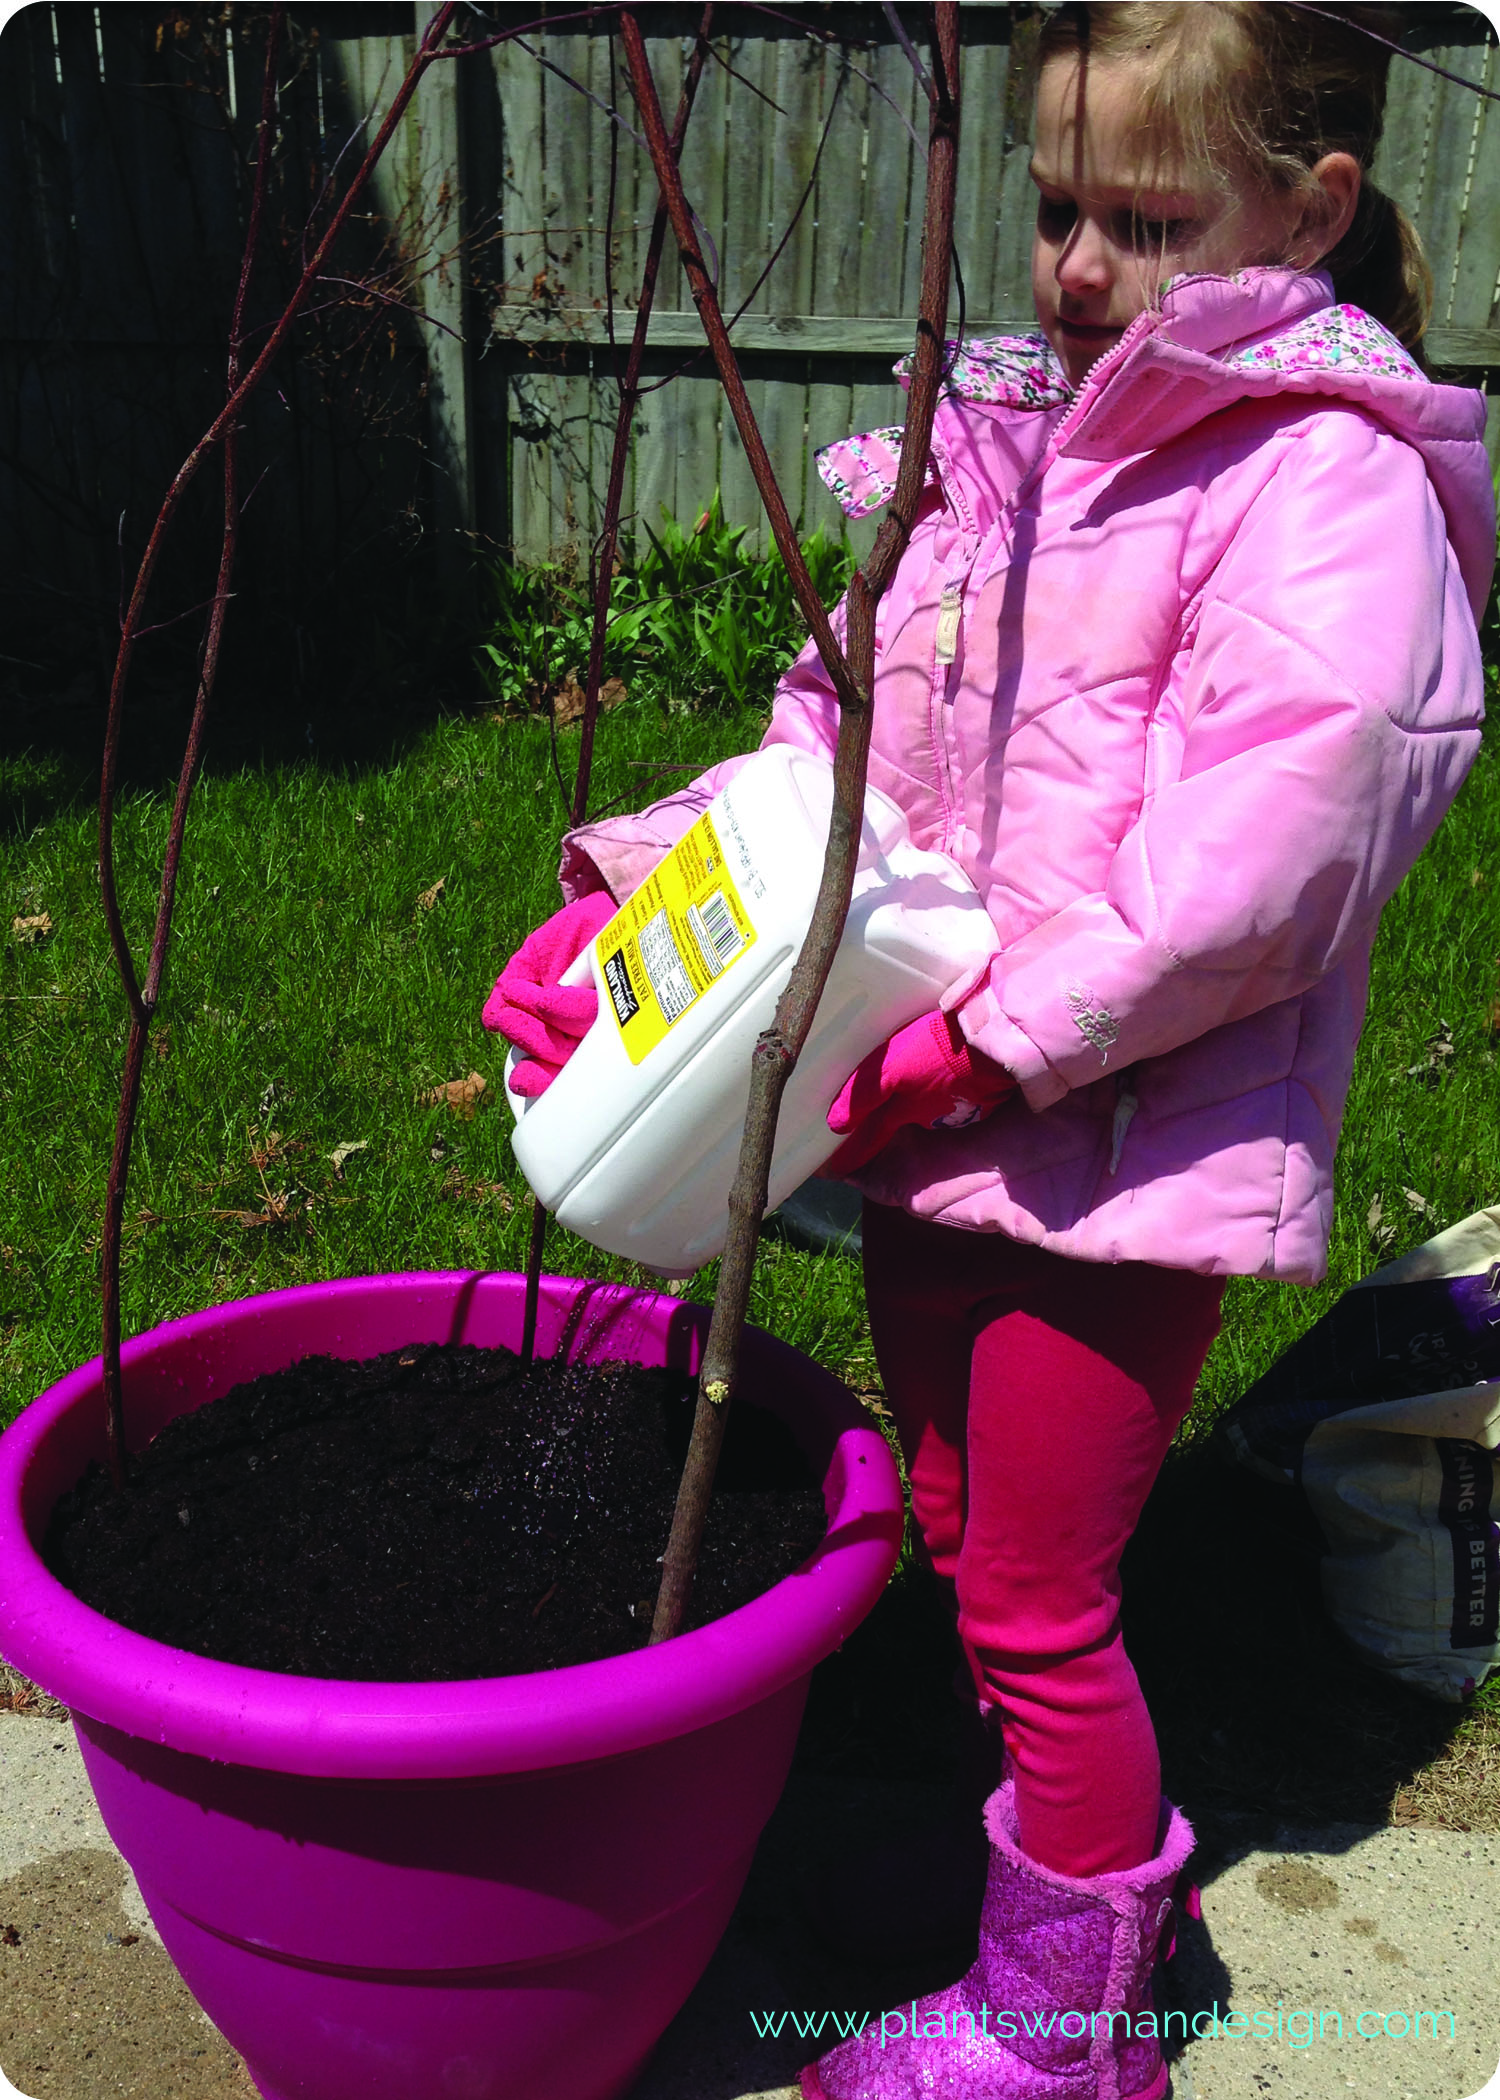 I’m pleased to tell you this little jug worked fairly well. E said it was super slow but I was okay with that because the whole point of using a wand attachment was to make sure you don’t wash the seeds away.
 And the absence of a water powered wand made sure I didn’t get soaked in the process either.
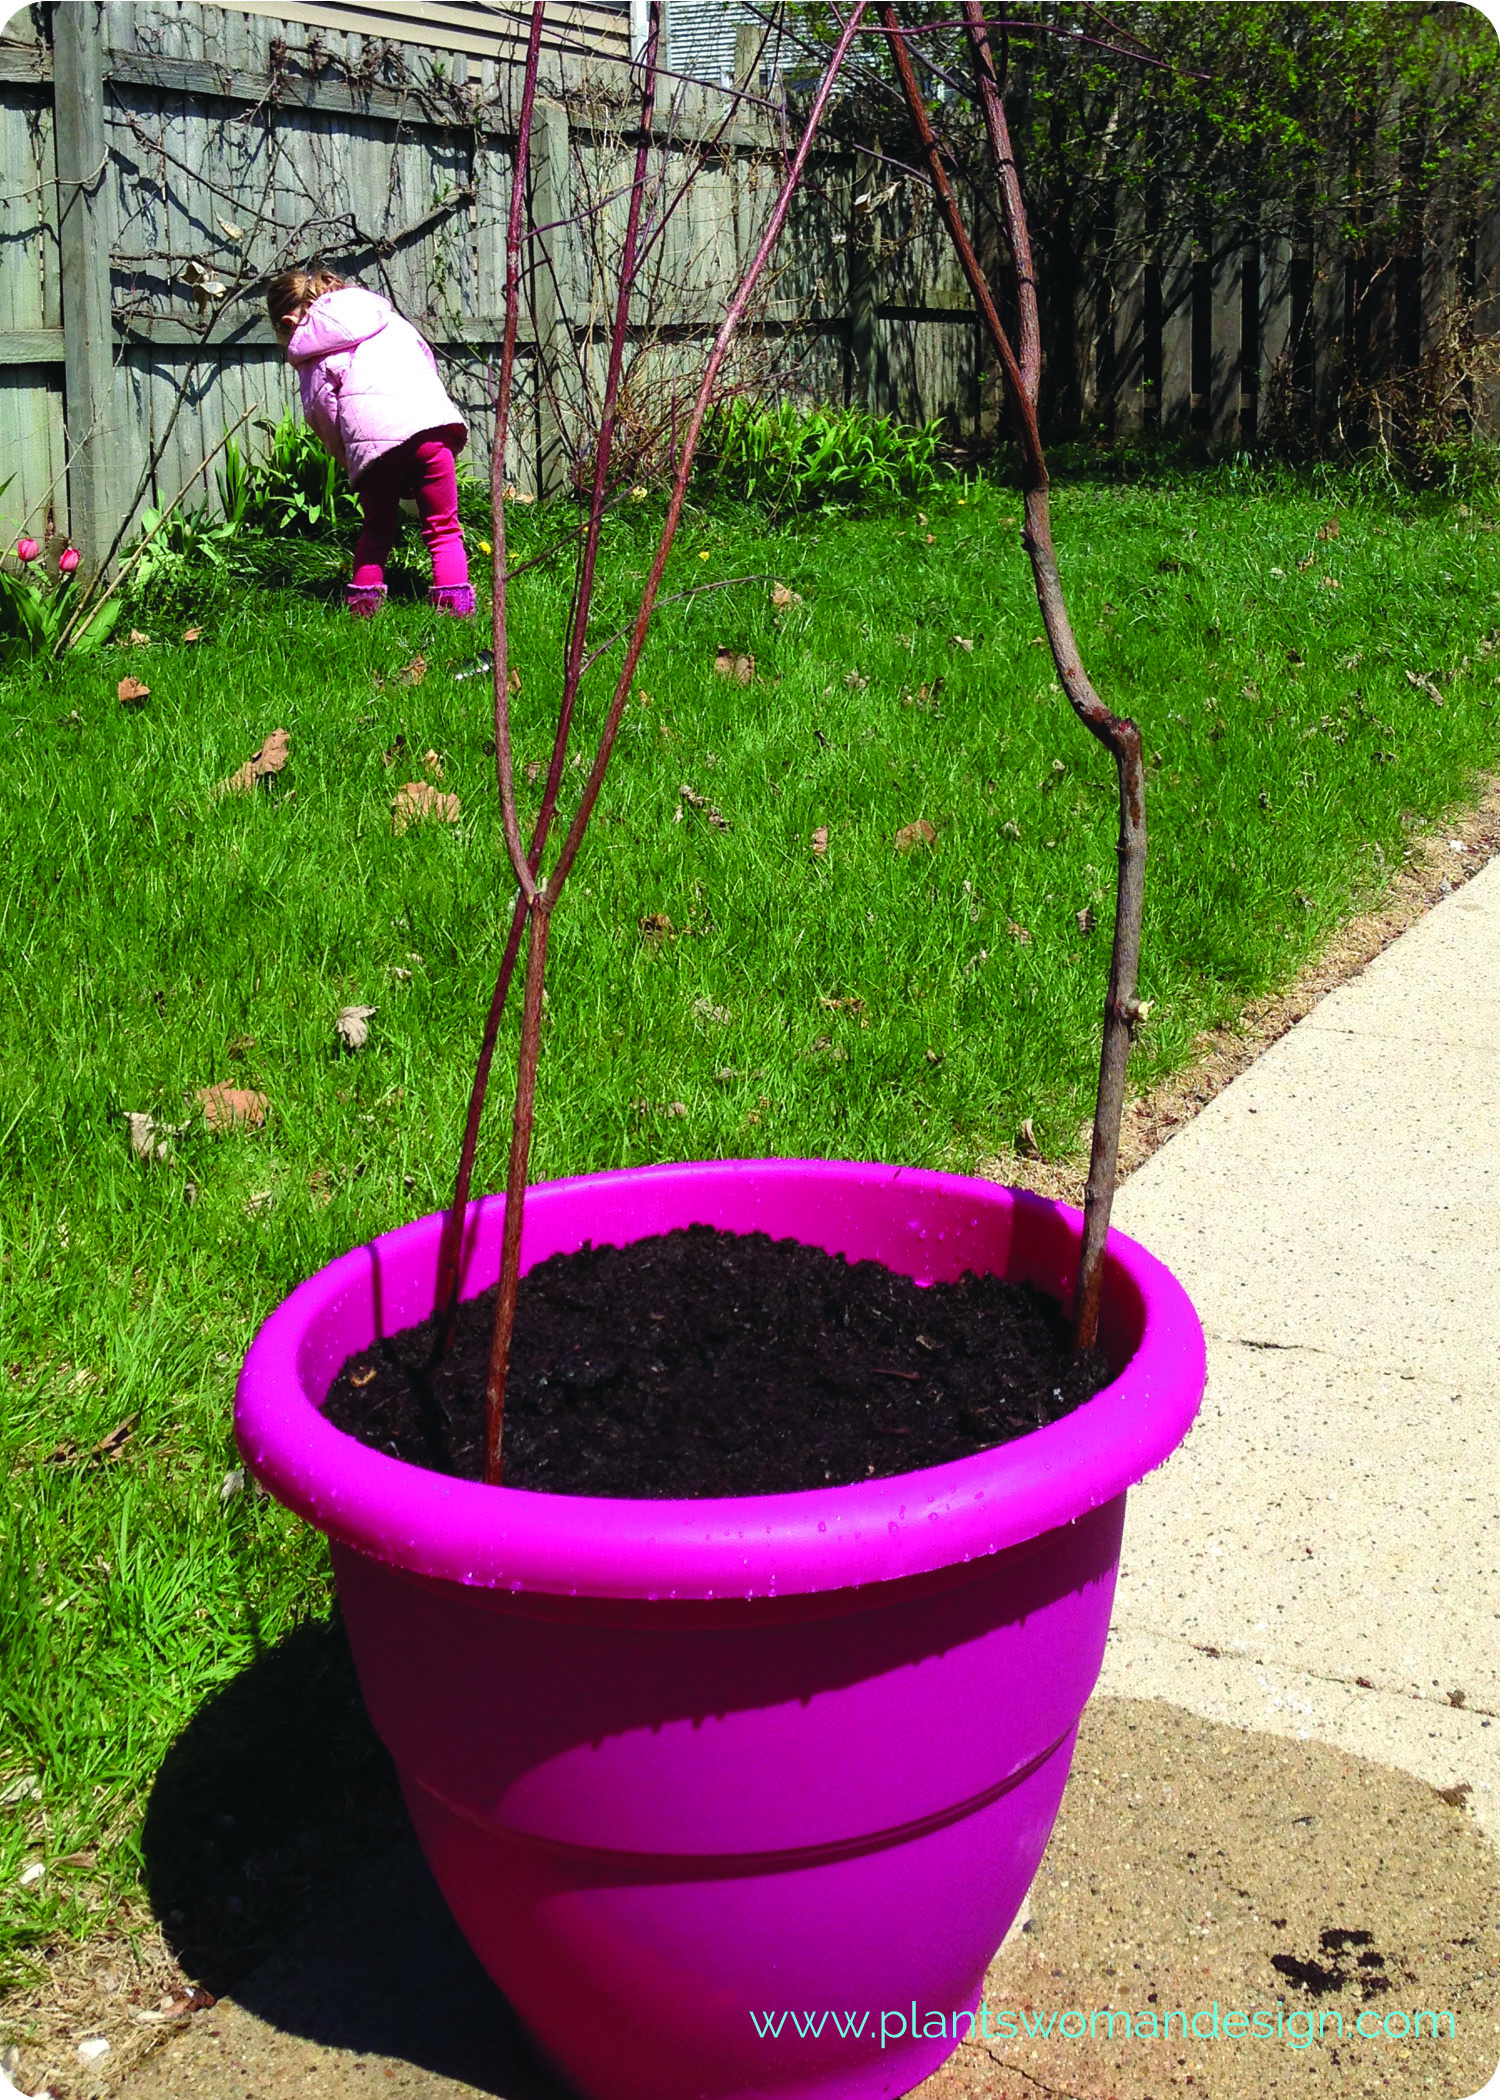 Our finished container doesn’t look like much. But give it time, it will be bursting with fresh, organic, baby lettuce in no time. And if you find you have a little water left over in your jug why not take a walk around your yard and give any thirsty plants a drink. Or better yet, have your kid do it.
We hope you’ve enjoyed learning all about lettuce with us. Did you follow along with us? Send us a picture via email to us at info(at)plantswomandesign(dot)com. We’d love to see it!