 In the
 blog ‘progress yes progress’ I wrote about pleaching my espalier cherry trees into each other. I thought it would be good to talk about pleaching and also create something fun for Little Bytes at the same time.
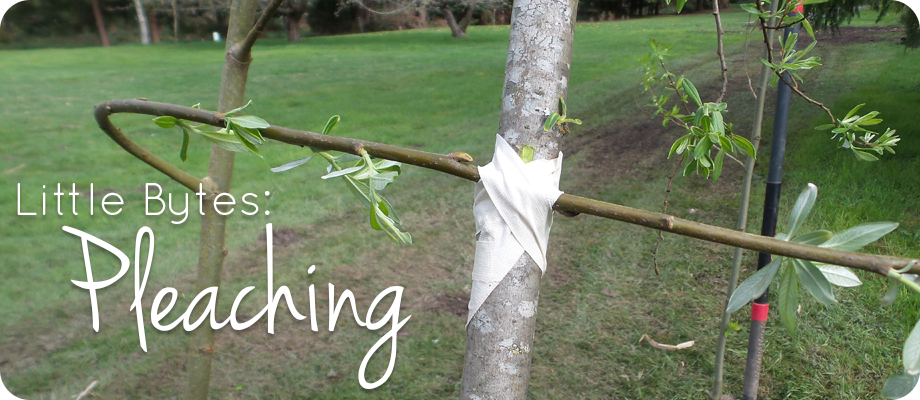
Pleaching is a type of pruning that causes two branches grow together. It is used in creating espalier fences, living fences and living art pieces. For Little Bytes I thought it would be fun to create a living hide out for kids. My grandkids will be here this summer (I hope) and they will be so excited to have the play structure to play in.
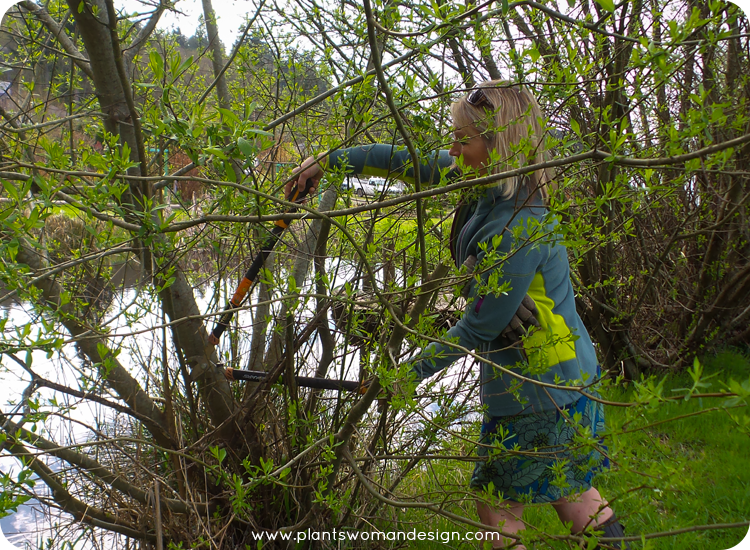 Here you can see I’m cutting off some branches off a willow tree next to the upper pond. I’m choosing willow because it is really easy to work with, it roots easily, it will be easy to pleach and since it grows on my property it’s free!
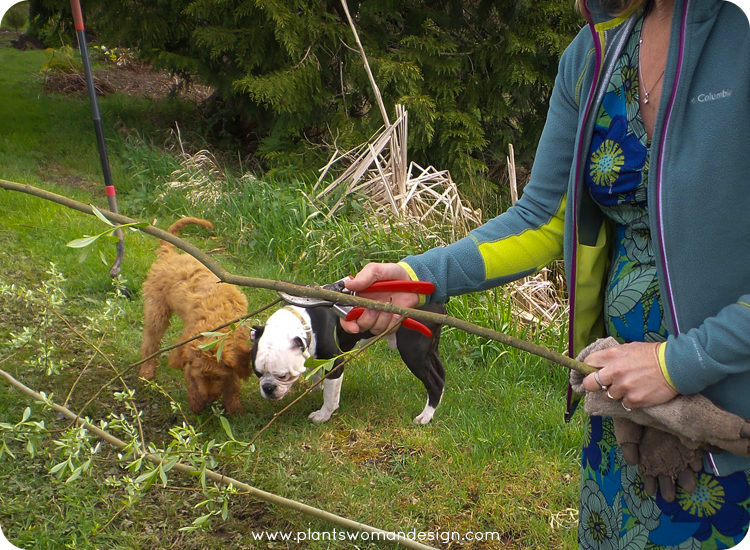 Choose long pieces and trim off lower branches. I left some of the upper branches because we will intertwine them and tie them together. You can see our helpers in the background.
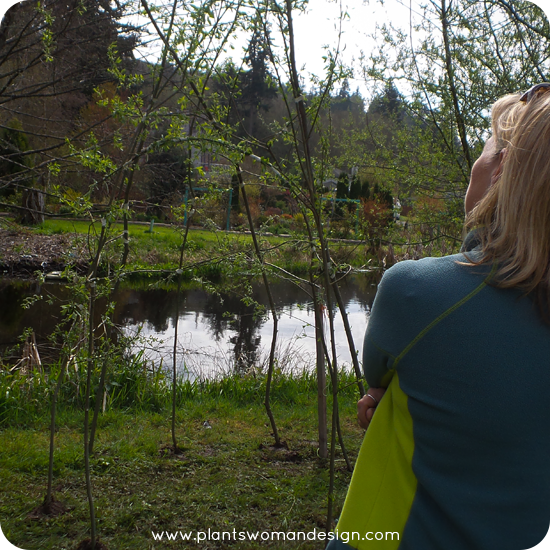
 To make your hide-out lay out a circle and check the inner size, I had my assistant stand in the middle of it to make sure it would be big enough for two kids. (Thanks Jen)
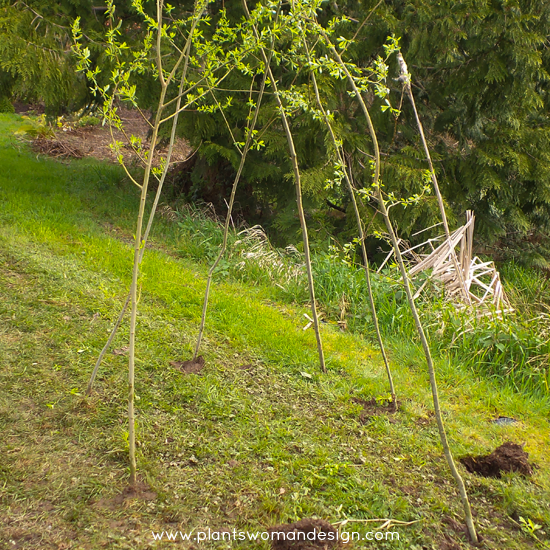
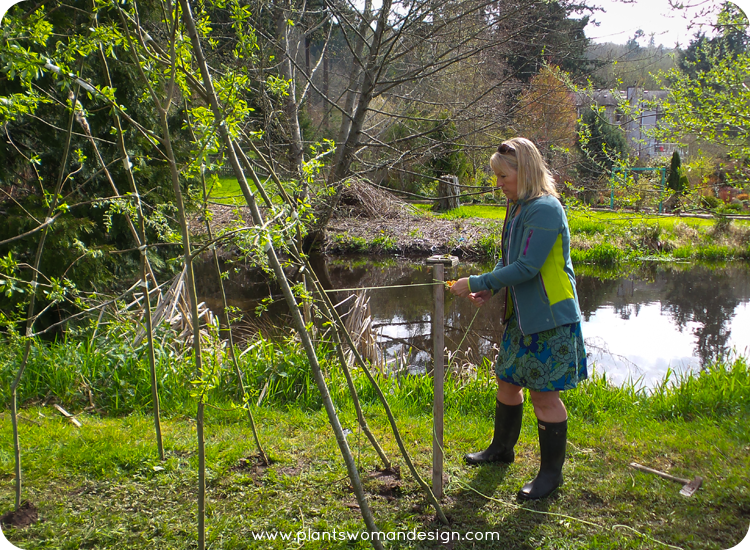
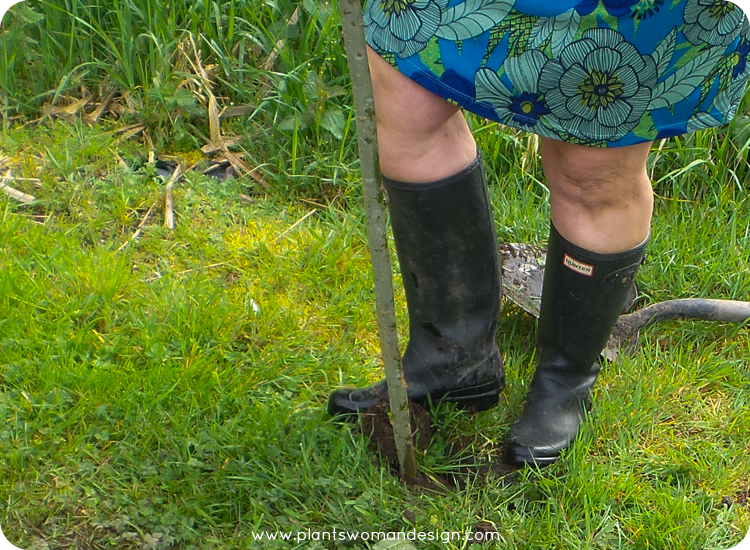 Using the shovel dig holes about 6 – 10 inches deep along the path you have laid out. Place the long willow pieces in the holes and stomp down the soil around them. This is a very wet area so the muddy soil held well. I planned the entrance to face the side yard with the pond behind the tepee. I was worried that some tumbling around might land the kids in the water so…. let’s be on the safe side!
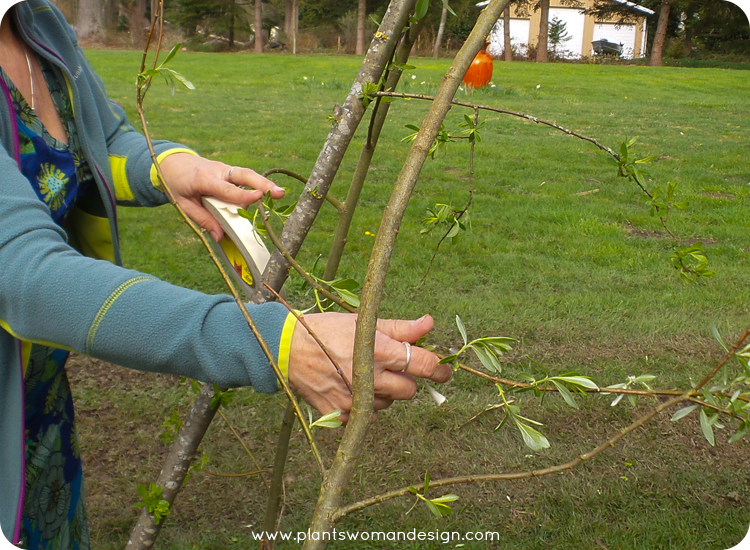
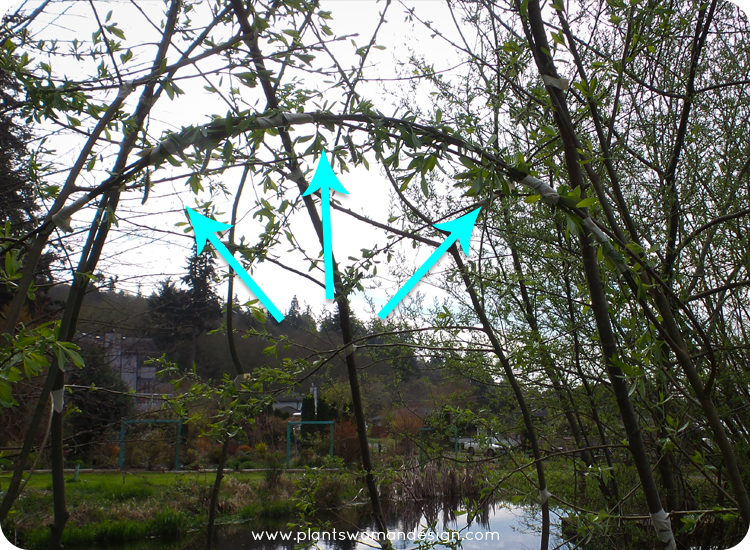
 Using the upper branches that are still left and start weaving them together. Using the tape to secure them together.
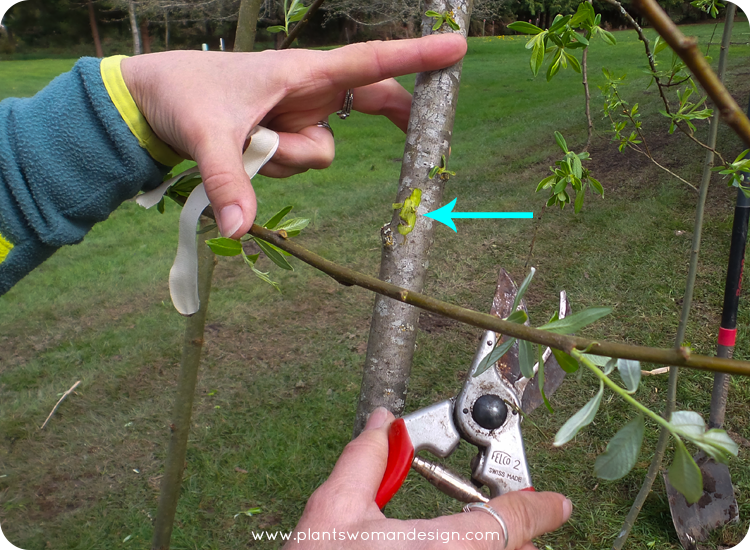
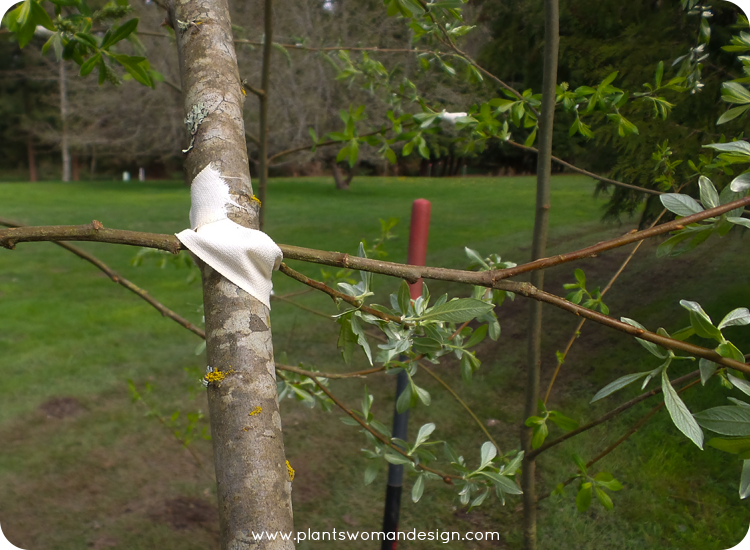 Choosing the strongest branches make a little cut on both sides of the branches and then put the cut edges together. Use the tape to secure the branches together so they are tight.
 Using the tape and weaving method connect the rest of the branches together. Now there is some danger of the grafts not taking because the willow have been cut and may not root out. I took some of the cuttings I didn’t use and put them into water to root them conventionally and will use them to re-graft later if necessary.
 Here is a close up of the archway entrance. You can see the tape holding all the pleached branches together.
 Place a stake towards the windward side of your tepee if needed. The structure will be weak until it is rooted in. I’ll keep you posted on how it roots in. The wax tape will fall off after about a year.

Interesting, and fun!
I hope it will turn out cool for the kids!.
Thanks for sharing how you did it, I’m curious,, how is it looking a few years on, any updates?