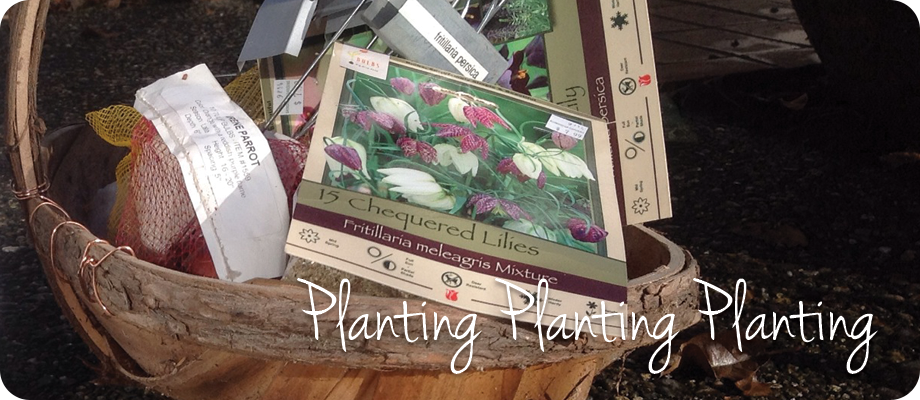
In between rain squalls yesterday I ran out and planted the bulbs I had stored in my refrigerator. I had planned on doing it sooner but the freezing weather for almost two weeks delayed the process. I like to group bulbs together for maximum impact, no rows of tulips and daffodils for me.
Here are some step by step planting directions.
1. Scout out a location. I sometimes do it from the inside of the house so I can see where they would be popping up. Two reasons really — It is usually cold and rainy when they appear and it is important to see it from inside to draw you outside to see them up close, and it is usually cold and rainy when you plant them so looking outside with a cup of coffee in your hand is a good way to get ready to go outside and do it.
Think about what is happening around the spot you have chosen. Perennials that will come out later and cover dying foliage is a good background or companion planting. Nothing too invasive or they will not get along well and the bulbs may not be successful over time. Deciduous shrubs are also great because they are not always interesting before the leaves come out and the bulbs will show well against the tracery of branches. Evergreen shrubs that flower in contrast to the bulbs are also a good choice. Like a Azalea Autumn Amethyst with late blooming orange parrot tulips. Purple with orange/purple/red blooms can add wow!
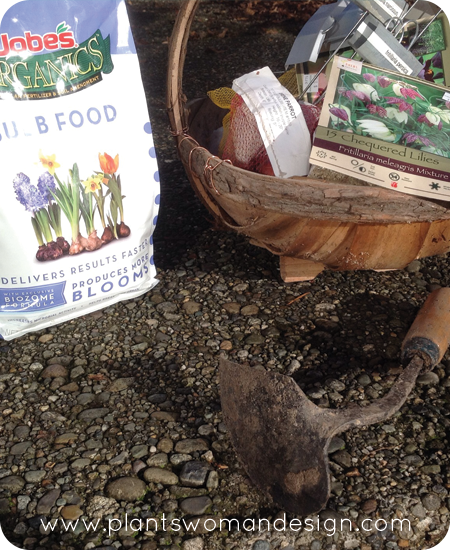
2. Gather your materials together. Grab your bulbs, pre-made markers to identify the location, a ‘claw’ (my favorite gardening tool), and bulb food.
3. Prepare your planting area and plant. Remove any weeds and dig a space with enough depth and breath to accommodate the bulbs. When you plant in a group you just dig one hole per group.
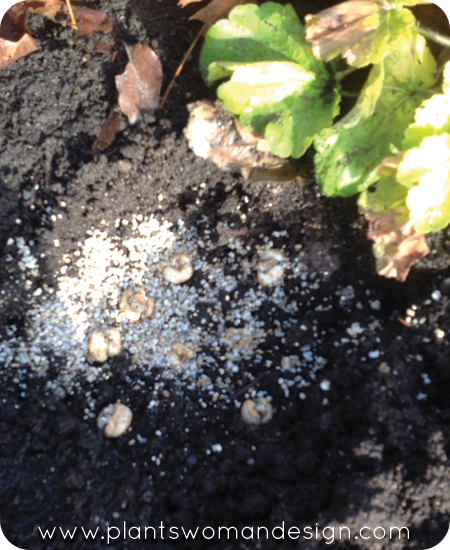
a prepared hole with bulbs and bulb food.
The general rule is depth three times the size of the bulb. This means a one inch bulb would be planted three inches deep. This is most important with small bulbs not to plant too deep. Spread isn’t that important but you want to leave room for them to multiply so I usually leave a fist sized space between them. I add the bulb food on the bottom of the prepared area, then place the bulbs on top with the bud end up. This usually means the pointy end but it is sometimes hard to tell . Look for bits of roots which would have been the bottom.
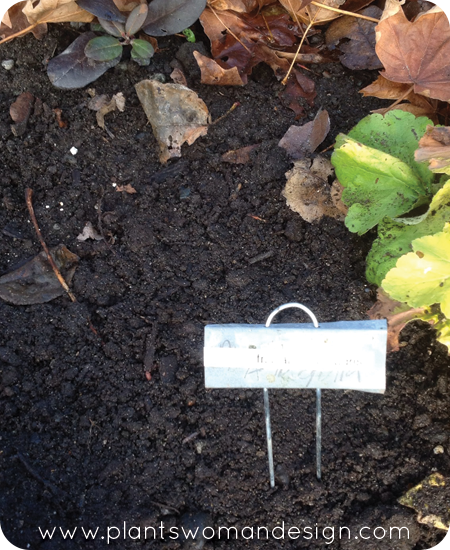
all covered up and labeled