by Susan | Nov 5, 2014 | gardening
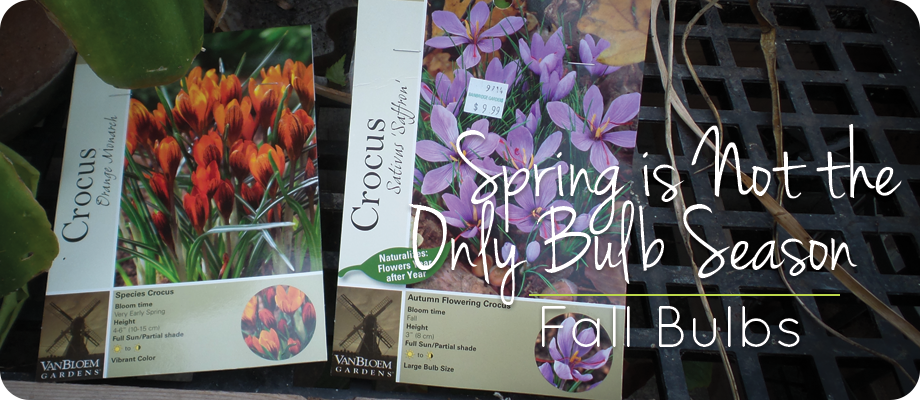
Some gardeners are unaware of the other season for some bulbs. Yes, there are summer blooming bulbs, like lilies and gladiolus, but the fall is another great time for bulbs. Fall favorites include Colchicum, saffron crocus and the Nerine.

image from www.pacifichorticulture.org
The Colchicum, which is an old fashioned bulb, is usually found in old homesteads. It is a fall blooming crocus that has large bright lilac blooms. The leaves come out in the spring and create energy for the bulb underground. In the fall the leaves die down and the blooms come out. Very cool and light under a tree.

image from www.sunset.com
Another fall blooming crocus is the saffron crocus, crocus sativus. This is a beautiful more traditional crocus in size but has the added benefit of saffron threads. If you have ever cooked with saffron you know how expensive it is. Here is a really good way to grow your own! Luminous purple with red orange long stigma (saffron) and yellow pistils, they are stunning! These are available at nurseries and on-line (I can’t say it enough, buy local!). They can be planted now and you should see results in the late fall (in my Zone 7 garden).

One of the holy grails of bulbs and little known in cultivation in the Pacific Northwest is the Nerine. This is a beautiful mystic flower. I found one in the cut flower section of my local florist this month and was again reminded of their loveliness. They are mostly from South Africa and are not hardy here. The Nerine Bowdenii is hardy in our area. More cultivars using the Nerine Bowdenii have been developed and new color changes have been created. Many gardeners grow nerines in their greenhouse. The Pacific Bulb Society has good information on growing and displaying nerines. They put me in touch with a website that have nerines for sale at a reasonable price. Nerine undulata is on its way to me even as we speak. It is not hardy here but I should be able to keep it in my greenhouse. This nerine blooms in the summer and is beautiful and spider like.
Here are a few Nerines on order from www.telosrarebulbs.com.

image from www.telosrarebulbs.com
6450 Nerine masoniorum Zone 7-10

image from www.telosrarebulbs.com
6460 Nerine sarniensis var. corusca major zone 8 – 10

image from www.telosrarebulbs.com
6471 Nerine hybrid ‘Venus’
The Nerine hybrid ‘venus’ has nerine bowdenii as a parent so it is hardy to zone 7.
In case you were wondering how to plant these lovely bulbs take a look at the video below.
by Susan | Nov 1, 2014 | gardening, Plantswoman Design
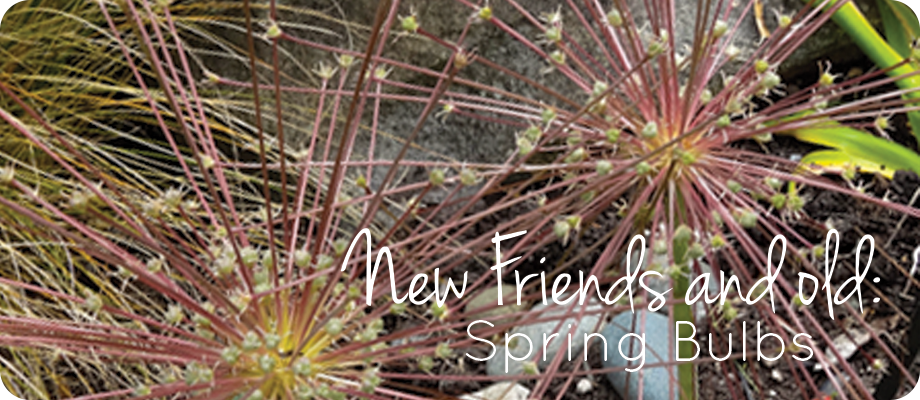
Knowing what you like is a good thing. Trying something new is a good thing. Heading into the fall and thinking about spring bulbs I have to think about both things. One of my most favorite bulbs is Allium Shubertii.
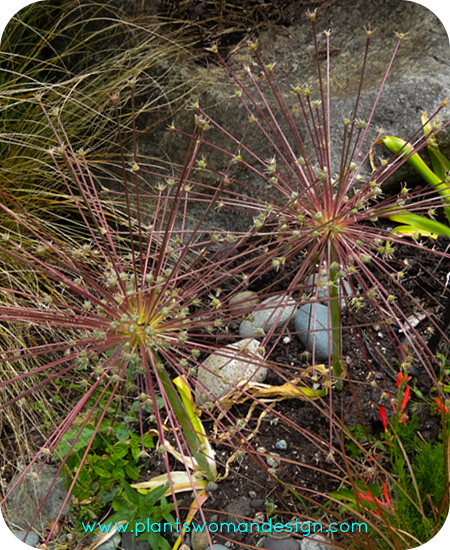
Growing at the top of the path to the bottom garden in my old garden it never failed to amaze. In the late spring the leaves would show up and then the blooms fast behind. As the season ramps up the blooms loose their purple and become a wonderful honey color. I always pick them and bring them indoors. The uses indoors are unlimited. I use them as sculpture, spray them with white paint and glitter, (watch for them in gather post coming up), and stack them in old wooden troughs with other drying foliage. A must have for my new garden. Beware where you plant them. A customer in the city complained that passerby’s stole the bloom and even the bulbs from the planting by the sidewalk. Addictive is a word to describe this bulb!
Another must have is a species tulip batalini. There are two cultivars available one is bright gem and the other is bronze charm.

image from Pacific Bulb Society

image from tulipbulbs.com
This sweet little tulip is perfect for the edge of a path. I like it up on an edge of a rock wall that you walk past. I planted 6 several years ago and they multiplied to about 25. They like quick drainage, are drought tolerant and surprisingly deer resistant. For some reason this usual deer candy (tulips) is not a favorite. I love not worrying about them at all. Slugs don’t care about them and as you are walking by them they seem to pop up out of nowhere to cheer and surprise you.
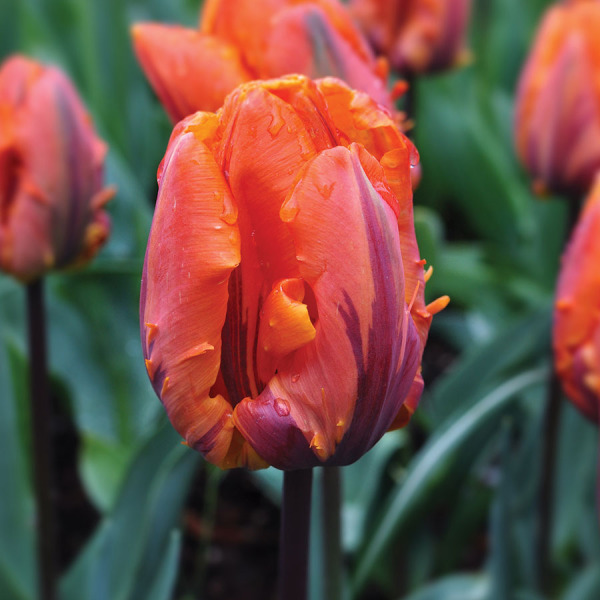
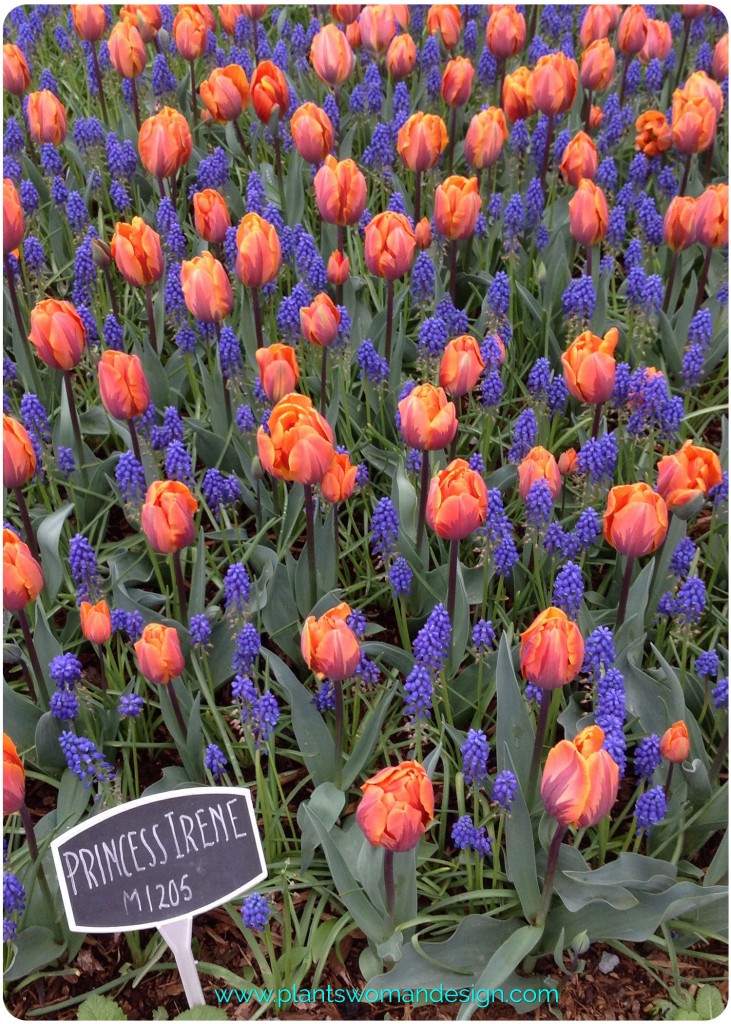
This year on my new list is a couple of items from the tulip blog this past spring. www.Tulips.com is the website for the Skagit Valley tulip festival bulb producer, Roozengaarde, that sells the bulbs you see in the fields. My tries this year will be a parrot tulip called Irene, orange with reddish purple flames.
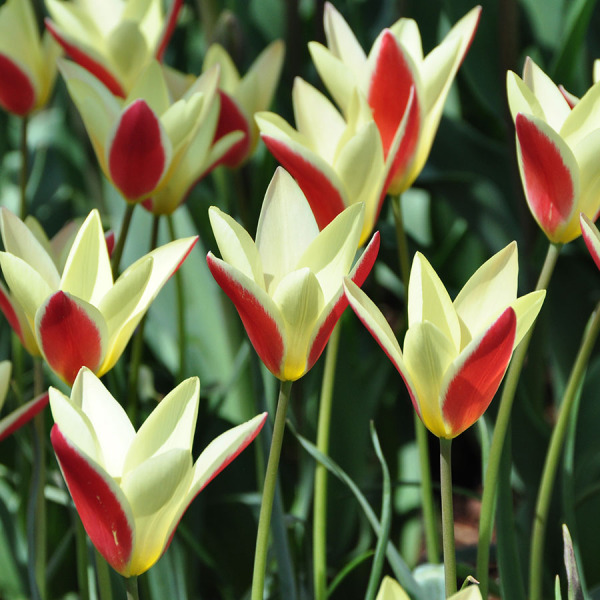
Another Species Tulip called clusiana Carmine, red with white edge (looks like the same cultivation as the Batalini tulip). They should be really great.
Clusiana at www.tulips.com
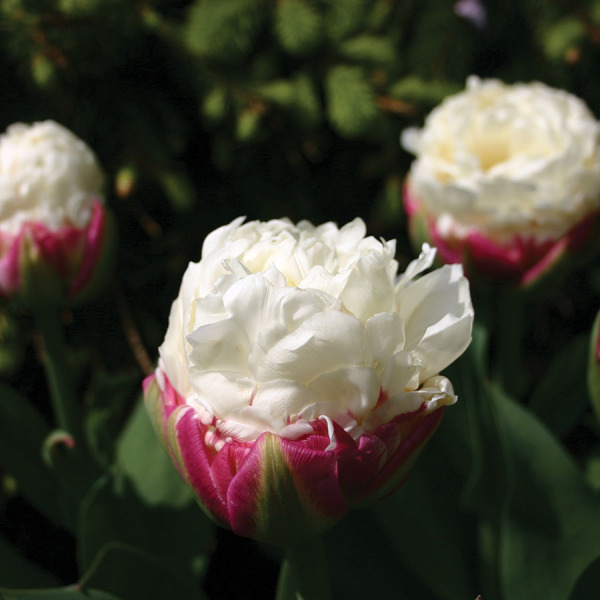
Sometimes there are special cultivars that are developed and tested one of which is the Ice Cream Tulip. I’m not sure that it will be a hit or not. It is dark pink on the outside of the tulip and has a raised section in the middle that looks like ice cream in a dish. Check it out and tell me what you think.
Ice Cream Tulip at www.tulips.com
At the Northwest Flower and Garden Show Last year one of the other gardens had a beautiful white tulip that was forced from the gardens in the Skagit Valley. Tulip ‘The Edge’ was amazing. It has great foliage with a small white edge of color on the leaves and pure white bloom.
The Edge at www.tulips.com
I ordered them last week and they were delivered today with instructions to plant immediately. I waited to order because it has been warm here. Sometimes if you put spring bulbs in the ground too soon they will start to sprout. We get some good cold weather but this year it hasn’t been cold yet. Gardeners in warmer climates will have to chill in a refrigerator and plant about 12 weeks before you want them to bloom. Good instructions for planting in warm climates is available on the website.
Valley Nursery had a new tulip on the shelves when I went to get bamboo for a customer. (always a danger). Tulip ‘Clouds of Cotton’ looks to be really beautiful. They have a new home in one of my new planting beds. I’ll be looking forward to seeing the blooms and reporting on how they do.

image from www.pikenursery.com
Here is a note to other on-line shoppers. I have ordered from other on-line bulb places in the past. I have not had good luck from the so-called discount bulb sellers. Last year the bulbs I ordered for the garden show had a less than 50% germination rate. Other garden creators had ordered from a local source and they had great success. I would have to say BUY LOCAL!
by Susan | Oct 29, 2014 | LB Tutorial: Recipes
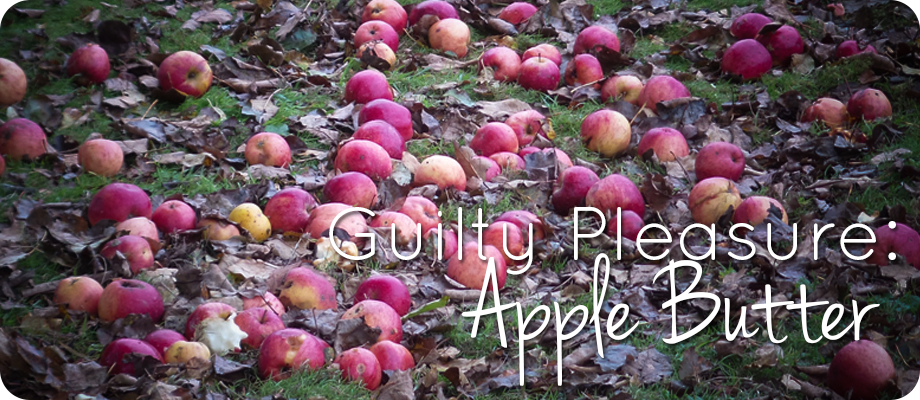
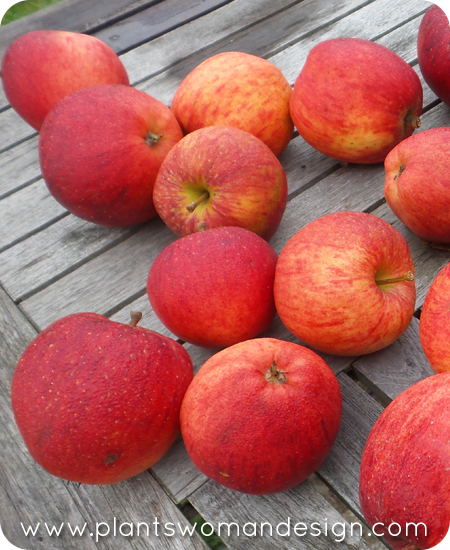 We’ve been mostly enjoying the 6 apple trees that I inherited over the summer with the new house. The one closest to the house has been bombing me most of the summer. It is very overgrown and branches were reaching over the top of the house. Many times at night I was woken by ‘bomb’s’ of apples hitting the roof tiles and rumbling down to the ground. Finally that tree quit when all the apples were down and removed by me. Some were eaten but most of them when into the compost pile. Yes, I did put the word out for volunteers to come and take apples but got very few takers. Now the apple trees further out are ripe. The geese in the neighborhood all know about the free food so they are hanging out all the time. Not being able to stand the guilt from not picking and using them I’ve started using them, apple cake for a dinner party, applesauce on Friday (it was ok with a sweet flavor) and apple butter today… Some friends came and got some yesterday, which was nice. I was wondering if anyone made apple butter anymore so I looked up a couple of recipes online and found a lot of information. Of course I could not use just one recipe but a mixture of several to come up with an apple butter all my own. I wanted a twist so this one has apple brandy added and I used a crock-pot because many recipes said you could use one to help the slow cooking process. It was great! Some recipes call for just putting the finished apple butter in the refrigerator and serving after a couple of weeks but I prefer to put it in canning jars and use a water bath process to preserve it.
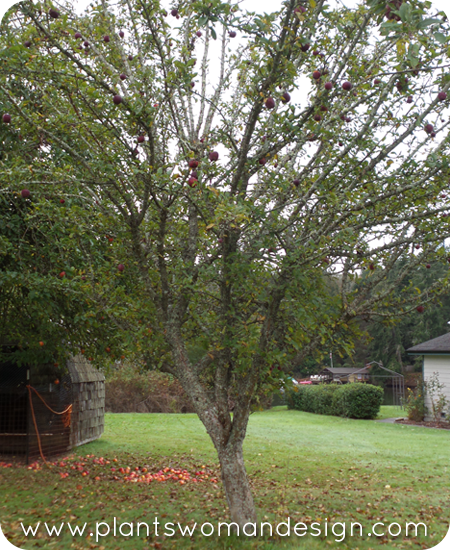
Of the three trees that are ripe now, there are two red delicious apple trees and one unknown variety. The red delicious apple used to be the best eating apple in the 1970’s. Usually grown east of the mountains they don’t usually do that well here on the west side. These, however, are very very good. Most recipes call for mixing varieties of apples for flavor. Red delicious apples are not usually good for cooking so mixing them was a good idea. Here’s the recipe I used.
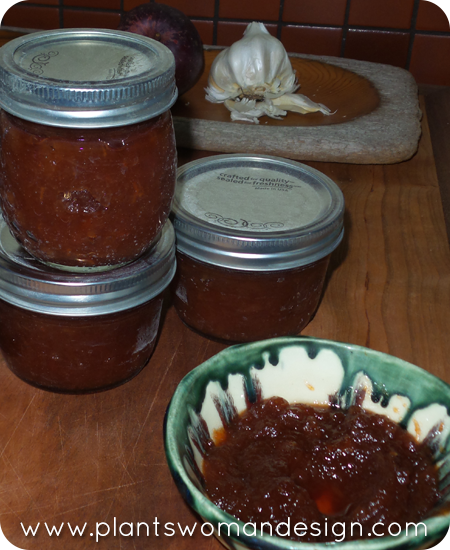
Ingredients:
- 3 Quarts of a variety of apples
- 3 cups plain sugar
- ½ cups water
- ½ cups brown sugar
- 1 tsp ground cinnamon
- 1 tsp ground ginger
- ¼ tsp ground cloves
- 1 cup apple brandy
- 7-10 ½ pint jars with lids and bands
Step One: Peel, core and chop (not too small) your apples and place in your crock-pot. Stir in the plain sugar and water and heat on high until the mixture comes to a boil. Turn the crock-pot down one level and cook for another 1 ½ hrs or until apple chunks are softened.
Step Two: Add remaining ingredients (brown sugar, cinnamon, ginger, cloves, brandy) and let cook another 2 hours or so. The apple butter will be done when it reaches a dark caramel color and stays firm when cooled on a spoon. I like my apple butter on the chunky side.
Step Three: Sterilize the ½ pint jars and lids. Pour the boiling butter into the jars and process them in a water bath for 25 minutes. (new to canning click here for more information)
Try warm bread and butter with a spoonful of apple butter for a great fall treat!
by Susan | Oct 24, 2014 | gardening
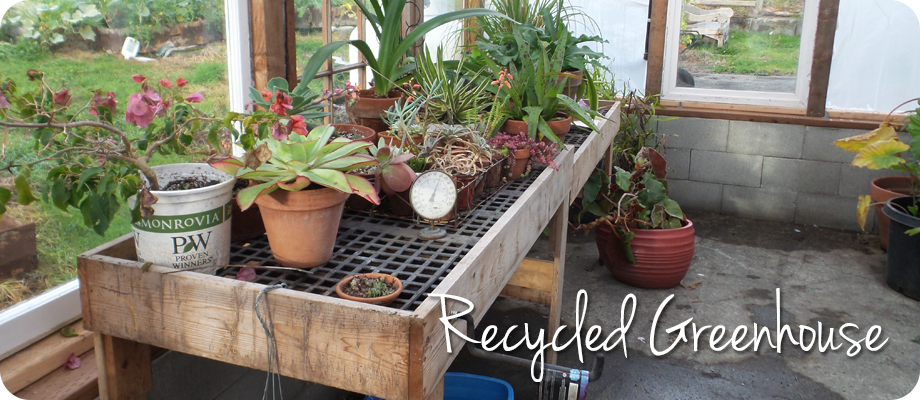
When I left my other house I left a little greenhouse. It was only about 10X 15 and under a deck. It didn’t have much light and I used a heater to keep it warm with florescent grow lights.
I need a place for my non-native and non-hardy plant obsession which my place didn’t come with. I have several New Zealand plants, a red banana, orchids and clivas that will certainly need a home sooner rather than later.
Why not design a greenhouse? I though I could give it a whirl so I started out with a base of concrete block. It was set out and partially filled with concrete mix for stability.

Then off I went to a couple of places that reclaim building materials to look for some old windows. Ballard Recycle and Reuse had some great windows and a good storm door. The windows were $5.00 a pane and the lovely green door with brass knobs and kickplate for $45! Restore, a Habitat for Humanity store, is another place that has some great windows. I don’t have enough windows to do the entire greenhouse yet so we installed them on the bottom section. I used 9-mil plastic to cover the rest of the greenhouse. When I get some more windows I will replace the plastic as I go.
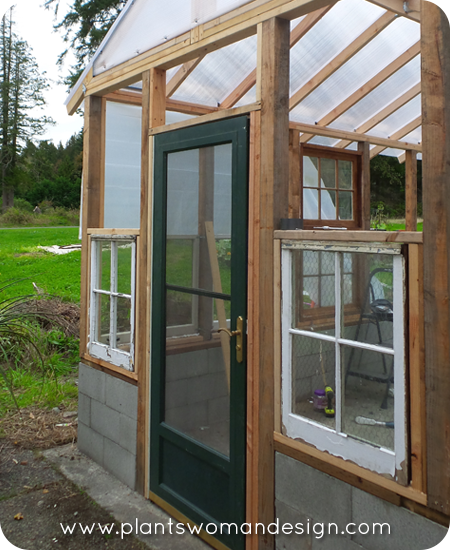

I did spend a little money on the roof. Sunlite panels and rafters gave some room for the banana, the old greenhouse always struggled to contain the leaves. They would keep growing even with the little bit of winter light.
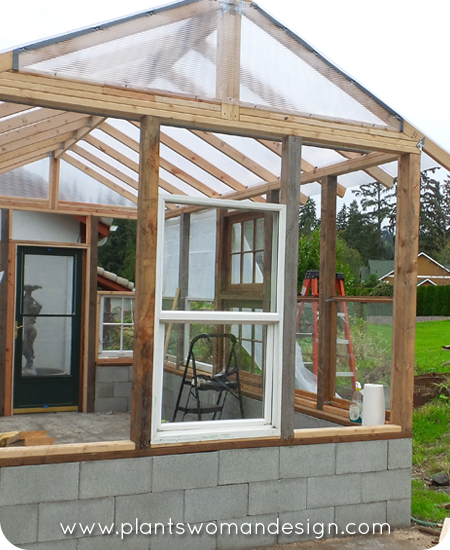
I had some tables from the old greenhouse that I reused in the new one. A couple of lights and a fan will also hang from the rafter with a new heater in the back. There is circulation from a window beneath the heater and the door with and screen door panel.
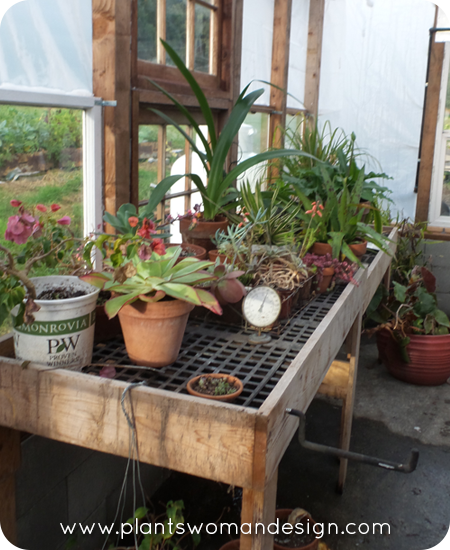
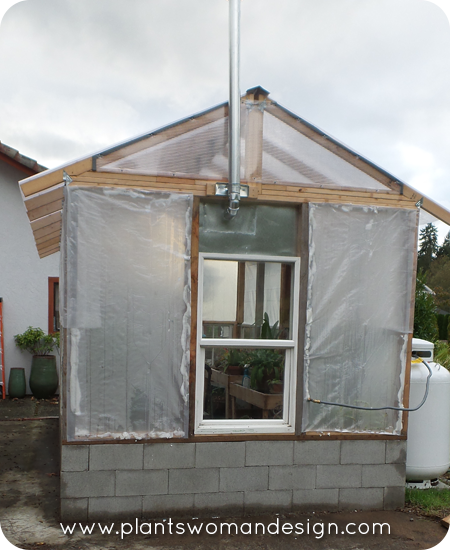
Eventually I will be able to put some rock on the sides of the greenhouse with mortar. I will have time to make it pretty later for now it is functional.
by Susan | Oct 22, 2014 | LB Tutorial: Growing Food
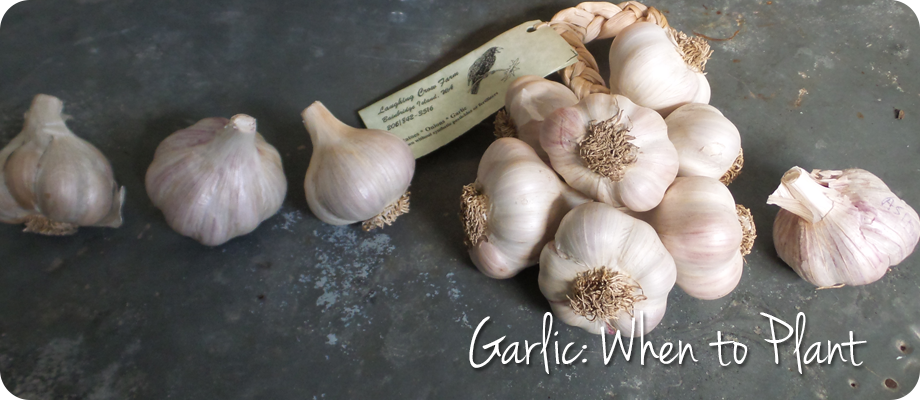
Here in the PNW we don’t really have to plant garlic in the fall. There are fanatics that say ‘have to’ and other that say ‘no big deal’. I even read a article from Gardeners World from England about the controversy of planting garlic in the fall. The general consensus is that hardneck varieties should be planted in the fall and softneck varieties can be planted in the spring or fall. Hardneck varieties can be grown in very cold areas where there is snow cover. Softneck varieties can be grown in all milder areas in the spring or the fall. Softneck varieties keep really well up to 1 year when properly cured. Harneck varieties are often milder and have interesting flavors. (yes flavors in garlic who knew?) One of reasons fall planting is suggested because the bulbs have a longer season to put our roots and increase in size. It is suggested to plant no later that end of October in our area.
For my experiment I am going to use garlic grown here on Bainbridge Island from the Laughing Crow Farm as well as some others.
The hard neck varieties :

photo from www.territorialseed.com
Chesnok Red Garlic – Late-season. Characterized by its beautiful purple stripes, this Middle Eastern hardneck comes to us from Shvelisi, Georgia. One of our best all-around cooking varieties because its full-bodied flavor lingers and is retained after cooking. Especially nice choice for baking as it has a very creamy texture. Easy-to-peel. Stores 4-6 months. (Territorial Seed)

photo from www.gourmetgarlicgardens.com
Russian Red – Russian Red is a Rocambole garlic with a rich, musky, garlicky flavor and is very hot when eaten raw. Rocambole garlics have brownish-purplish bulb wrappers and easy to peel brownish clove covers and so does Killarney Red. Rocamboles are valued for being early harvesting full flavored garlics that you can enjoy while waiting for the longer storing ones to mature and harvest. Russian Red’s cloves are all of similar large size with no small cloves. Usually harvests in late June/early July and stores into mid-winter at room temp.
Soft neck varieties:

photo from www.burpee.com
Nootka Rose Garlic – HEIRLOOM – Silverskin softneck with bright white skin and rosy streaked cloves; excellent for braiding. Nootka Rose is a late maturing garlic – the latest variety among the Silverskins – but well worth the wait. Flavor is rich and warm, but not overly hot. This is a very long-storing garlic that easily holds into the next spring or even summer. This heirloom comes from the San Juan Islands off the coast of Washington. Softneck. (High Mowing Seeds)

photo from www.gourmetgarlicgardens.com
Asian Rose Garlic – A smooth, silvery-skinned garlic with rose-colored cloves and mild flavor, it ingeniously evokes and amplifies the flavors of other recipe ingredients. This is the garlic of choice for braiding because it keeps for 6 months. Bulbs are loaded with up to 12 cloves. Very fast-growing. Softneck variety. (Gourmet Garlic Gardens)
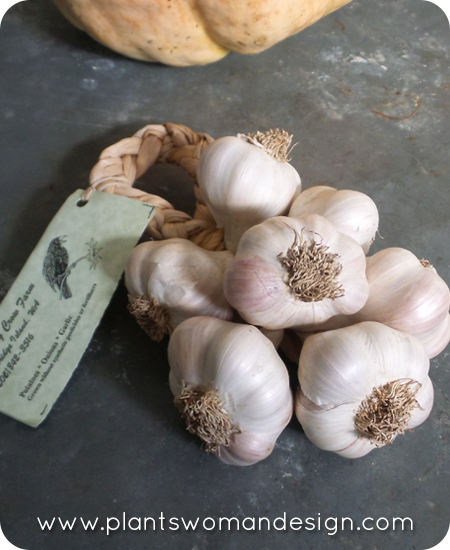
Silver White – It has silvery skin, easy to peel (slip skin). This is the last garlic to mature each season and they store the longest. Wrappers are tight and creamy white. Great garlic for braiding. When grown in northern (cooler temperatures Silver White can have quite a bite when eaten raw.. It’s a lot mellower when cooked.
I will plant one row of each and then eat the rest. Maybe I should have a garlic tasting party. Would you come?
by Susan | Oct 17, 2014 | garden travel, gardening, plants
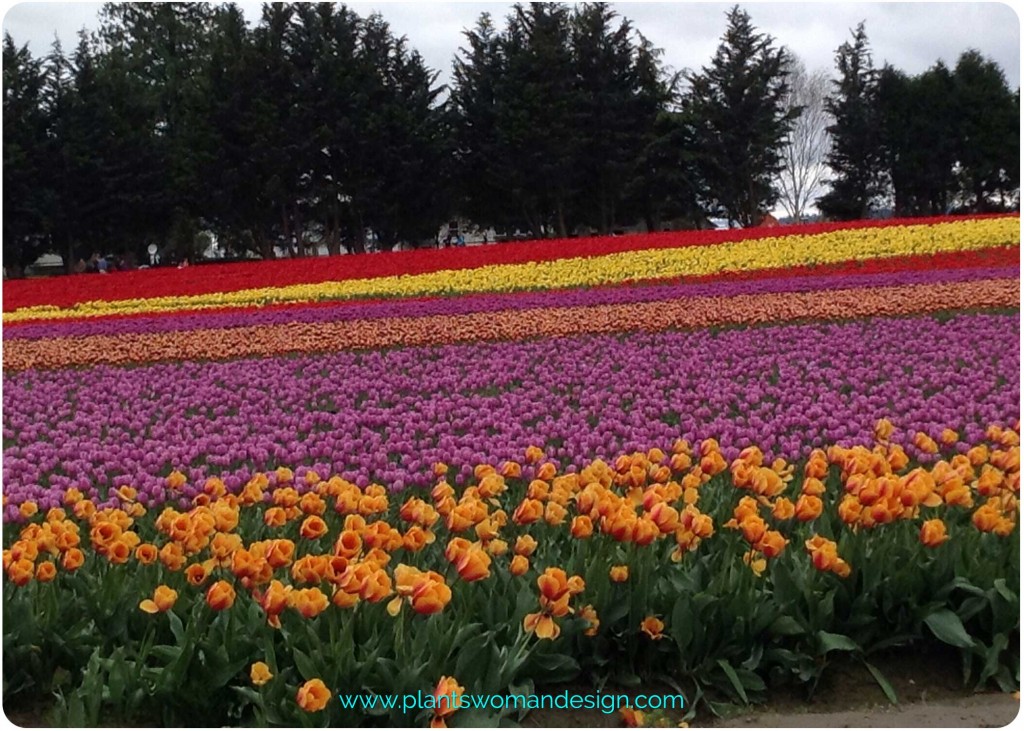 Remember the blog post from this past spring when I visited the tulip fields in Mt Vernon? They had the most spectacular display gardens, I took lots of pictures, you can read about it HERE. Now is the time to order. September through December you can pick bulbs from the list at www.tulips.com and they will send them off to you. I was not ready to pre-order last spring because I didn’t know where I was going to be. Now I’m ready and I’m going back through the pictures I took to get the labels. If I find a tulip I like I take a picture of the tulip up close and then a picture of the label. I try to always keep them in order so I can see which goes with that but it isn’t hard to figure out if you get mixed up. They have lots to choose from. Remember deer love tulips so if you have lots of 4 hoofed friends choose either daffodils (narcissus) or Allium bulbs. They are not on the favorite food list.
I discovered the difference in these bulbs last year. For the garden show I got quite a few bulbs online from another company and got a 20% successful force rate. That is horrible. Another designer had forced bulbs from Roozengarde and they were absolutely stunning. OK…. Buy Local!!
Are you planning on planting bulbs? What varieties have tickled your fancy this year?
by Susan | Oct 15, 2014 | gardening, Plantswoman Design
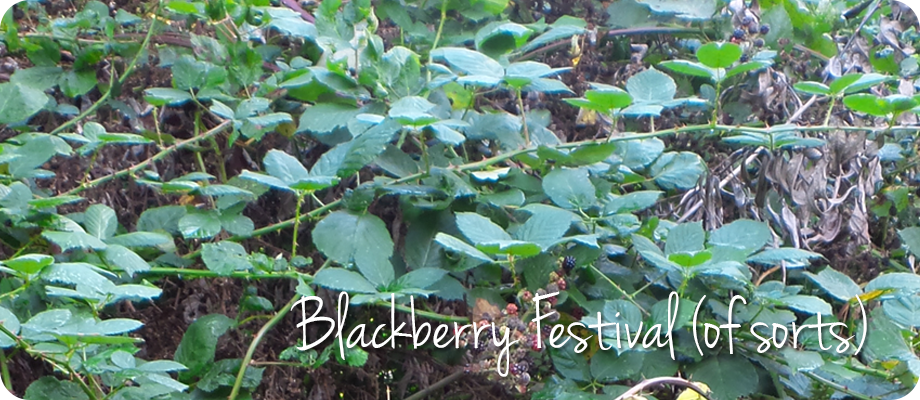
Really, there is a blackberry festival in Bremerton, Washington. They celebrate blackberries. Fun runs, children’s events, and food and wine made with blackberries. I kind of get it but the Himalayan blackberry is a terribly invasive weed. Much like kudzu in the south, blackberries are attempting to cover the world. They spread by seed, root where they touch the ground and send underground runners. Himalayan blackberry was brought to the PNW by Luther Burbank in 1885. This plant was lauded and sold in nurseries. The plant spread outside the garden and has been a problem ever since. The city of Seattle alone is attempting to eradicate the blackberry from 2500 acres of parkland. They estimate that 20 percent of parkland are covered by the invasive weed and estimate that it will cost $ 25,000.00 per acre to remove it.
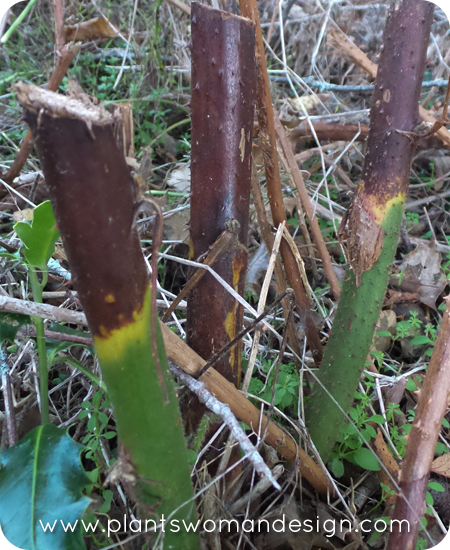
Keeping with the spirit of things I had my own blackberry festival this weekend. About 30% of my property is covered with this weed and I have battled them since I moved in. Cutting them down with a bladed weed trimmer, spraying the regrowth with brush killer then finally digging out the node that is just below the ground. Here is a picture of the stems of a plant that I cut down. The vines were climbing up a tree and were well over 30 feet high. Now that’s a weed! What is even more disturbing is that after an area was cleared of blackberry I found Bindweed and yellow archangel growing in the cleared off soil. Both of these are on the noxious weed list too!
All three of these noxious weeds are considered class C noxious weeds by the Washington State Noxious Weed Board. This means individual counties can determine the control measures within the county. Class A noxious weeds are controlled by law. When you get around to it the topic of noxious weeds is very interesting reading. Many gardens in Washington have several of these weeds in their garden beds. Several years ago I found Milk Thistle on a garden center bench for sale and wanted to pitch it. It is good to be aware of what is out there, what you might have in your garden, and what you can do to control weeds in your area. The website has good suggestions for how to eradicate and what the weeds look like. Get out there and start weeding!
Check out this link http://www.nwcb.wa.gov
by Susan | Oct 10, 2014 | Community Gardens
Yep that’s me. I’m on the way to the airport, driving through Tacoma, and out of the corner of my eye I see a Community garden. Stop the car… Out I jump at this great little garden at the Salvation Army in Tacoma.
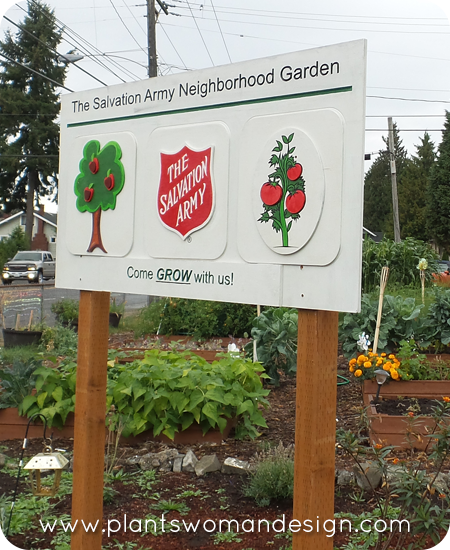
A vacant lot has been turned into raised beds community garden style. It was so fun to tour the beds and see signs where people were proudly claiming their section of the garden. I think it is so cool to see people growing vegetable and fruit but its really cool to see people growing flowers just for pleasure.
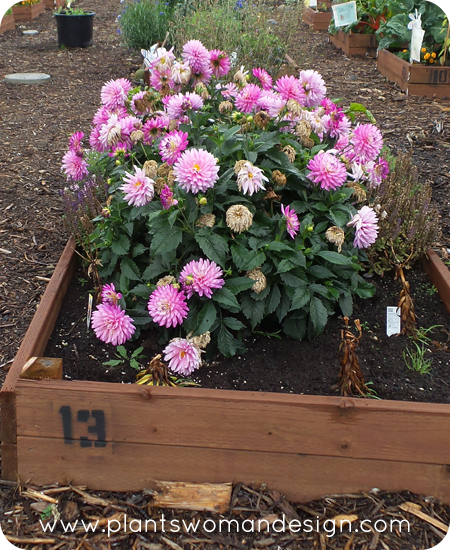
Several beds just had flowers, bright spots in an rougher urban area.
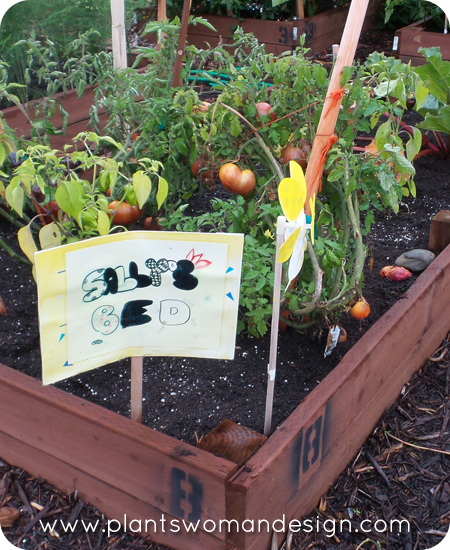
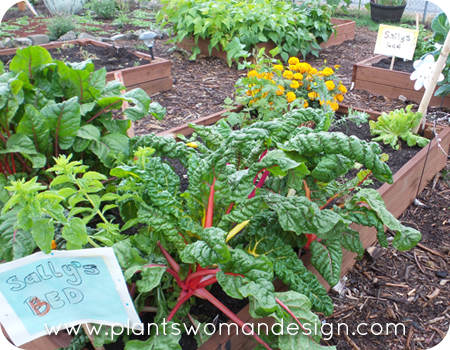 While I was touring I spotted a gentleman tossing debris so I asked him about the garden.
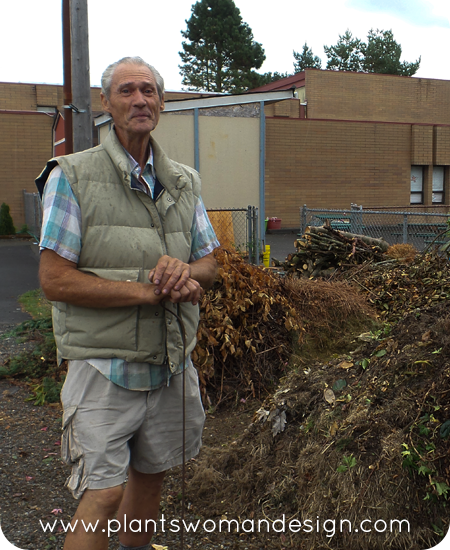 He told me his name was Claude and he was in charge of making soil (he laughed and said get it Claude? ) then he explained his formula for making soil. He uses weeds, leaves, woody twigs and cardboard. He piles the debris into separate piles for a month then he creates a pile that incorporates all the elements with cardboard in between. Within another month the soil is ready. He showed me his pile of ready soil and it looked awesome. Light texture, with some small twigs and dark color.
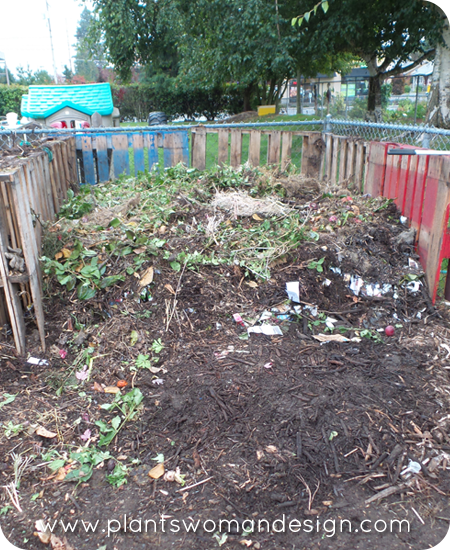
We talked briefly about Tagro which is a sludge byproduct sold by the City of Tacoma. It was given to the garden for free but Claude did not like to use it. He said it was ‘junk’. I used it years ago and found it lacking also. It had a good beginning composition and spread easily. It worked for about 6 months. Then the soil turned into raw sawdust. This was the filler that they used to mix the sludge in with. Plants struggled from there on out because the un-composted sawdust robbed plants of nitrogen while it broke down further. I’ve seen this same soil making method in England and have used it in my compost bin to create good light compost.
Claude says that the garden works well. He has been involved in several other Community Gardens, but this one works really well. He feels the key is to have people working in the garden that work for the garden as a whole not just their own beds. There are several volunteers like Claude that help with soil, weed the edges and the pathways and help people who work and can’t get to their beds during the week. He even met his current girlfriend while they worked in the garden together. Their shared interest in the community garden turned into a shared interest in each other.
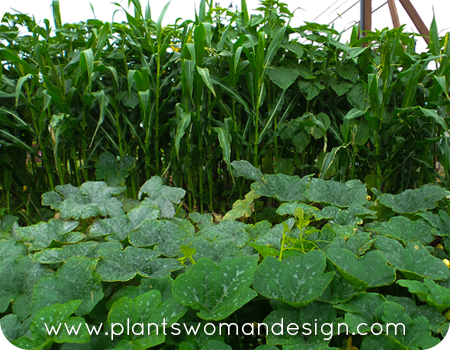
The gardeners here pay $40 per raised bed. All the beds are occupied and they have a waiting list for next year. There is another vacant lot next door that the Salvation Army is going to clear and create more space for the garden.
I jumped back in my car and got on the road to the airport again. It was so fun to stop and meet another gardener. Claude gave me his email and phone so we can keep in touch. I love the stories behind community gardens and the differences between them. Check out your area and see what is near you. Send me an update on cool gardens you find.
by Susan | Oct 8, 2014 | gardening
My containers are looking pretty bad.
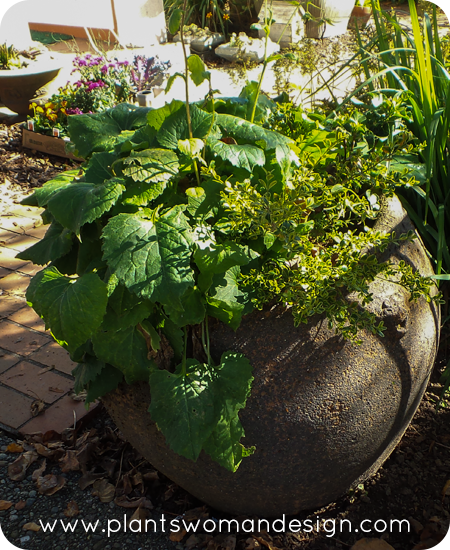
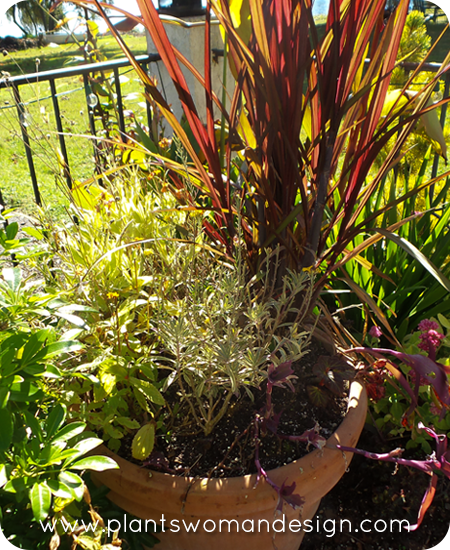 The other container that I did in the spring blog looks good still, just dull and is not blooming.
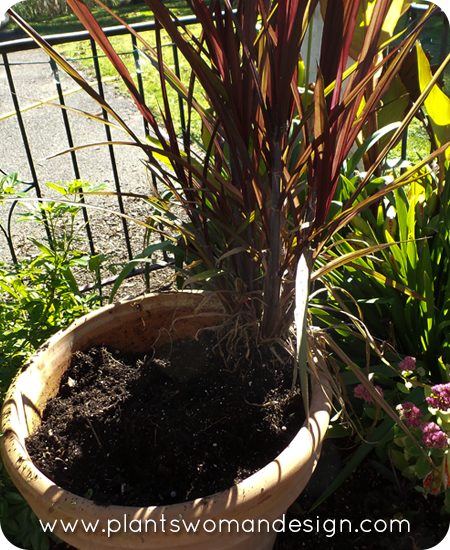
So, it’s time to replant the terra cotta pot. I took all the plants except the large pennisetum grass out of the terra cotta container; it will be good for height in this planting combination. I went to the nursery and grabbed some violas, White and purple cabbage and purple mums. There is also a really cool corkscrew rush that I will use as a center for the rustic container.
I use the same design principals in the containers as I do in the landscape. Since both of the containers are in the same general area and can been seen from each other I will use some of the same elements in both containers in different combinations. Repetition of plant material will help the design look cohesive.
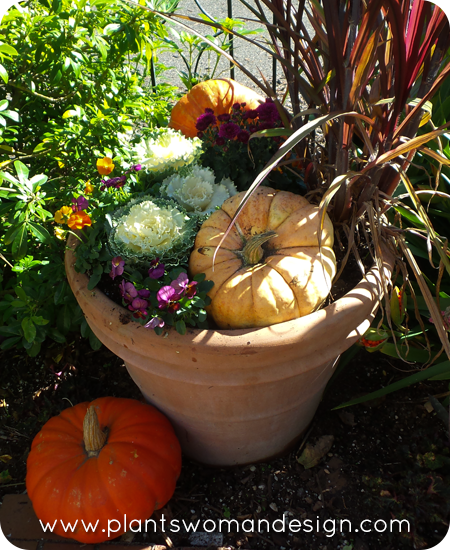
In the terracotta container I put in pennisetum purpureum vertigo, white and green cabbage, Penny Orange Viola, Orange sorbet viola, Purple Mum. For accent added Cinderella Pumpkins, and a ‘pink’ pumpkin which was more orange than pink.
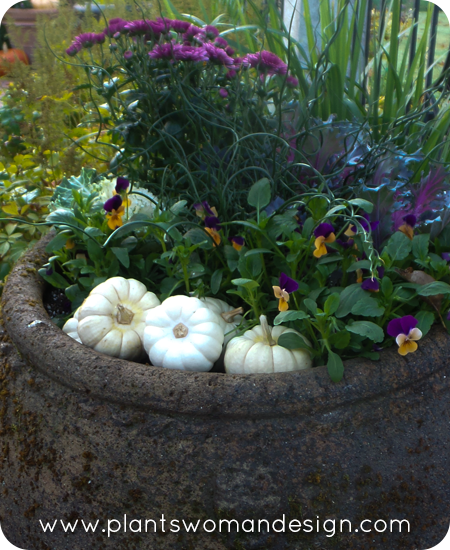
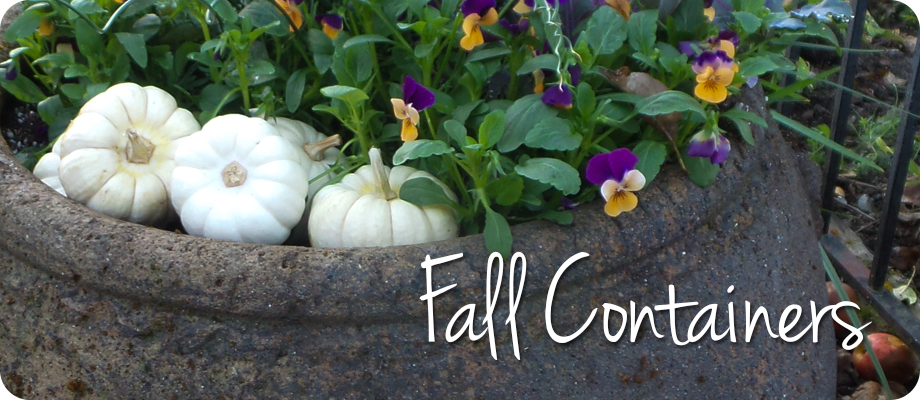
In the rustic container, Juncus –Corkscrew rush, Regal Cheryl purple mum, White Cabbage, Purple Cabbage, plum antique viola and white mini pumpkins.
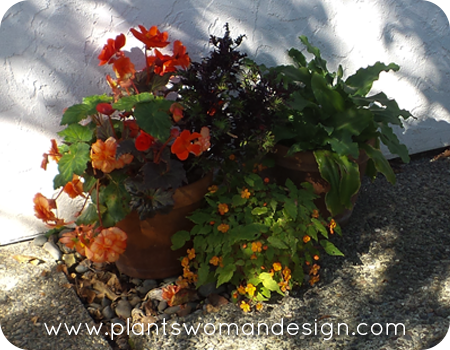
These two containers are close to the other two. They were planted in the summer and the combination of the orange begonias and the purple-fingered coleus go with the purples and orange in the new containers. They will continue to put out blooms and color until first frost.


