by Susan | May 2, 2014 | Traveling Plantswoman
Sometimes people ask me ‘where do you get inspiration?’ I would have to say I go back and reconnect with the reasons I became a Landscape Designer in the first place. The wonder of spring, the fall colors, the cold winter with blooms still in evidence, the contrast between warm, cool and everything that happens in the middle. All of these things inspire me.
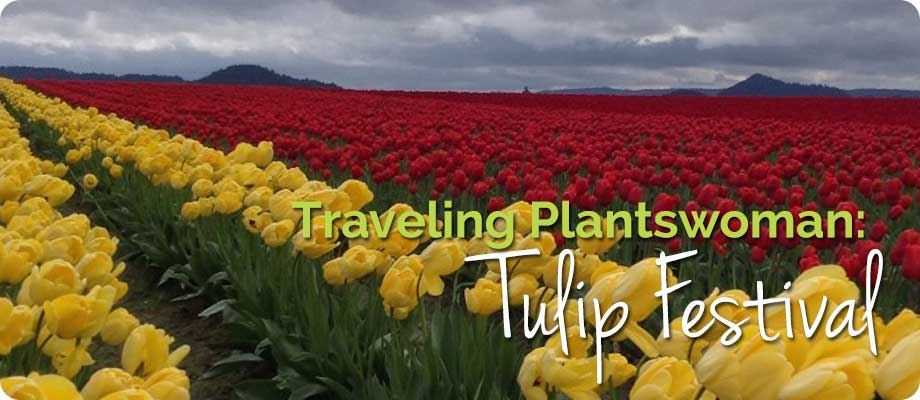
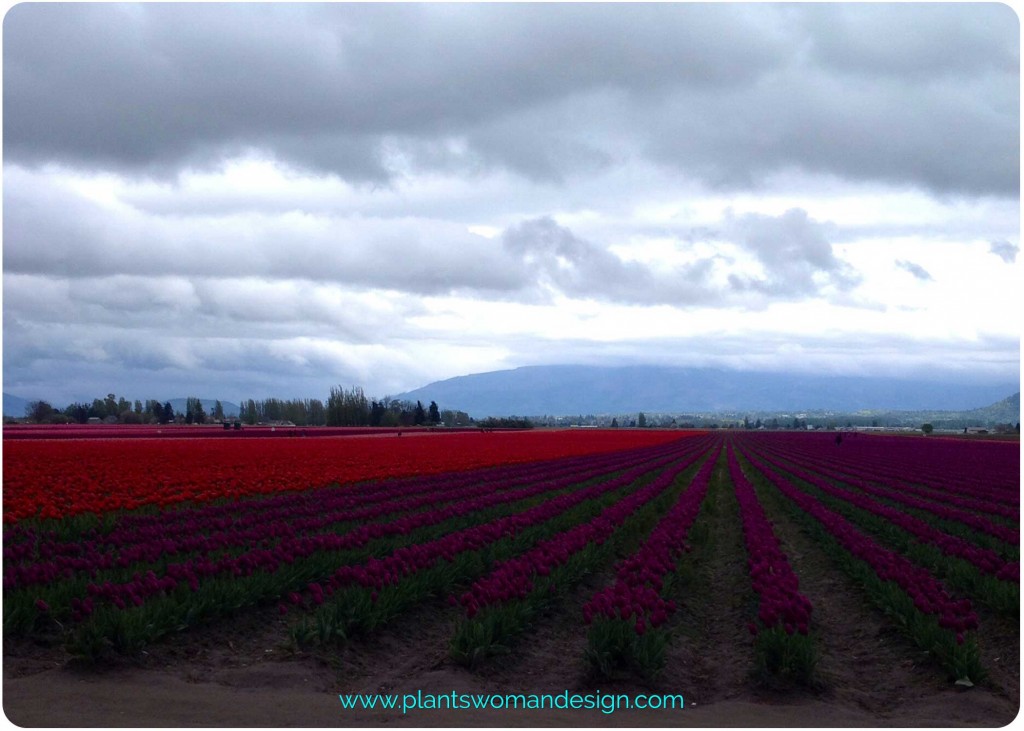
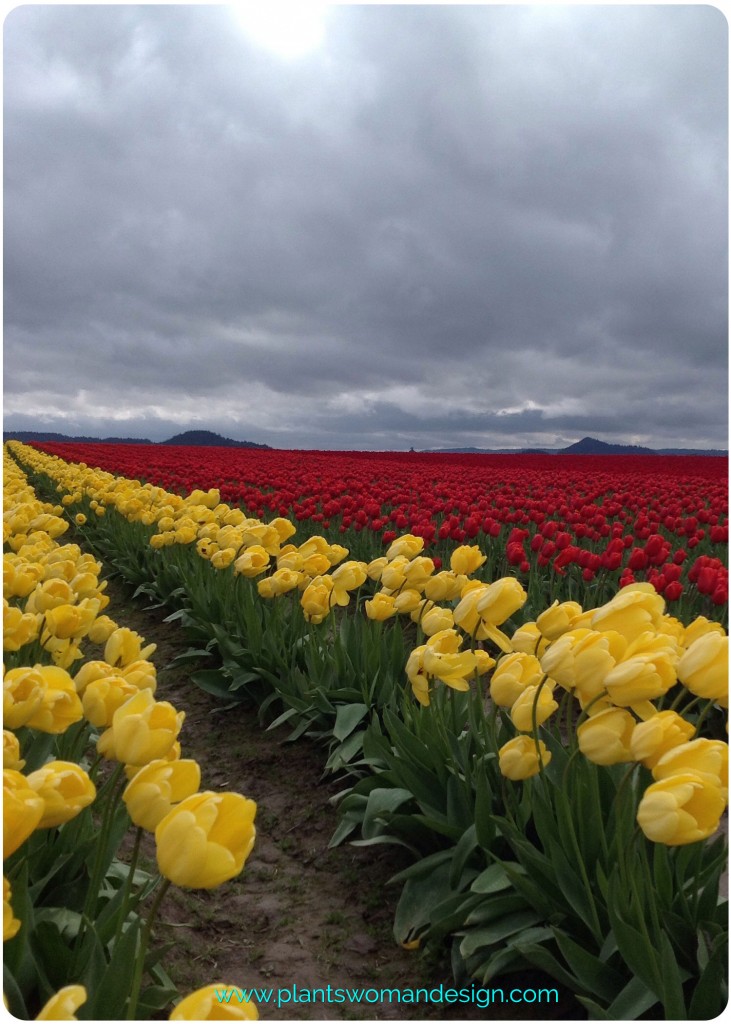
This past weekend I went to La Conner Wa to view the tulip fields. I have not been for a long time and they were FULL of people of many nationalities wandering through the fields enjoying the cool weather and the color. Oh, the color! It still amazes me that the growers don’t just throw the bulbs in any old way but intentionally plant the fields for color and contrast. For those of us who know nothing about the system, the color we see now is short lived. After they have bloomed they get the tops cut off and stay in the ground with leaves generating energy for big plump bulbs. I made the mistake of going the week after the festival one year to beat the crowds just to find no color.
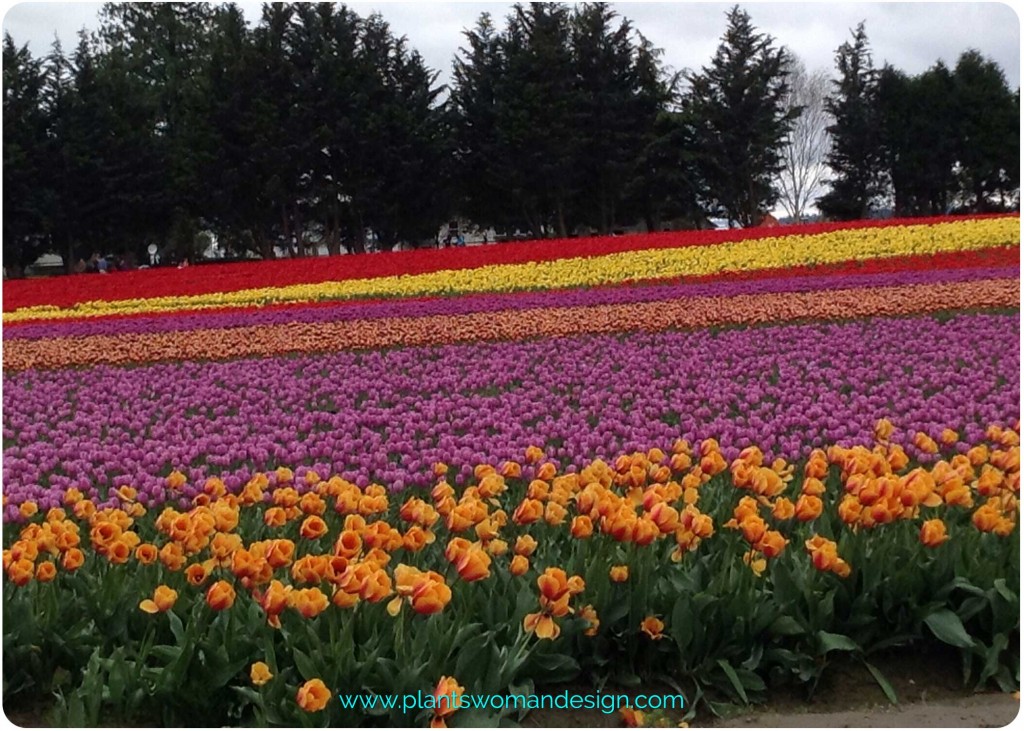
The Roozengaarde display gardens are truly beautiful. Full up with new varieties being tested it’s a good place to see new colors, shapes, and combinations.
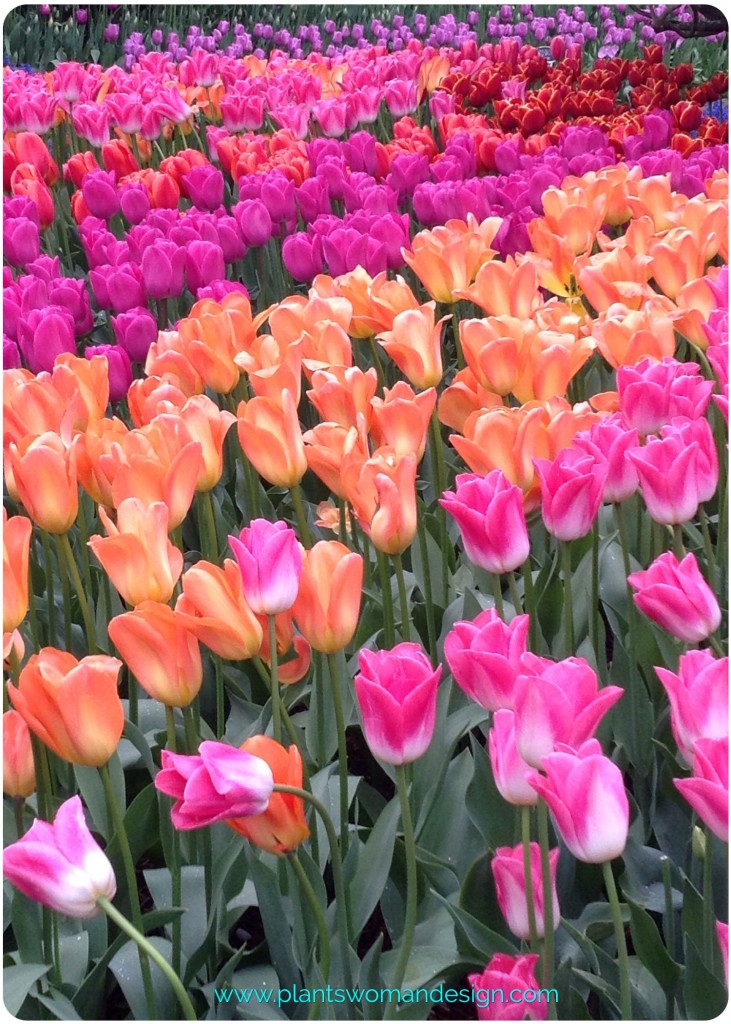
Roozengaarde Display Garden
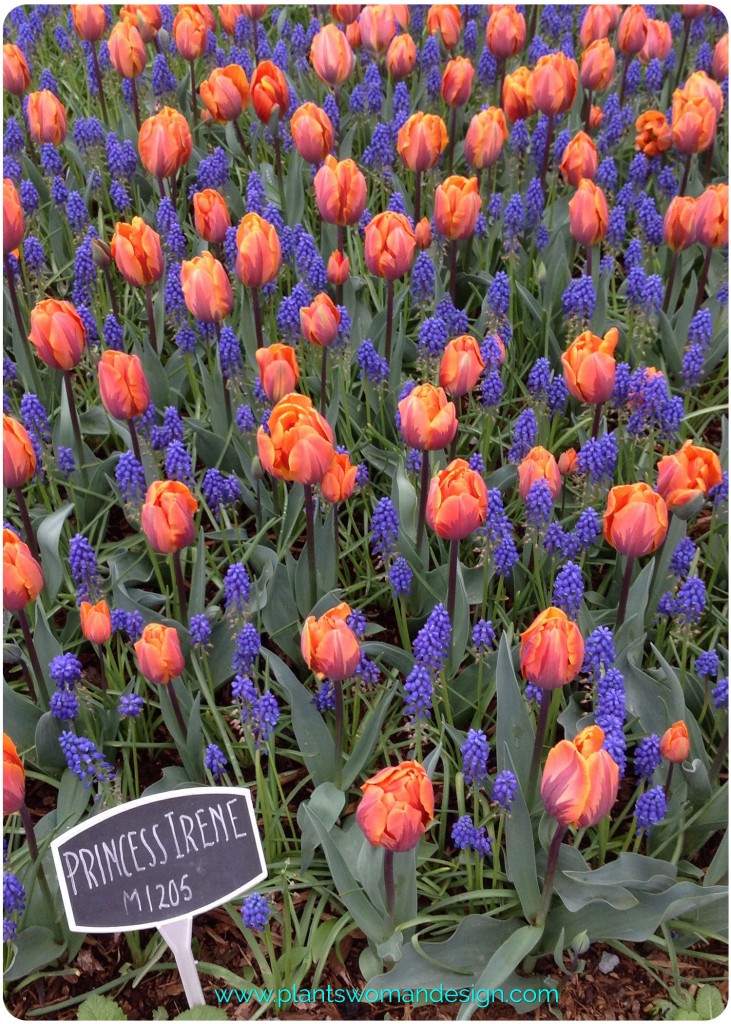
Roozengaarde Display Garden
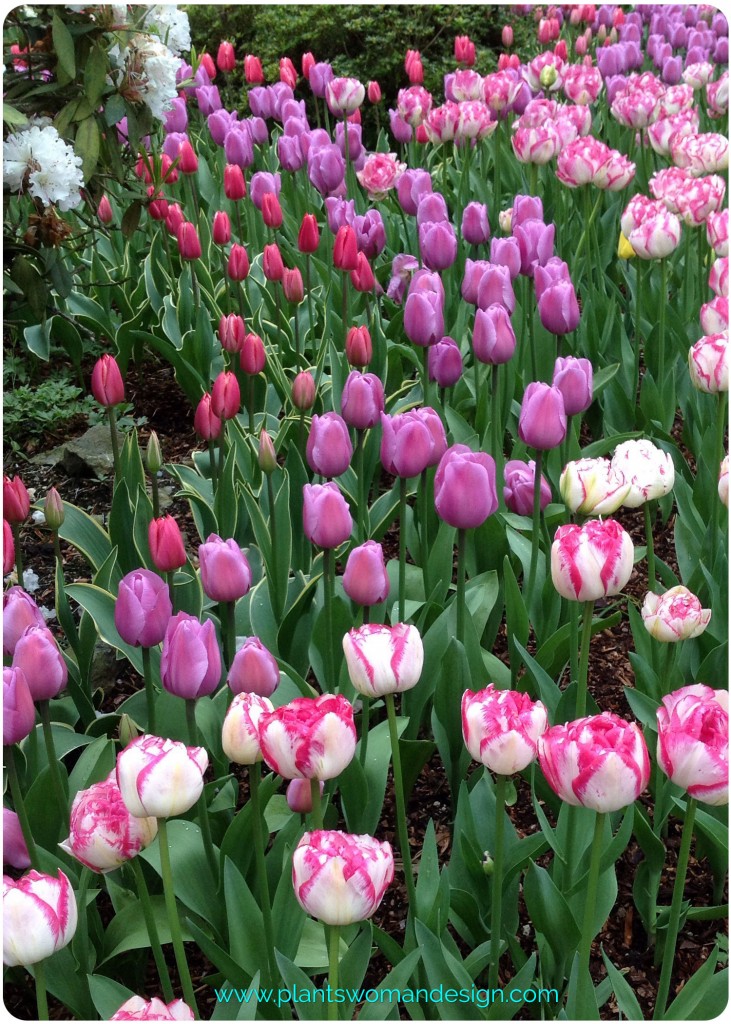
Roozengaarde Display Garden
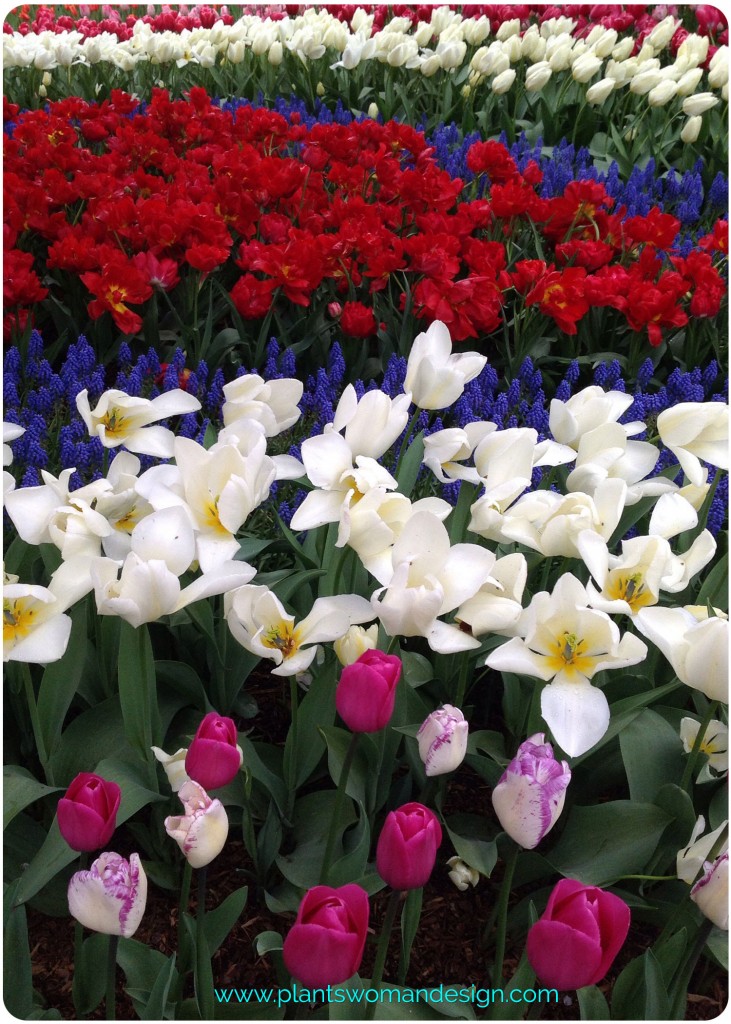
Roozengaarde Display Garden
You can check out all the varieties of these gorgeous bulbs on line at www.tulips.com. Order now and they are delivered next fall. Believe me the varieties do sell out. I have ordered bulbs online from other companies and they have not been successful. At the Northwest Flower and Garden show this year one of the other gardens had bulbs from Roozengaarde and they were amazing.
by Susan | Apr 18, 2014 | garden food, LB Tutorial: Growing Food, Little Bytes, Plantswoman Design
After last week’s post ‘Spring Yes, Spring’ it is time to get the lettuce in the containers. We are going to plant a mixed container with lettuce and spinach leaving room to plant green beans in just a few weeks.
*For more information about making your own lettuce mix check out this post from earlier this week.
As we talked about before lettuce is a cool weather crop. It germinates in low temperature and grows well early spring. You can keep growing it through the summer if you provide some cool shade. If the temps get too warm the lettuce and spinach will bolt. This means going to seed instead of just producing green leaves. I am in zone 7 here, which means my last frost date is usually April 15th. Check the chart at www.almanac.com to find your last frost date. The seed packets will also give the information on the back of the packet.
For this Little Byte we are going to use the Territorial Seed Company’s “City Garden Mix” seed pellets. These are great little inventions that have multiple seeds in a pellet form. The salad greens we are going to grow will be ‘cut and come again’. ‘Cut and come again’ means we will not spread the seeds out and grow the lettuce to a full head but instead cut the leaves as they are getting mature and harvest baby lettuce and spinach leaves. You see young lettuce and baby spinach both for sale. We are going to mix it with Catalina spinach.
Let’s get started!
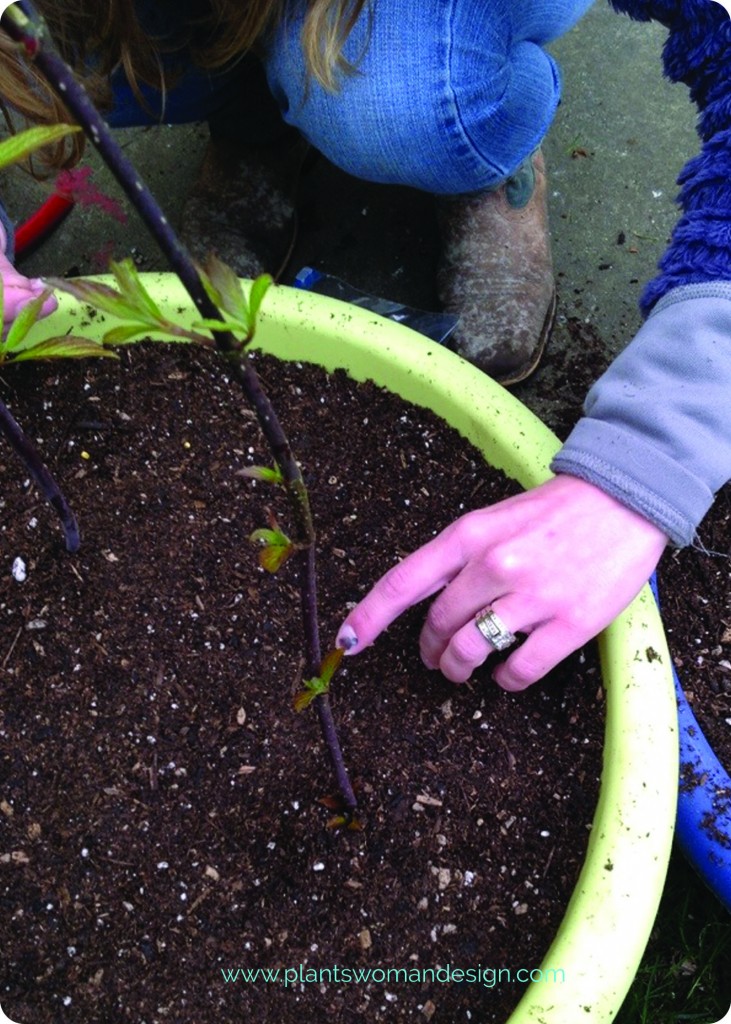
First you need to prep your container, if you haven’t already done so. Take a look at this post to see how to prep your container. Before planting the lettuce seeds take a moment to install some supports. These supports will be for the climbing beans we will plant in a few weeks. We want to put the supports in now so we will be ready to go when it’s time to plant the beans. You can choose to go to your local garden center and buy a support structure or recycle some twigs or thin branches from your yard. Jen took a look around her yard and cut some 3 ft branches of black twig dogwood.
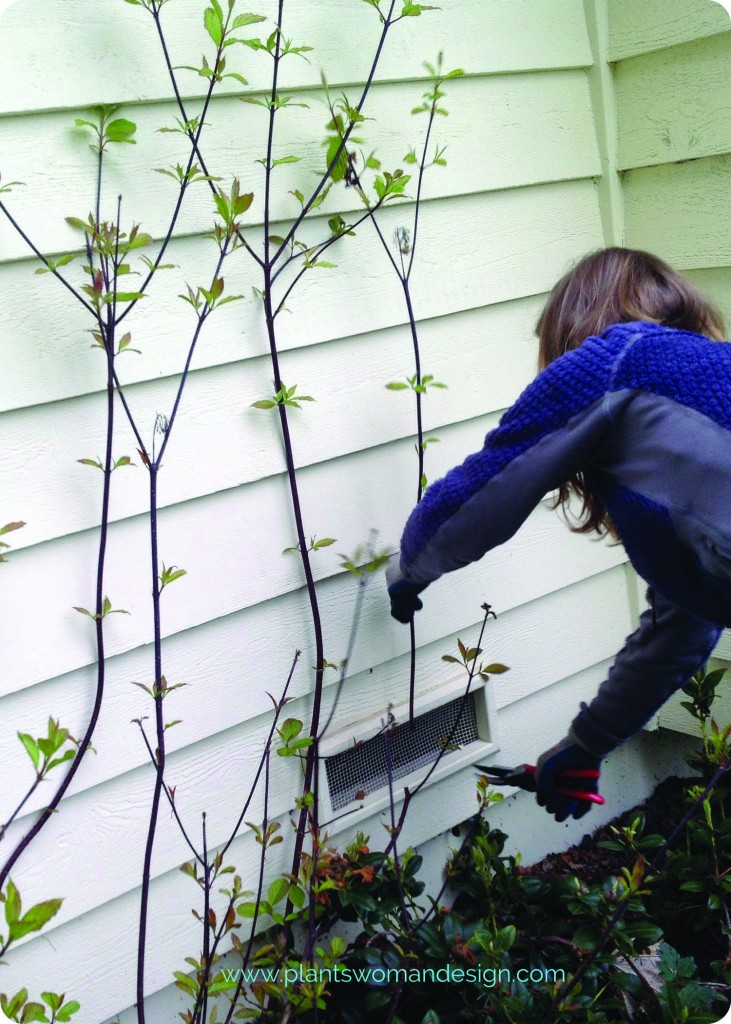
We will keep our eye on the black twig dogwood. They could root out because they are easy to start in water. Rooting out means they will send roots out and become new plants. We will see when we remove the beans after they are finished.
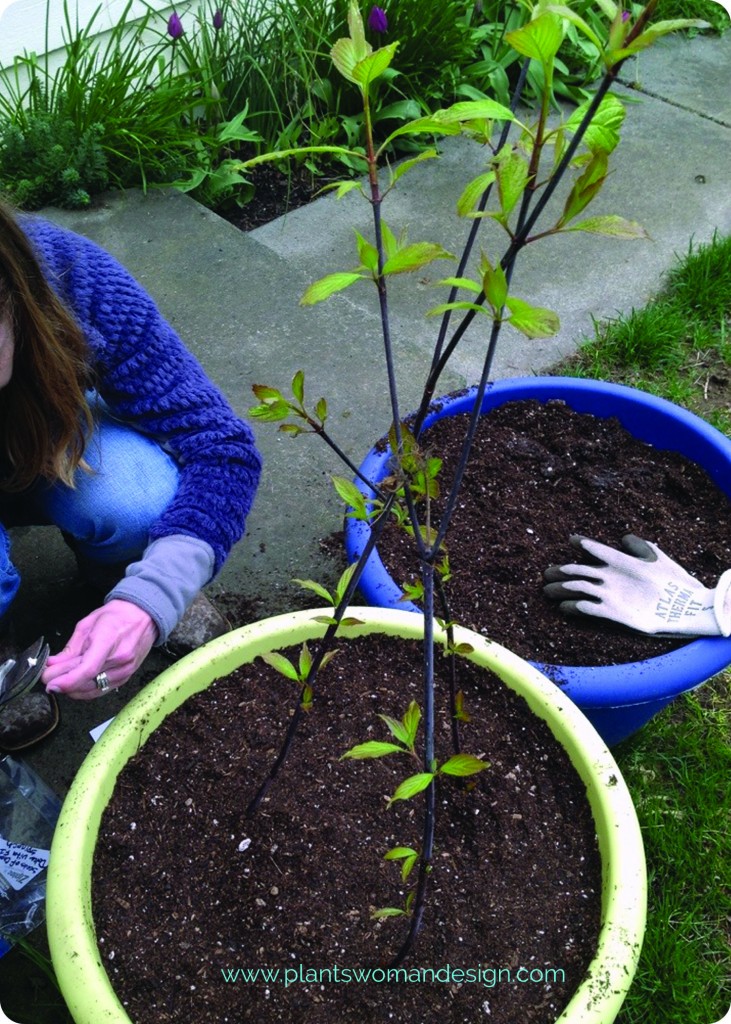
Set the twigs by pushing the supports into the soil creating a teepee like structure. When the beans grow up this structure it will create shad for the lettuce plants when the weather gets warmer. If you haven’t already, give your container a few taps and a good watering to help the soil settle. Firm down the soil around the container. You will want your final soil level to be about 2 inches from the top of the container.
It’s time to put the seeds down. To plant our lettuce we aren’t going to dig the seed in but instead place the seed on top of the soil and spread some additional soil over the seed. These little salad greens just need 1/8 of an inch of soil over them so it is easier to just add the soil after you have laid the seed. If you already used all your soil just scrape some off the top of the container and set it aside. Place the seeds about 1/4 – 1/8 inch apart. Don’t worry about being too exact or about what the back of the seed packet says about spacing. We will harvest this before it reaches maturity so proper spacing for creating heads doesn’t matter as much.
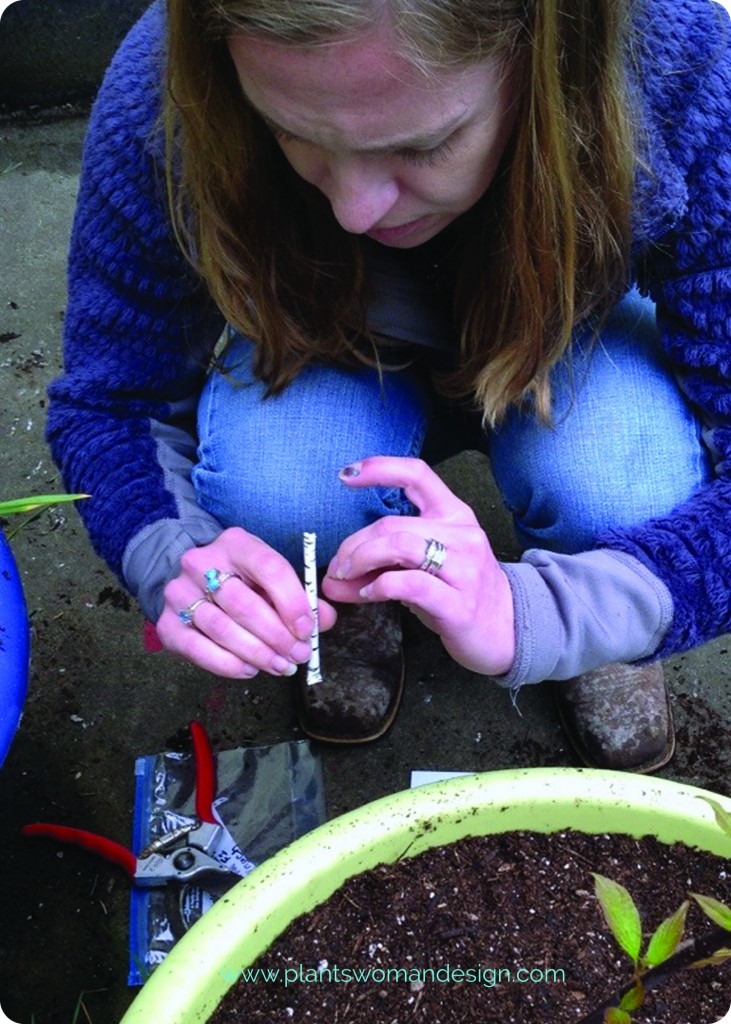
Once you’ve put all the seeds on the soil add the reserved soil lightly on top of the seeds. Press the soil down gently all around and water gently with a wand attachment if you have one. Be careful not to wash your seeds out of place.
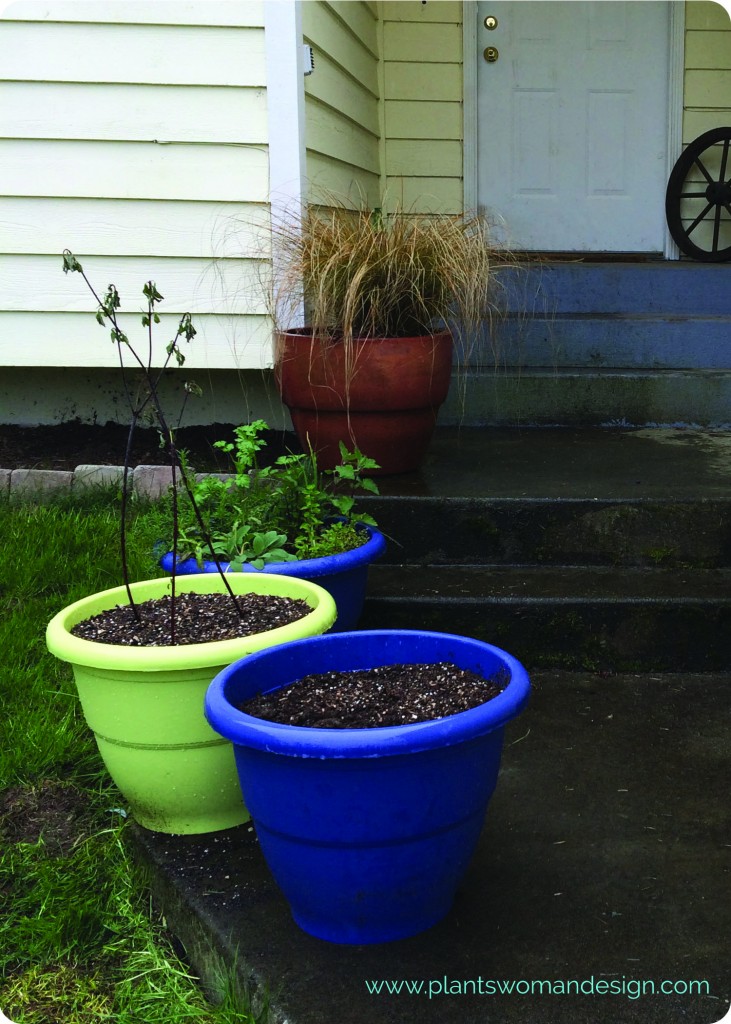
And you are done!
We should see germination of the lettuce in about 7-10 days if the weather remains “normal” for this time of year. Before leaving you newly planted pot swing by your herb container if you planted one with us. Jen visited her herb container and cut some chives for baked potatoes. She can already harvest some of the things she just planted! How great is that? Remember, if you use scissors to cut vegetables or herbs, make sure they are not rusty. A rusty knife or scissors can bring rust to the whole plant. I usually just pinch with my fingers.
I’m off to the green house to check on my tomato seeds… I’ll be sure to let you know if they are up yet.
by Susan | Apr 16, 2014 | garden food, LB Tutorial: Growing Food, Little Bytes, Plantswoman Design
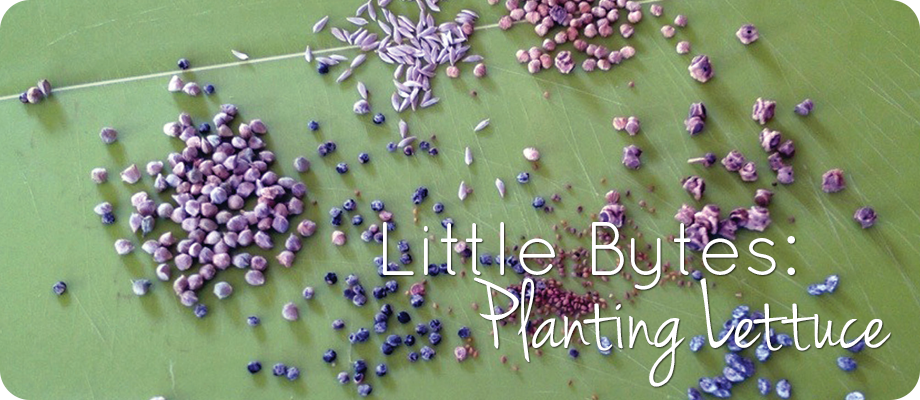
Its almost time. Earth is warming, sun is shinning and now I can stop pacing in front of the window and start planning, purchasing, and planting. Lettuce is one of the first things of the season you can plant. There are some fun ways to start planting with introductions of new lettuce blends and new ways to deliver the blends.
While visiting the nursery and looking for new lettuce seeds I was amazed at how many there were. Seems like that is the trend right now. Of course that started me to thinking why blend only lettuces together. When you go to the store there are all different blends for salad mixes. You will see spinach blended with baby romaine, baby beets, and lettuces, and so on. So I thought why not plant them together. They can all be growing about the same time with different rows, I typically cut my salad greens when they are young so don’t really worry about ‘maturity’ dates.
So off I go to do research. For our purposes we need to know germination rate (how long it takes the seed produce something green that we can see). We want all of our seed to germinate within a few days of each other. This means they will be ready to harvest in their ‘baby greens’ state about the same time. Most salad greens can be treated as ‘cut and come again’.
Strangely enough some seed packets don’t have very much information. I think all seed packets should give basic information and some uniformity would be great. One packet will say how to plant, spacing and harvest but not give a germination rate. A couple even gave recipes! The seed packet is pretty small so I’d rather see great information about the seed, as much as is available, instead of a recipe.
Some rules of gardening to keep in mind as you choose your mix.
1. Same temperature for germination. Don’t use warm weather crops with cool weather crops.
2. Same time of germination. You want seedlings to show up about the same time within a few days or a week.
3. Use good quality seed and no old seed. Many people know that seed can be saved over one season to the next. The seed will still come up but germination rates are decreased.
4. Planting depths should be about the same. 1/2 in to 1/4 inch choose the 1/4 inch depth for all. 1 inch to 1/4 inch choose another variety closer to the same.
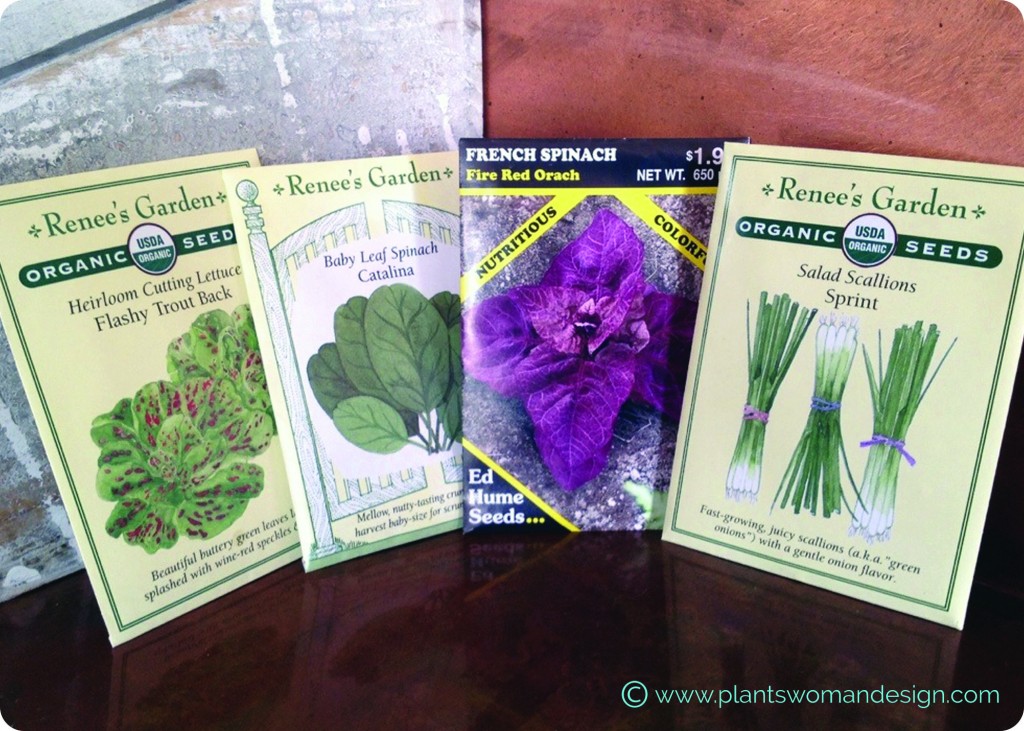
I picked out some great seeds to mix up:
- Gala Mache- Lamb’s lettuce (European favorite) – Renee’s Garden Seeds
- Rustic arugula – an heirloom variety from Italy – Renee’s Garden Seeds
- Red and Golden beets – Cooks Garden Seeds
- Flashy Trout Back Lettuce , Heirloom Cutting Lettuce -Renee’s Garden Seeds
- Catalina Spinach Baby Leaf Spinach – Renee’s Garden Seeds
- Fire Red Orach, French Spinach – Ed Hume Seeds
- Sprint Salad Scallions, Green onions – Renee’s Garden Seeds
Side Note: The French Spinach is not a true spinach (interesting right?). It has purple leaves, very nutritious and can be harvested young or cooked like green spinach when it matures.
The scallions can be cut with the rest of the greens to add a mild onion flavor. Beet greens can be cut and harvested young too. We will only use part of the seed packets in the mix and use the rest in a separate row of the garden and allow them to mature into full heads of lettuce.
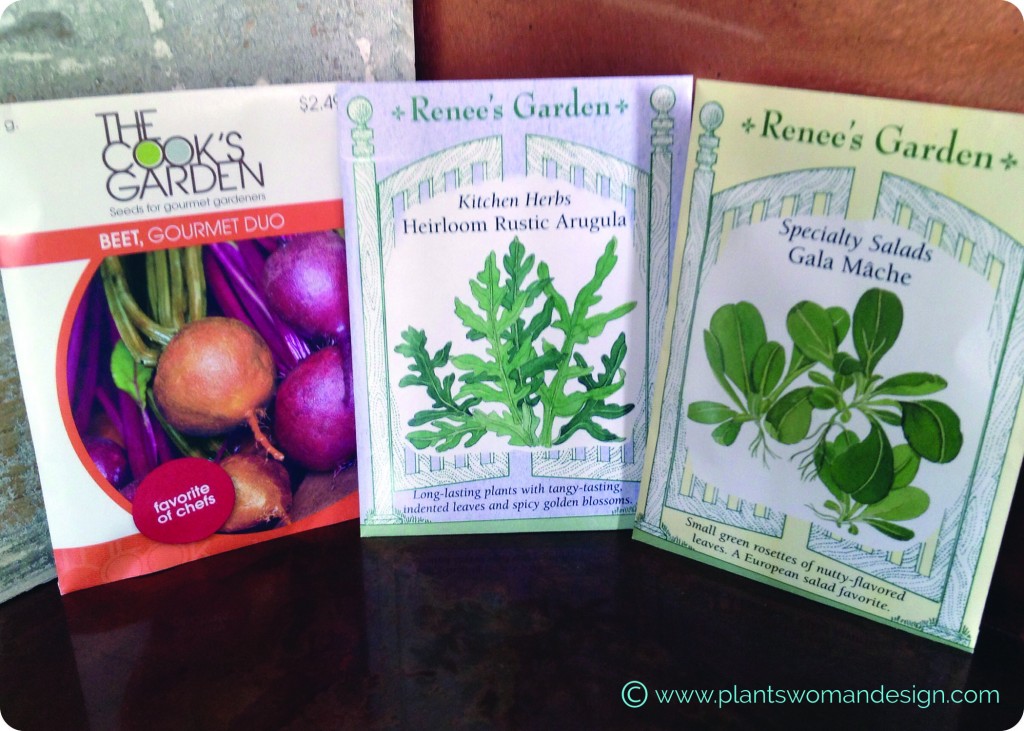
When I was ready to plant my crop I poured the seeds out together on a mat to mix. Then I funneled them back into the pack for spreading into my prepared soil.
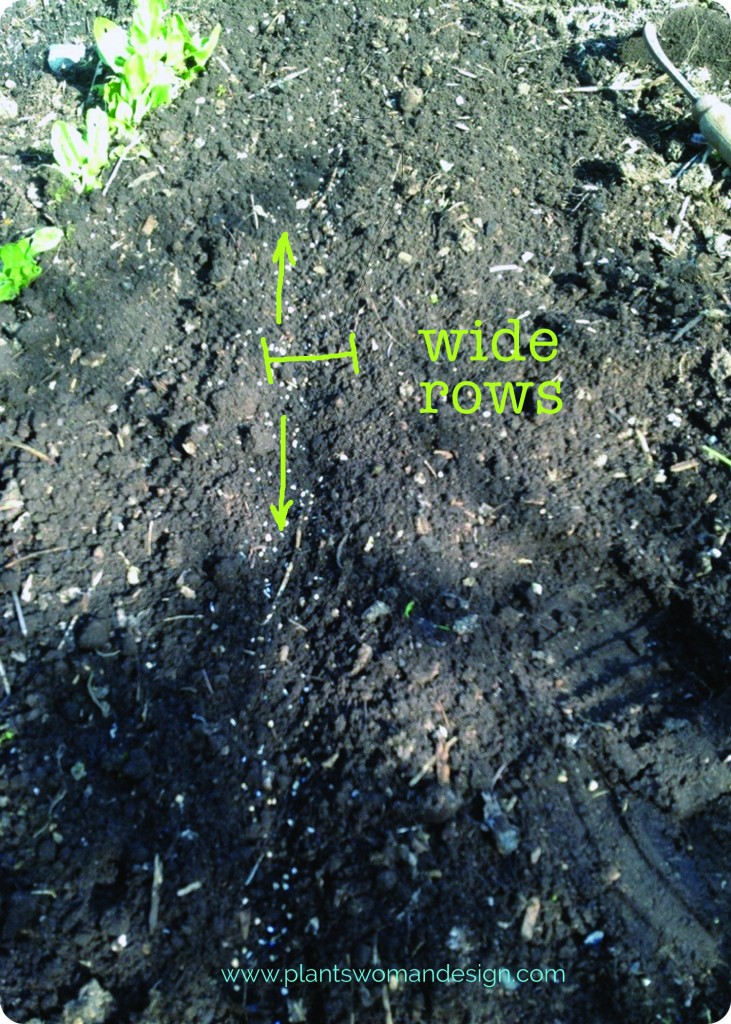
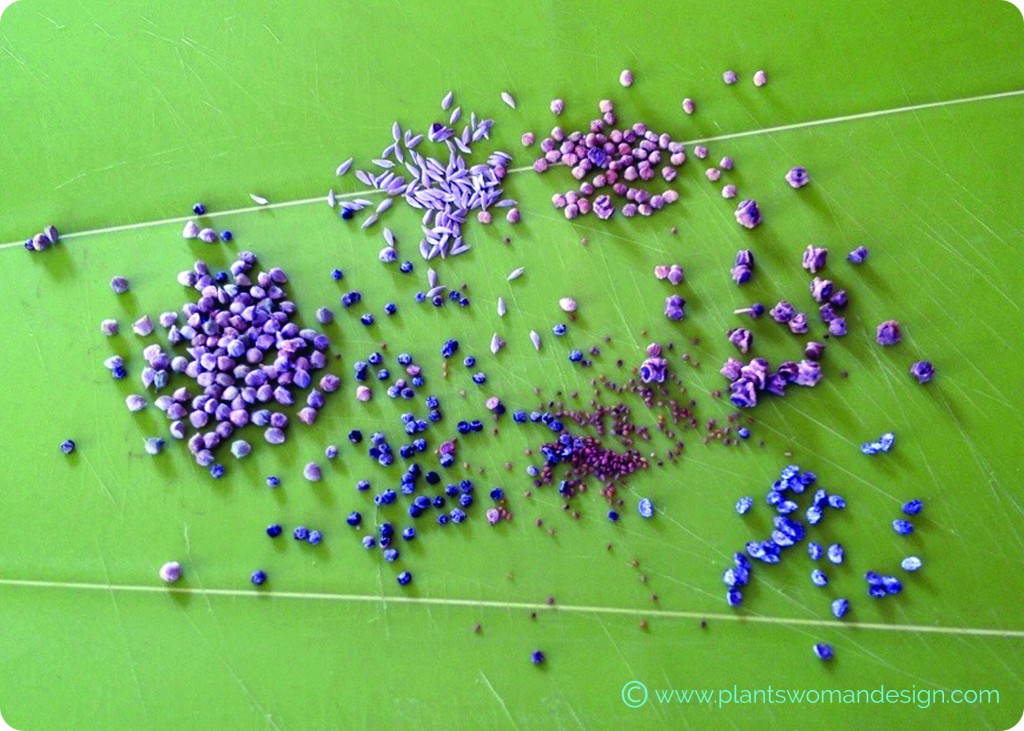 Today is March 23rd and I will go out and plant my seed mix. The earth feels fairly warm and is nice and crumbly, nice to work. I mixed them together into a seed envelope so they could be spread easily. I scattered thinly and then went back over the same line. The bigger heavier seed came out first and the smaller lighter seed came out after. The row is a little broader than my regular rows but I want to cut them in bigger sections so that will work.
 I watered the row in well and placed a grid of metal over the top. I will remove it when I start to see germination. It keeps the birds from going back into the newly tilled up space and eating the seeds. In some cases (the peas) I leave it in place the peas grow through it and it protects from rabbits and cats digging.
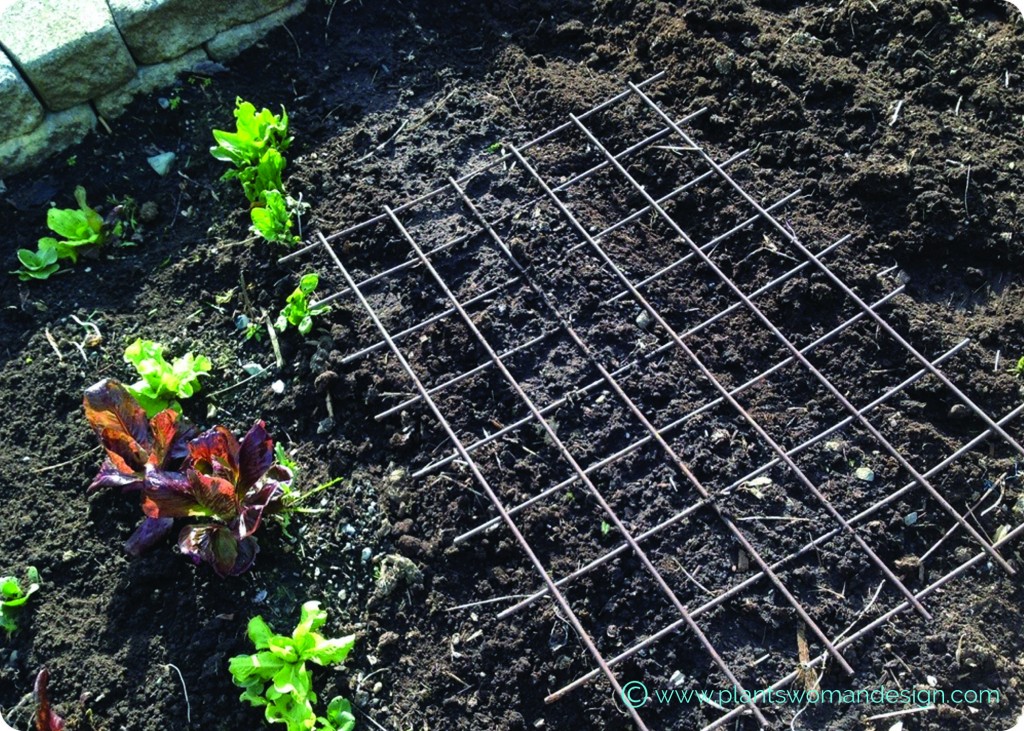 Let’s talk about soil real quick… My soil had organic matter dug into it in the fall and is ready to plant now. I really spend a lot of my energy getting good viable soil that is strong and has lots of organic matter and worm action. This means I won’t have to do a lot of fertilizing later on. Everything we grow needs a good foundation of soil. This helps with pests and diseases because you have really healthy plants. I will fertilize with a diluted fertilizer only once in the season when the seedlings are about 1 inch tall.
I’ll keep you posted on how the seed mix is doing. Let me know if any of you try out a mix of your own…..
by Susan | Apr 13, 2014 | garden travel
After the Northwest Flower and Garden Show each year I want to relax. I usually try and schedule a vacation. The show is a hard act to follow so I have to choose wisely. I try to build on the feeling of spring that I felt at the show. This year that meant Maui.
I have heard lots of hype about this place and lots of negative comments about the amount of tourists and traffic. There are a lot of tourists and lots of tour busses. However, the places I go are usually away from crowds, hard to get to, or of little interest to most tourists. Botanical gardens barely receive a mention in the guide books. Hiking to beaches, waterfalls, and arboreteums are not for the usual tourist.
I usually pick up a couple of specific plant books about the area and bring my ‘Hikers Guide to Trailside Plants in Hawaii’ (John B Hall). The climate of the Hawaiian Islands are so friendly that many many plants brought from other places escape and grow with wild abandon in Hawaii. The trails are a botanical wonder for diversity of plants from all regions of the world. One of the books I bought was ‘Maui’s Floral Splendor” by Angela Kepler. This book has good content and a warning about the invasive plants strangling Maui’s natural areas. She and several other sources say to wash boots and equipment after hiking anywhere on Maui. This is to help stop the spread of seeds from one infected area to others. But I will save that for another time, (maybe a HHT).
I visited ‘The Garden of Eden’. It is a private botanical garden that is off of the Hana Highway. I was not very impressed by the collection of plants. They were not very well marked and not in the abundance that I’m used to seeing. There was however a very cool collection of Bamboo.
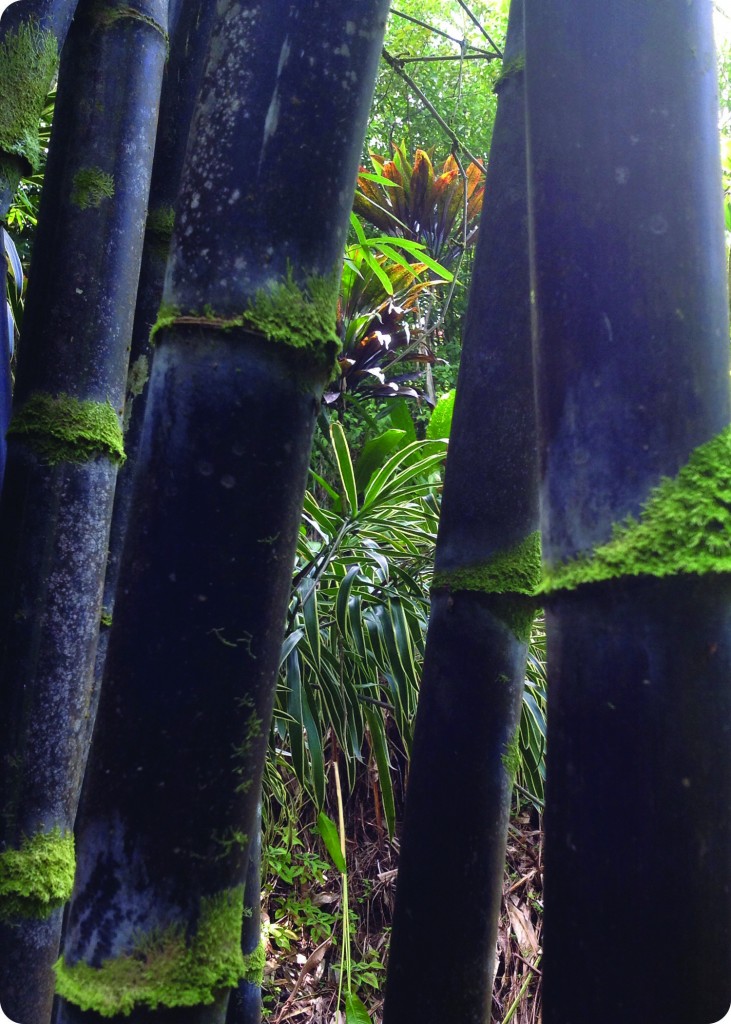
I love this dark black with a little mossy edge. It is Bambusa lako ‘Timor Island’ or Timor Island black bamboo and gets up to 60 feet tall.
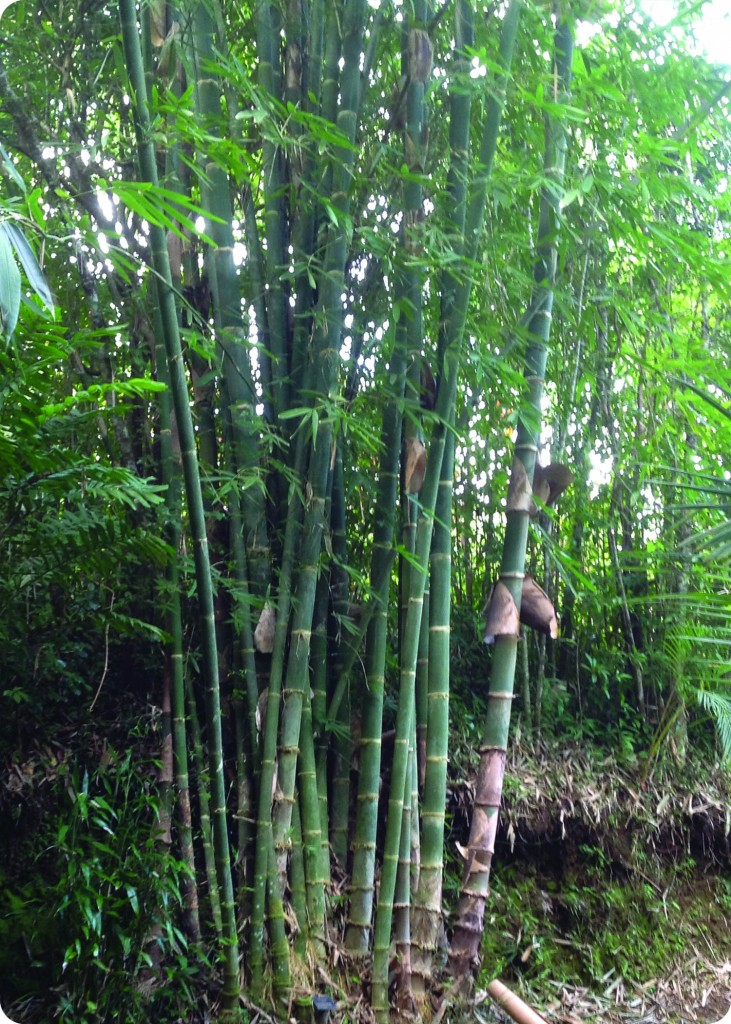 This one is giant about 50 feet high and about 6 inches in diameter.
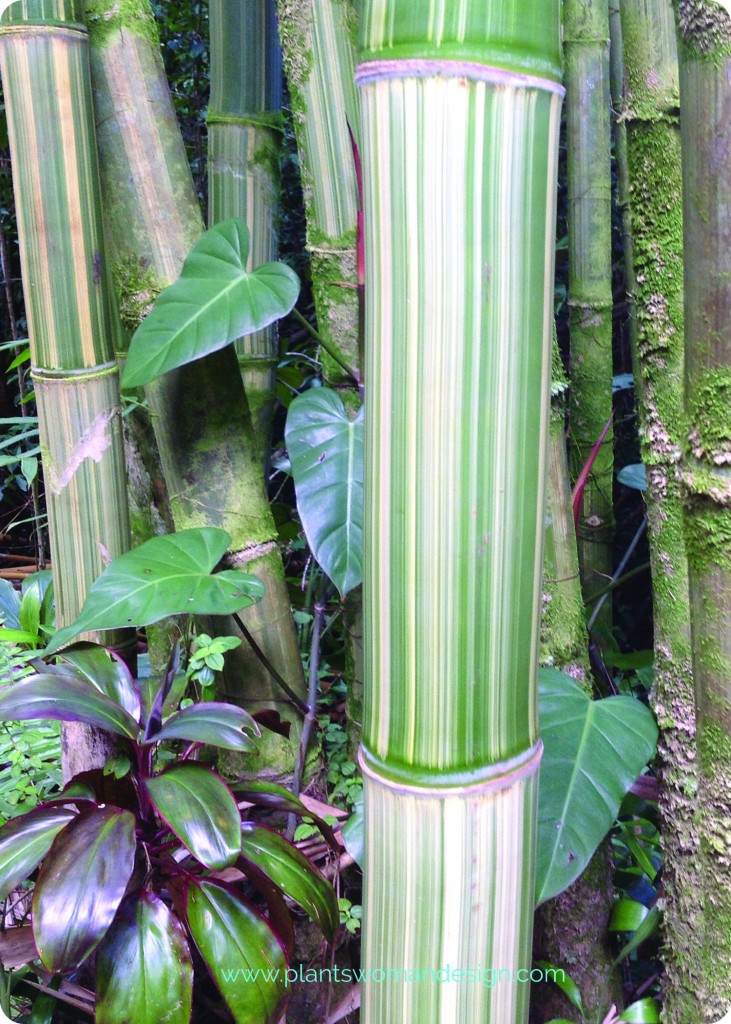
This is so great with lovely green and white stripes.
This of course was not enough bamboo…. so off to the bamboo forest. This is near Hana at the Haleakala National Park. We took a trail that goes beside the ‘Seven Sacred Pools’, across the road and follows the stream up through the bamboo forest. So cool!
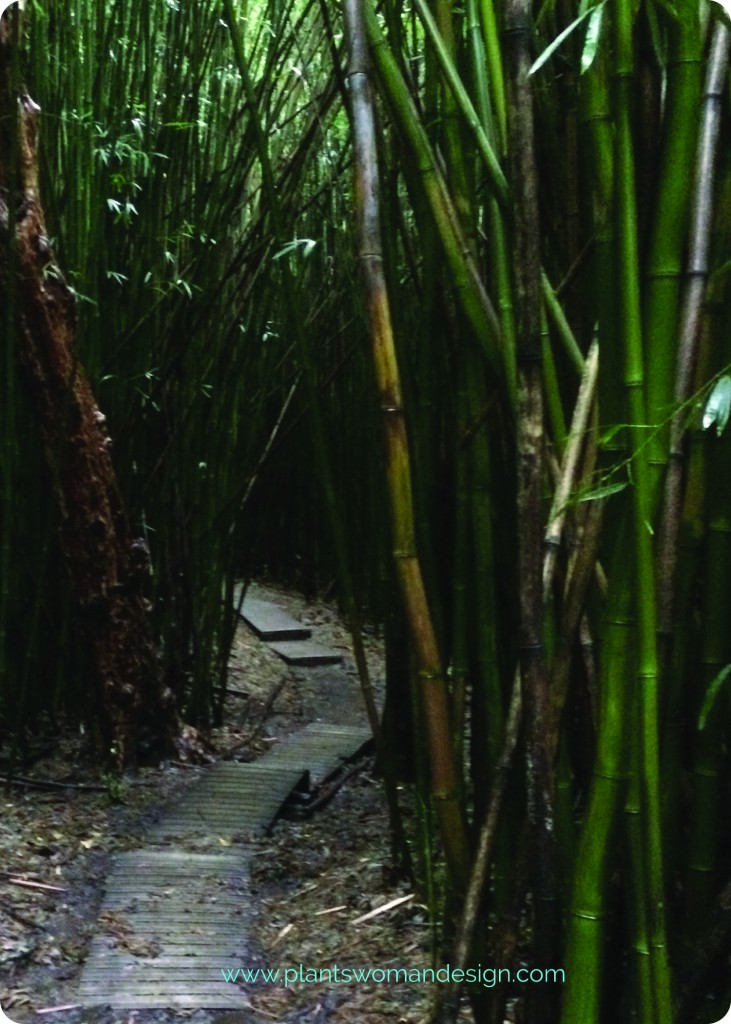
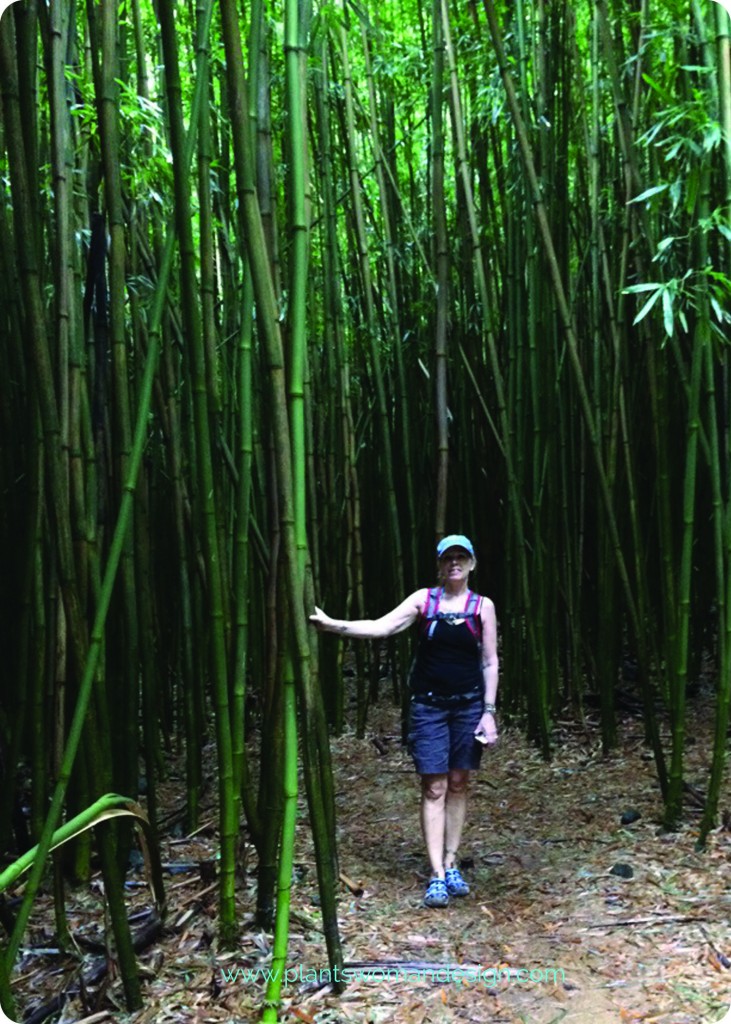
The bamboo overhead was a little intimidating as it moved in the wind. It gave off a spooky sound with clacking like one of those bamboo wind chimes only giant. Bamboo was definitely one of those visiting plants that came to stay. There are vast forests of bamboo that cover the hillsides.
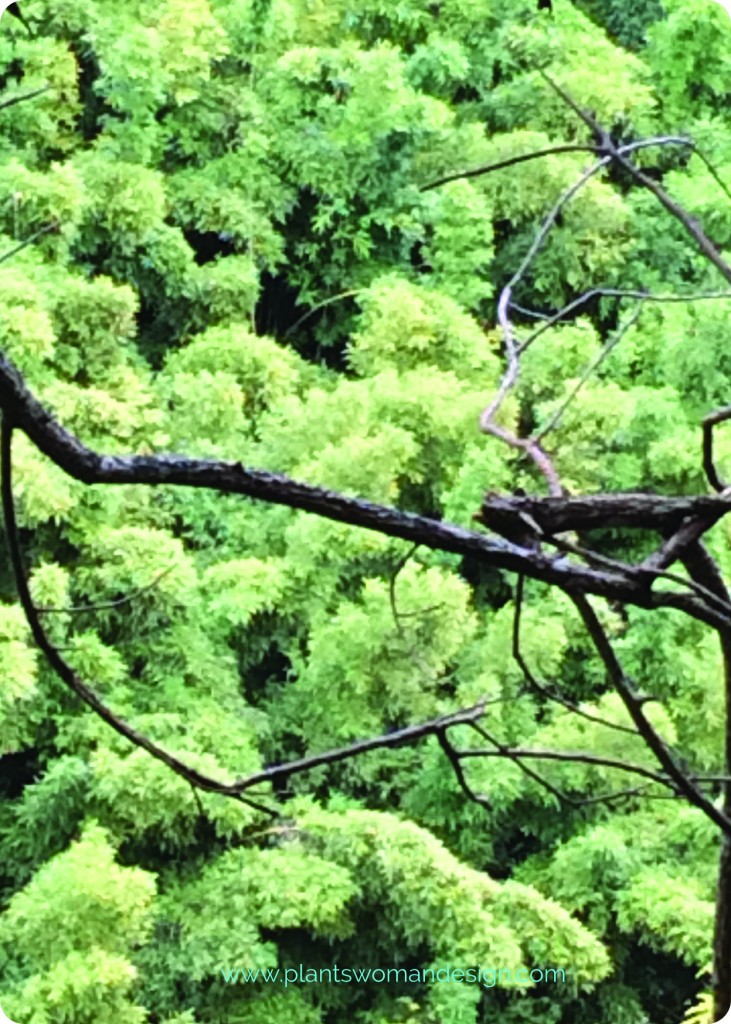
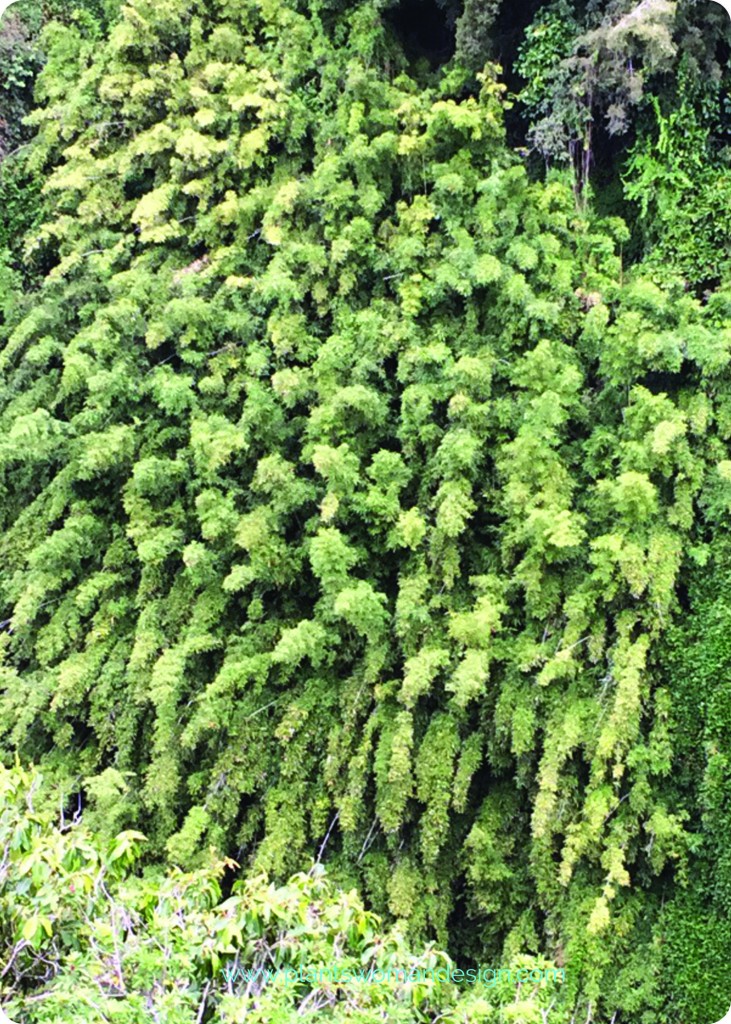
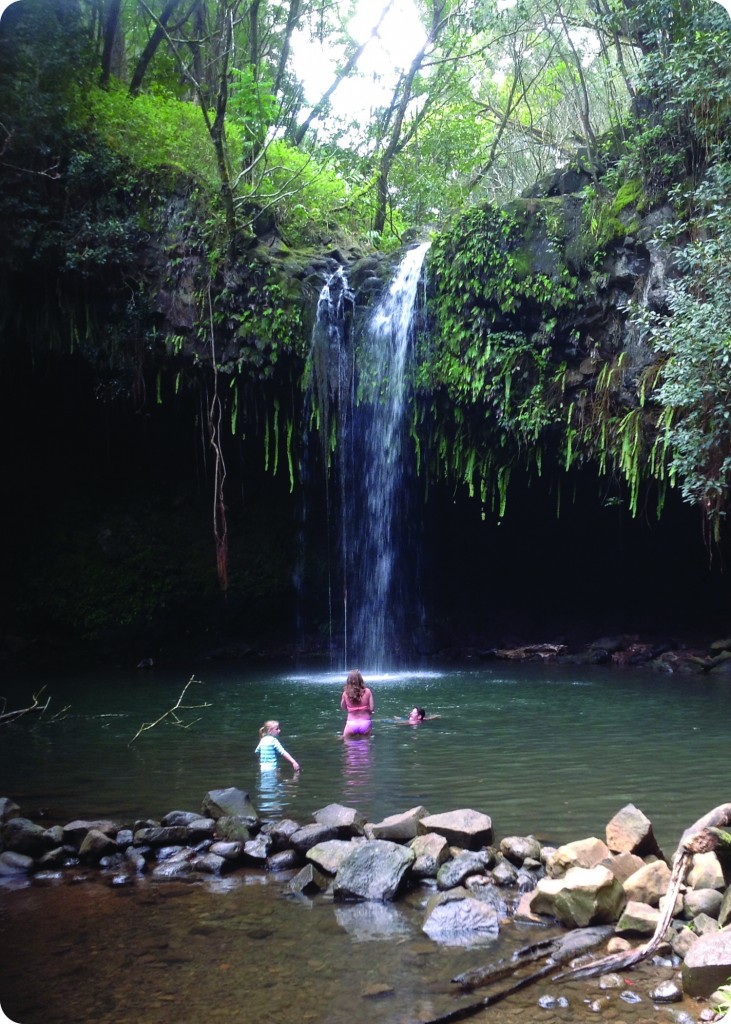
Of course at the end of the hike is a great waterwall. In fact there were three, with water dropping in a free fall not just meandering down the rocks.
 All in all the trip was great. I came back refreshed and ready to jump into the spring work that was awaiting my return.
by Susan | Apr 11, 2014 | Plantswoman Design
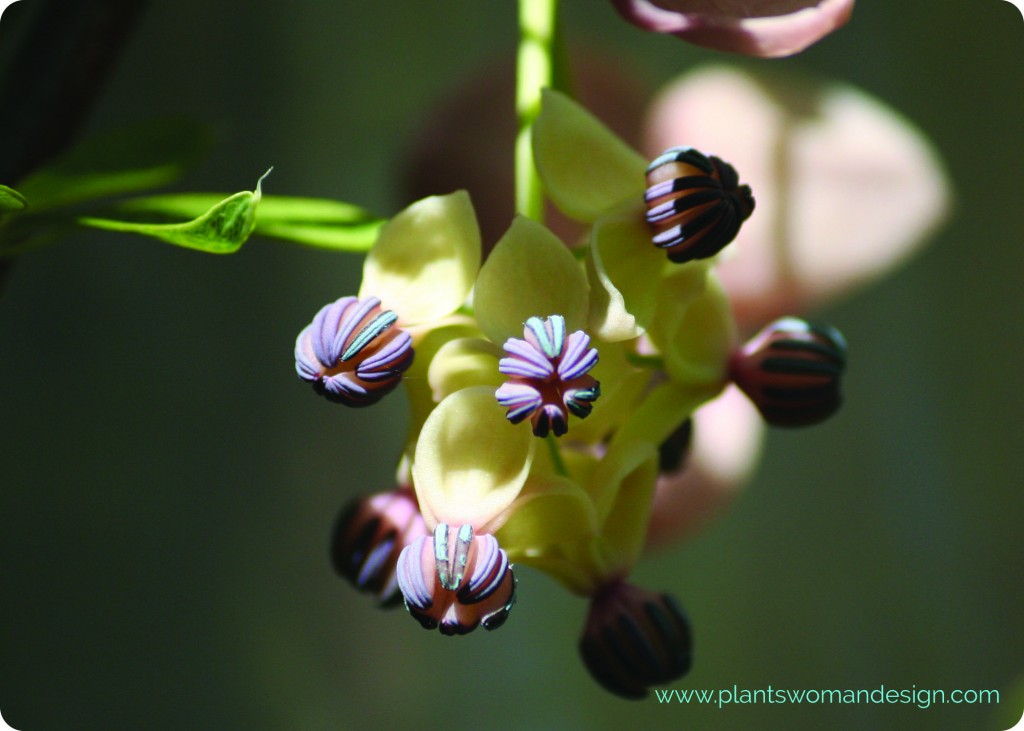 Sometimes there is nothing else to be said except. Spring. Finally. It’s spring.
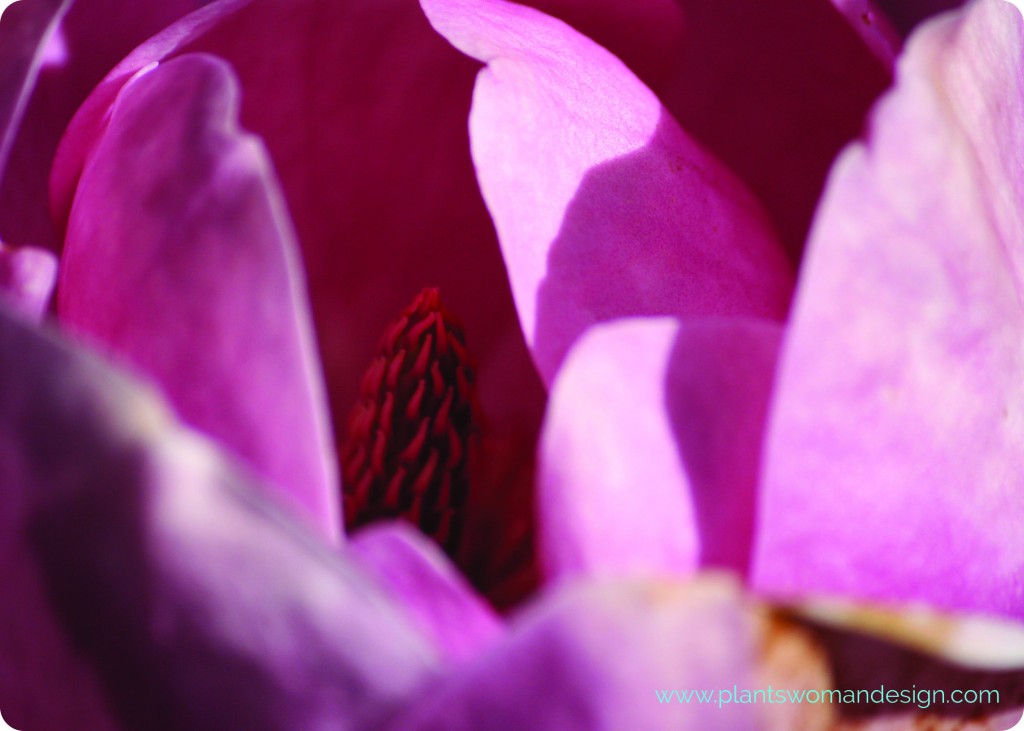
Magnolia Black Tulip
Brave blossoms defy the cold and bloom
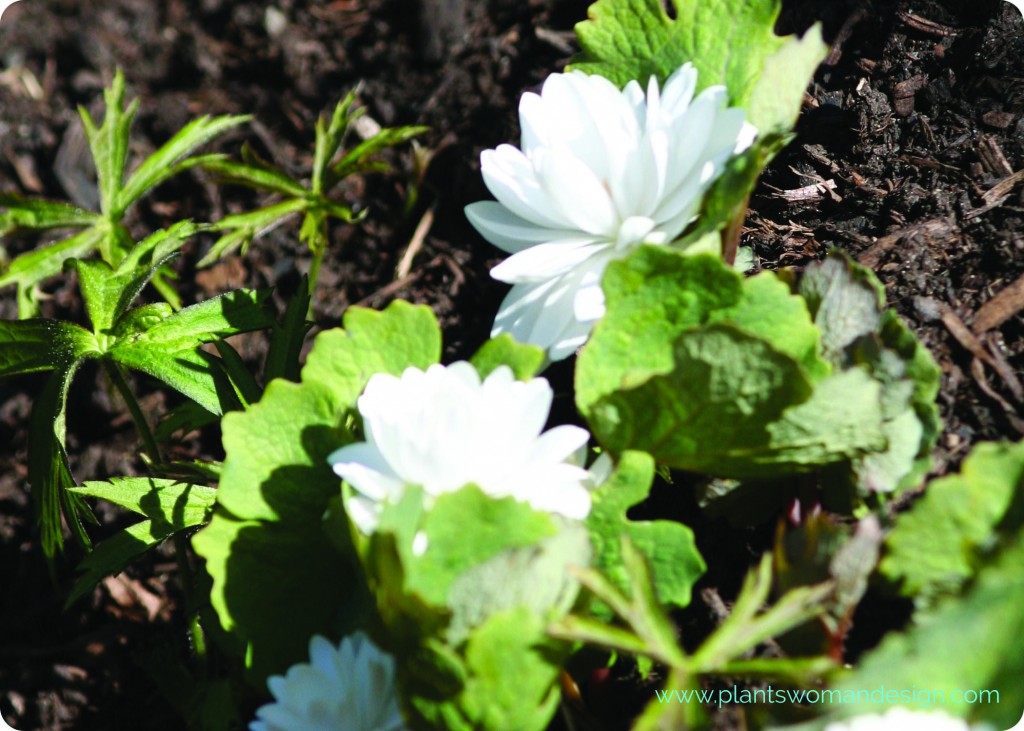
anemonella ‘Flora Plena’
At ground level or above they bloom despite rain or wind
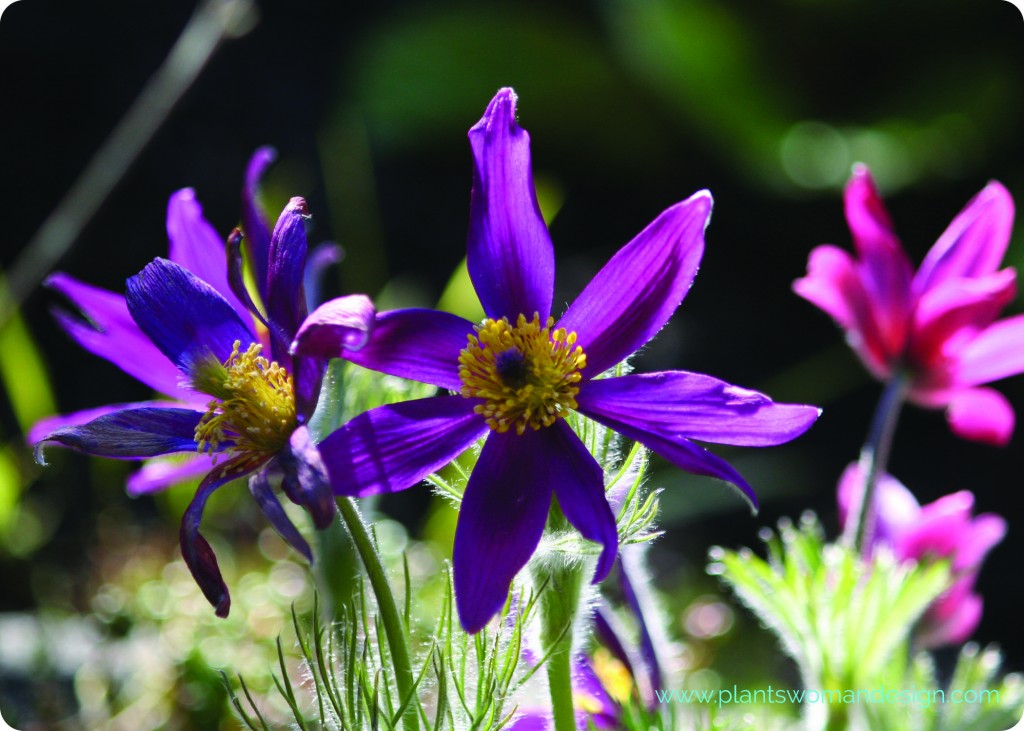
Pasque Flower
The sun is still low and it back lights the Easter flower.
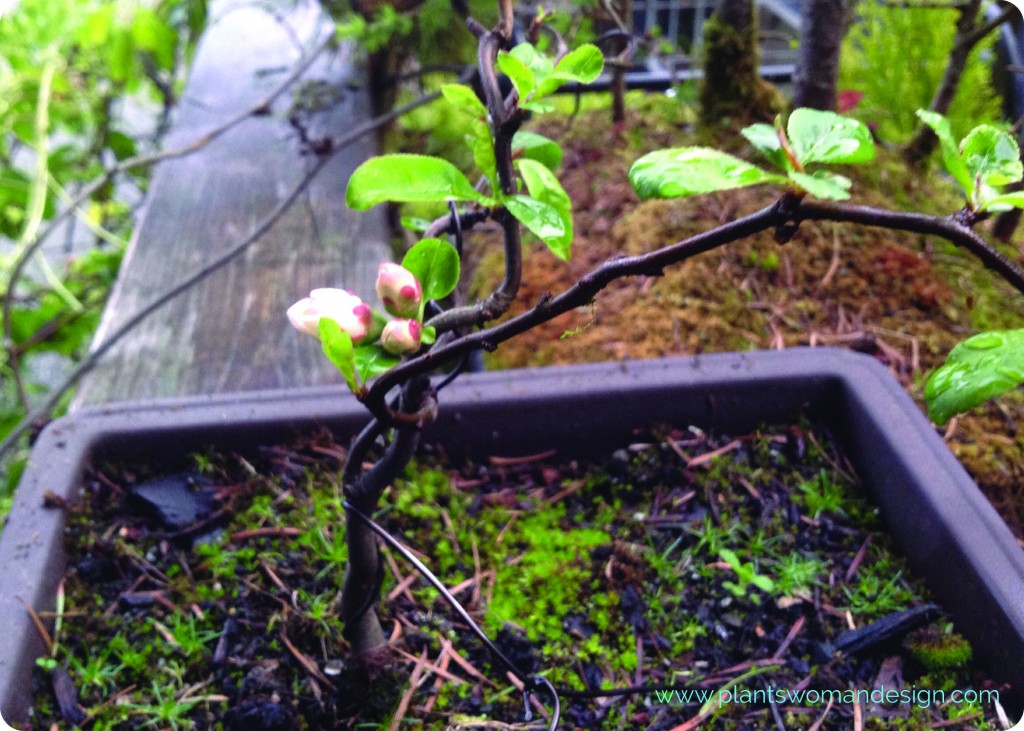 Even the bonsai Quince expends it energy into spring.
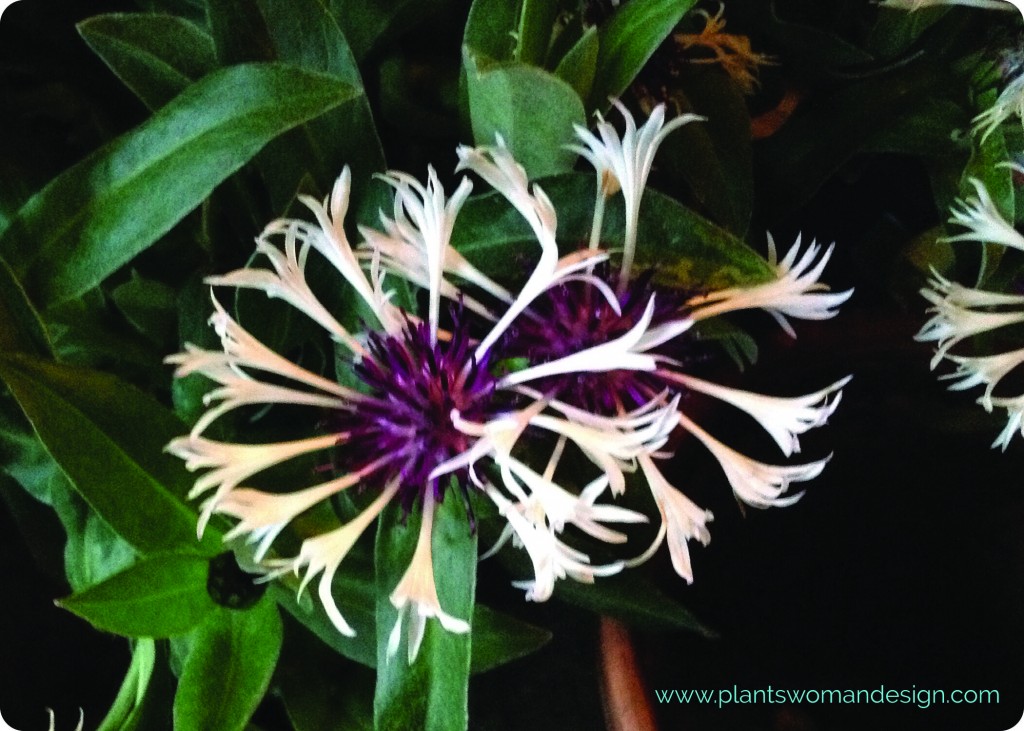
Bachelor Buttons brighten and jazz up a pot.
Welcome Spring!
by Susan | Apr 9, 2014 | Plantswoman Design
Our Grandparents grew food. They knew that they could grow what they couldn’t buy in the store. During the World War fresh food was scarce so they cultivated the ground and grew there own.
The need for growing food kind of skipped a generation because our parents had plenty: plenty of money and plenty of places to purchase food. I didn’t know you could eat mushrooms unless they came out of a can. The first time I saw them in a grocery store I was amazed at how different they looked. The luxury of having money to purchase food was a status symbol. Now, just like many new things we have pushed them aside to pursue the old methods. But of course we do it with a modern twist. We like to grow vegetable and fruits but in our own way.
Now we elevate them, contain them and cultivate them in a designed garden. No more long rows of veg and fruit with cultivators and stakes. It is partially because we have less land to grow and partially our desire to condense the growing medium and effort involved to get more for our expense of time and water.
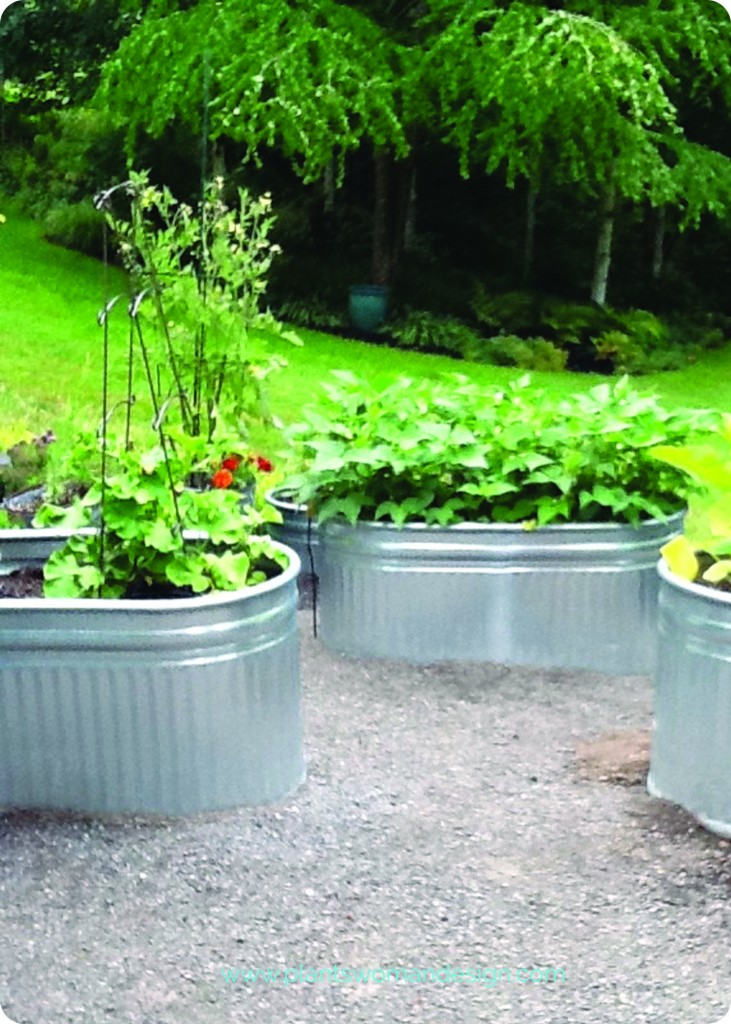
Galvanized Vegetable Beds, Raised Bed Gardening
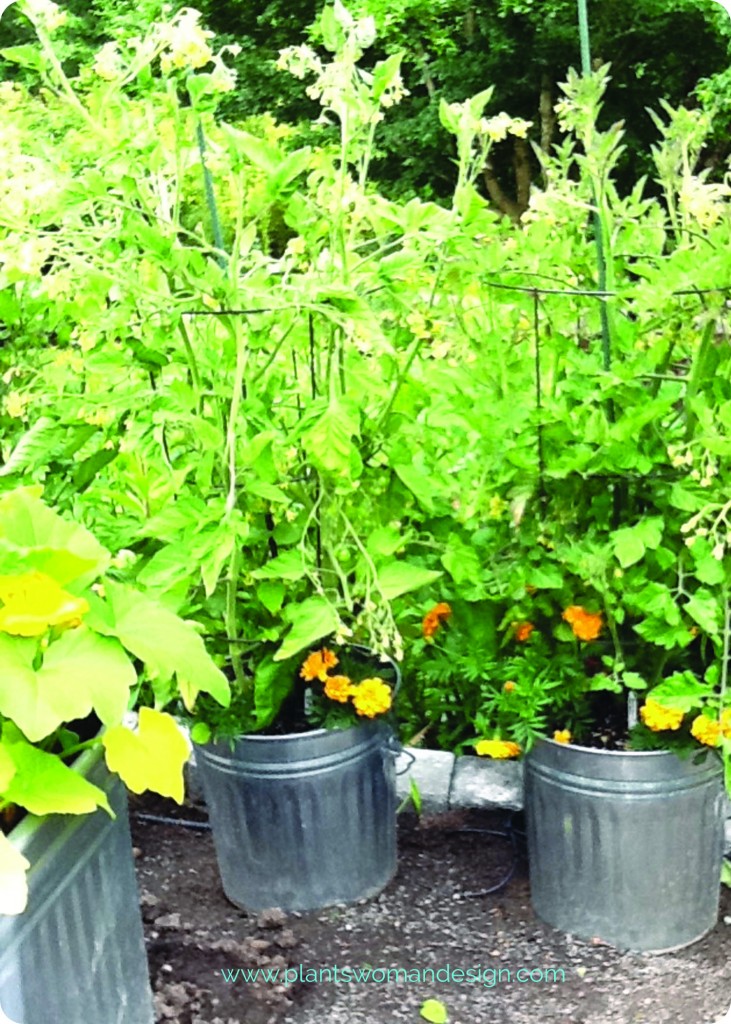
galvanized tubs
These galvanized tubs create a great space for tomatoes. It condensed the water so it stays where the plants can get to them. They are watered with a drip system at the soil level so the leaves stay dry except for rain showers. The galvanized metal warms the soil earlier in the year so the seed germinate faster and seedlings grow better.
When we have a little more space and more mouths to feed we do a little bit bigger garden. We still want it to be easy to get to (close to the house), easy to care for (raised contained soil) and easy to water and pick. We also like the ability to keep it clean and easy to weed. This garden with raised beds, and paving stones surrounding is so easy to manage.
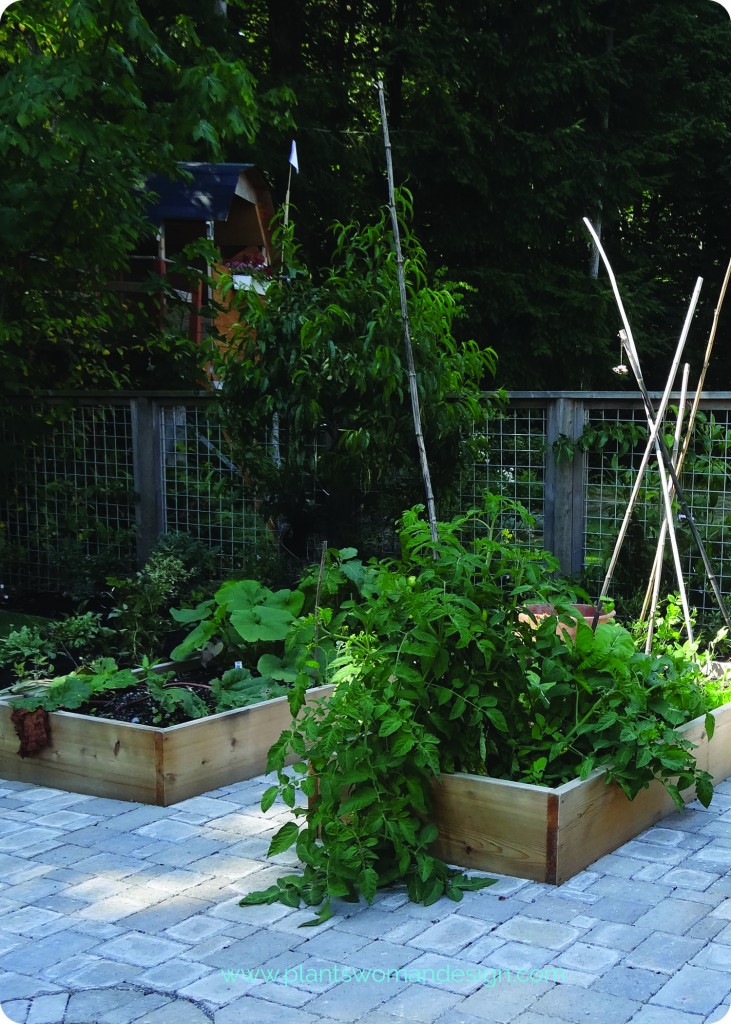
raised Vegetable Beds
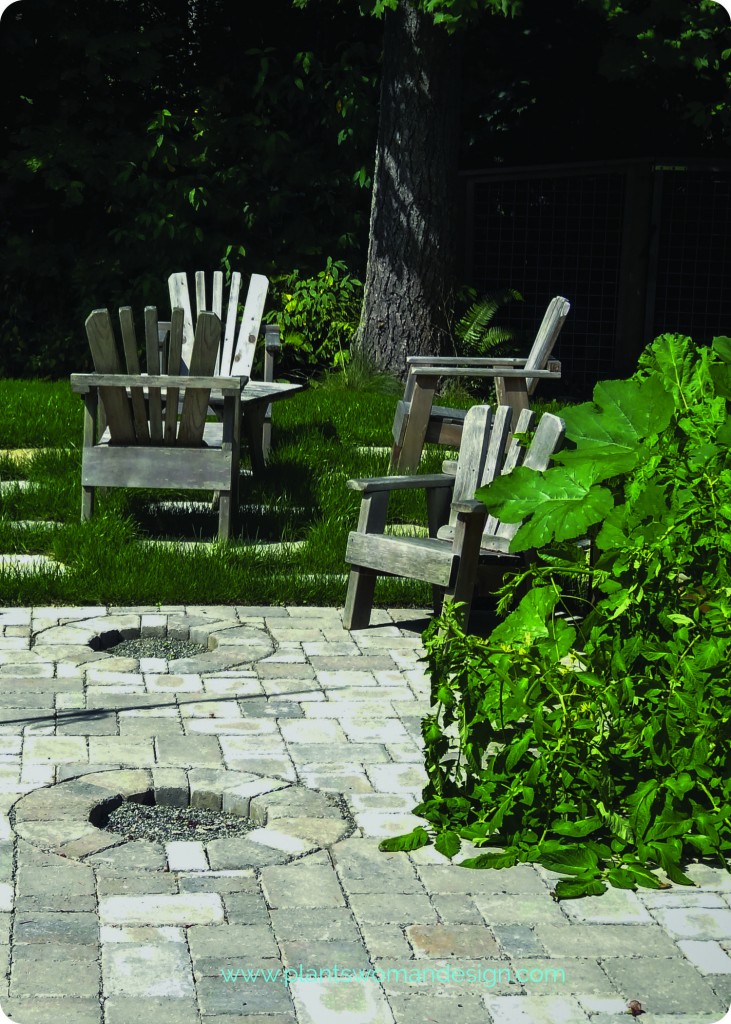
raised beds and place to rest, the circles in the pavers now contain columnar apple trees
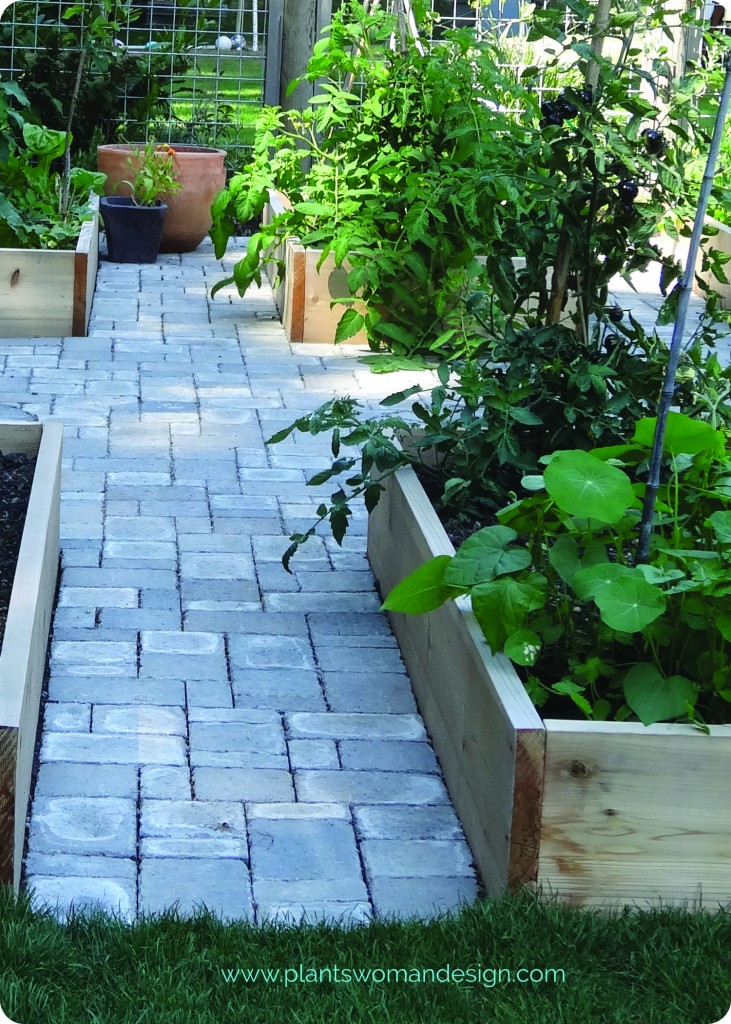
raised beds and pavers
We also may need to keep them from predators. Deer fencing can be used to keep the food available and not make a snack bar for deer and rabbits.
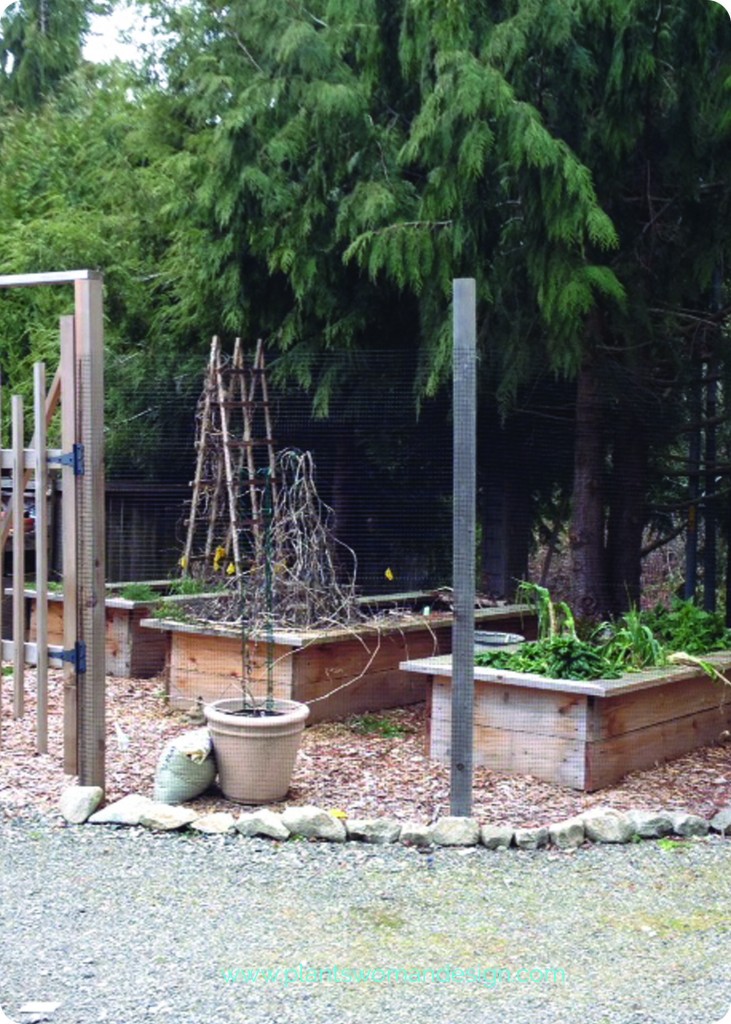
deer fencing surrounding raised Vegetable Beds
Gardens can be beautiful with Vegetables and herbs integrated. This last example shows a lovely beach style border ending in an herb bed. The raised bed on the right side of the picture contains squash and beans. Beautiful in their own right and in context with the whole of the back garden.
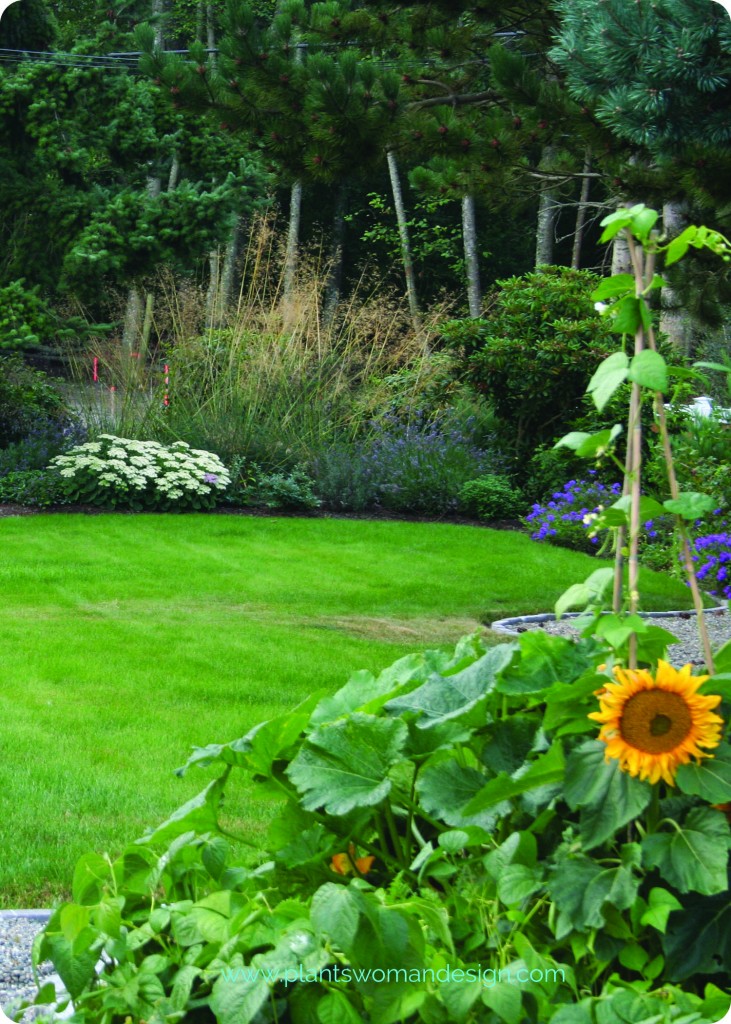
integrated Veg and Herb Garden
by Susan | Apr 4, 2014 | LB Tutorial: Bulbs & Tubers, Little Bytes, Plantswoman Design
If you have been following the blog for a while you will remember in fall we pulled our begonias out after the first frost and stored them over the winter. If you didn’t have any to winter over they are available at the Nursery now and you can grab a couple of tubers and follow along with us. It is time to bring them out of their little dark box and bring them into the light. We will give them a soft bed of soil and water and they will be on their way again. Let’s have a look at the box where we stored them.
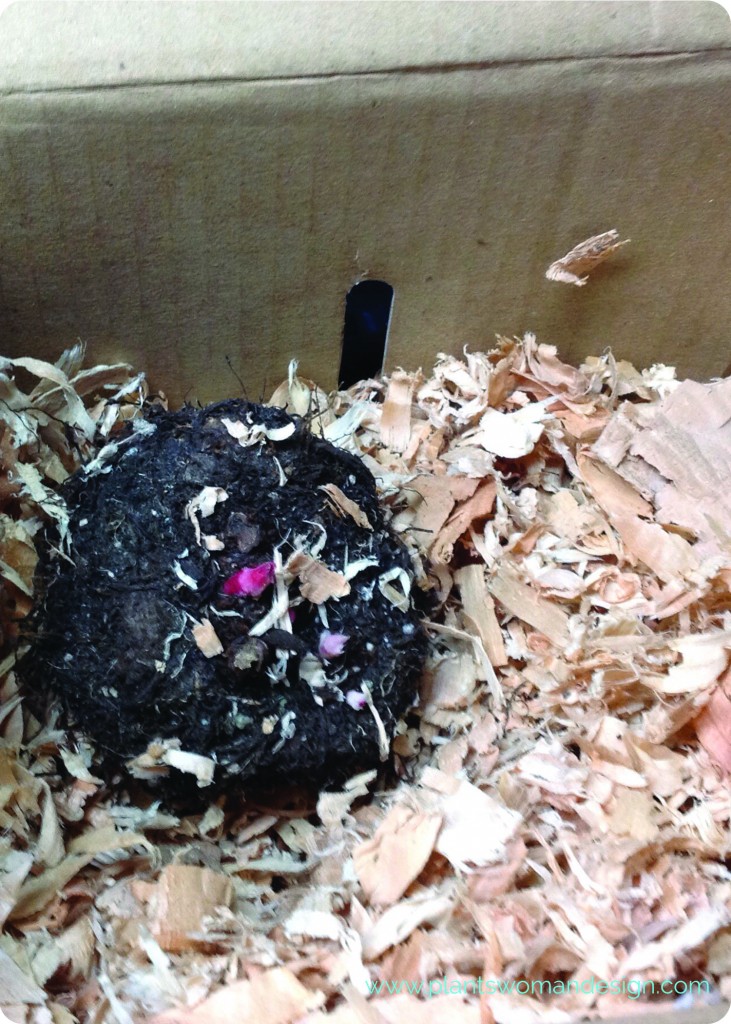 See the little growth points of pink? That is where the first leaves will come out and start their growth again. The tuber is solid and firm with no soft parts or mold (which is how it should be).
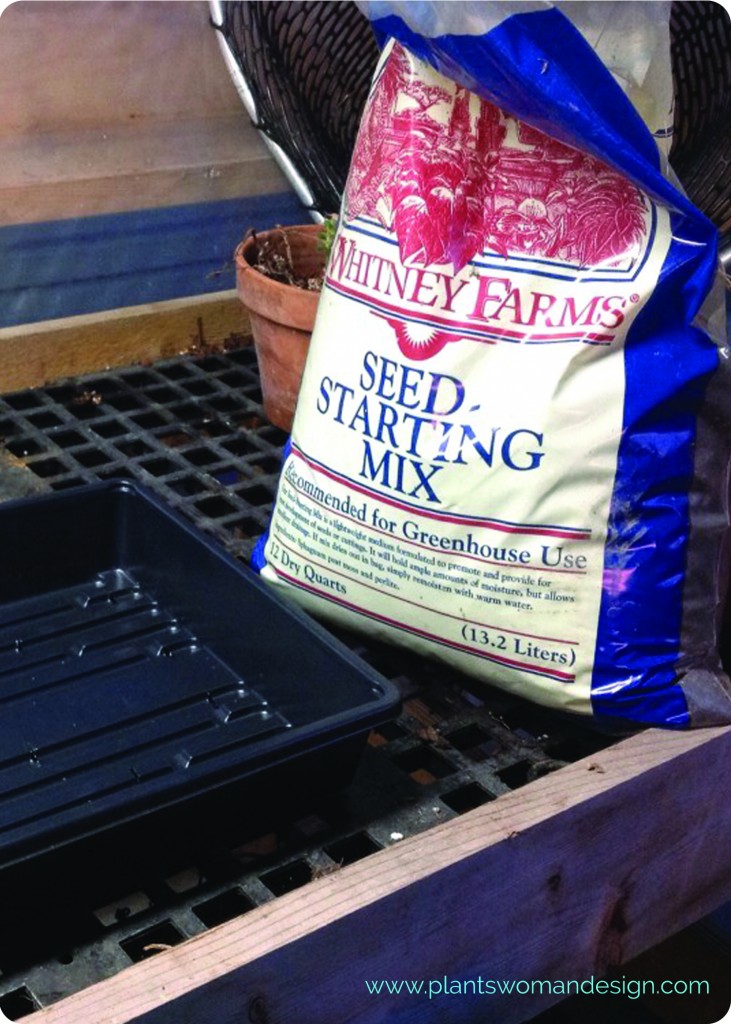 I usually prepare a long tray with fresh seed starting soil mix. This shallow tray is perfect for waking your begonias up, then they will be transferred to the container you want them to live in through the summer. We will transfer them after they have put on some good growth and the weather is warmer. You could put them straight into the pot when it gets warmer but it will take longer to get going and longer to get flowers. As you can see from the little buds showing they are ready to go too.
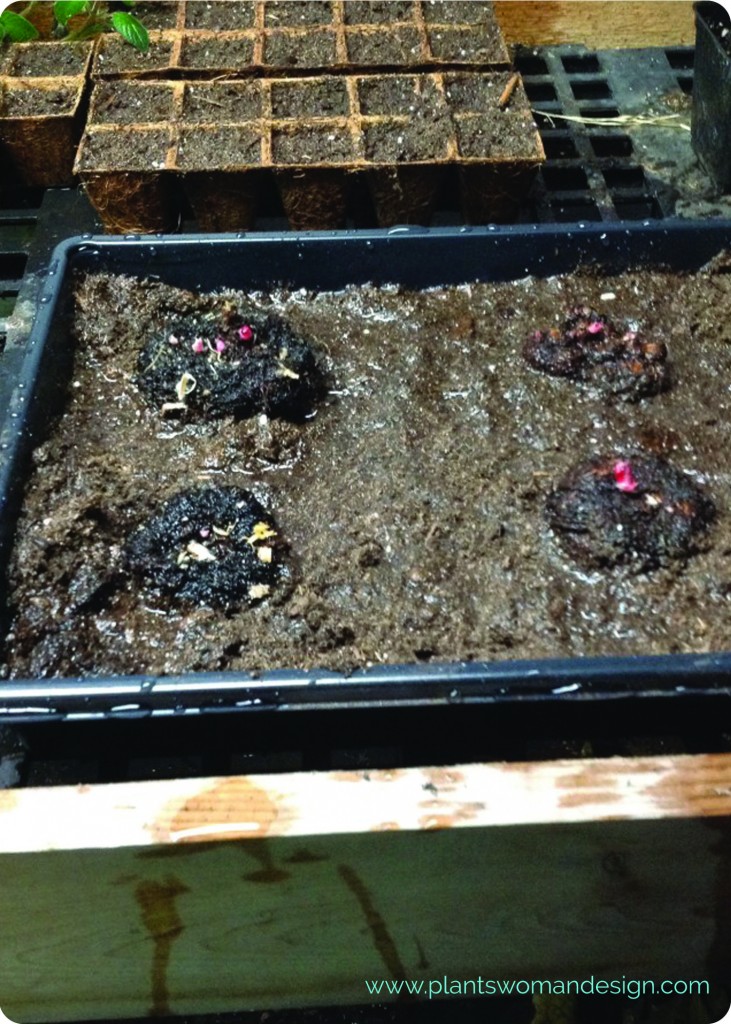
Let’s soak the soil through so there are no dry pockets. Then just set the tuber onto the soil and gently settle it down so the soil comes up about 1/2 way up the side. Now all you have to do is wait, water, wait, warm…. Maybe waiting is the hard part. It is one thing that gardeners have to learn that is very difficult. That’s it…… Really…. That’s it.
There is always a danger when going to the nursery just to buy a tray and seeding soil. Passing by other things that call to you and in this case it was a sweet little Hymenocallis.
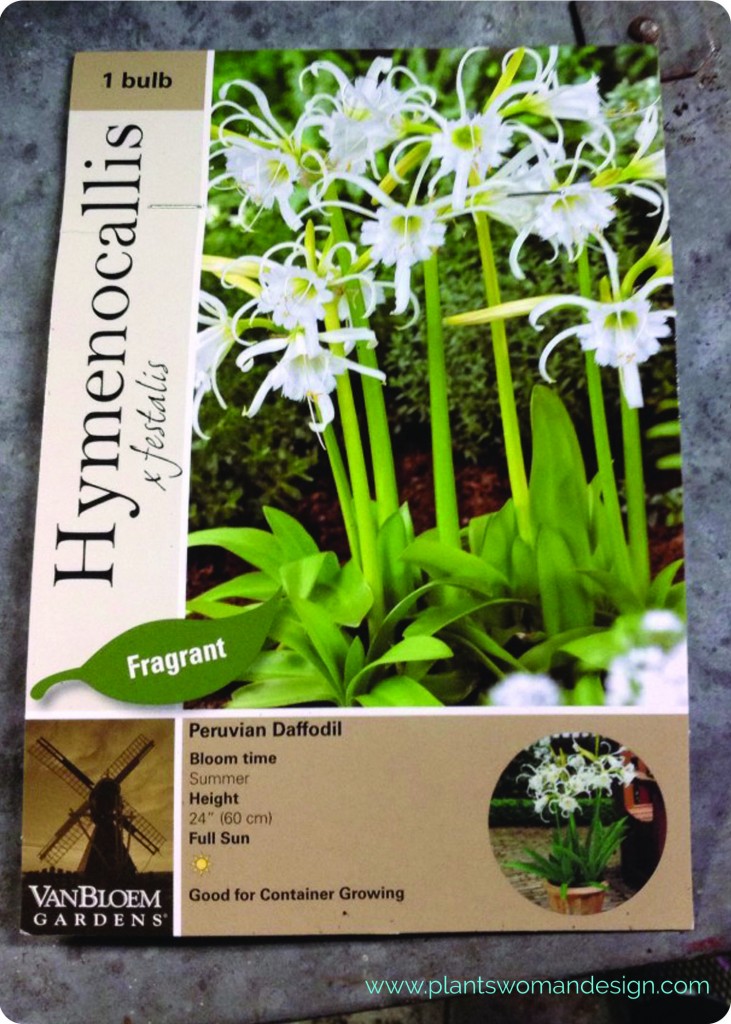
One of the funnest things about these is they can be put into a pot and brought out to brighten a spot in your home and bring in a little fragrance. This is super easy too. You can choose a similar flower or bulb. Look for a recommendation that it can be grown in a container. This will keep it easy. Just grab a pot that you like because this bulb will stay in it.
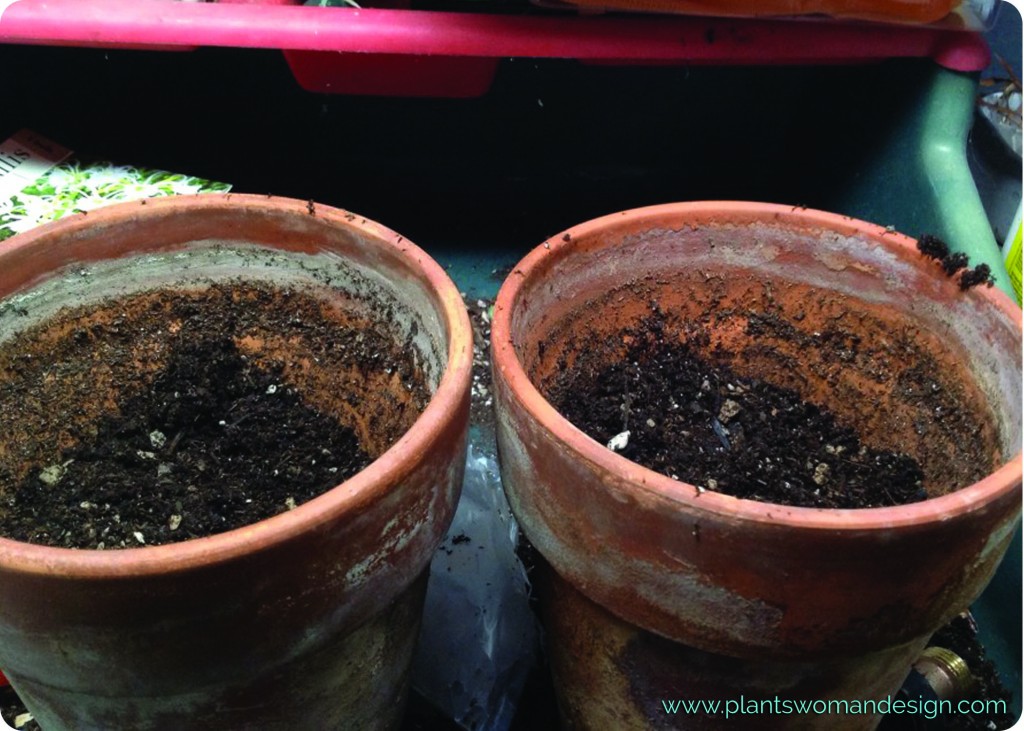 First put in enough soil to bring the bulb to the level on the back of the package. This is a fairly deep pot so there is enough room to do it. If you use a pot that is more shallow you may have to stake the bulb when it blooms. Just be sure there is at least 1/2 of the pot filled with soil before you plant the bulb. Sprinkle a little bulb food in the container and then put the bulb on top of it.
Drop the bulb into the soil gently spreading out any roots that are there.
Cover up the rest of the bulb with soil, water well, and …… wait.
 Remember you do not need a greenhouse to do these projects/experiments. Just a sunny window will do and they will be ready to transplant outside before they get very big.
In these days of ‘instant’ there is something unusual about waiting. We don’t really wait for much. I really admire the people who grow from seeds. They are so patient. They have learned the art of waiting and the excitement of seeing a seed sprout and become a wonderful plant. I read recently about a couple who grew trees from seed and live to see them mature and then harvest them. Some had been growing for 40 years. I think that would be hard to do. I do encourage each of my followers to grown something from seed. We will do easy seeds next week (lettuce) and I will start tomatoes by seed indoors later in the season.
Remember to share your gardening exploits with us here on the blog or via Facebook, Instagram (#susan_PWD) and Twitter (@susan_PWD)!
by Susan | Mar 23, 2014 | LB Tutorial: Container Gardening, Little Bytes
Welcome back to Little Bytes! I’m excited to start our first container today. Jen will be my partner-in-crime for this demo.
Before going out to purchase the necessary supplies to plant her pots, Jen needed to figure out where to put them. She picked out a spot by her front door that gets good sun, is out of the dog traffic pattern, and someplace where she will see them and remember to water them. Each new gardener should take into consideration sun exposure, traffic patterns (human and animal), water availability, and enjoyment. Sun is essential for most vegetables.
Here’s what you will need to follow along with us and plant your own container:
- A container
- something sharp to poke drainage holes into your container (unless your container already has them).
- Small shovel or spade
- filler (packing peanuts, plastic bottles with lids on, crushed plant containers)
- Potting soil and compost
- Plants
- gardening gloves (optional)
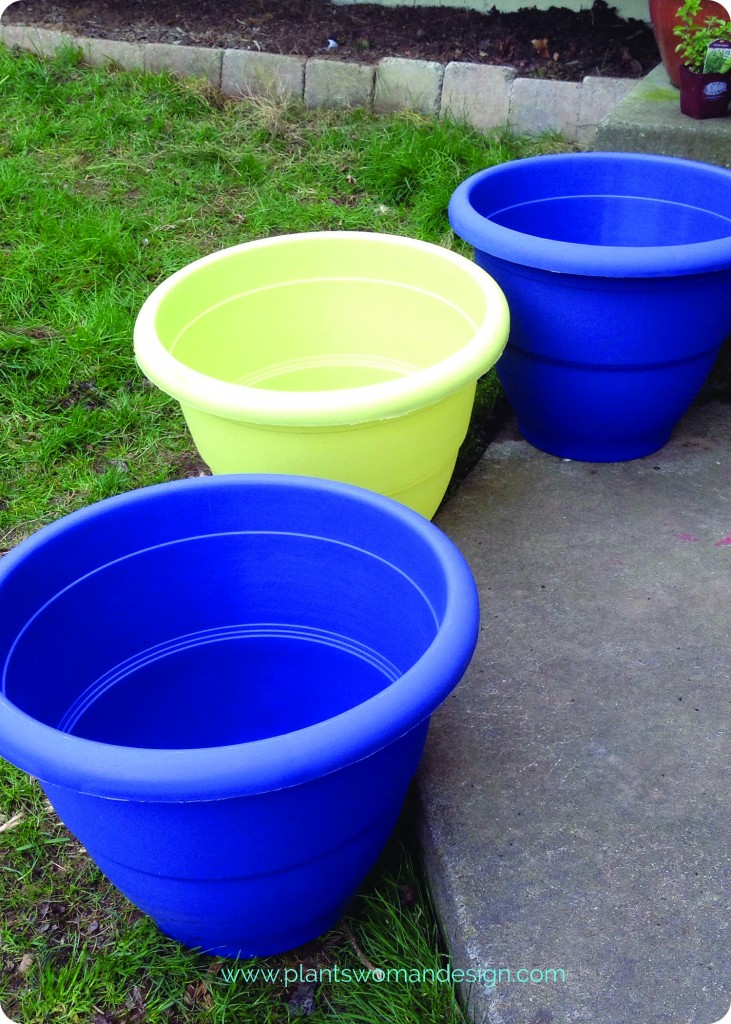
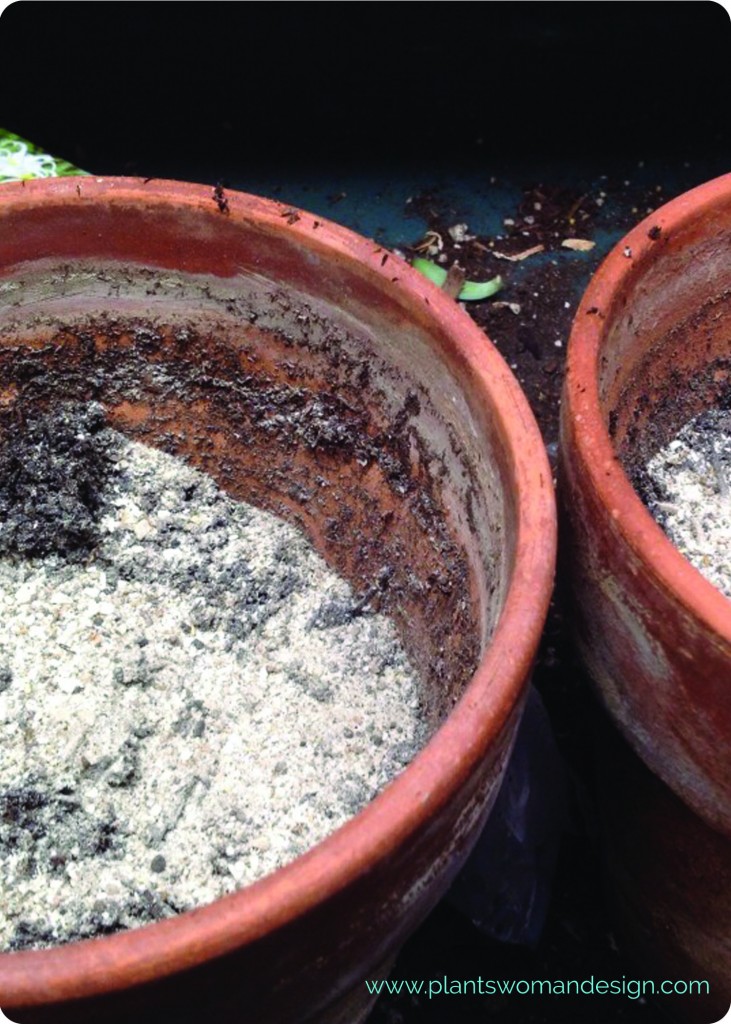
First we will need to provide drainage holes. These pots, purchased at Lowe’s, have ‘punch outs’ for the holes. Jen worked on punching out the holes with a screwdriver and hammer but ended up using a drill instead because the first container fractured instead of giving a nice clean hole. The integrity of the container is still there but it doesn’t look ‘perfect’ anymore.
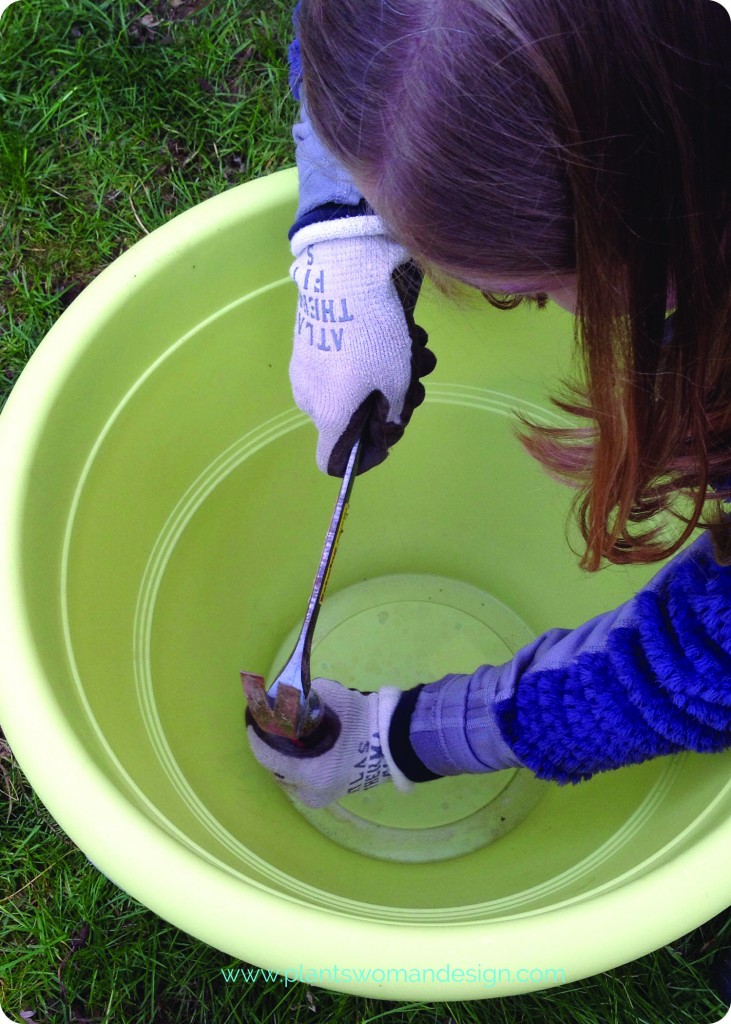
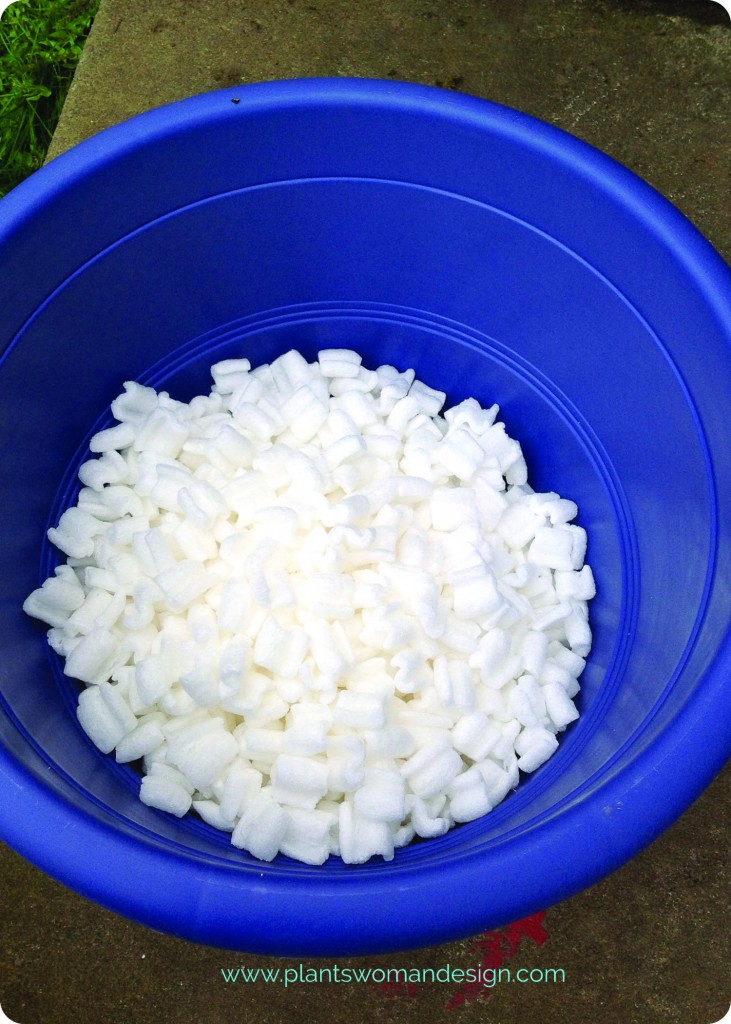
Next step is to add filler. We recommend choosing containers that are at least 2 1/2 feet tall by 2 1/2 feet across. Fill in enough space to leave 18 inches from the top. This pot will house herbs that can overwinter (stay out all winter with out dying) so they get a little more soil than containers that get to come inside for the winter. Adding filler allows the growing material to be easily reached, have just enough soil to grow plants successfully and aids in drainage. The root systems of most vegetables are about 6 inches to 1 foot down in regular garden beds, which is what our plants will get. Too much soil becomes waterlogged and can cause problems for the roots of your plants. Look for something light weight so the container can be moved easily if needed. Pebbles, rock and dirt are not a good choice. Packing pellets, plastic bottles with lids, or crushed 4 inch growers pots are good choices (and help you recycle). Keep in mind you want the water to drain past the filler material not get trapped in it. If your drainage holes are bigger than a dime go ahead and place a larger piece of broken clay pot or an upside down growers pot at the drain holes so they don’t get clogged.
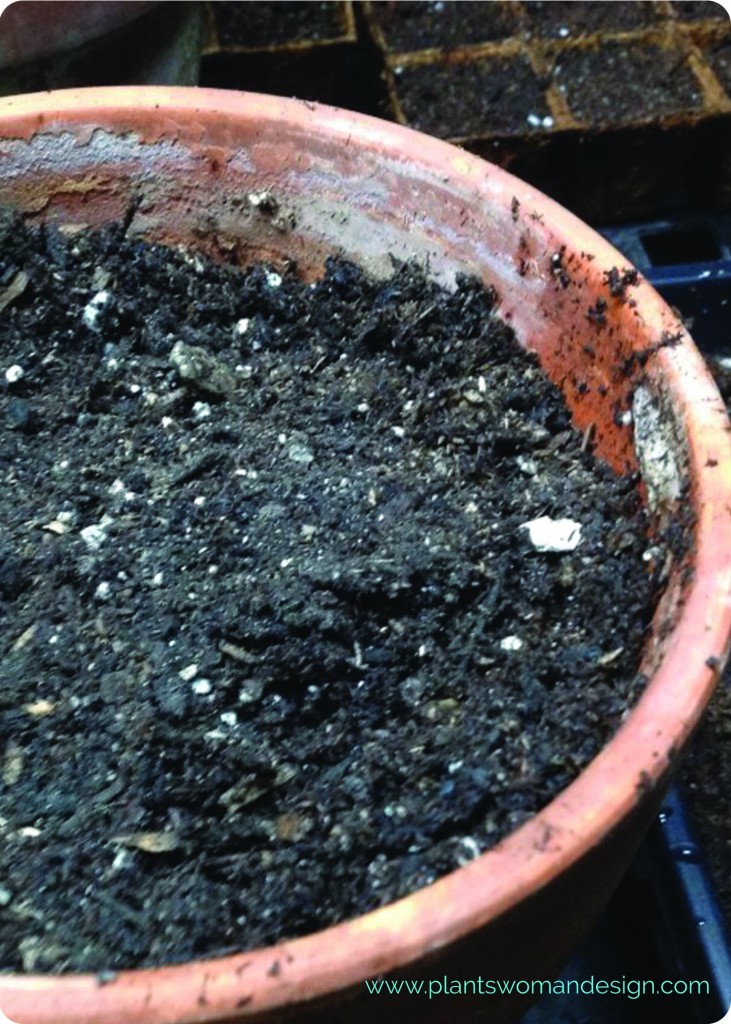
Next we need to add the soil and compost which we picked up at the local nursery. We chose an organic soil mix with no fertilizer in it and planting compost. I like to mix some extra nutrients into the potting soil using 1/3 planing compost and 2/3 potting soil mix.
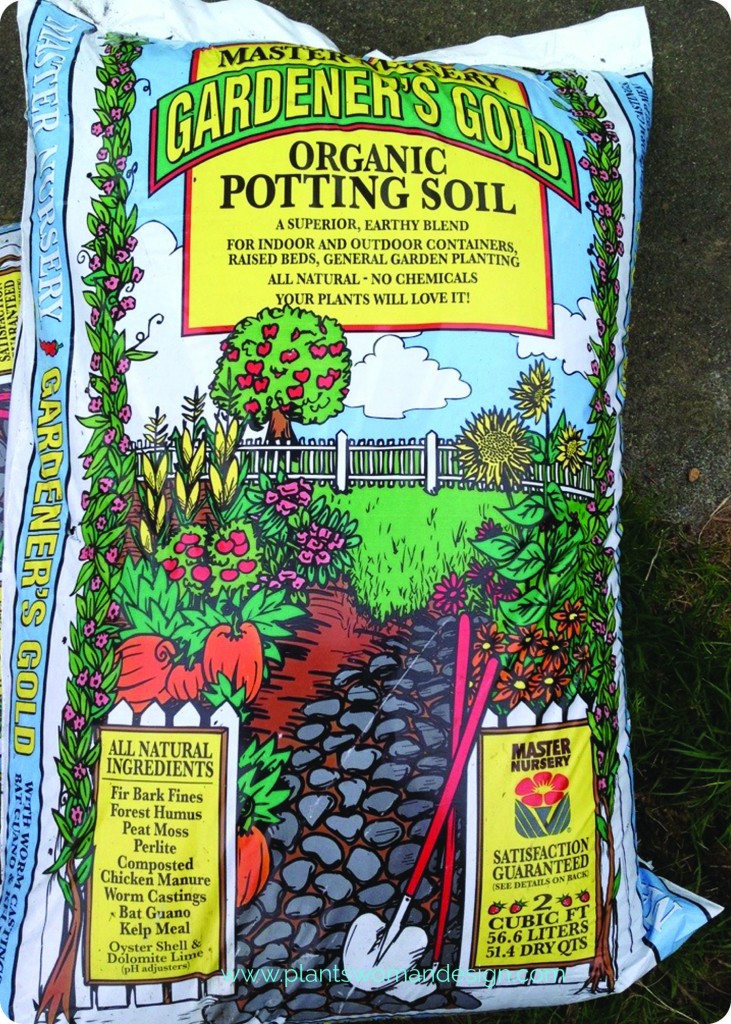
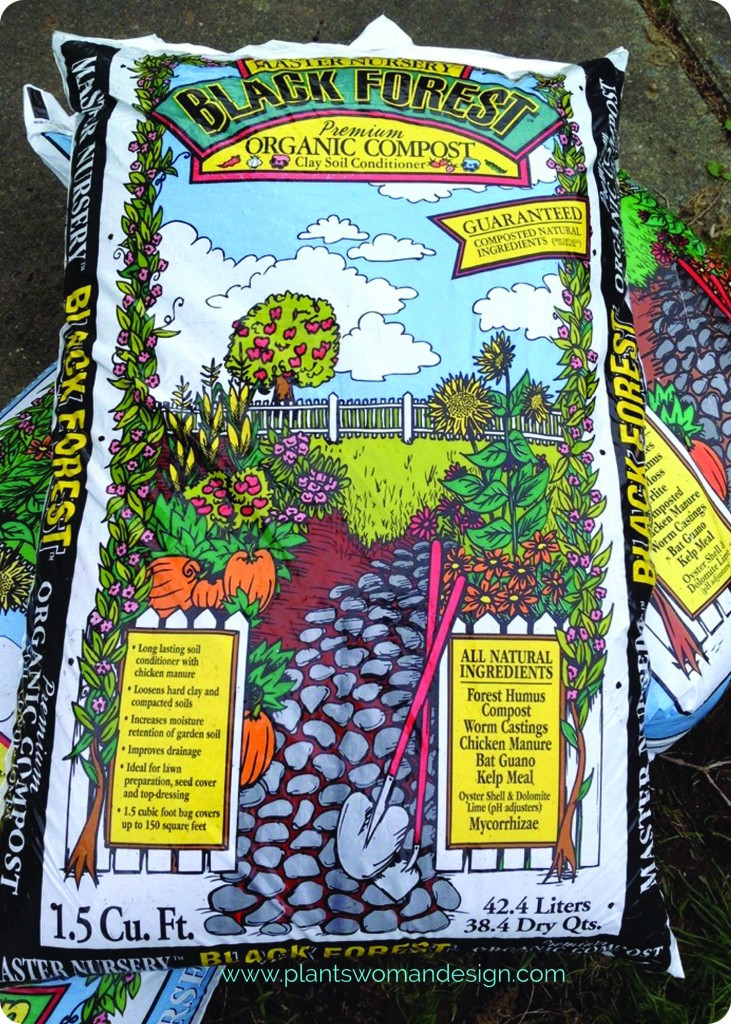
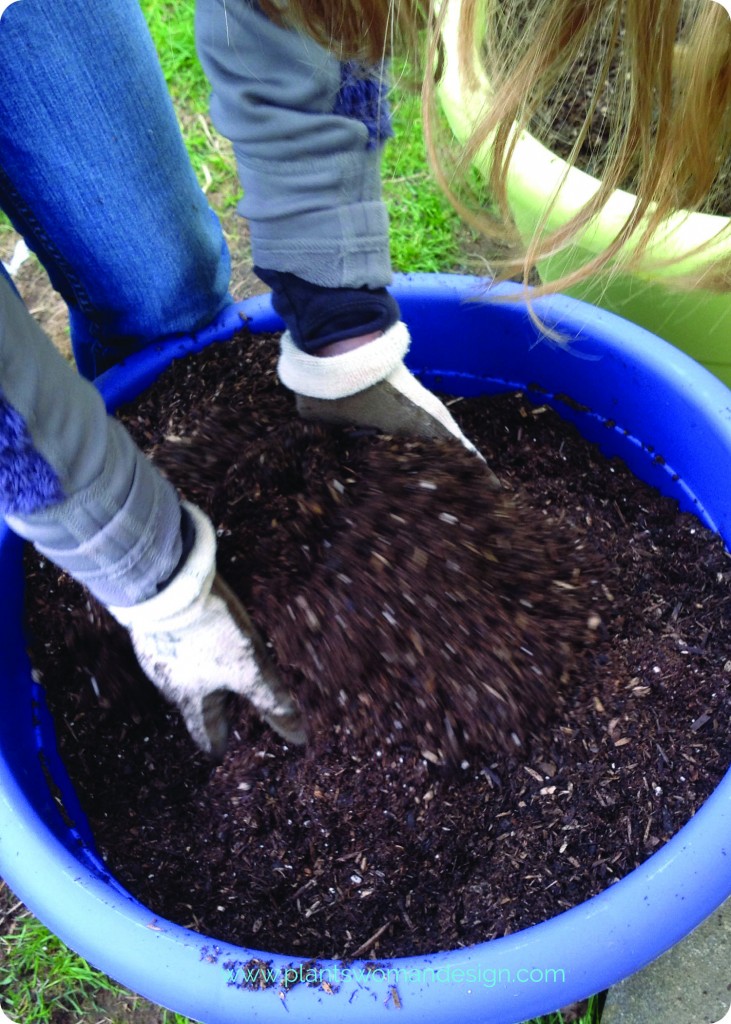
Pour in your soil and compost then mix the materials together by hand…. Mmm, smells good as we mix the soil and compost. We tapped the container a few times to settle the soil and filled it up to about 2 inches from the top
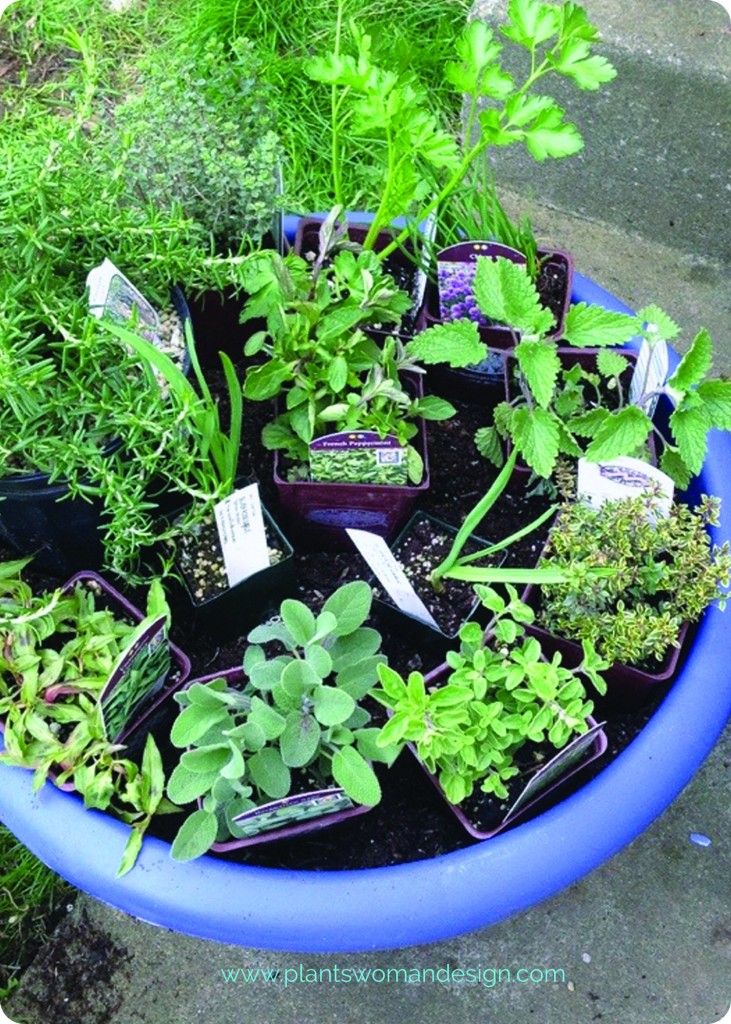
Now that your soil is ready it’s time to place our plants. In container planting I like to work with heights and textures when planning my container. Place all the herbs, still in their pots, into the container to come up with a pleasing arrangement. I like to put plants that are tall in the center and creepers towards the edge so they have somewhere to go as they grow (looks great and makes harvesting easier). Then arrange fat leaves next to small leaves and spiky in between. There is still a little room here for our basil seeds when it gets a little warmer. Be sure to keep them in order when you start planting so you can remember the arrangement.
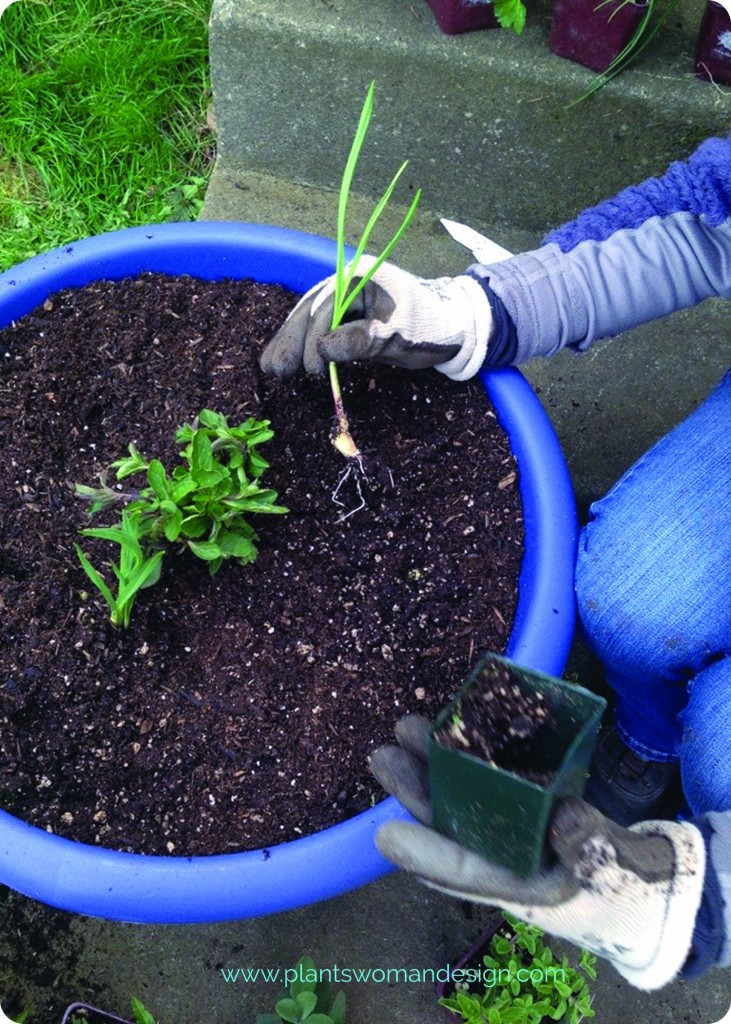
Now time to plant! Starting in the middle pull the plant out of the pot, gently tease the roots apart so they will start reaching out to the soil right away and plant it at the same soil height it had in the pot.
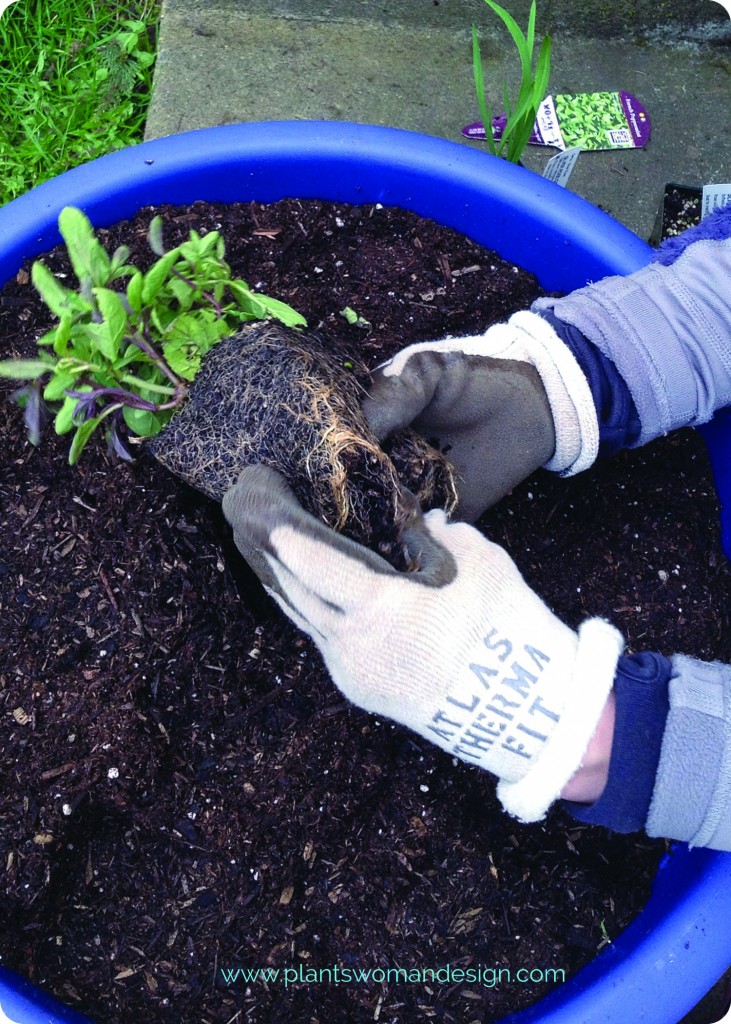
Gently firm down the soil before going planting the rest of the container in the same manner. This time of year the plants are not usually root bound (a tight network of roots from being in the pot too long). If they are you may have to get a little more aggressive with the ‘teasing of the roots’. Save all the tags and place them in the corner of the container in case you need to look at them.
After all is planted it is time to soak the soil with water. Use a gentle spray of water until you see liquid running out of the bottom of the container. Check the plants to see that they are still firm in the soil (some may need to be re seated because of air pockets). Add a top coat of compost and you are finished! We will fertilize in a few weeks but I like to give the herbs a little time to adjust to their new home before fertilizing. For the most part herbs aren’t heavy feeders so we will only give them a little boost as they get started growing.
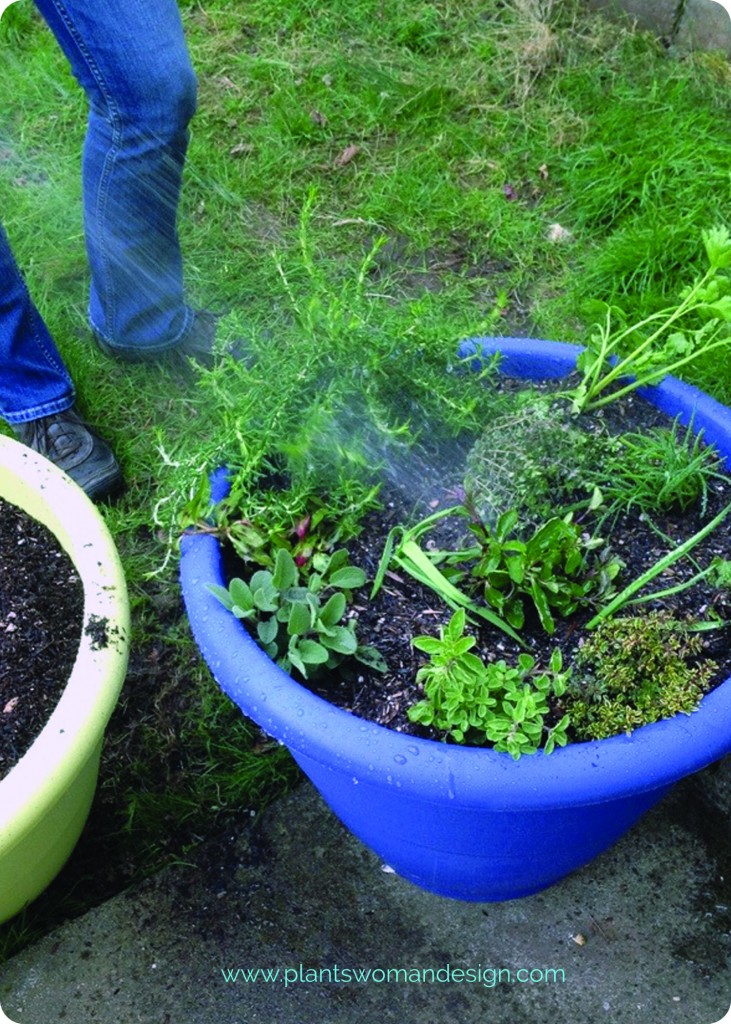 And we are done!
See below for the list of the herbs Jen used. Kristen has the same herbs in Chicago and will post about her potting experience next week. She is in zone 5 so her spring is several weeks away so her plants get to hang out inside for a bit.
It’s always more fun to learn and garden together so let us know if you are joining in with us! You can let us know by posting to our facebook page, sharing on twitter (@susan_PWD) or leaving a comment below.
We will have harvesting tips and recipes to follow. We can plant, grow, and enjoy the fruits of our labors (literally)!!
Keep growing, Susan
Plant List:
- Rosemary Irene
- Silver Rose Garlic
- Chives
- Lemon Catnip
- Sicilian Oregano
- Silver Variegated Lemon Thyme
- Flat Leaf Parsley
- French Peppermint
- Berggarten Sage
- Vietnamese Coriander
- Gold Variegated Lemon Thyme
by Susan | Mar 10, 2014 | LB Tutorial: Container Gardening, Little Bytes
Here is a quick garden house Byte…
My local nursery has some great things in the green house and I recently picked out this sarracenia Flava from Courting Frogs Nursery. Use this quick tutorial to bring the garden indoors as we wait for our plants to wake up outside.
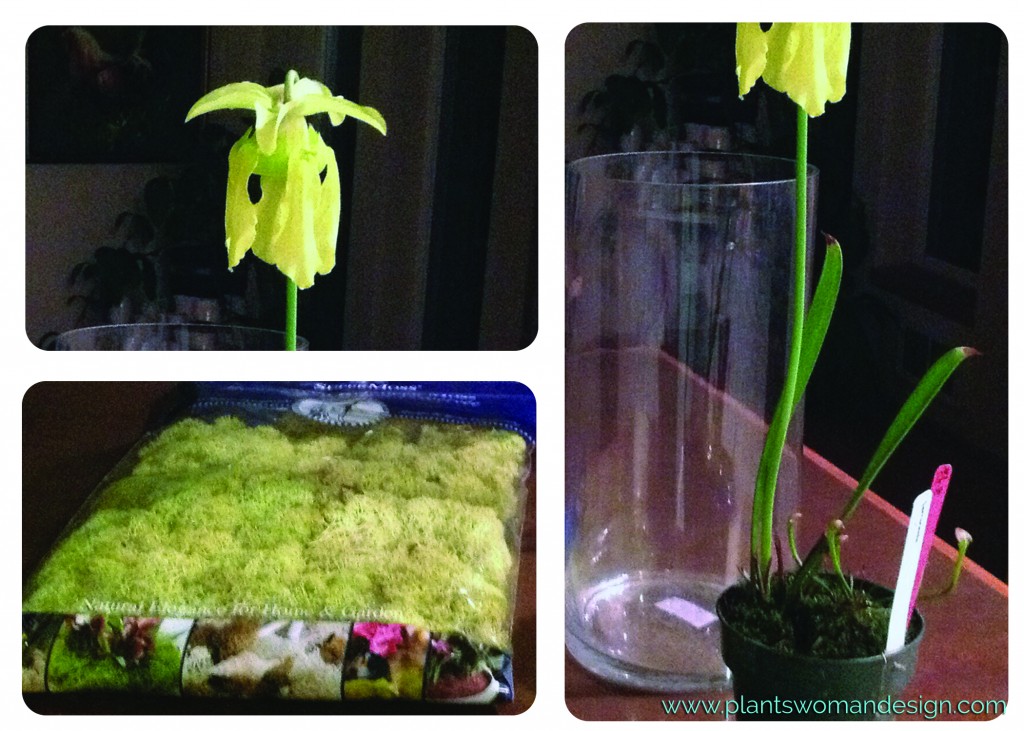 Here’s what you need:
>A container – This hurricane glass is from my collection but you can find them at your local craft store (I use hurricane glasses for MANY things as you will see).
>Preserved reindeer moss (I wanted a color that was exactly the same color as the blosom, also from the nursery)
>Beautiful plant to show off
First, I placed a thin cushion of the moss under the pot inside the hurricane lamp. Then, after I pulled the tags off the pot and placed it in the container, I packed the moss around the edges. This beautiful container can go inside or outside. I like to use it inside then put it outside when the weather warms. It likes constant moisture so putting it in the hurricane glass it can have water up the sides of the pot.
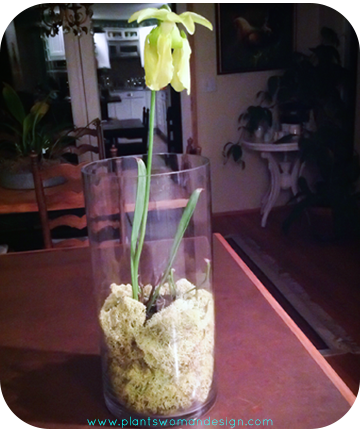
Here is the final result. This also makes a great unusual and fun gift. Such a great way to share your love of gardening with non-gardeners.
What do you have growing inside right now?


