Garden Show| Kid Designs
As promised, here are the kid sponsored designs from the 2020 Northwest Flower and Garden Festival.


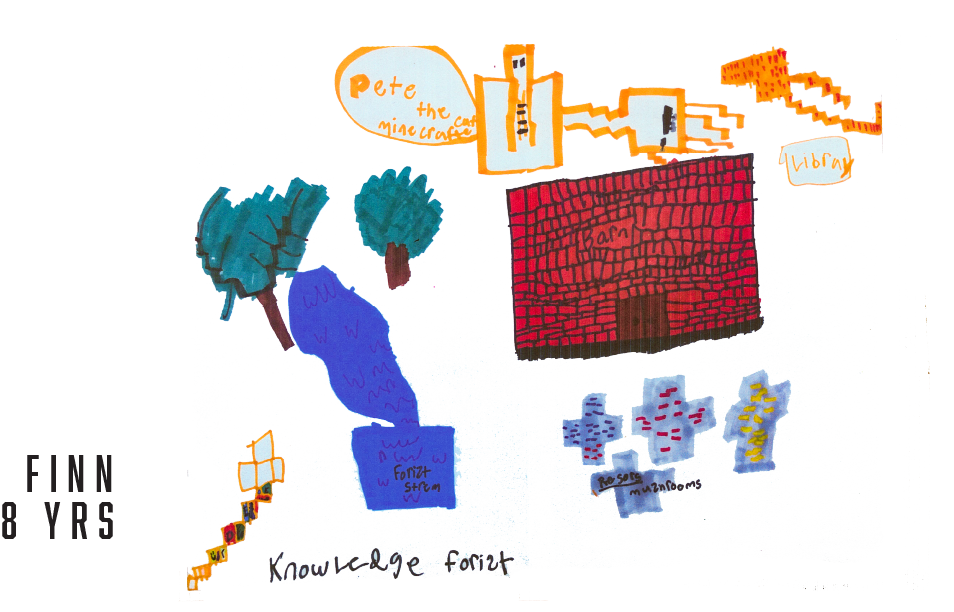
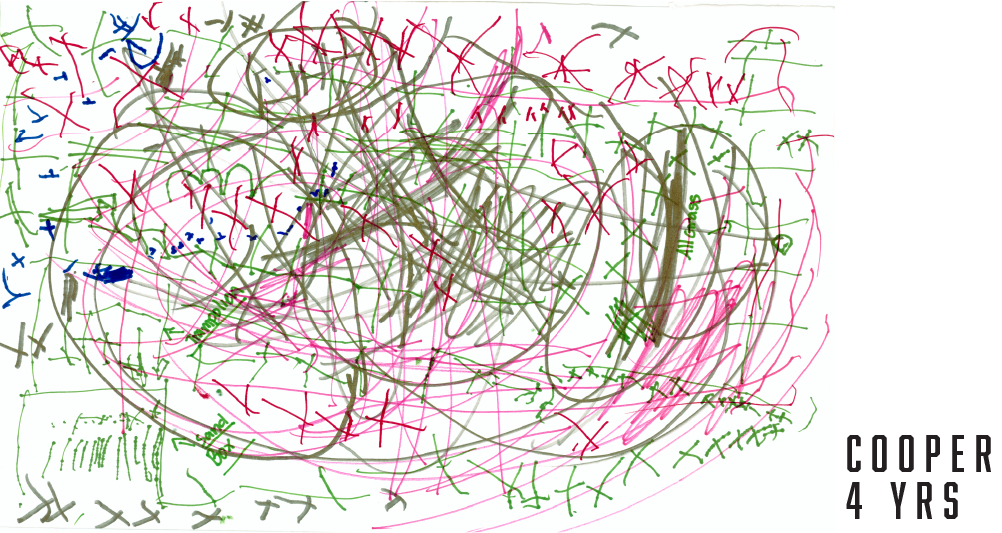
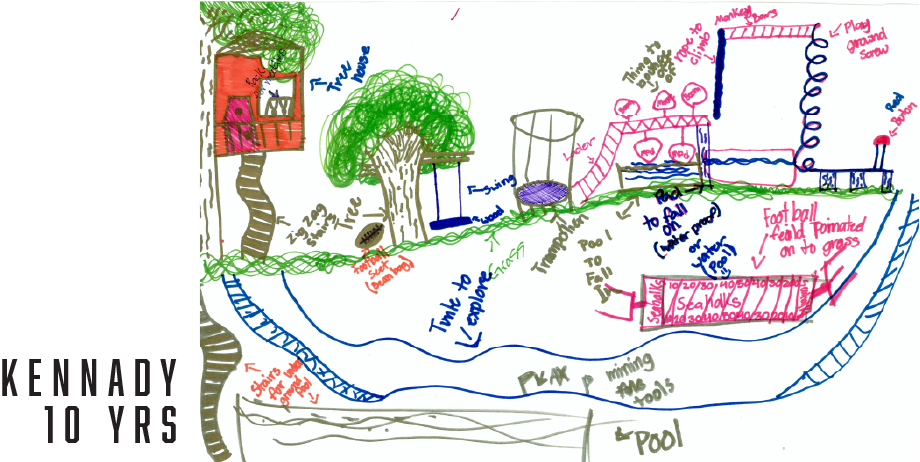
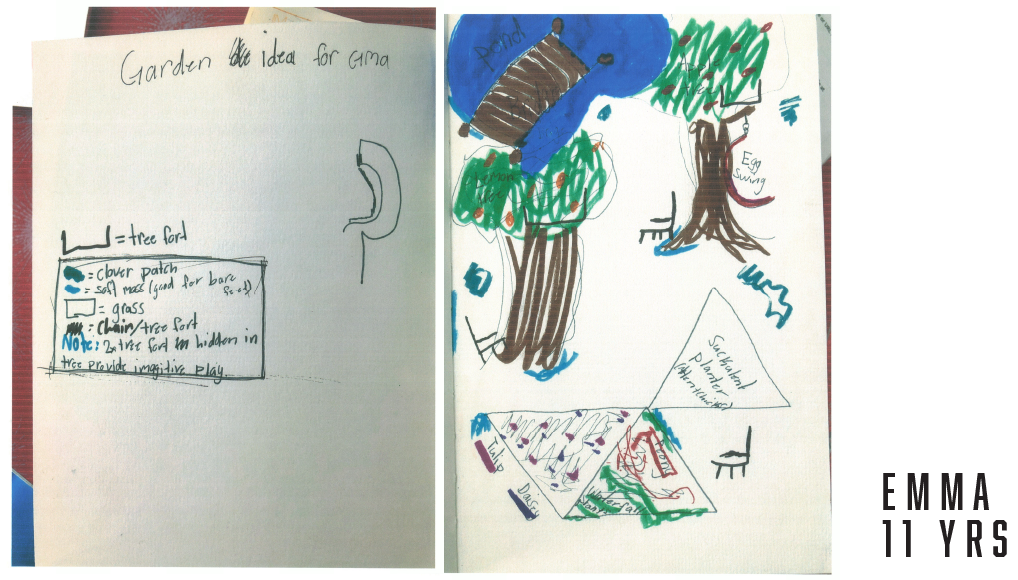
As promised, here are the kid sponsored designs from the 2020 Northwest Flower and Garden Festival.


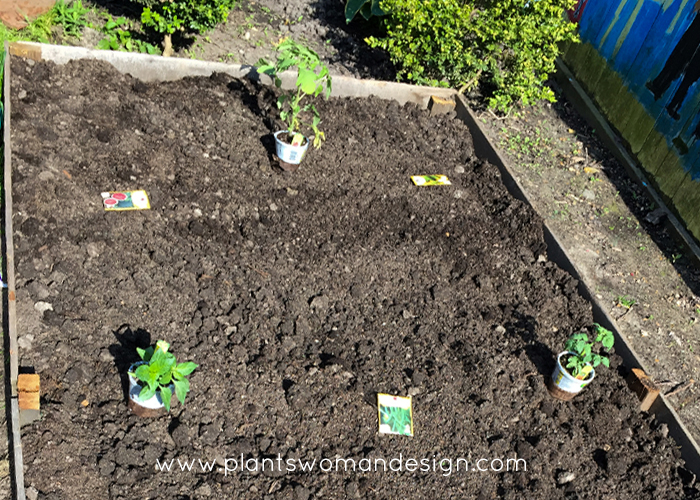
Not to be outdone by the Easter Garden the grand-kids in Illinois (zone 6a) planted a garden with their mom for Mother’s Day. Let’s join Kristen for a quick tour…
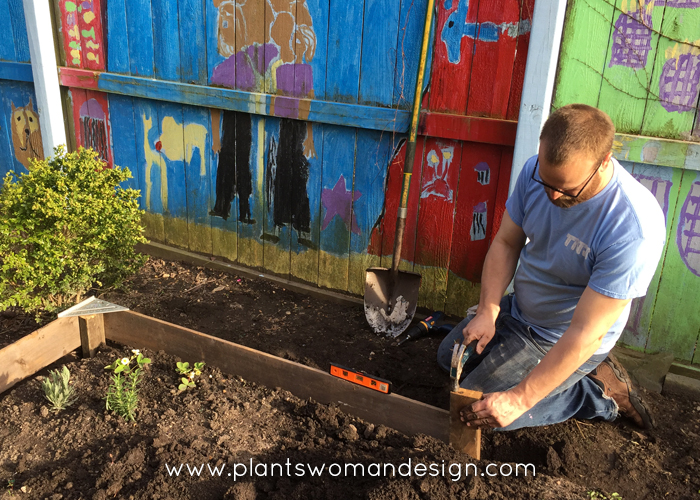

We started prepping our garden back at the end of April. If we wanted to we could call our little garden the Secret Garden because it is hidden from view in the side yard of the neighborhood church’s 2-flat. Most people don’t even know there are garden plots back there unless they are brave enough to ask the right question to the right person. It is a perfect little spot for us amongst a few people lucky enough to get a spot. Our patch is roughly 8’x16’. We used the boards from a section of old fencing to build the retaining border and used drywall screws to secure the boards to wooden stakes we drove into the ground with a hammer. This proves that you can build a garden bed with just about anything you have on hand. It doesn’t have to be perfect or Pinterest worthy.
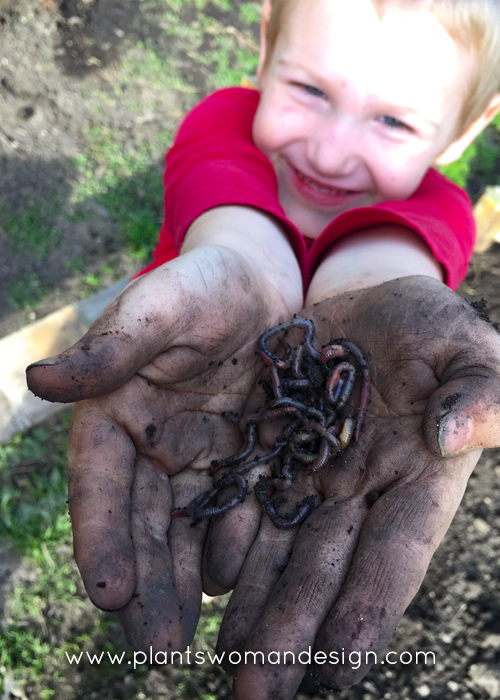
While we were digging through the soil to put in the raised bed boarders we found tons of worms doing their work, which was such a good sign. Our son made it his job to find as many as possible and ended up finding the biggest worm any of us had ever seen in life. Even with all the worms the soil here is full of clay. We amended the soil with manure and compost. Our daughter just couldn’t believe we were planting seeds in poop. We assured her it was ‘clean’ poop but that didn’t help.
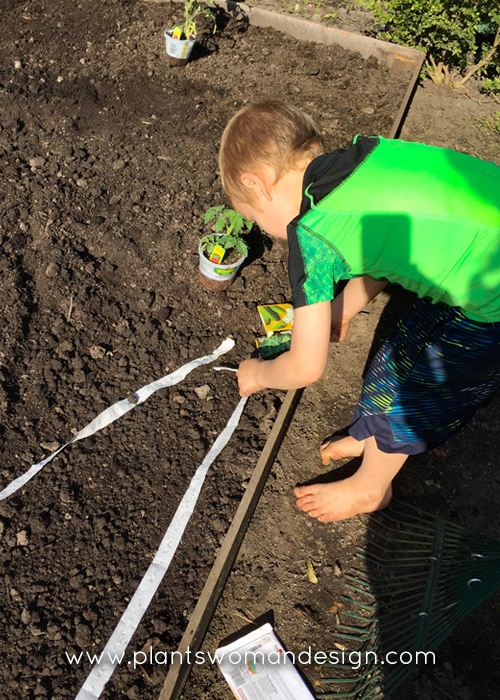
On Mother’s Day we joined the throngs of people at Home Depot and purchased three tomato plants and a red bell pepper start along with seeds for watermelon, cucumber, carrots, beans, lettuce and spinach. Because of our small space, we chose bush varieties for the melons, cucumber and beans. Just like the Easter Garden we also found seed tape for the spinach.
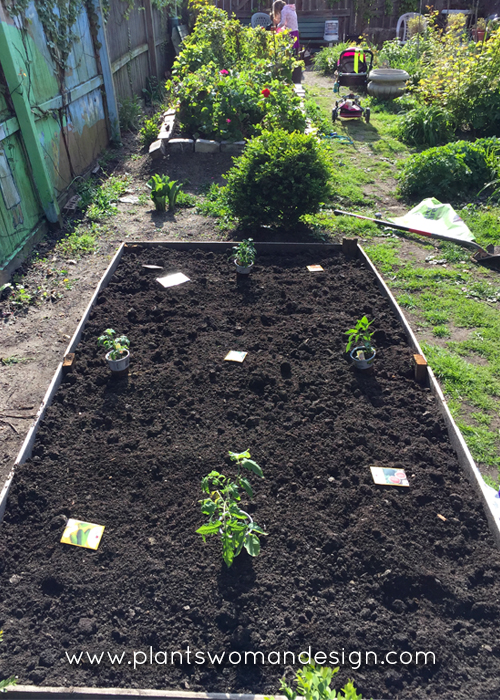
Back at the garden we laid out the seed packets to find the best placement for each vegetable. Because of how the sun travels over the garden we chose to forego traditional rows and plant in groups instead. With the tallest plant, the beans, in the middle and the vines in the corners, so they could spill out over the edge if needed, I’m hoping the design will make the best of the sunny hours. When the time comes to stake up the tomatoes and beans I want to take a page from the Planstwoman show garden and use metal tubing to prop them up.
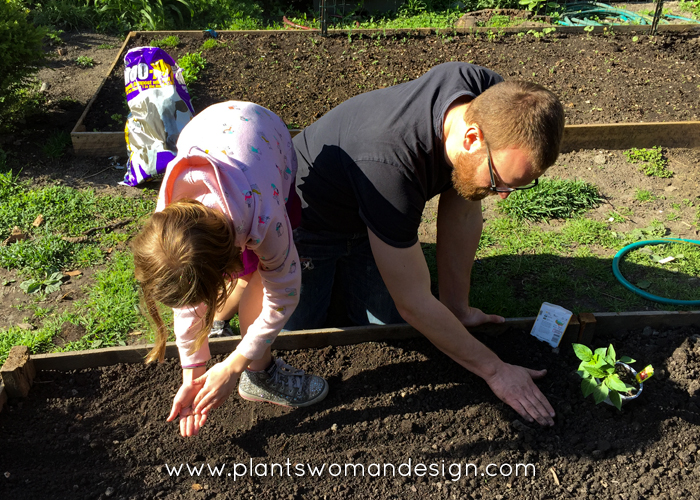
Since planting the garden we had a week of 85+ degree weather which really gave our seeds a good start. It has been chilly and wet since then but the sprouts fighting their way up through the soil.
What have you planted in your garden this spring?
We are about a week out since we were at the Northwest Flower and Garden Show so we want to take some time to share with you the most frequently asked questions we answered at the show.
The item in this garden that we answered the most questions about was the bottle tree. Oh, the bottle tree! Designed by Susan, the Plantswoman herself, and fabricated by Patrick Clanton, a metal artist from Bainbridge Island, the bottle tree garnered many ooh’s and ahh’s from show goers. Here are the top 3 questions we answered about the bottle tree:
How did you get the bottle to look like that? There were many theories that show goers had. From hand chiseling the flower design into the bottom of the bottles to having a custom glass blowing stamp made. But the bottle was just a lucky find. The bottle is manufactured this way and is used to bottle the Cotes Des Roses wine commonly found at Northwest area Costco, Safeway and Cost Plus stores. We found ours at Costco back in November and shared the wine with our friends, family and clients as long as they promised to give the bottle back.
Where is the light coming from? The bottle tree is lit from the inside with an LED light at the end of each branch. When the show lights went down at the beginning of the show you could really see how beautifully the flower design glowed.
What is the tree made of? The tree is made of metal. Many folks wanted to know if we used conduit and one show goer even asked if she could make it out of PVC pipe. I guess you could but it would lose some of the modern sleek feel that using metal would grant you.
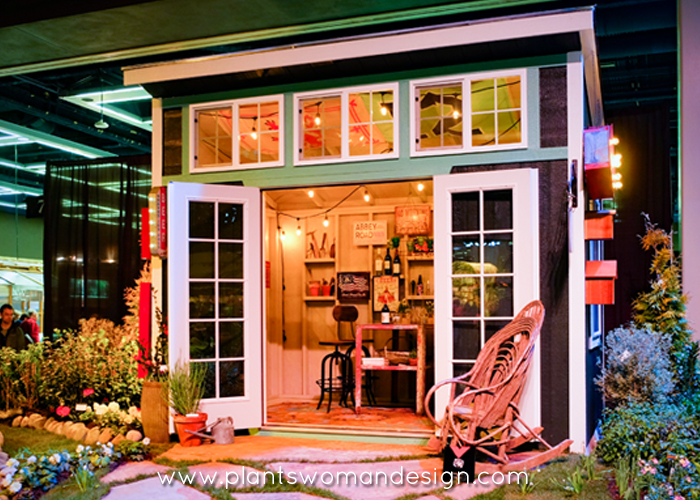
Not to be outshone by the bottle tree our Pub Shed is next on the list of most asked questions. Our shed was provided by Better Built Barns in Oregon. They modified their slant roof model to fit our specifications and brought it to the show for us on their special truck fully constructed and painted. Our top 3 questions about the Pub Shed:
How big is the Pub Shed? The shed we had at the show was 8’x10’.
Oh, that’s a cute She Shed! This is not a question but a comment we heard. No, this is not a ‘She Shed’ it’s a Pub Shed complete with keg fridge and wine. The garden around the shed is filled with herbs and fruits to make your libations even better. Who wouldn’t want this in their neighborhood?!?! Talk about building community!
What is the Tipsy Gardener Pub? Is it a real place? Instead of a brochure this year we passed out coasters for the Tipsy Gardener Pub which is what we named our Pub Shed. We even had shirts made which we wore on select days of the show. Show goers really got a kick out of it and so did we.
We had good response to the mason bee houses we had on display that were provided by Crown Bees. David Hunter, owner of Crown Bees, gave a seminar on bees at the show and we had a great time meeting him. Here are a few questions we answered about the bees:
What are mason bees? Mason bees are a solitary gentle bee that is a great pollinator. Since they have no queen or hive to protect these bees are not aggressive.
Do they make honey? These bees are not honey bees.
They seem complicated are they? No, not really. The best part is that the staff at Crown Bees are super helpful and are happy to help you find success.
All in all we had a good time at the show this year. Actually we always have a good time at the show even though it makes for a very long week. Drop us a line if you have additional questions.
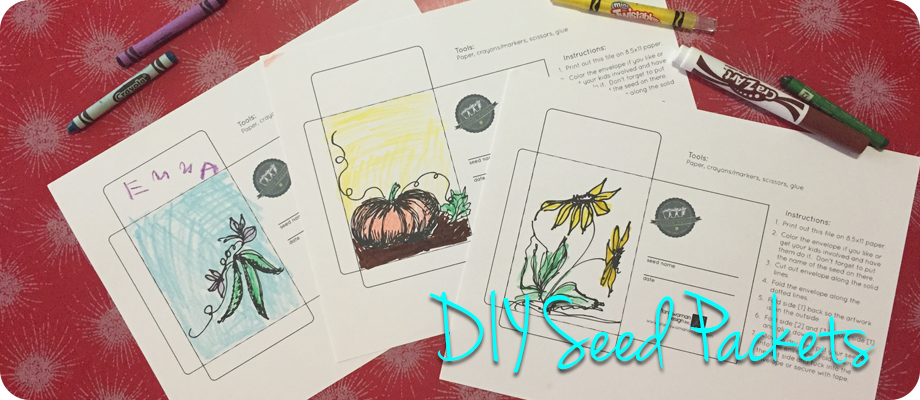
If you are coming over from the post Planting a Legacy welcome! Thanks for coming by. Susan Calhoun, of Plantswoman Design, hand drew art for your seed packets! Make a few seed packets to share seeds with or give seeds as a gift.
First print out the PWD Seed Packet Activity.
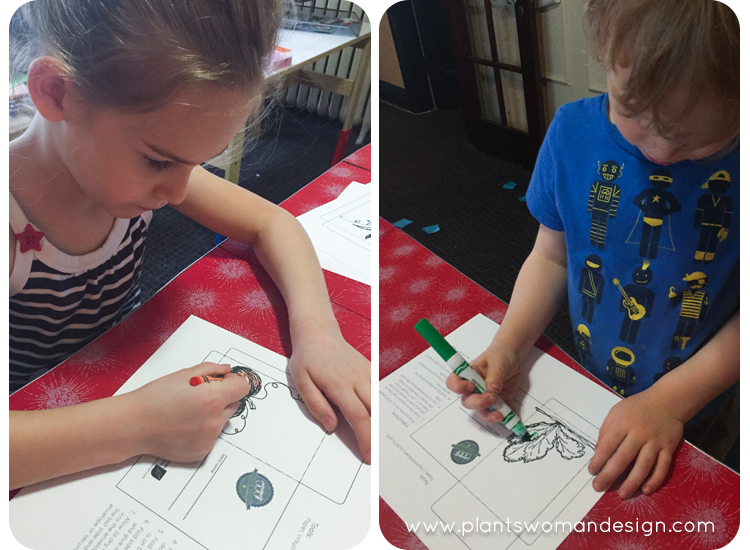 Have your kids color the pictures on the front of each packet (or color them yourself). Want to draw your own? Use the blank packet to draw or color any way you want. We’ve also included a special Arbor Day packet to share and plant seeds for that special planting day.
 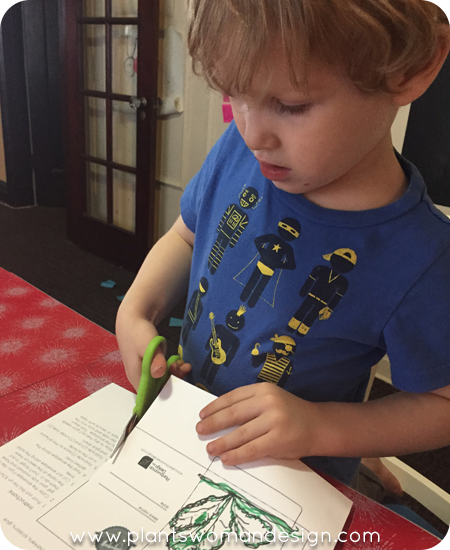 Cut out the packet along the solid lines.
 Glue along flaps 2 & 3, fold flap 1 over and press down.
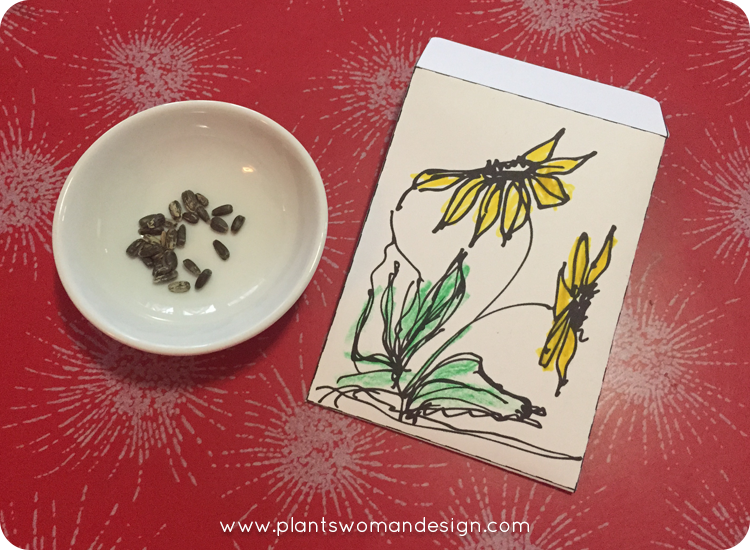 Wait until the glue has dried then put your seeds in and either tuck the flap into the envelope or secure with glue or tape.
Your seed packet is now complete! Now who wouldn’t want to receive seeds in a handmade packet? Great for Mother’s Day too!!! (hint, hint)
Before we go I just wanted to say a little something about doing this project with young kids. I did this project with Little Chef (3 3/4) and Miss E (6). They did the best they could do and for the 3 year old it was a little color here and a little color there before he wanted to cut the paper. He got the first line really quite well and then this face…
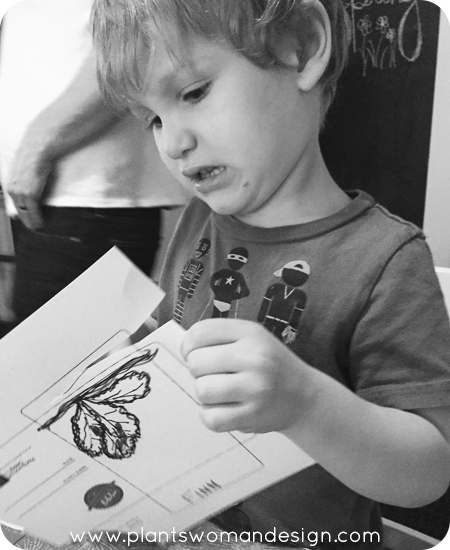 After which he promptly gave up and tore the whole darn thing to shreds. My point in telling you this is to help relieve any pressure you may have about working on this project with young kids. It won’t be perfect. Color won’t stay in the lines, things may be glued together that shouldn’t be and papers may be torn. It’s okay! Getting kids involved in gardening at a young age takes… well baby steps. This little guy in particular enjoys the digging in the dirt part of gardening much more than this part but he gave it a try and that is enough for me.
Enjoy! And send us a photo of your finished project via email to info[at]plantswomandesign[dot]com, on facebook or Instagram (#heyplantswoman).
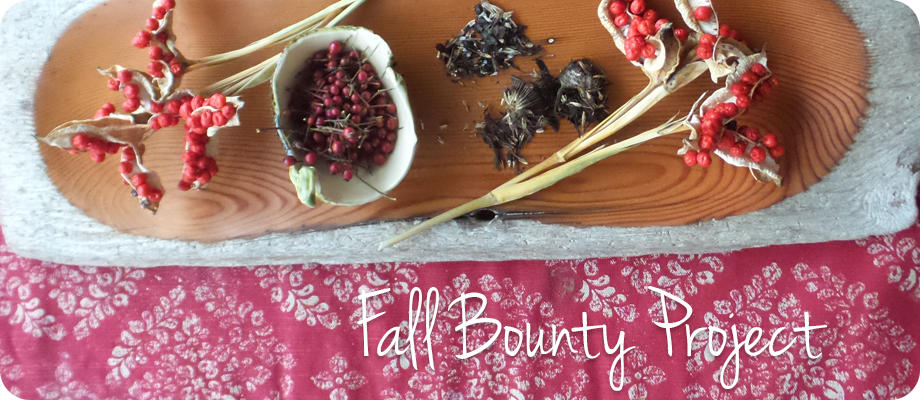
You may remember a few weeks back we gathered some items from the autumn landscape with the promise that we would have a project for you. Well, here it is, our Gather Fall Bounty project, Suet Cakes to feed our fine feathered friends out in this crazy winter we’ve been having.
Here’s what we collected…
Here’s what we bought…
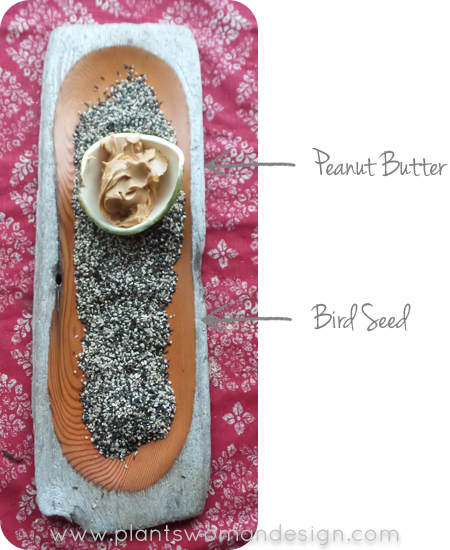
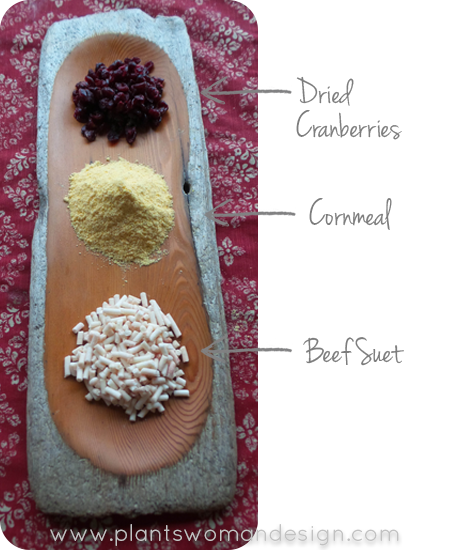 And…
And…
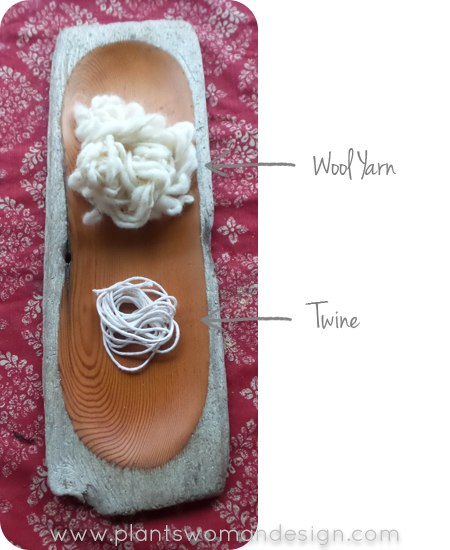
 Along with an empty milk carton here’s what we found around the house…
 For our ‘recipe’ we adapted THIS recipe from the Farmer’s Almanac online.
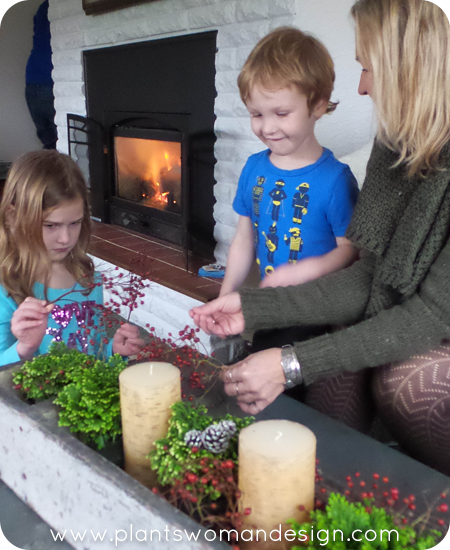 First we had the kids pick the berries from the items we had found. Little Chef was so excited to finally get to pick the ‘bird berries’ (Rose Hips) from the decorations around the house.
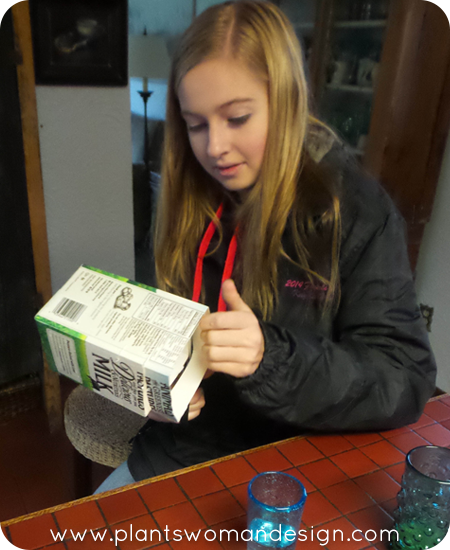 And we set the oldest helper to work cutting our milk carton to use as moulds for the cakes.
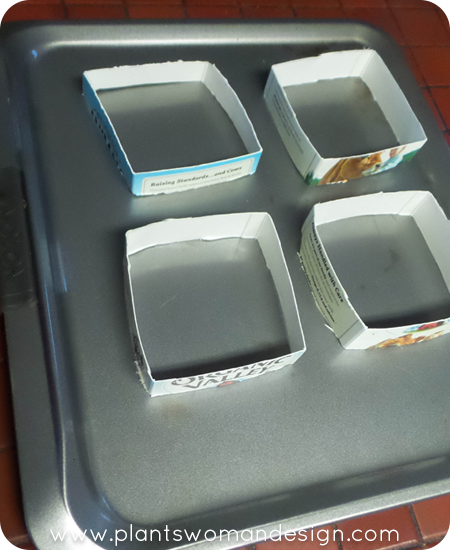 Set these on a cookie sheet for filling. This size should fit well into a store bought suet cake holder. You could free form this step if you wanted, just check your holder’s measurements to make sure whatever shape you end up with fits well.
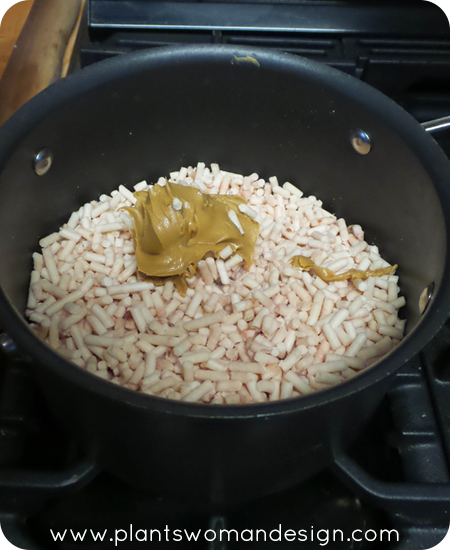 We put the suet and peanut butter in a sauce pan and melted until smooth.
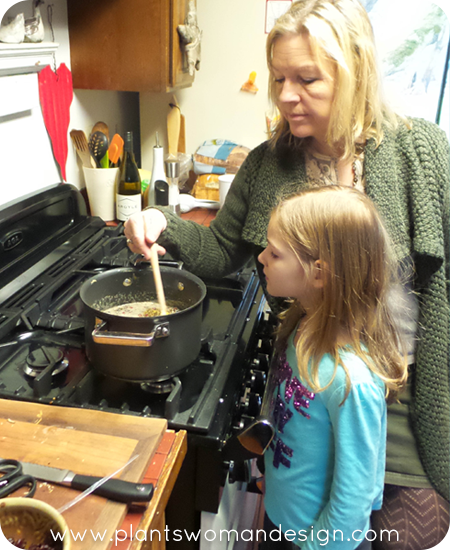 Then we added the rose hips, cornmeal and birdseed and stirred until the ingredients were evenly distributed through out. The mixture will seem soupy and that’s okay.
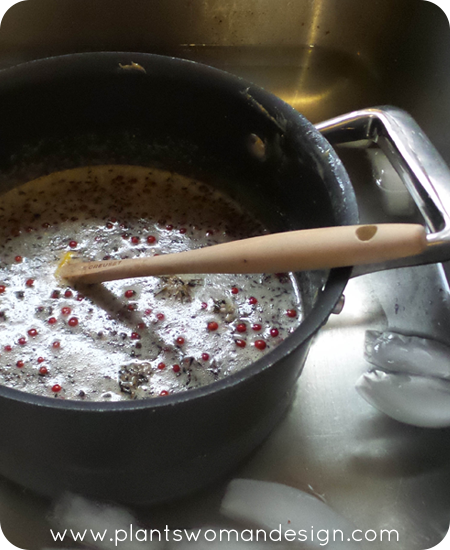 Because we are impatient we put the whole pot in an ice bath in the sink to help it cool down enough to handle it. The mixture will also start to solidify again. While the mixture cools take some time to cut some lengths of twine about 18″ long to form your hanging cakes around.
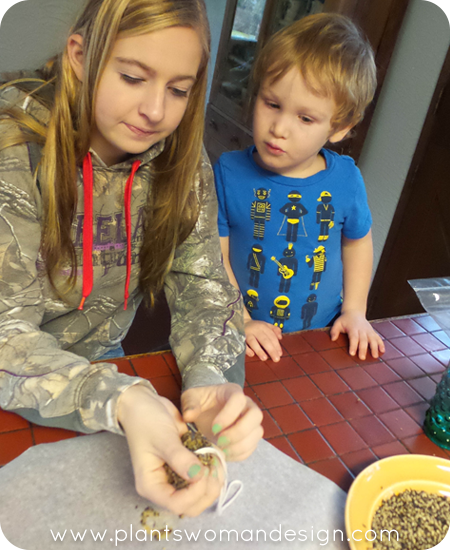
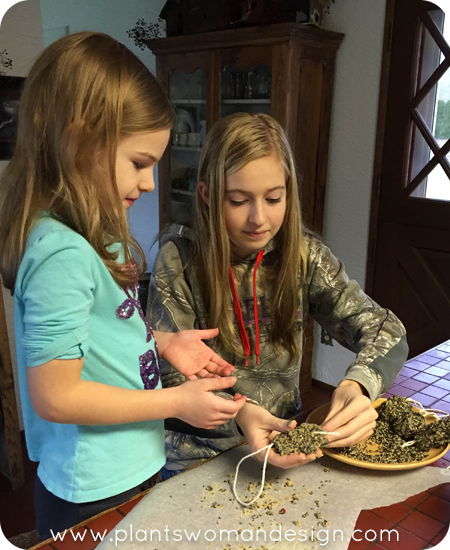 While the mixture is warm but solid enough to handle scoop out a handful and pack it around the string. Double up the string before packing the suet mixture to create a loop for hanging.
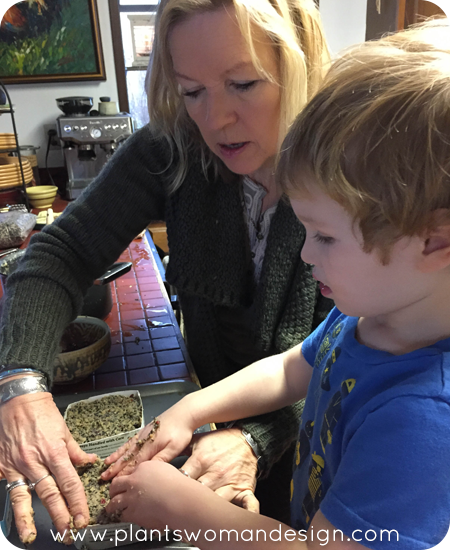
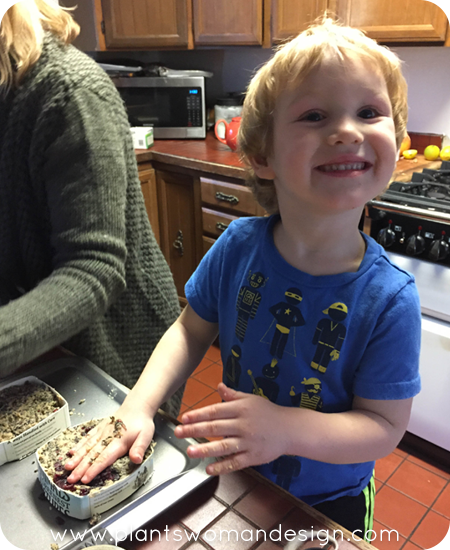 Pack the mixture into your moulds adding some extra dried cranberries to the outside. This is a great job for the smaller kids that may be helping you as it requires less coordination.
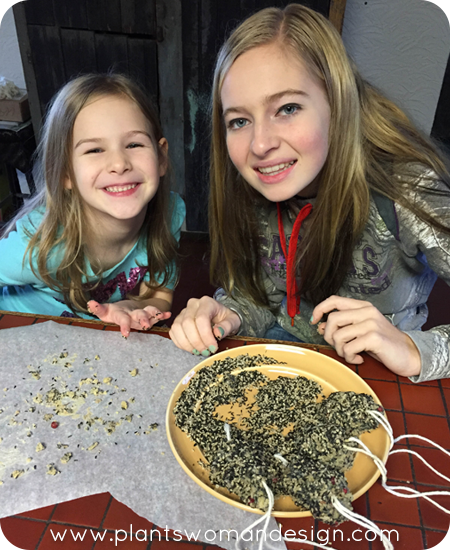
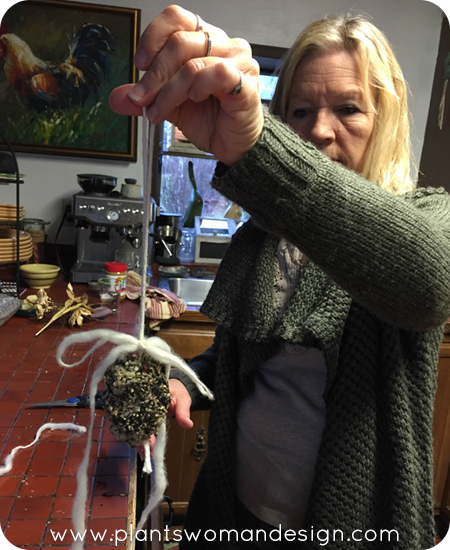 When the hanging cakes have solidified enough to pick up tie a piece of yarn or additional string to the top of the cake. This gives the birds something to hold onto while enjoying their little treat.
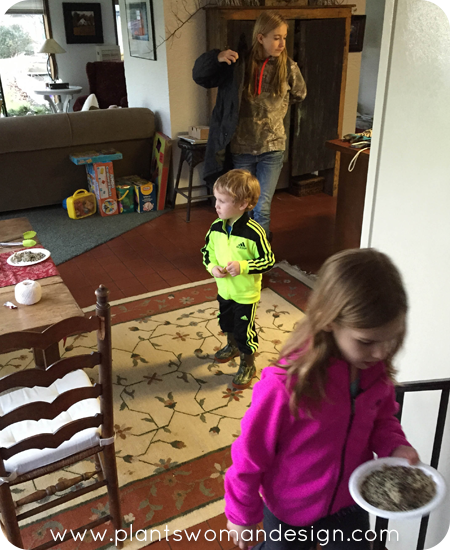
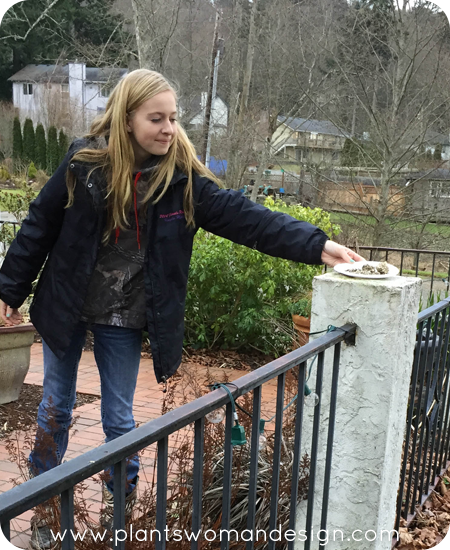
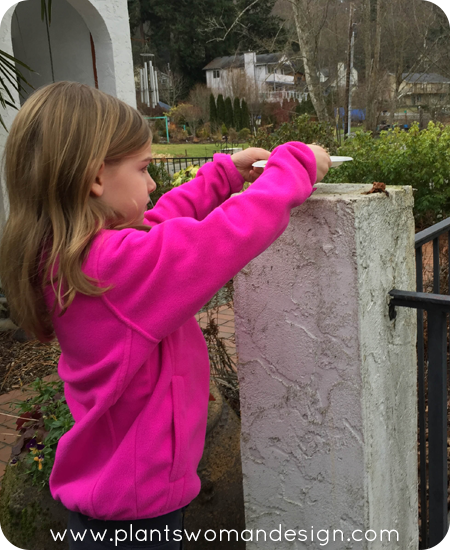 We had some bits that didn’t adhere to our finished product so, while the rest of the cakes finished solidifying, we let the birds help us clean up by putting the crumbs on plates and setting them outside for the birds to enjoy right away.
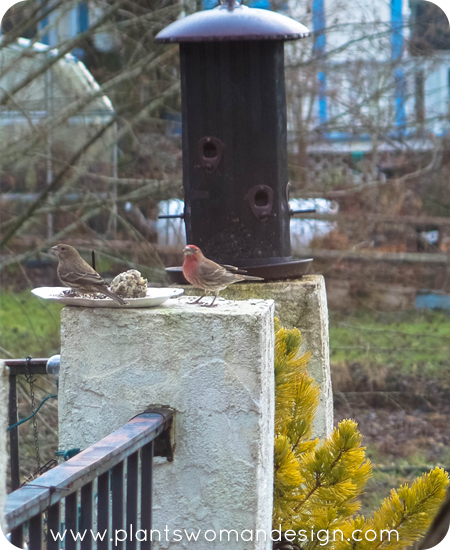
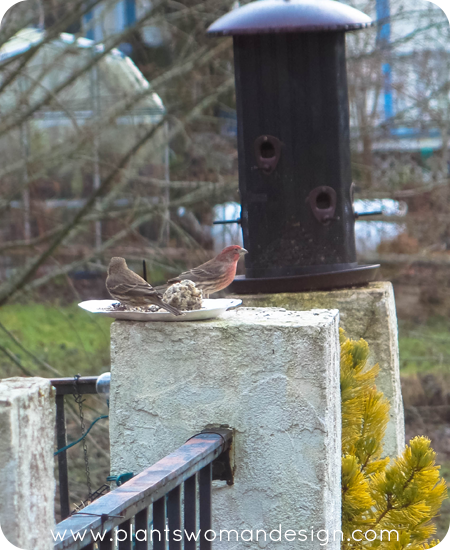
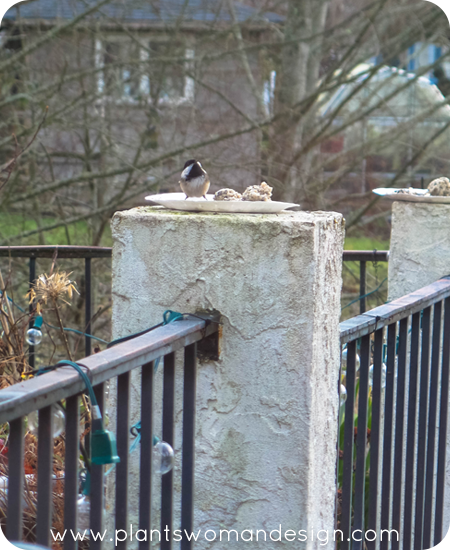 The next morning we had quite a few visitors to watch from the window.
We made more cakes than we needed to use right away so the extras will store in the fridge or freezer until we need them.

Hello friends, Kristen here! Last week I had the pleasure of walking around the Plantswoman’s house just taking in all of her wonderful decorations. Here is a little tour of what I found.
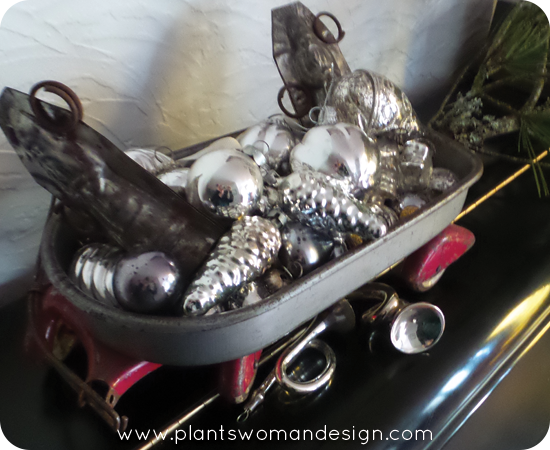

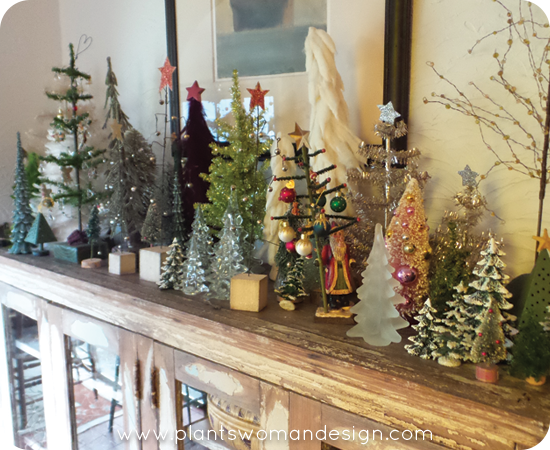 Over the years Susan has collected a wonderful array of holiday trees. The texture and variety of this collection never gets old.
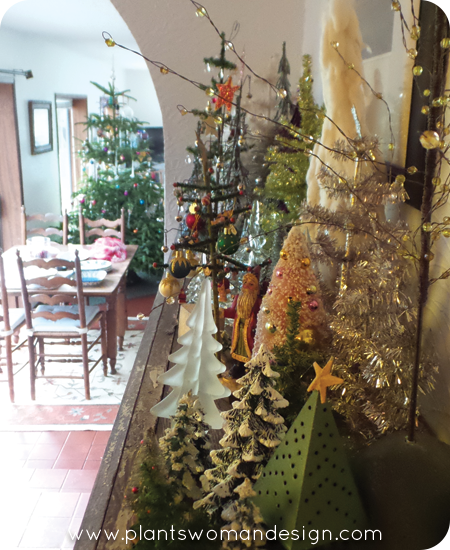
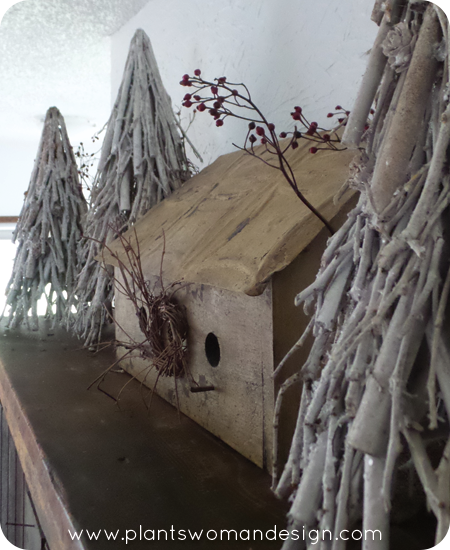 On top of the hutch in the kitchen is a collection of trees as well but with a different feel.
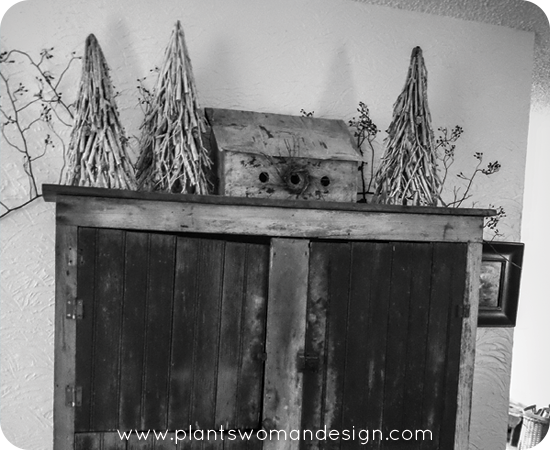
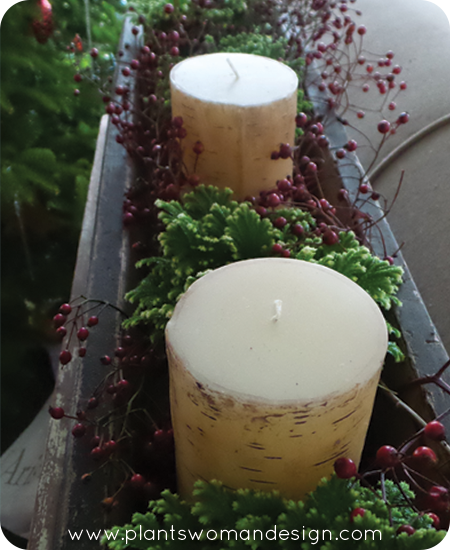 Using fresh greens and plants in your holiday decor gives a fresh twist that can last the whole season and maybe even into the dull winter months.
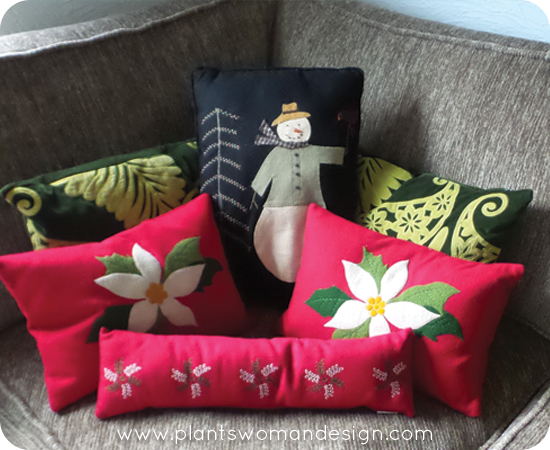 Throw pillows are a quick and easy way to change up your living room with out too much fuss.
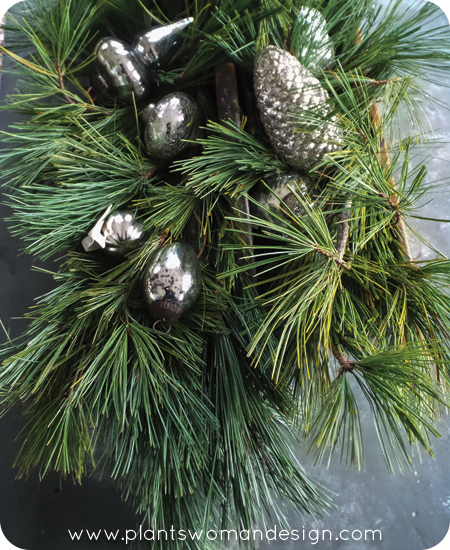
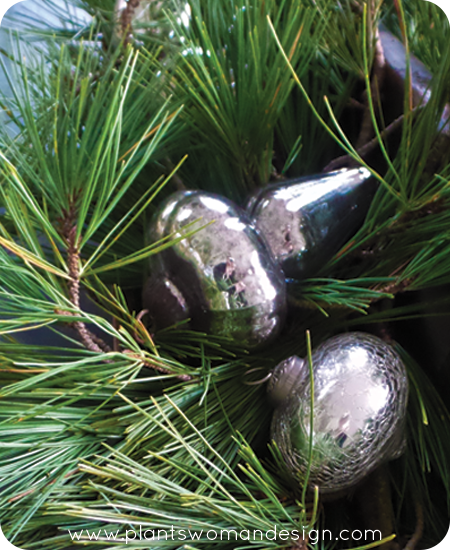
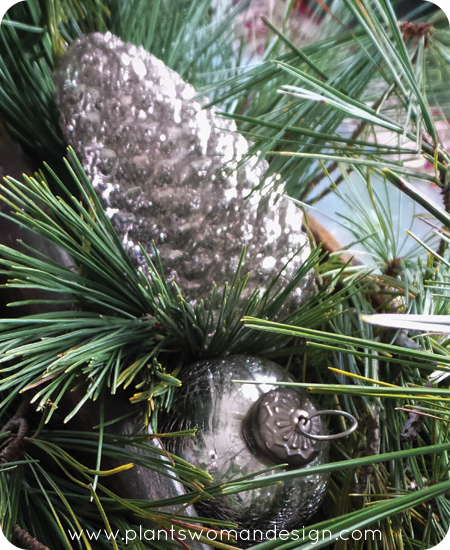 A little green goes a long way… in this case its fresh princess pine mixed with some vintage mercury glass ornaments.
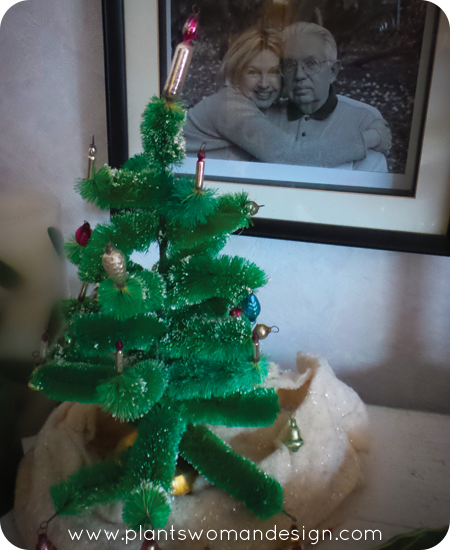 Yup, even her room is decorated.
Rock salt with a layer of cranberries and a candle is a simple and elegant way to create a center piece for your table. 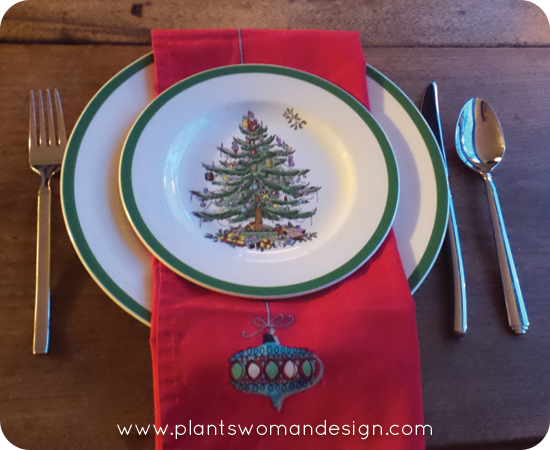
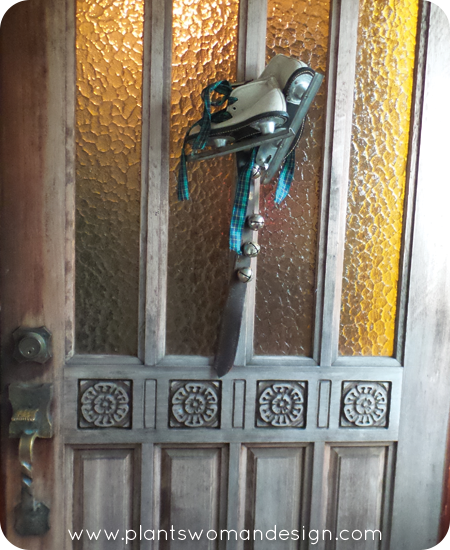
And outside fabulous too…
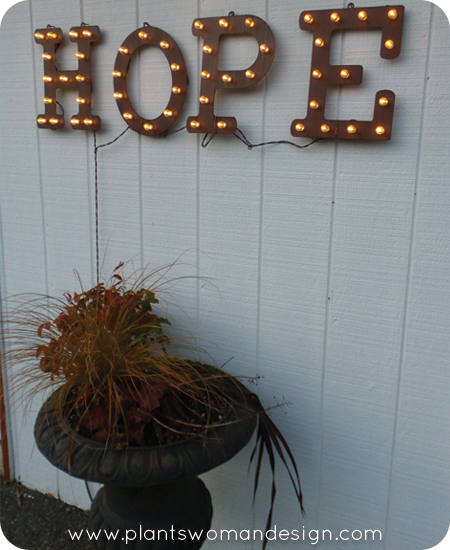
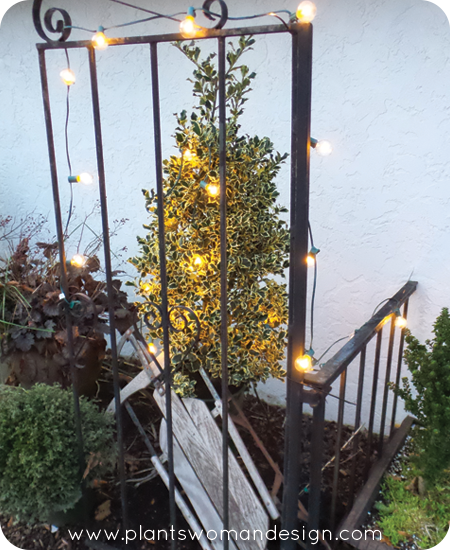
 I hope you enjoyed this little tour and had a wonderful holiday with your friends and family. Cheers to a great 2014!!!

As summer is winding down we are already looking ahead to early next spring and making plans… for bees!!! Mason bees to be exact. You may be ‘so over’ having bees as unwanted guests pestering you through out your outdoor endeavors. We were inundated at an outdoor morning picnic recently to the point we had to start moving the food inside. “Be careful of the wasps”, “don’t make them mad” and the ever popular “they are more afraid of you than you are of them” comments were aplenty through out the affair. But there is some confusion about bees and, before we went on a bee adventure ourselves, we wanted to find out what the deal was. So here we go…
Are all bees wasps?
No, but the term “wasp” incorporates a number of different, predatory groups such as hornets and yellow jackets.
Are bees and wasps really more afraid of me than I am of them?
Not likely, their main objective is to gather food for and protect their hive. If you are in their way they will defend what is theirs. Wasps may be more aggressive than other bees but the goal is still the same. If they were afraid of you they would likely want to be far away from you rather than continuing to pursue you and your food.
What’s the main difference between bees and wasps?
Bees, that collect nectar and are major player amongst pollinators, typically have fuzzy bodies that readily hold onto the pollen the bee comes into contact with. Wasps on the other hand don’t have a great deal of fuzz on their bodies and therefore aren’t great pollinators. Wasps, instead, prey on other insects for their food. So, if you think spraying insecticides on your garden to get rid of wasps is a good idea think twice. Besides being illegal, you are likely harming innocent pollinators rather than the often more aggressive perpetrator, wasps.
Bee keeping is growing in popularity especially amongst urban homesteaders and urban community gardens. There are many valuable resources out there to get you started if you are interested. The Plantswoman will be getting her bees in the spring and we will be sure to share our progress here on the blog. In the meantime, have patience with these flying friends. They are needed.
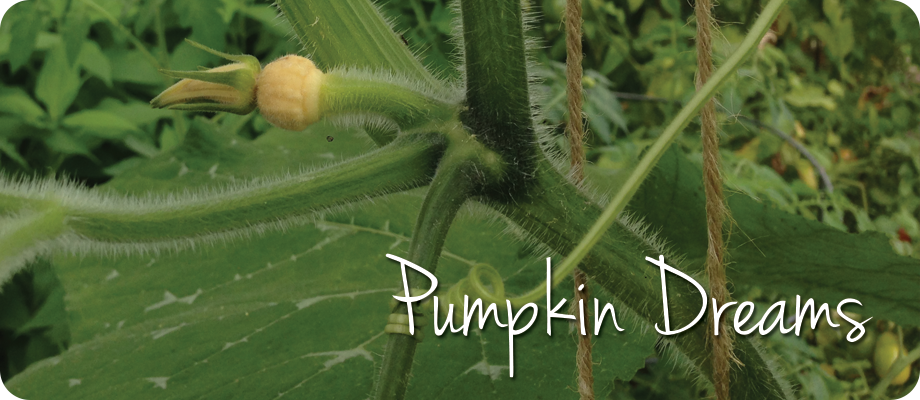
Well folks, it looks like we may get pumpkins after all! After weeks of waiting for a female flower to emerge I think we finally have one. When I got back from our little vacation I visited our little community garden and the pumpkin vines were staging a bit of a coup over the tomatoes, the vines were just huge and a bit rambunctious.
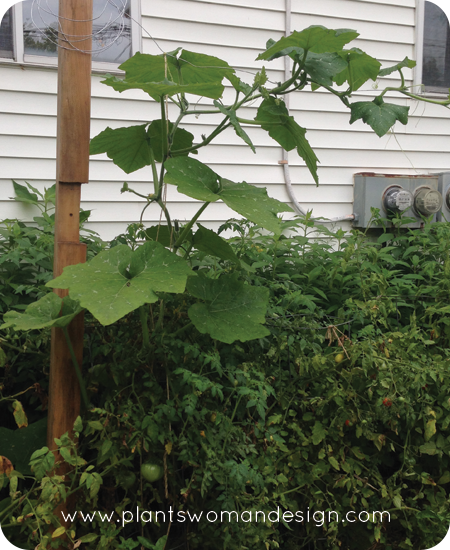 As I looked through the vines I was looking for the elusive female flower. I came across many, many male flowers but not one female flower until I checked the rambunctious vine growing through the tomatoes and there she was.
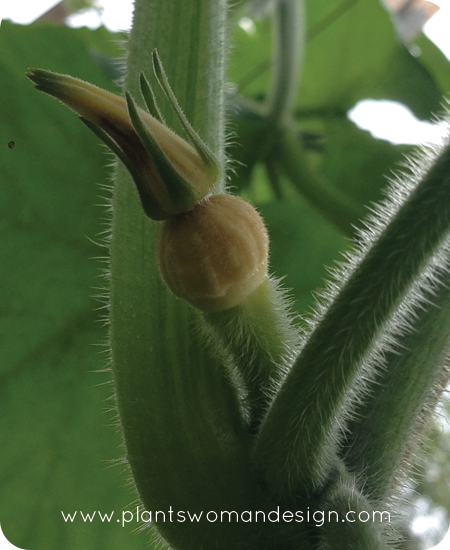 This bloom was low to the vine and has a bulbous growth just behind the bud. When the flower blooms we will see if we can’t get to some hand pollinating. We will keep an eye out for more female flowers and keep you updated on our progress.

The family is in town and we are fully breaking in the new place. On Saturday we hosted almost 30 friends and family for a little beach party and the new house rose to the challenge. It was a pleasing sight to see folks relaxing under the cedar tree, kids down at the beach and friends milling about the drink table. We ended the night with the first of many bonfires our beach front will see. We are so happy to be together in this place.