by Kristen | May 20, 2014 | garden food
 If you’ve been following along with us this spring you know we’ve been working on our vegetable gardens. Whether you are planting in containers, raised beds or straight into the earth a little planning goes a long way. Check out the link below to learn about how to help your garden produce wonderful edibles all season long.
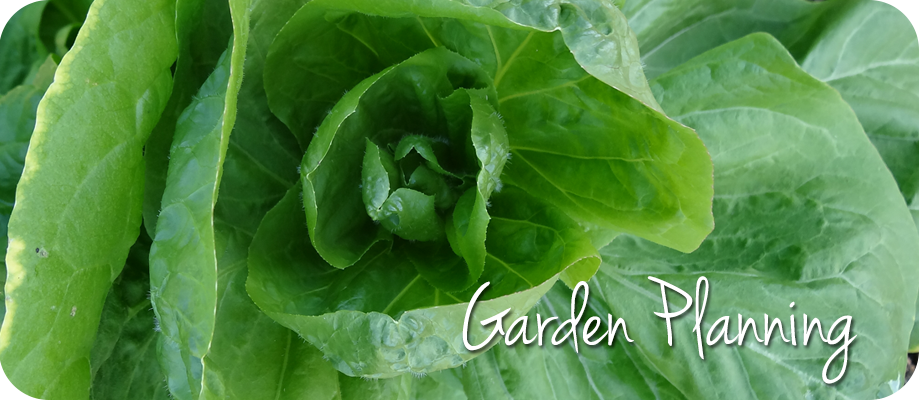
Tips for Productive Vegetable Gardens

by Kristen | Apr 30, 2014 | garden food, LB Tutorial: Growing Food, Little Bytes
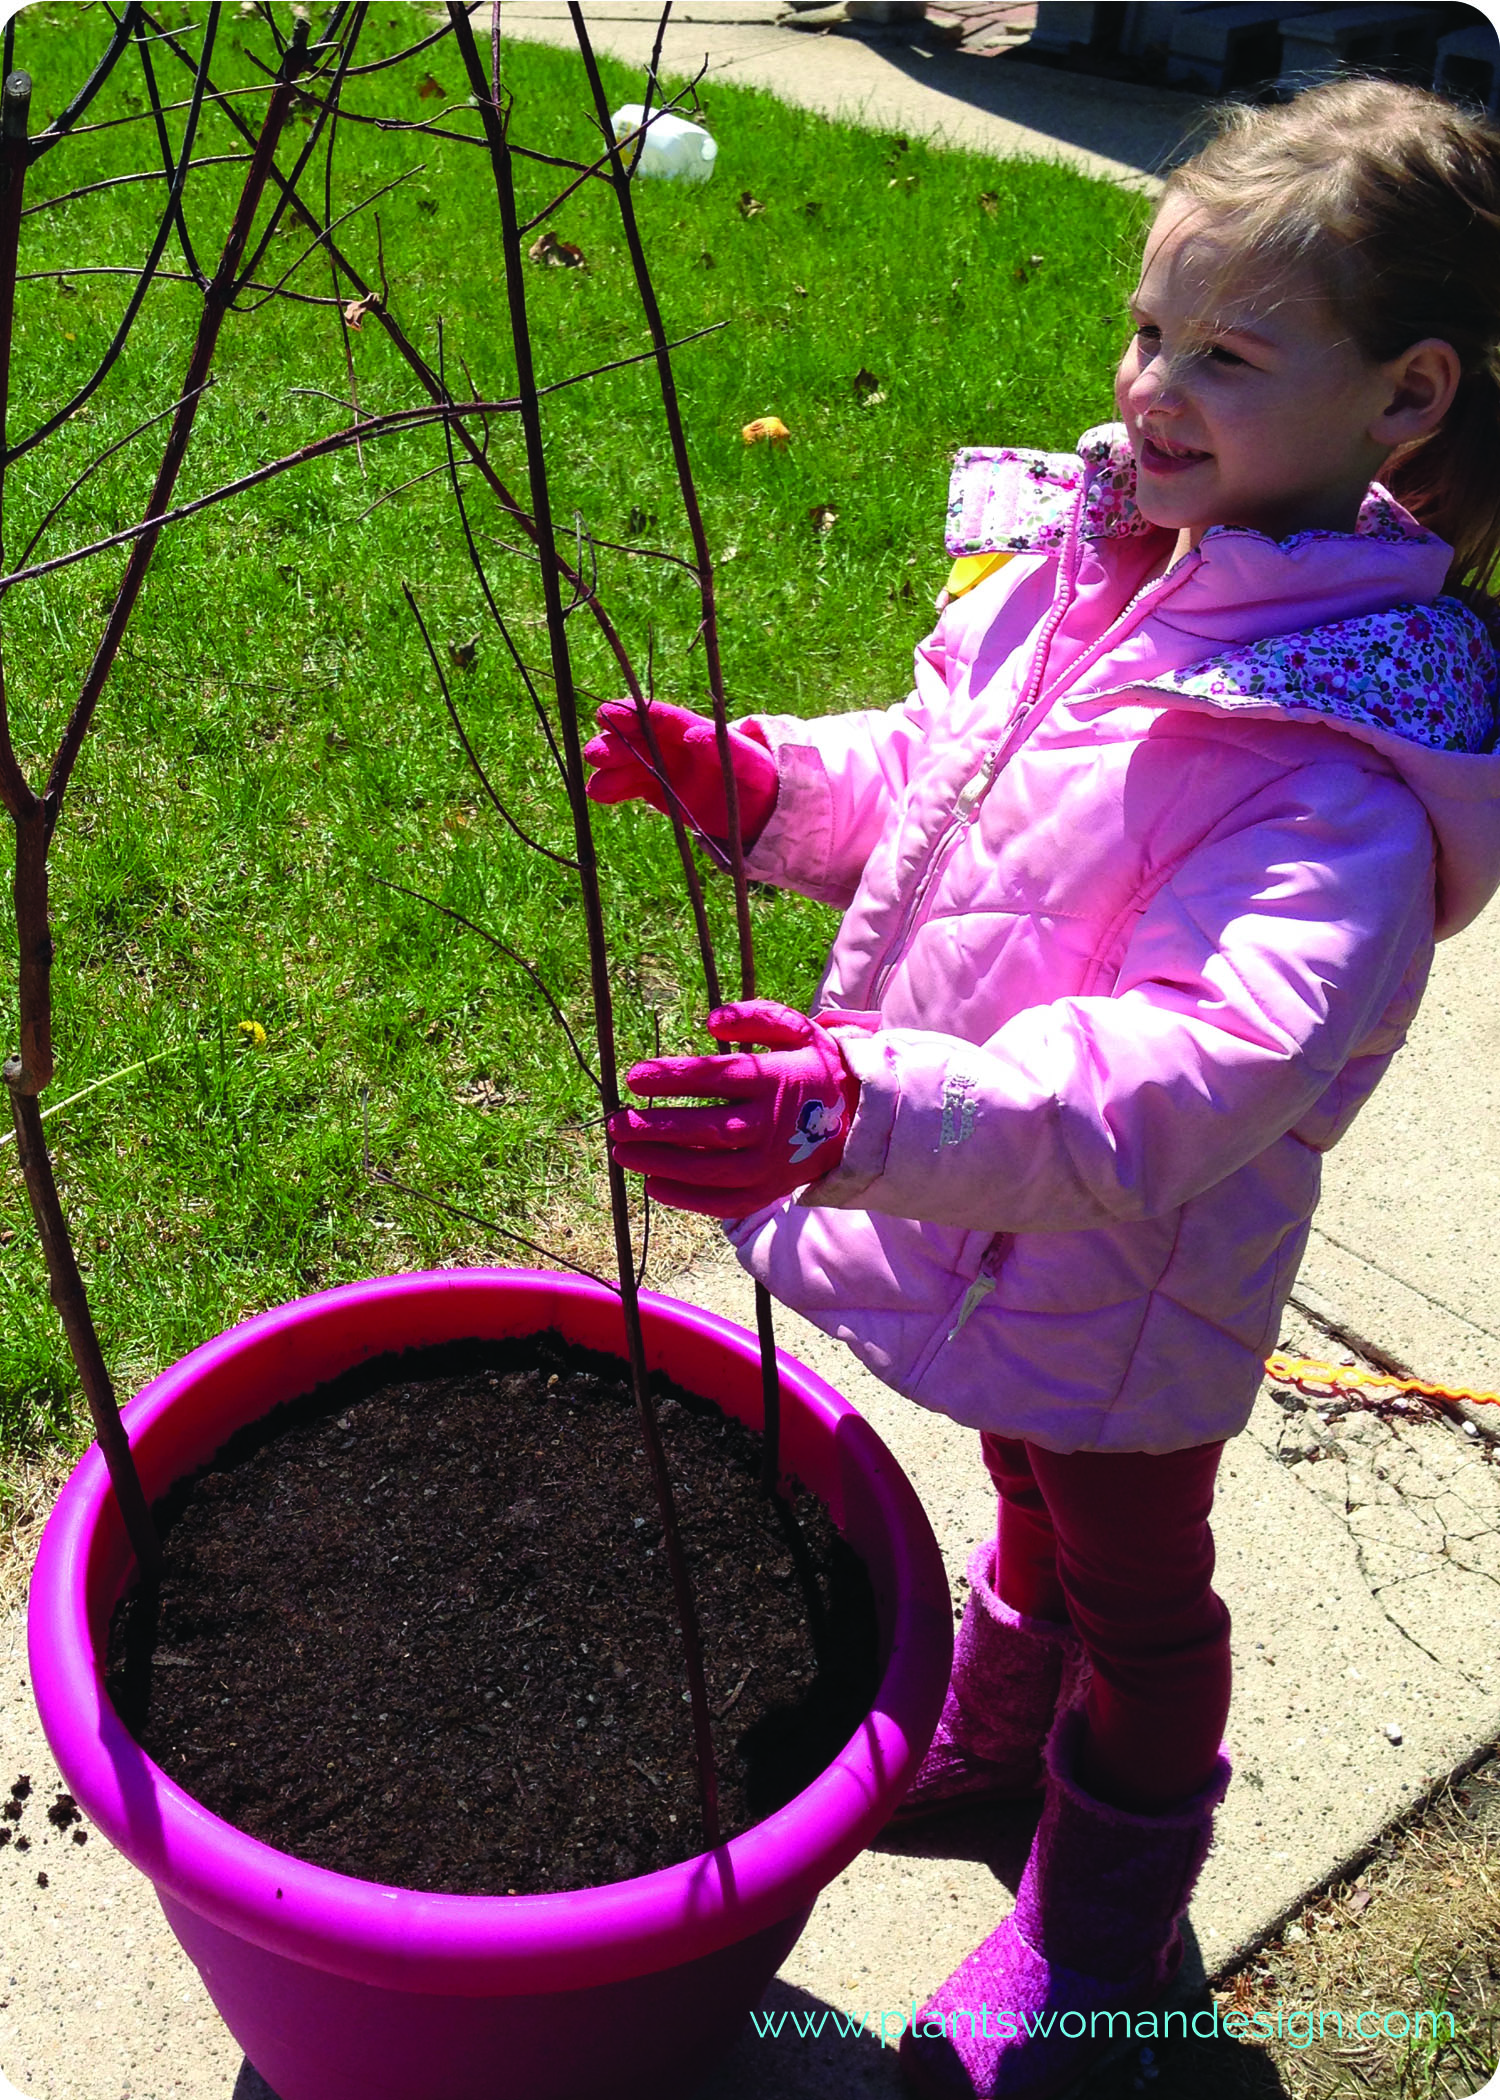
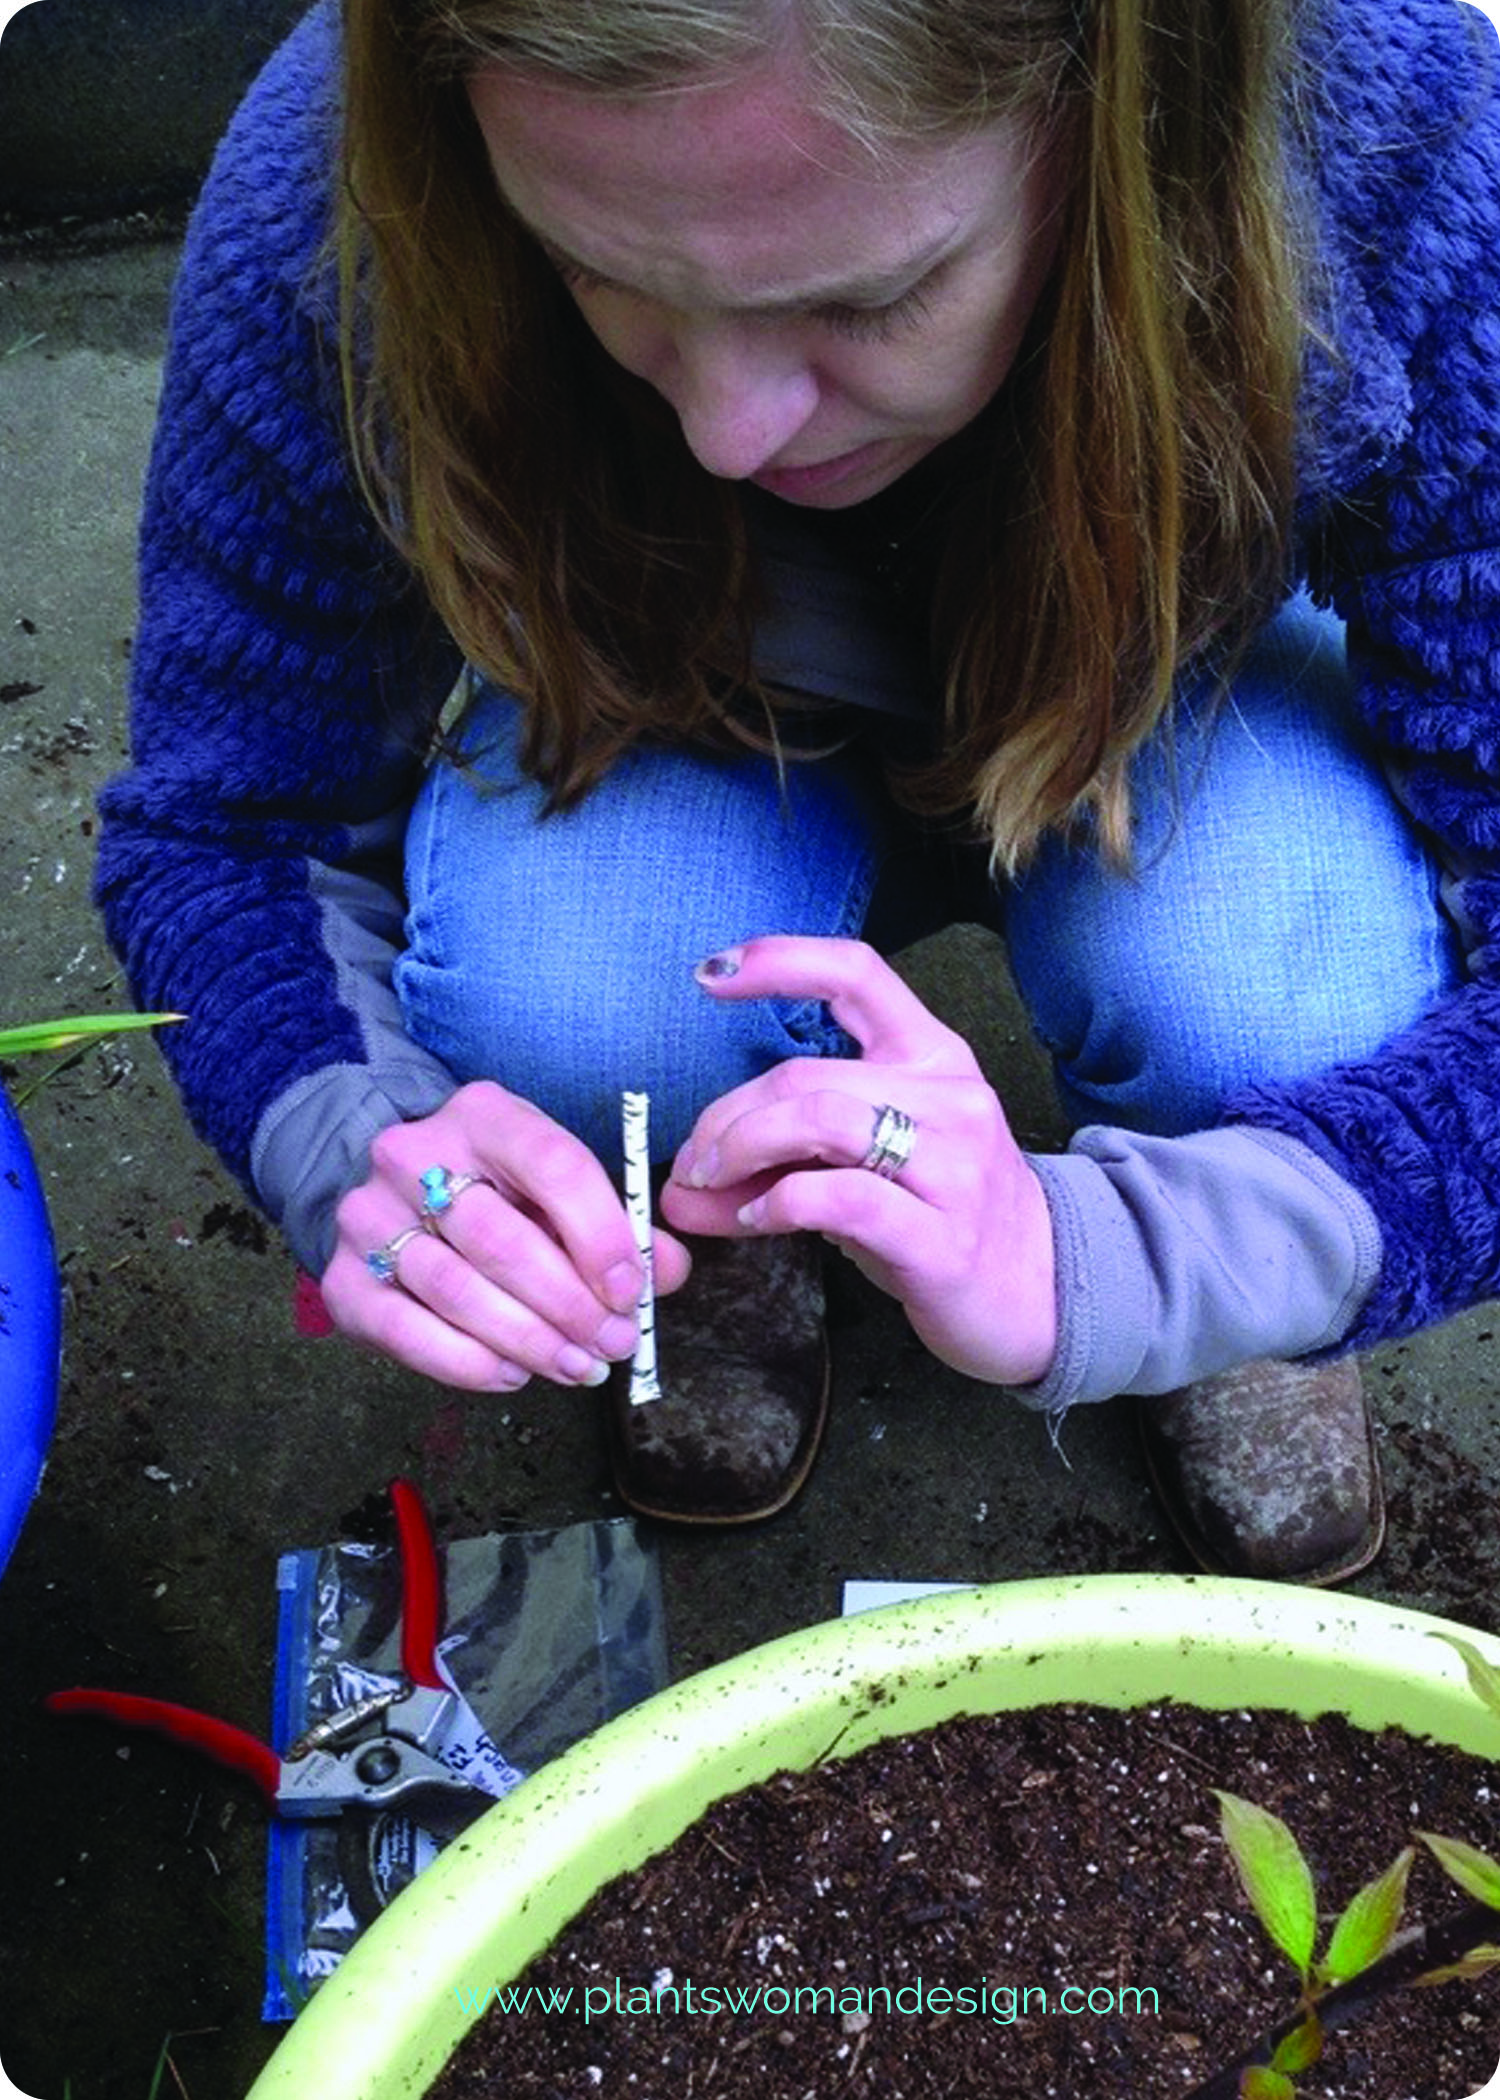
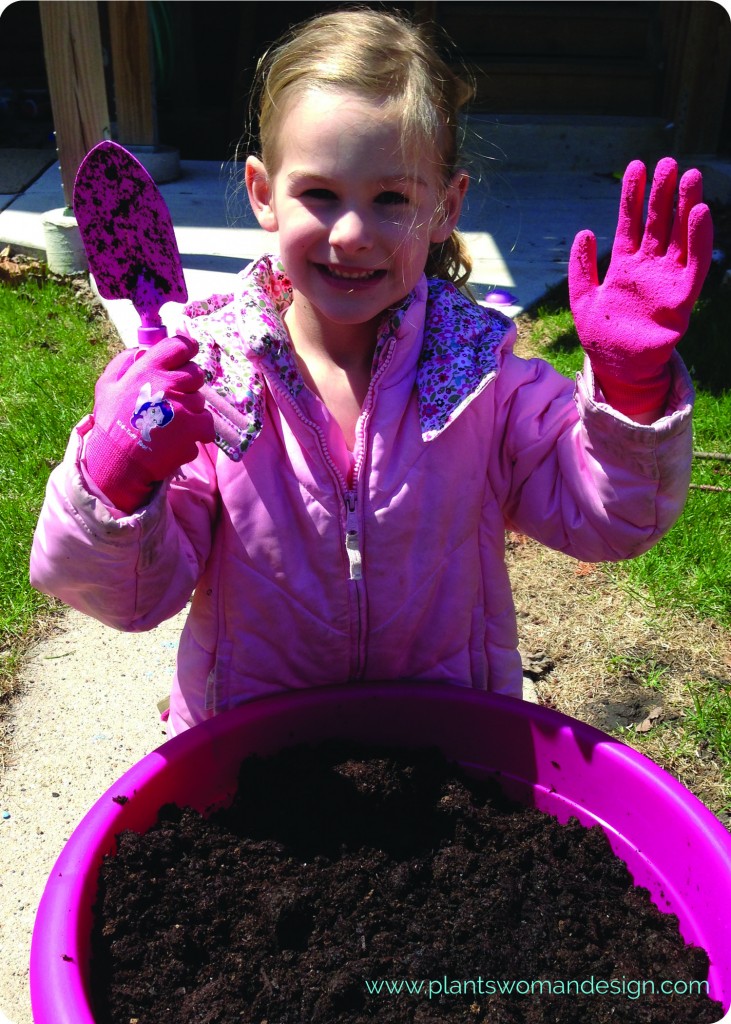
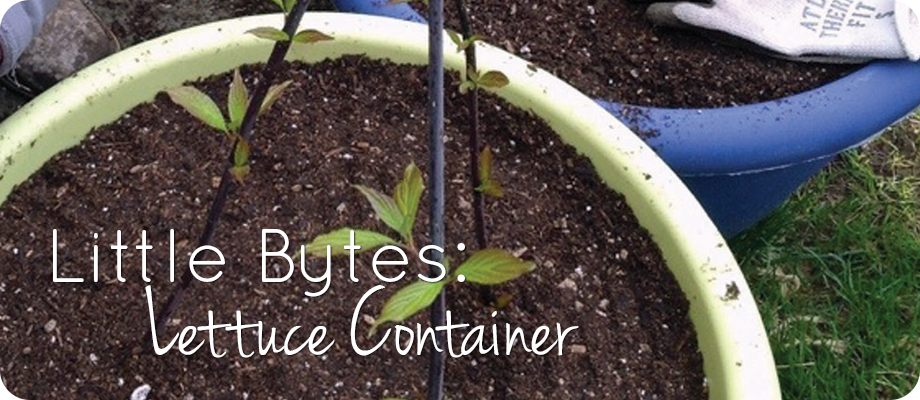
Hello everyone, Kristen here with our completed lettuce container. We had one of those perfect moments when the stars aligned and weather cleared giving us about an hour or so to get out and play in the dirt. If you missed our previous post with the instructions click HERE. My assistant for the day was my daughter, E (gloves and princess spade provided, via Easter basket, by the Plantswoman (aka G-ma)). When E found her basket she was so excited to have garden gloves and a spade all her own. She asked me if she could be a Junior Plantswoman and I told her that would be just fine. So, with out further ado here is our first, unofficial, Jr Plantswoman here to show you how we planted our lettuce seeds.
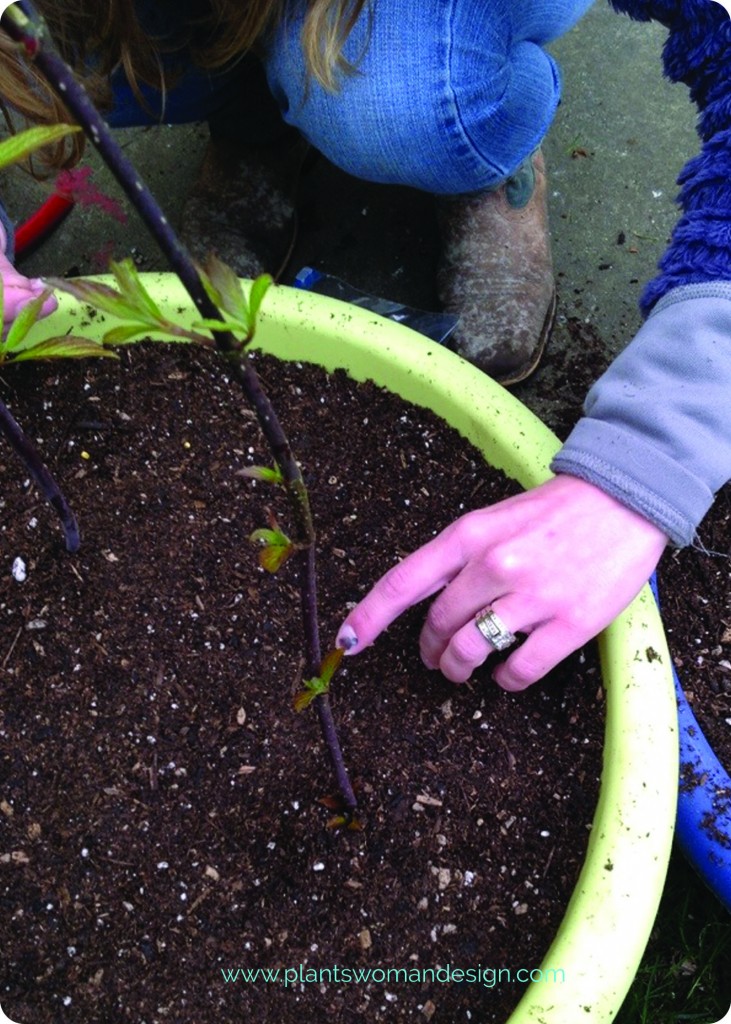
After preparing our pot as outlined HERE we installed our supports for our future beans. We used some branches we spotted on the college campus while walking home from school a couple weeks back. I had a true “I am my mother” moment as I stopped the stroller, ran over to the maintenance crew and asked if I could have some of the branches they were pruning. After the foreman gave me a funny look he said I could help myself. I’ve been saving the branches for an indoor project but I can spare a few for our lettuce containers. That being said, while Jen’s branches may bloom since she cut them fresh, I highly doubt my branches will do anything as they are pretty much dried out.

Once the support branches were secure we added our seed. E really wanted to dig holes for each seed so I had to catch her before she dug in, literally.
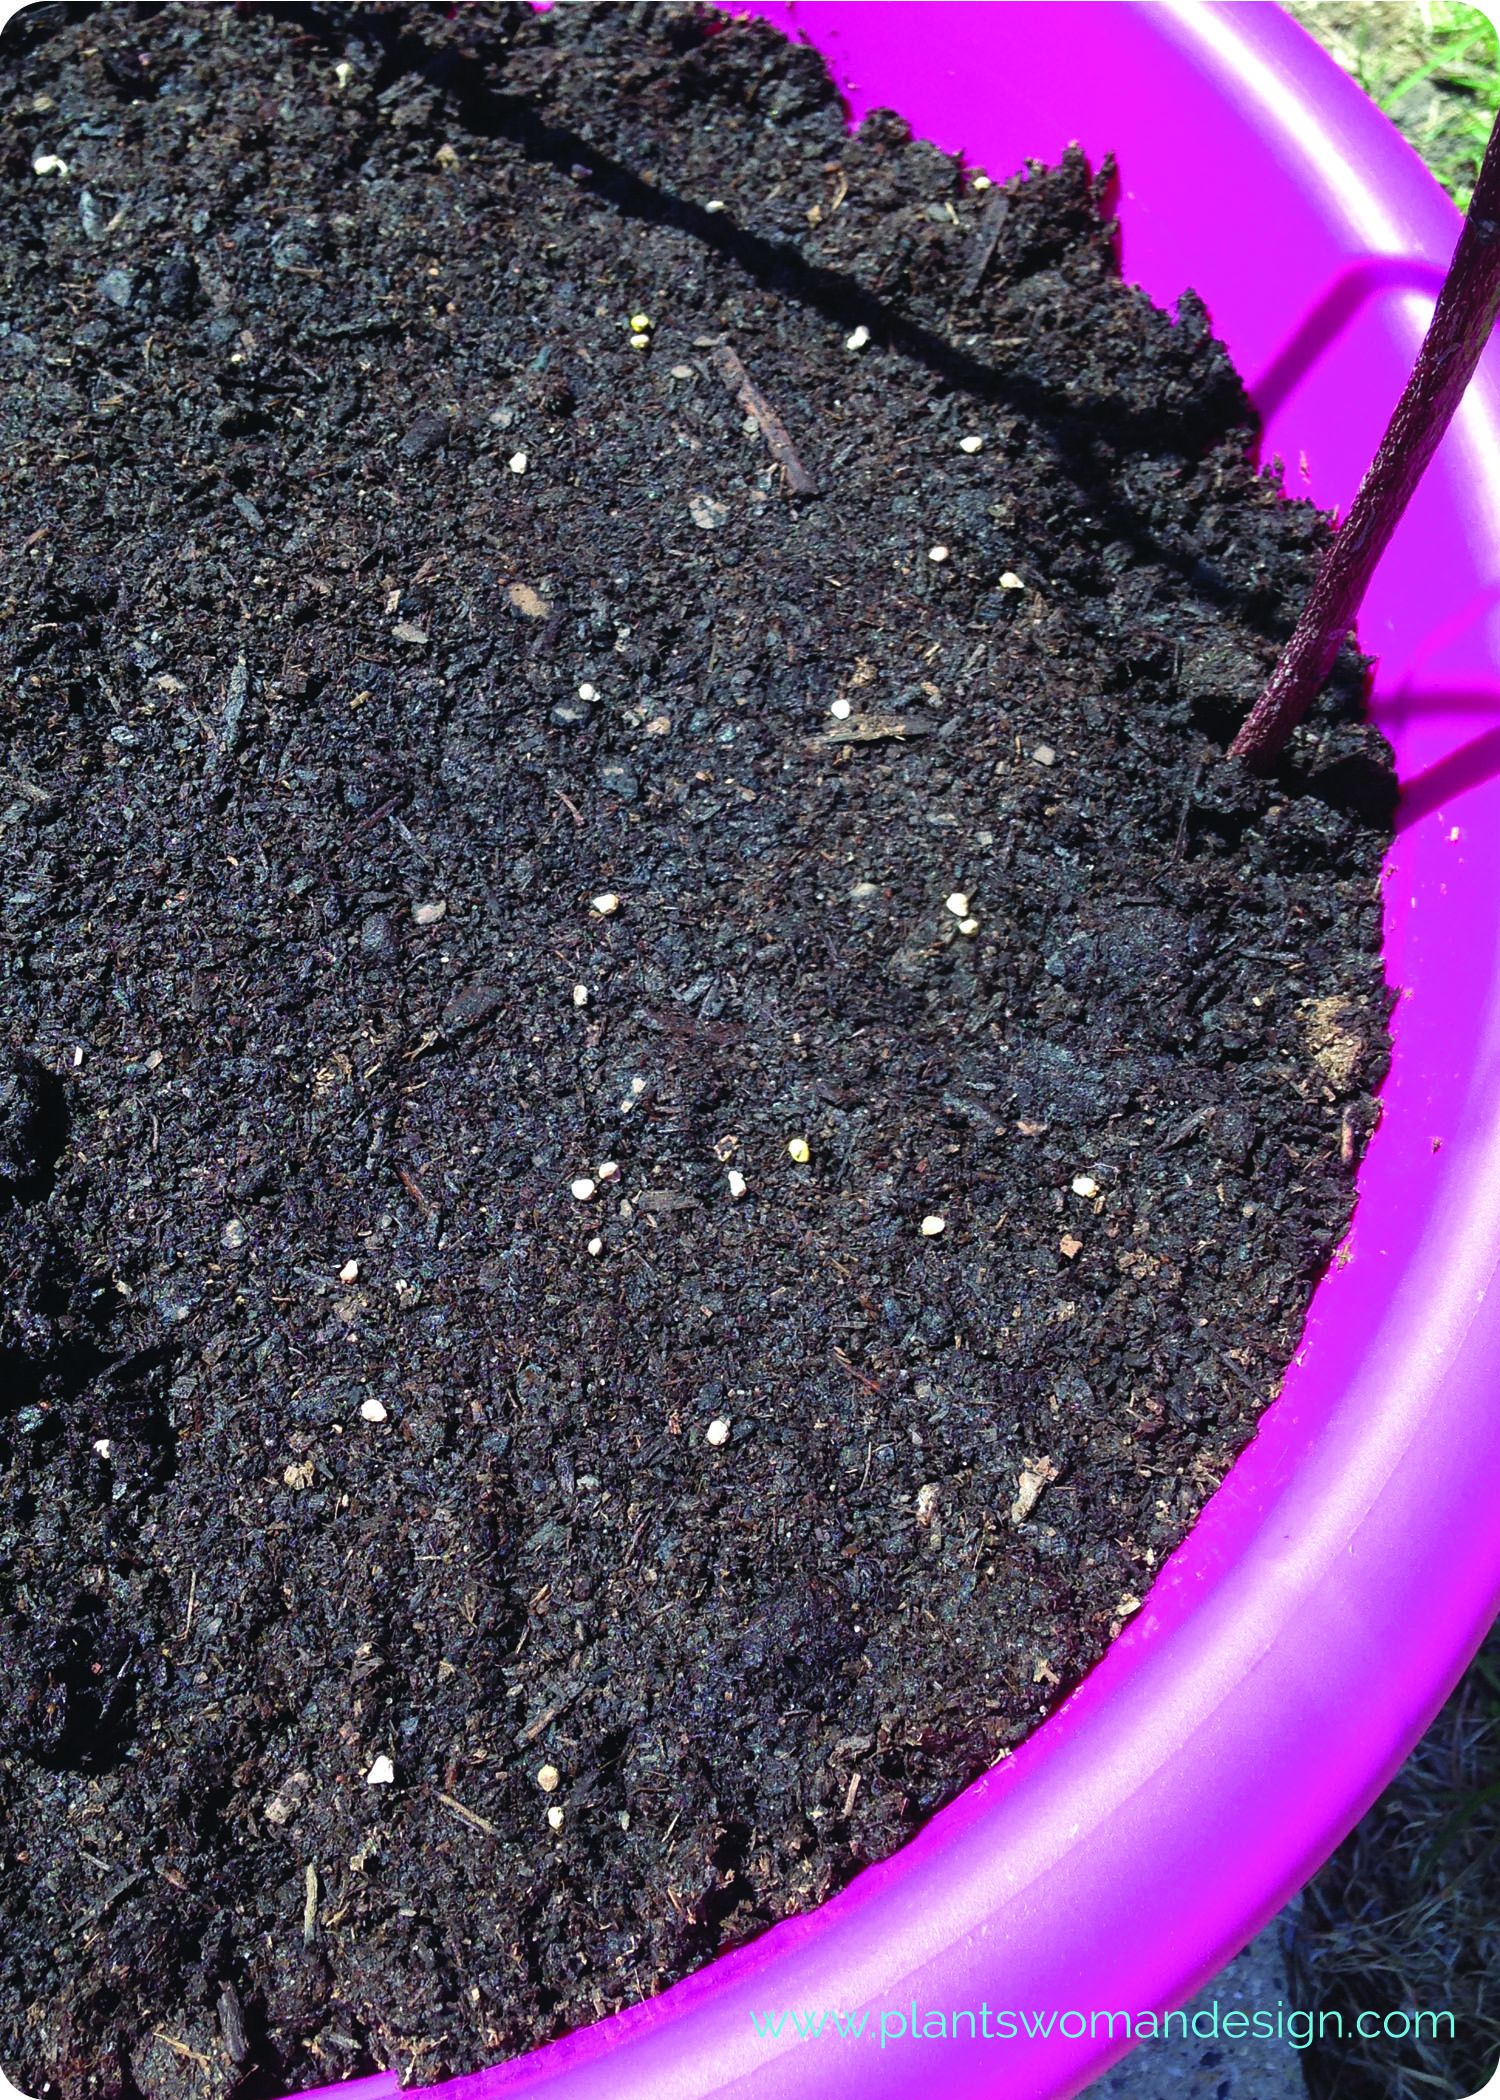
She spread the seed…
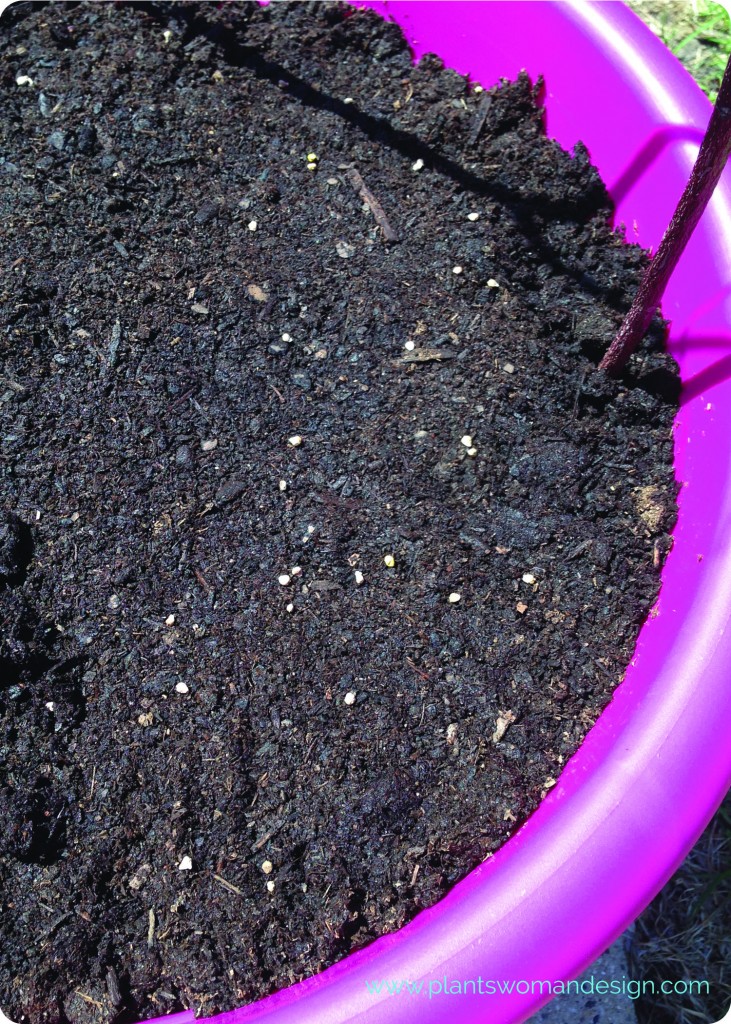 …covered it with more soil…
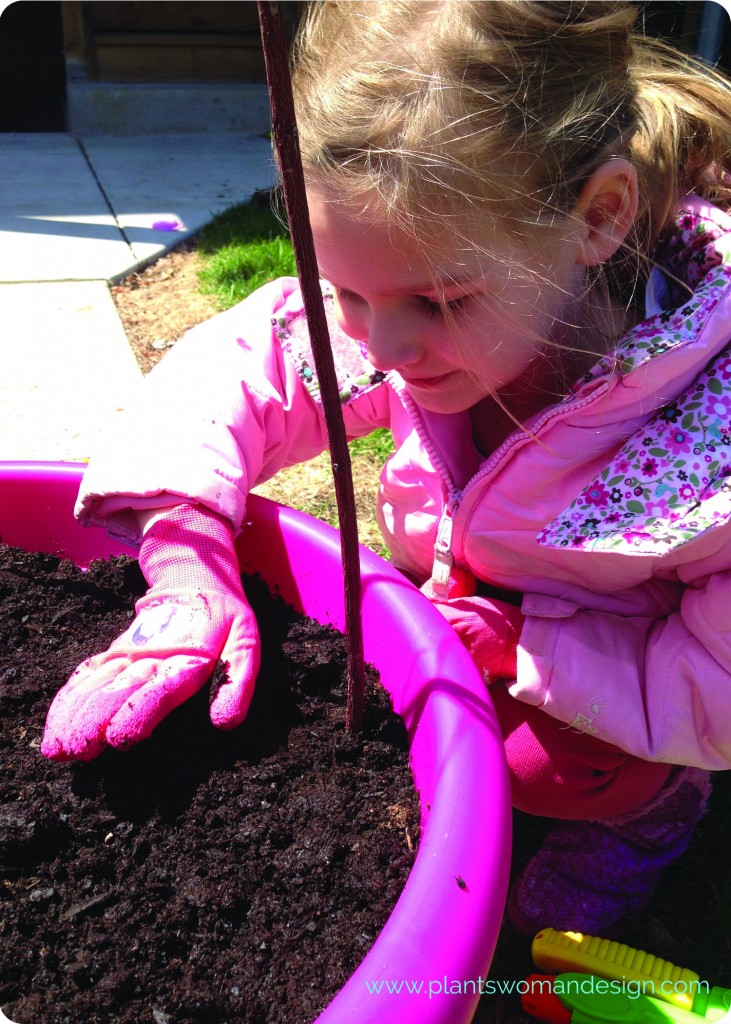
 …and pressed the soil down lightly (for a 5 year old that is).
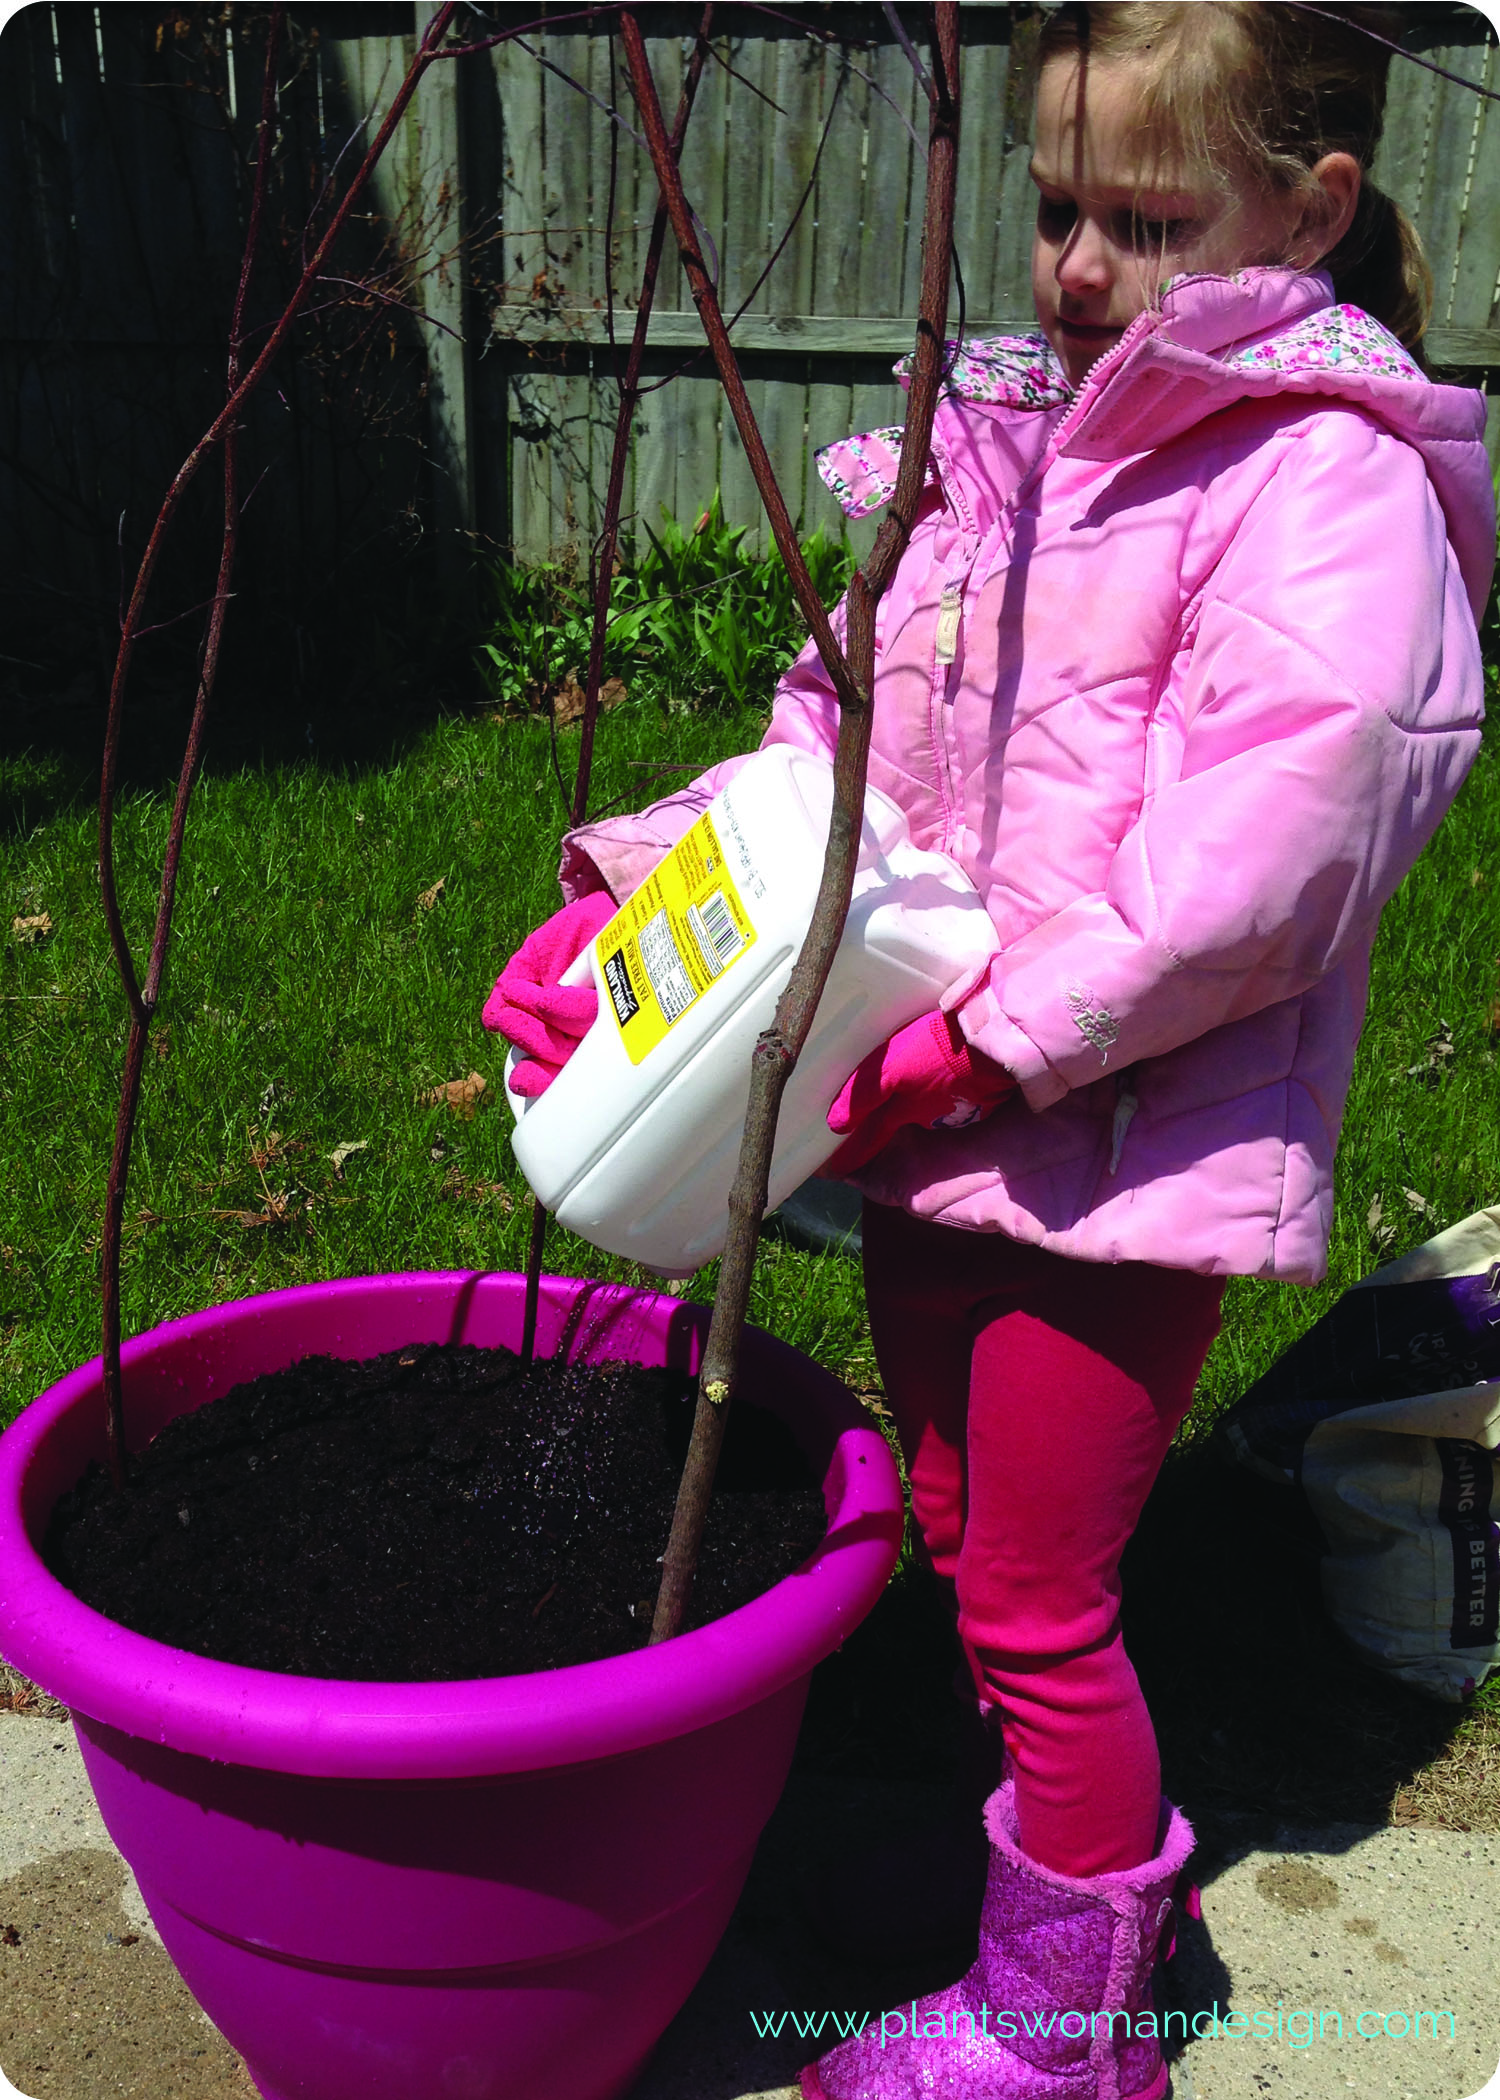
 This is where we ran into a problem. The tutorial Jen and Susan did said to gently water with a wand attachment. We don’t have a wand attachment. It’s not that we can’t get one but we didn’t have one at that specific moment so we improvised. This idea is all over Pinterest and I thought we would give it a try.
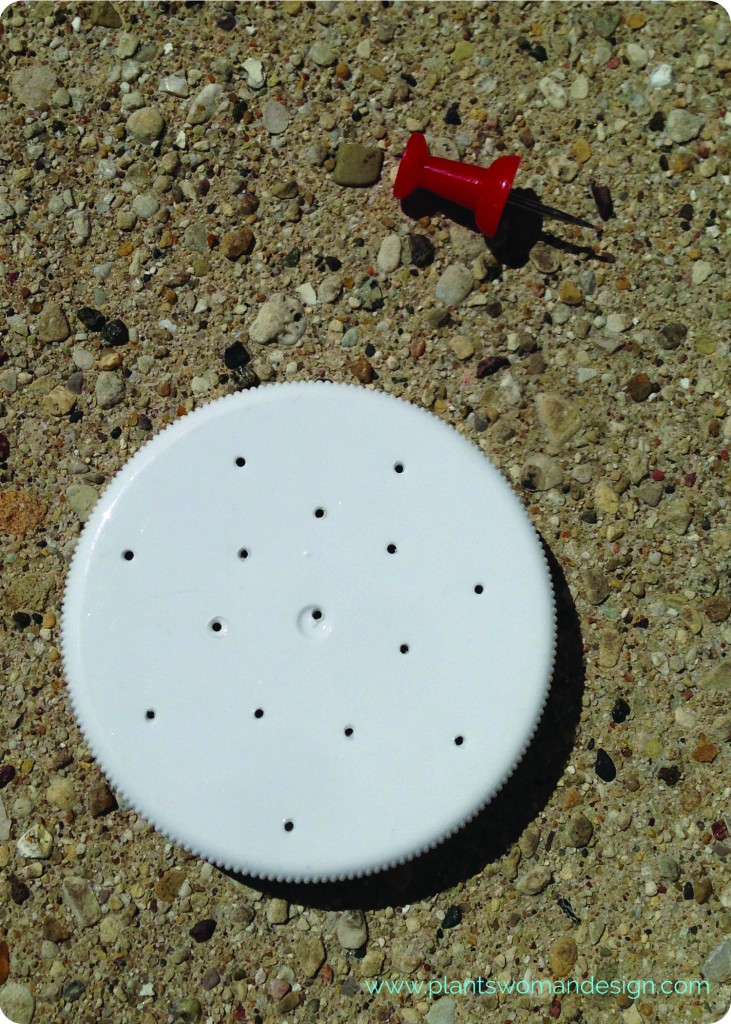
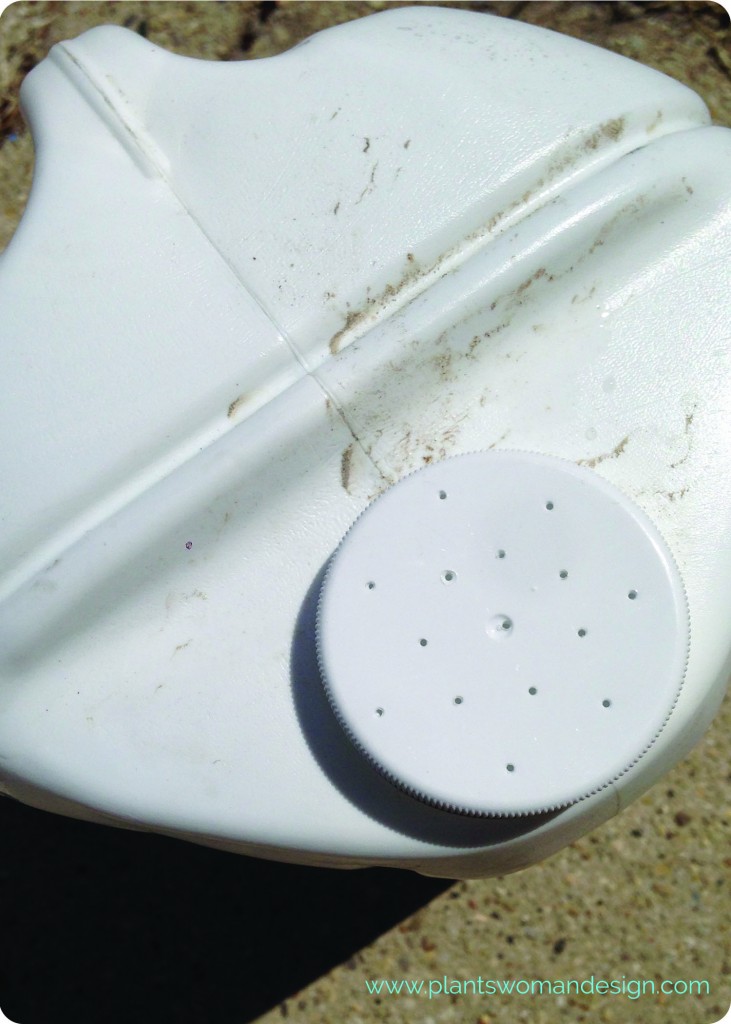
To make your own milk jug watering can you’ll need:
- A gallon size plastic milk jug with lid (ours is from milk we bought at Costco).
- Regular thumb tac
Once you’ve rinsed out your jug thoroughly take the thumb tac and push it through the lid numerous times. Then take the tac and make a hole or two by the handle of the jug to help the jug pour correctly. Fill your jug with water (since E was going to do the watering I only filled it half way), put the lid on and water whatever your heart desires.
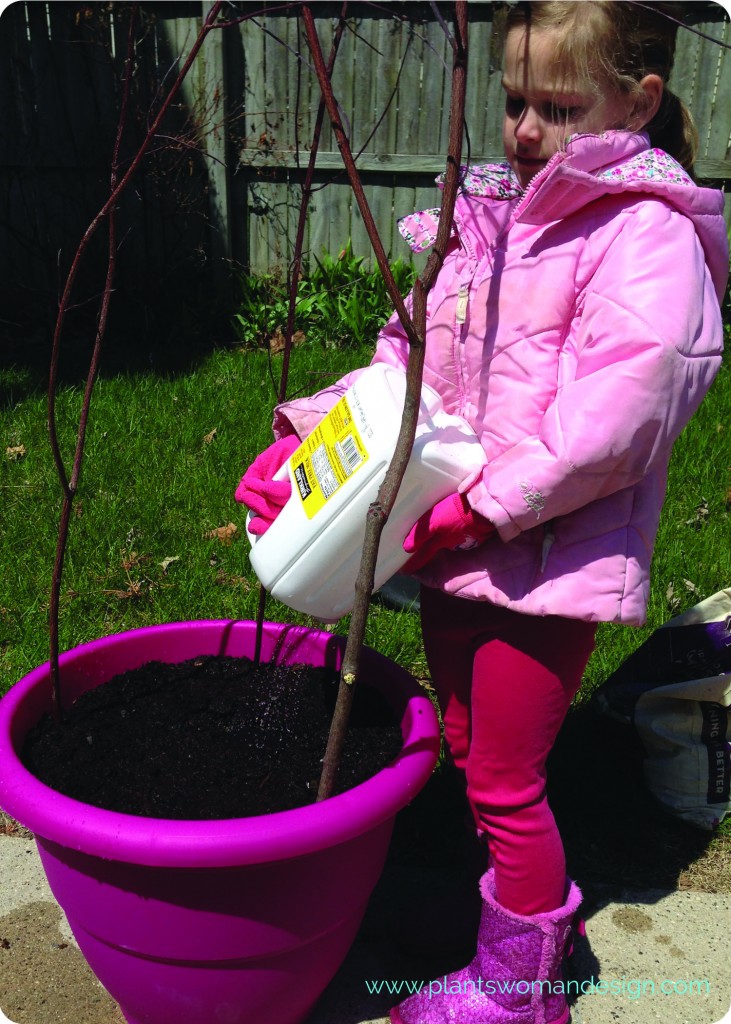 I’m pleased to tell you this little jug worked fairly well. E said it was super slow but I was okay with that because the whole point of using a wand attachment was to make sure you don’t wash the seeds away.
 And the absence of a water powered wand made sure I didn’t get soaked in the process either.
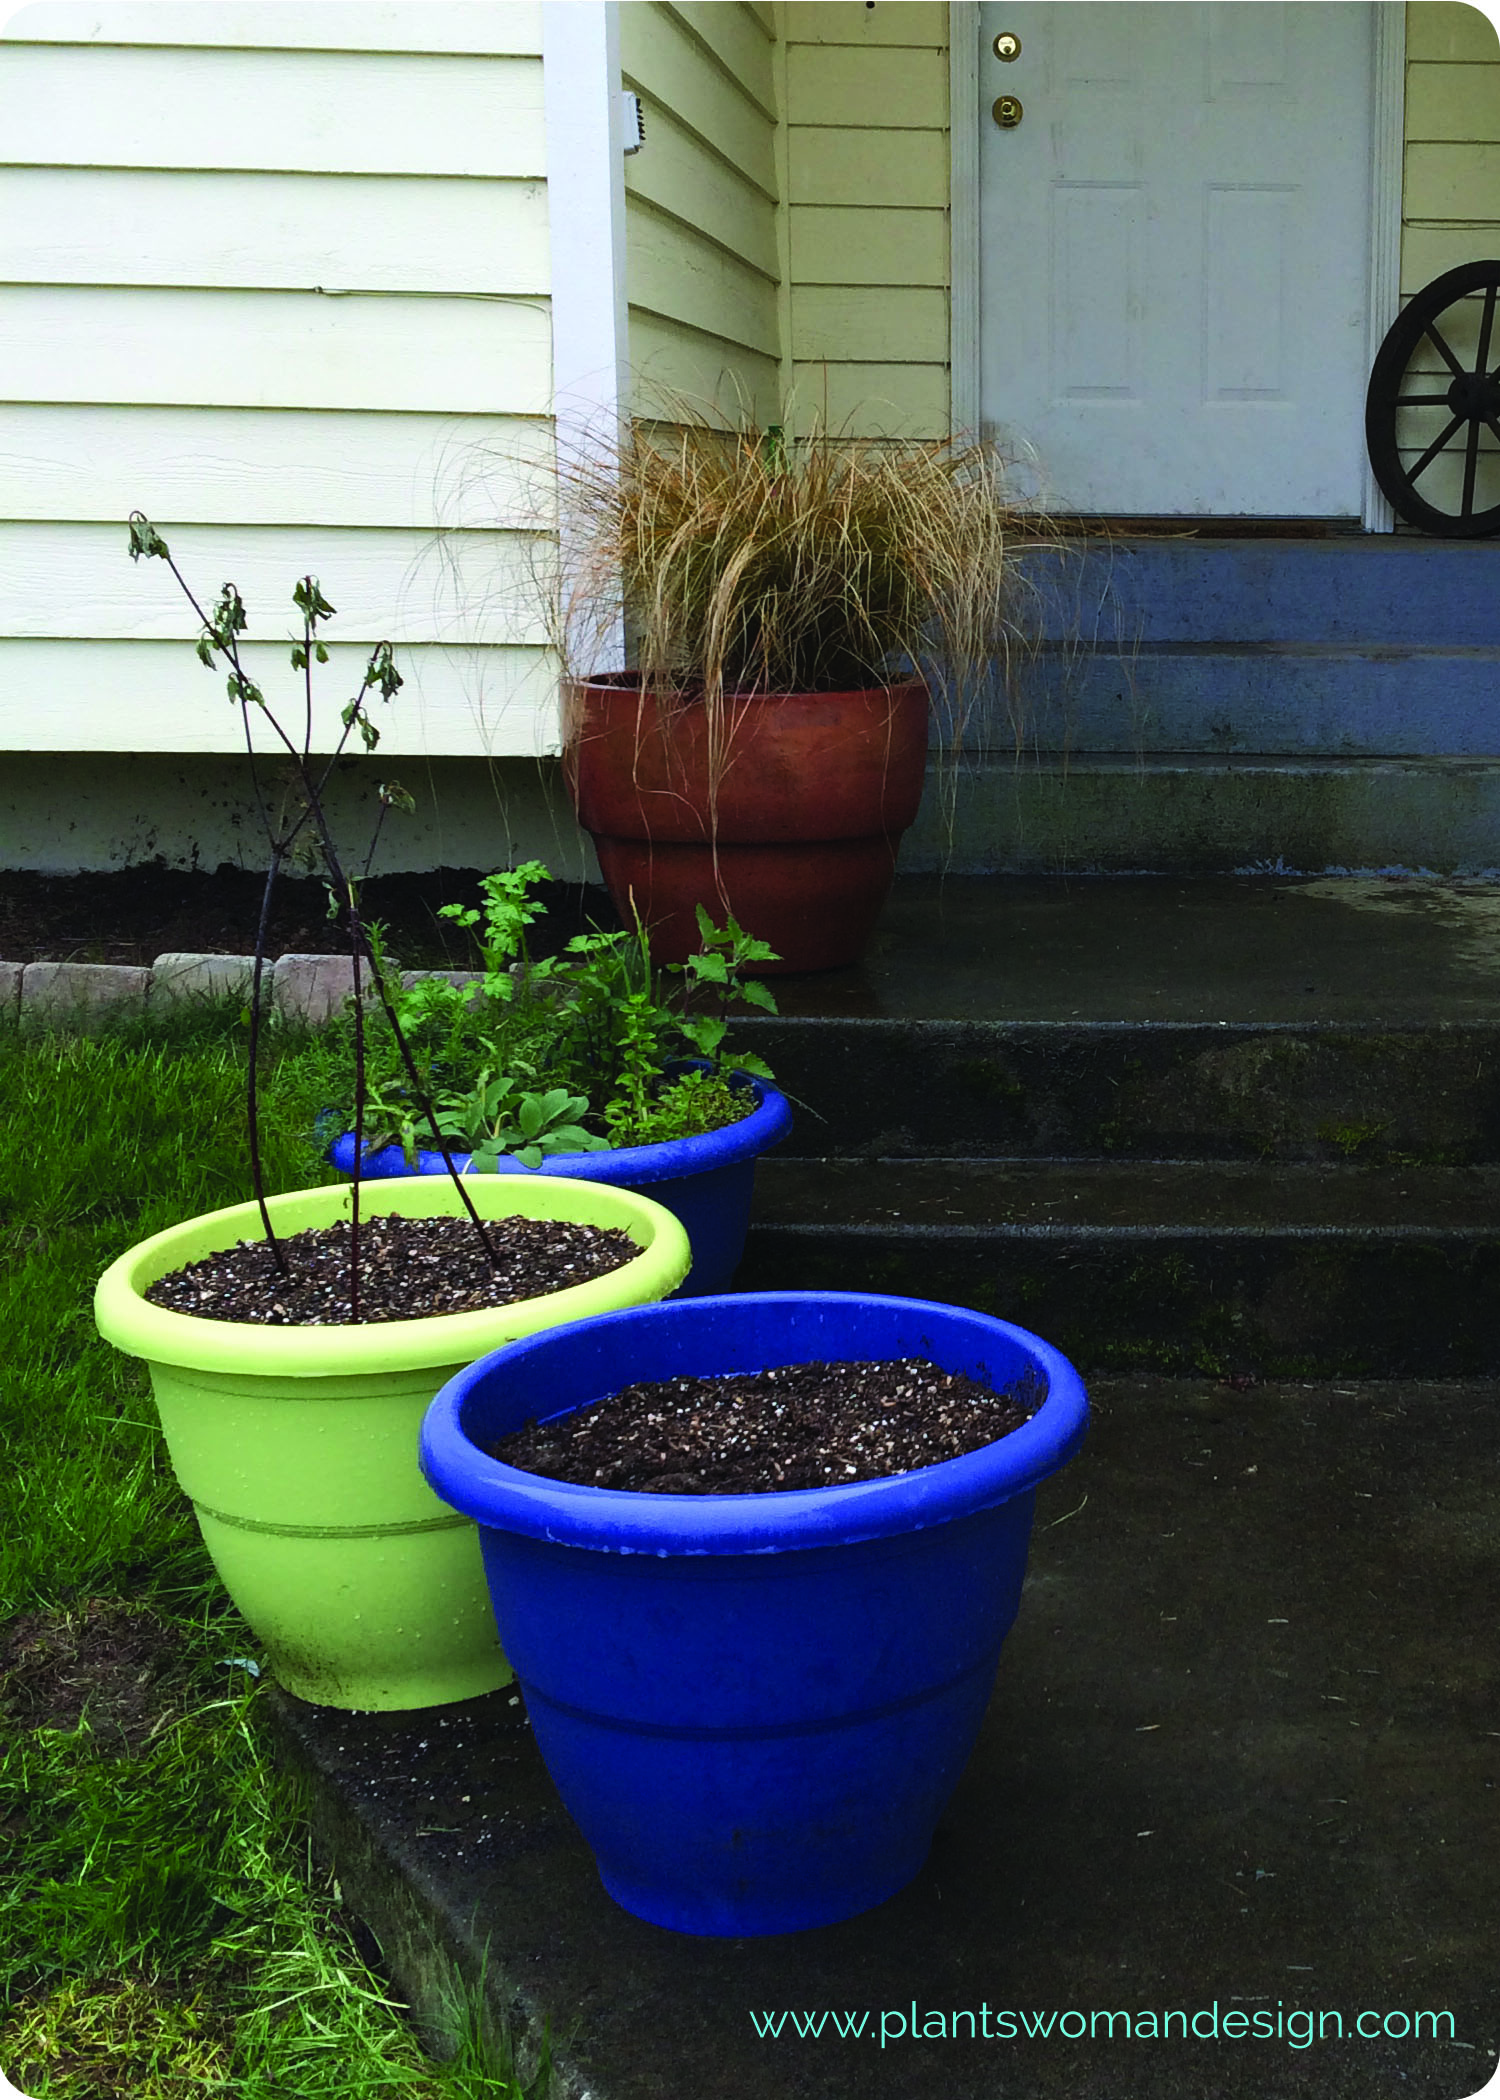
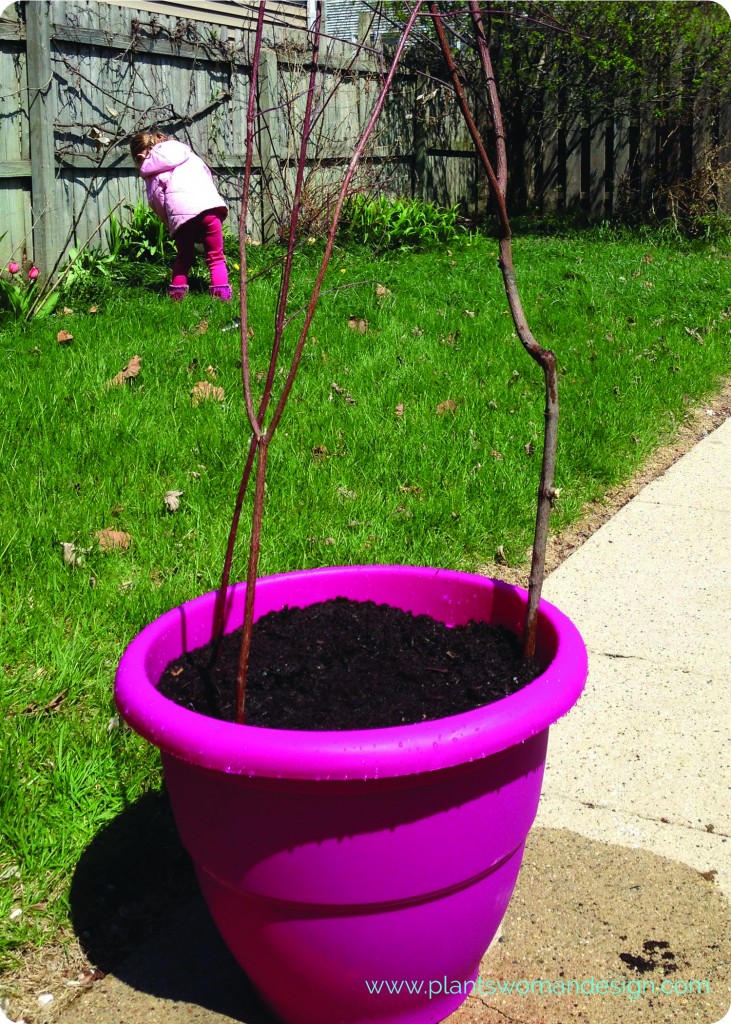 Our finished container doesn’t look like much. But give it time, it will be bursting with fresh, organic, baby lettuce in no time. And if you find you have a little water left over in your jug why not take a walk around your yard and give any thirsty plants a drink. Or better yet, have your kid do it.
We hope you’ve enjoyed learning all about lettuce with us. Did you follow along with us? Send us a picture via email to us at info(at)plantswomandesign(dot)com. We’d love to see it!
by Kristen | Apr 25, 2014 | garden food, Little Bytes

photo Boyd Hagen
Last week we talked about cut-and-come-again lettuces. We want to pass along a great article from www.vegetablegardener.com. THIS article is excellently written and has great information regarding cut-and-come-again lettuce including types and the author’s favorites. Enjoy!
by Kristen | Apr 25, 2014 | garden food, Little Bytes

photo credit www.almanac.com
We know, we know, we’ve spent a fair amount of time lately talking about lettuce. Are we done yet? Not quite. We want to share a few helpful links about lettuce growing. You know, just in case you want more information or there is a question we haven’t answered yet and you are just dying to know.
First up is this wonderful article from the Old Farmer’s Almanac about growing lettuce. We’ve shared some information from the Almanac in previous posts and it proves to be a great source of info through and through. The article covers the subjects of planting, care, pests, harvest/storage, varieties and even recipes. If you try the Lettuce Soup let us know how that goes for you.
by Susan | Apr 18, 2014 | garden food, LB Tutorial: Growing Food, Little Bytes, Plantswoman Design
After last week’s post ‘Spring Yes, Spring’ it is time to get the lettuce in the containers. We are going to plant a mixed container with lettuce and spinach leaving room to plant green beans in just a few weeks.
*For more information about making your own lettuce mix check out this post from earlier this week.
As we talked about before lettuce is a cool weather crop. It germinates in low temperature and grows well early spring. You can keep growing it through the summer if you provide some cool shade. If the temps get too warm the lettuce and spinach will bolt. This means going to seed instead of just producing green leaves. I am in zone 7 here, which means my last frost date is usually April 15th. Check the chart at www.almanac.com to find your last frost date. The seed packets will also give the information on the back of the packet.
For this Little Byte we are going to use the Territorial Seed Company’s “City Garden Mix” seed pellets. These are great little inventions that have multiple seeds in a pellet form. The salad greens we are going to grow will be ‘cut and come again’. ‘Cut and come again’ means we will not spread the seeds out and grow the lettuce to a full head but instead cut the leaves as they are getting mature and harvest baby lettuce and spinach leaves. You see young lettuce and baby spinach both for sale. We are going to mix it with Catalina spinach.
Let’s get started!
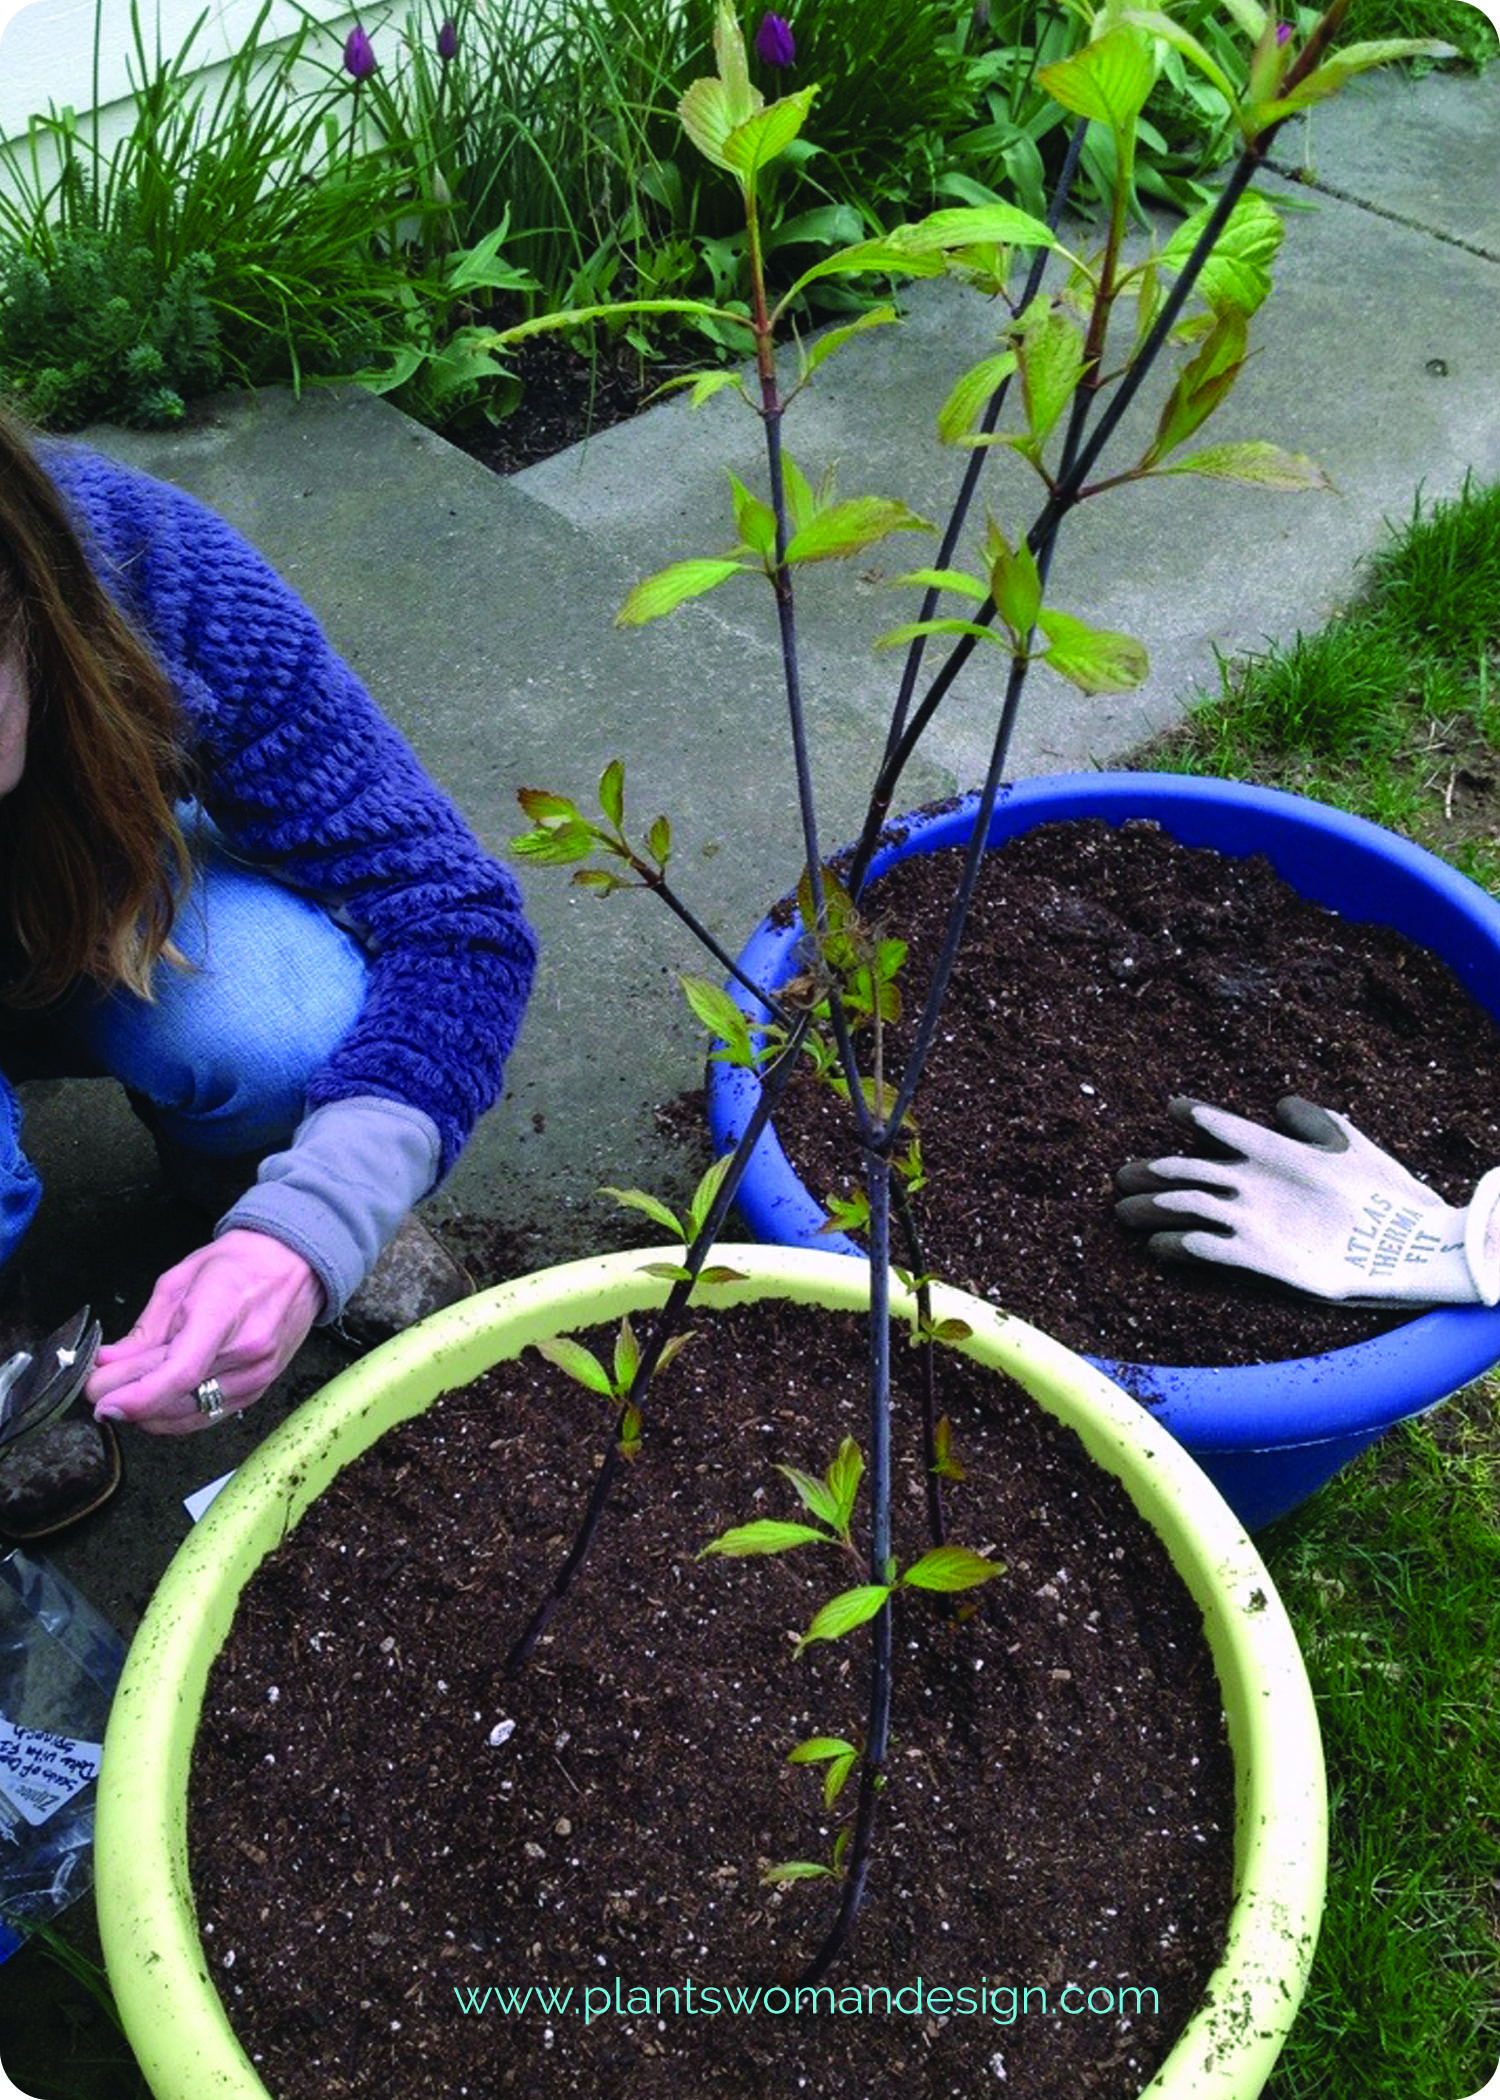
First you need to prep your container, if you haven’t already done so. Take a look at this post to see how to prep your container. Before planting the lettuce seeds take a moment to install some supports. These supports will be for the climbing beans we will plant in a few weeks. We want to put the supports in now so we will be ready to go when it’s time to plant the beans. You can choose to go to your local garden center and buy a support structure or recycle some twigs or thin branches from your yard. Jen took a look around her yard and cut some 3 ft branches of black twig dogwood.
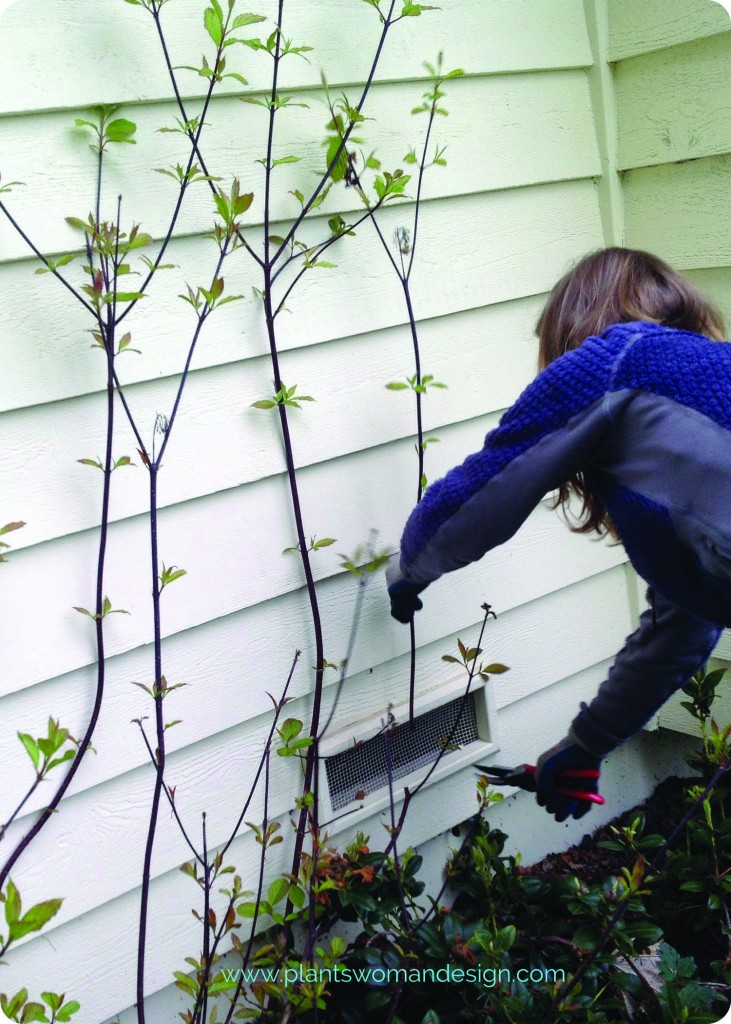
We will keep our eye on the black twig dogwood. They could root out because they are easy to start in water. Rooting out means they will send roots out and become new plants. We will see when we remove the beans after they are finished.
Set the twigs by pushing the supports into the soil creating a teepee like structure. When the beans grow up this structure it will create shad for the lettuce plants when the weather gets warmer. If you haven’t already, give your container a few taps and a good watering to help the soil settle. Firm down the soil around the container. You will want your final soil level to be about 2 inches from the top of the container.

It’s time to put the seeds down. To plant our lettuce we aren’t going to dig the seed in but instead place the seed on top of the soil and spread some additional soil over the seed. These little salad greens just need 1/8 of an inch of soil over them so it is easier to just add the soil after you have laid the seed. If you already used all your soil just scrape some off the top of the container and set it aside. Place the seeds about 1/4 – 1/8 inch apart. Don’t worry about being too exact or about what the back of the seed packet says about spacing. We will harvest this before it reaches maturity so proper spacing for creating heads doesn’t matter as much.

Once you’ve put all the seeds on the soil add the reserved soil lightly on top of the seeds. Press the soil down gently all around and water gently with a wand attachment if you have one. Be careful not to wash your seeds out of place.

And you are done!
We should see germination of the lettuce in about 7-10 days if the weather remains “normal” for this time of year. Before leaving you newly planted pot swing by your herb container if you planted one with us. Jen visited her herb container and cut some chives for baked potatoes. She can already harvest some of the things she just planted! How great is that? Remember, if you use scissors to cut vegetables or herbs, make sure they are not rusty. A rusty knife or scissors can bring rust to the whole plant. I usually just pinch with my fingers.
I’m off to the green house to check on my tomato seeds… I’ll be sure to let you know if they are up yet.
by Susan | Apr 16, 2014 | garden food, LB Tutorial: Growing Food, Little Bytes, Plantswoman Design
Its almost time. Earth is warming, sun is shinning and now I can stop pacing in front of the window and start planning, purchasing, and planting. Lettuce is one of the first things of the season you can plant. There are some fun ways to start planting with introductions of new lettuce blends and new ways to deliver the blends.
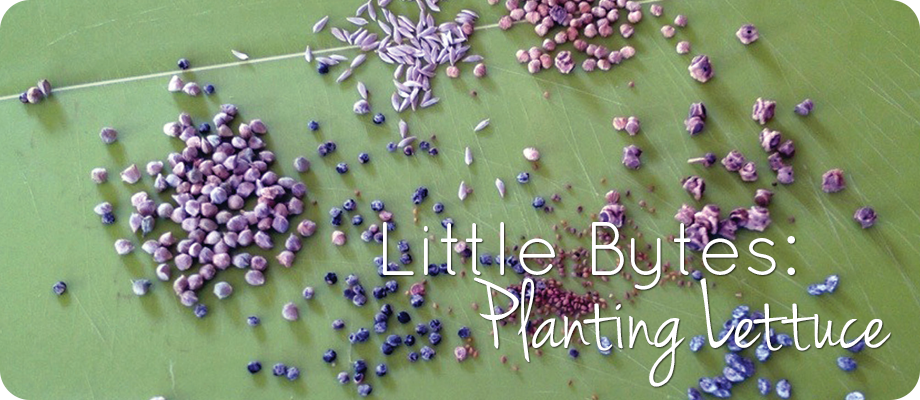
While visiting the nursery and looking for new lettuce seeds I was amazed at how many there were. Seems like that is the trend right now. Of course that started me to thinking why blend only lettuces together. When you go to the store there are all different blends for salad mixes. You will see spinach blended with baby romaine, baby beets, and lettuces, and so on. So I thought why not plant them together. They can all be growing about the same time with different rows, I typically cut my salad greens when they are young so don’t really worry about ‘maturity’ dates.
So off I go to do research. For our purposes we need to know germination rate (how long it takes the seed produce something green that we can see). We want all of our seed to germinate within a few days of each other. This means they will be ready to harvest in their ‘baby greens’ state about the same time. Most salad greens can be treated as ‘cut and come again’.
Strangely enough some seed packets don’t have very much information. I think all seed packets should give basic information and some uniformity would be great. One packet will say how to plant, spacing and harvest but not give a germination rate. A couple even gave recipes! The seed packet is pretty small so I’d rather see great information about the seed, as much as is available, instead of a recipe.
Some rules of gardening to keep in mind as you choose your mix.
1. Same temperature for germination. Don’t use warm weather crops with cool weather crops.
2. Same time of germination. You want seedlings to show up about the same time within a few days or a week.
3. Use good quality seed and no old seed. Many people know that seed can be saved over one season to the next. The seed will still come up but germination rates are decreased.
4. Planting depths should be about the same. 1/2 in to 1/4 inch choose the 1/4 inch depth for all. 1 inch to 1/4 inch choose another variety closer to the same.
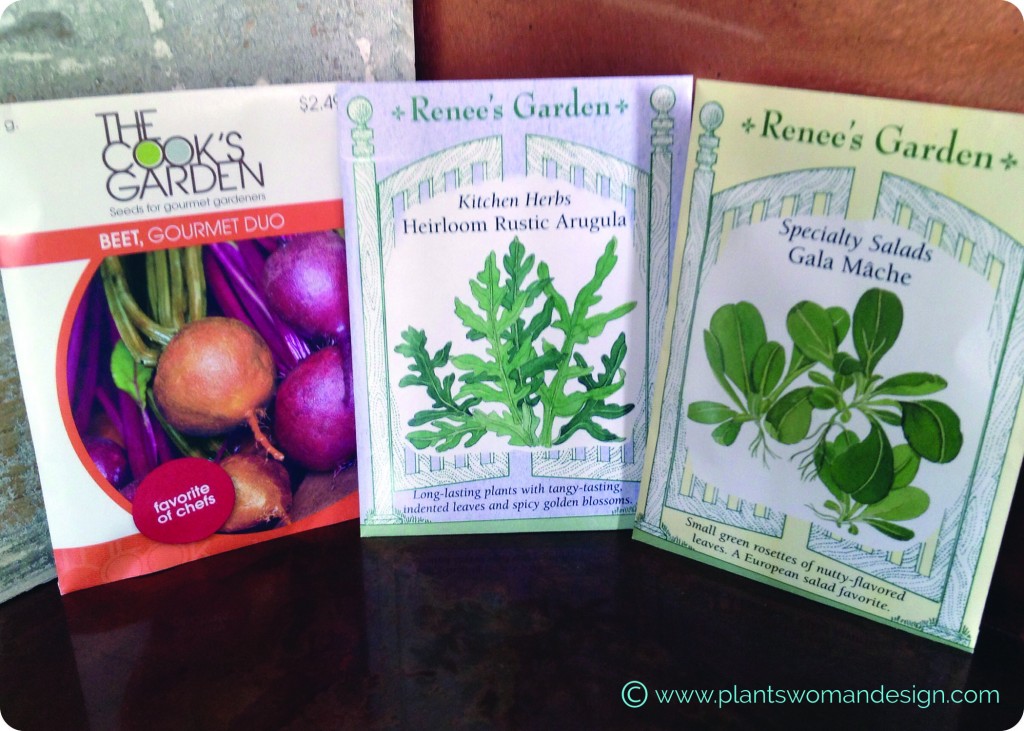
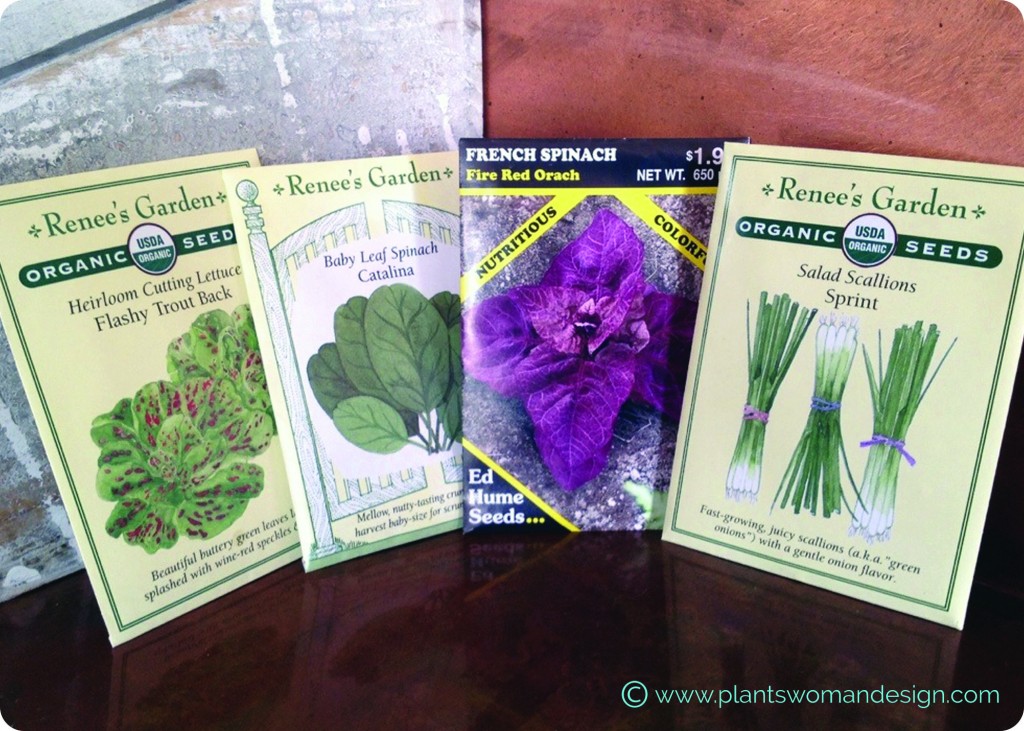
I picked out some great seeds to mix up:
- Gala Mache- Lamb’s lettuce (European favorite) – Renee’s Garden Seeds
- Rustic arugula – an heirloom variety from Italy – Renee’s Garden Seeds
- Red and Golden beets – Cooks Garden Seeds
- Flashy Trout Back Lettuce , Heirloom Cutting Lettuce -Renee’s Garden Seeds
- Catalina Spinach Baby Leaf Spinach – Renee’s Garden Seeds
- Fire Red Orach, French Spinach – Ed Hume Seeds
- Sprint Salad Scallions, Green onions – Renee’s Garden Seeds
Side Note: The French Spinach is not a true spinach (interesting right?). It has purple leaves, very nutritious and can be harvested young or cooked like green spinach when it matures.
The scallions can be cut with the rest of the greens to add a mild onion flavor. Beet greens can be cut and harvested young too. We will only use part of the seed packets in the mix and use the rest in a separate row of the garden and allow them to mature into full heads of lettuce.
When I was ready to plant my crop I poured the seeds out together on a mat to mix. Then I funneled them back into the pack for spreading into my prepared soil.
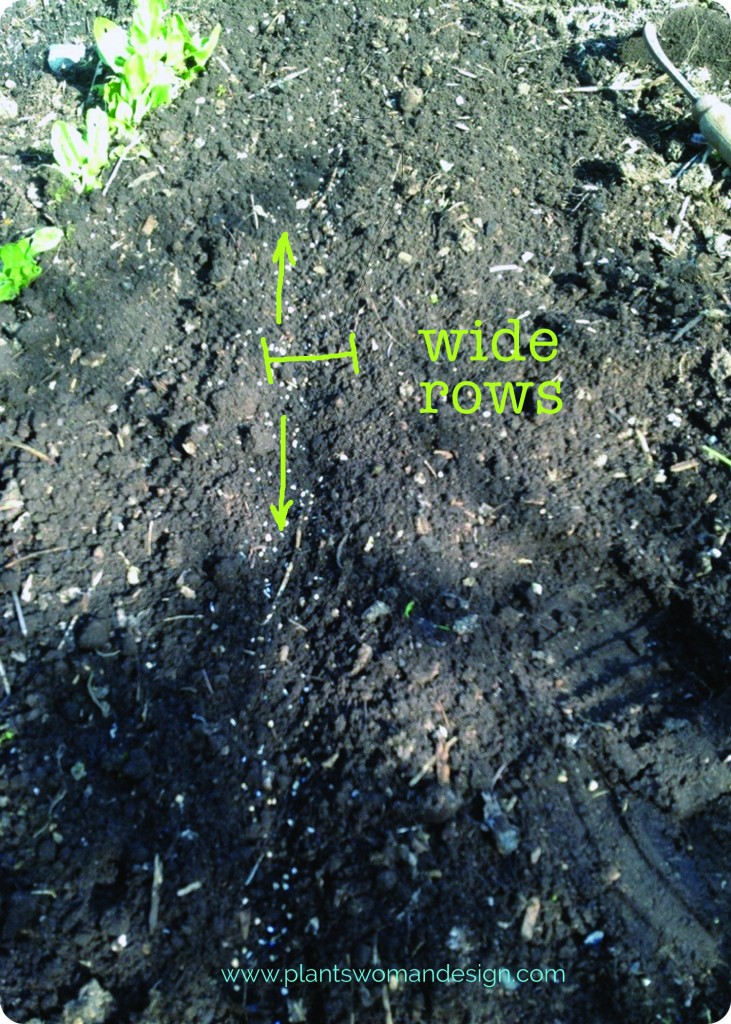
 Today is March 23rd and I will go out and plant my seed mix. The earth feels fairly warm and is nice and crumbly, nice to work. I mixed them together into a seed envelope so they could be spread easily. I scattered thinly and then went back over the same line. The bigger heavier seed came out first and the smaller lighter seed came out after. The row is a little broader than my regular rows but I want to cut them in bigger sections so that will work.
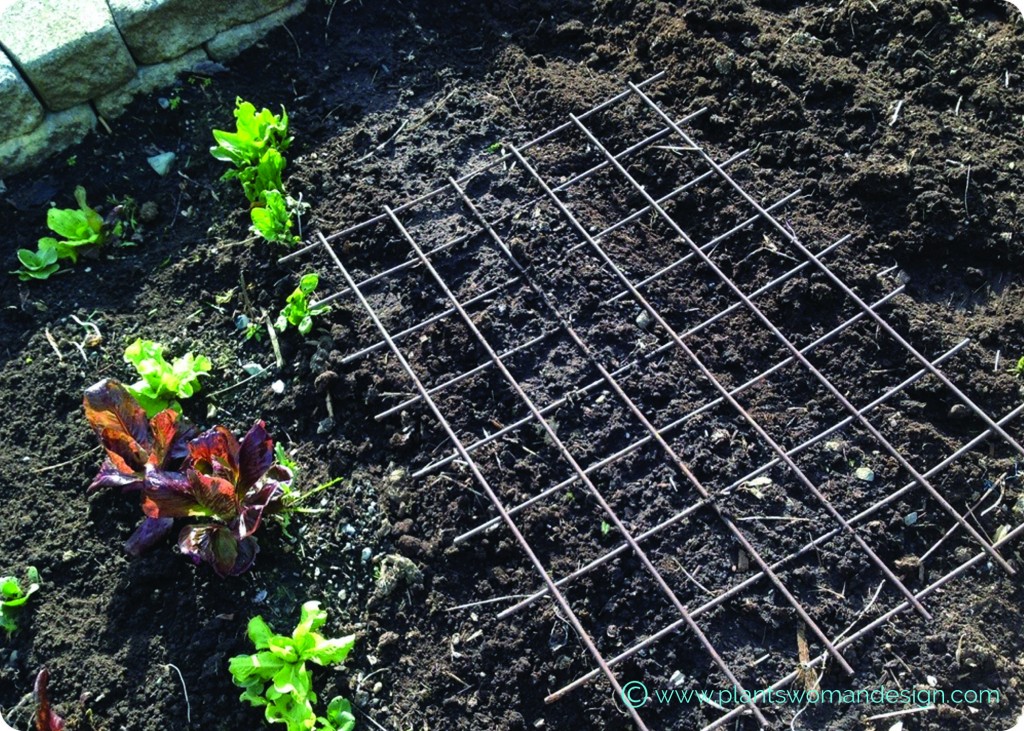
 I watered the row in well and placed a grid of metal over the top. I will remove it when I start to see germination. It keeps the birds from going back into the newly tilled up space and eating the seeds. In some cases (the peas) I leave it in place the peas grow through it and it protects from rabbits and cats digging.
 Let’s talk about soil real quick… My soil had organic matter dug into it in the fall and is ready to plant now. I really spend a lot of my energy getting good viable soil that is strong and has lots of organic matter and worm action. This means I won’t have to do a lot of fertilizing later on. Everything we grow needs a good foundation of soil. This helps with pests and diseases because you have really healthy plants. I will fertilize with a diluted fertilizer only once in the season when the seedlings are about 1 inch tall.
I’ll keep you posted on how the seed mix is doing. Let me know if any of you try out a mix of your own…..
by plantswomandesign | Oct 7, 2013 | garden food
I’m just finishing up my plan for the 2014 Northwest Flower and Garden Show, this will be my 5th year being involved. My first venture was doing a patio garden called ‘Living it up‘. I was very nervous. I made two containers out of recycled roofing and planted them with edibles. I went down to Raintree Nursery and picked up two varieties of cordon apples, The Scarlet Sentinel and North Pole, to put in the containers. Cordon apples are not very popular in the U.S. but in the U.K. they are very popular for small gardens. I didn’t really pay much attention to the varieties as I just wanted to have something blooming. After the show I put them in the ground at the bottom of the garden and didn’t pay much attention to them until last year. I reworked the space above the vegetable garden next to the compost bin and there was a little space there to put the apples. They have been very happy there quite possibly because of the compost pile next to them. This year they have produced some of the biggest apples I’ve seen on a tree let alone on a tree with the small stature of the cordon apple.

As I have collected my harvest I have made applesauce and apple crisp, both were gone in a flash. The Scarlet Sentinel tastes a lot like a honey crisp according to my granddaughter. I know they are sweet and juicy.
 Here are the apples ready to make into applesauce.
 Here is the same group with an egg to show the size of the apples.
When I make applesauce I do it different than when I was young. I made lots of applesauce for my kids using the old method of washing and cutting up the apples, cooking them with the peelings and cores, then sieving them to remove all the bits. This made a smooth sauce with a slightly pink or brown color. Now, I like my applesauce with a little character –lovely and golden with bigger chunks of apple left inside.
Here is how to do it. Start with a good flavorful apple (no broken down, mealy ones). Put a little water in the bottom of a decent size pan, just enough to cover the bottom, on medium heat. Now it’s time to start chopping apples. Wash and peel your apples and remove the core. Cut into chunks straight into the pan. Go ahead and let these start cooking while you start working on the next apple. Cook and add apples a little at a time to get a good sauce going. You can add sugar to taste (I will usually add about 1/4 cup of sugar because that helps bring out the juice of the apples). Don’t add anymore sugar until the sauce is done so I can just add what is needed, sometimes you don’t need any more. I cook it all until it is mostly soft. Make sure the last pieces of apple added are soft but not mushy.
 And voila! It does take a while but nothing is better with grilled pork.

The way you care for cordon apples is similar to regular apples. I do some pruning early in the spring (Feb here). I look for fruiting spurs and make sure to leave them alone. I like to bring any really long branches back towards the trunk. I have staked my apple trees with rebar stakes because of the weight of the fruit. I usually have to tie them in as they grow and support the fruiting branches. As they grow I keep an eye on the branching structure. If there is a branch that is putting on a lot of lateral growth I prune it back again, usually in June. The fruit is already set by then so it is easy to get rid of extra branches and leaves that are not needed for fruit production.
I will include this last picture of the North Pole apple. It is on a smaller scale and the apples are still really good. The fruit is really red and the branching is not as full as on the other ones. The cordon apple is easy to grow and will fit into a very tight spot.

So tell me, what are you doing with your garden harvest? Do you have a recipe to share? Please, do tell!
by plantswomandesign | Sep 22, 2013 | garden food, gardening

As you may already know, if you are following the blog, I have a great harvest of Walla Walla Sweet Onions. I planted 50 sets and I’m sure there are at least 50 nice size onions. I have been experimenting with what to do with them beside eat or cook with them so I stored some of them and they are doing fine. To store them I wrapped them carefully (they bruise easy) in shredded paper and stacked them carefully in a wire basket. Tucked away on a shelf in the garage they are doing just fine. While researching storage suggestions for onions one website suggested putting them in pantyhose and tying knots between them to keep them separate. When using them simply cut the knots to get an onion. Ok… I’m having a generational gap I think. I don’t have panty hose… Oh maybe one pair in the back of my closet to wear with my short black evening dress but in my line of work I don’t exactly have them just lying around. And, if memory serves, the last time I bought them they were very hard to find and not cheap (around $10 a pair). I think the shredded paper is a better solution for me with no surplus pantyhose.
Today I made onion marmalade. I started with a recipe I had for French Onion Marmalade and adapted it to be a little more me. I’ll show you the process as we go.

Onion Marmalade
1 KG (just over 2 lbs) of red or yellow onions, peeled cut in half and sliced thinly (yes I have a scale to weigh them)
100 ml olive oil (just about 1/2 cup I add it as needed)
1 teaspoon sea salt
1/2 teaspoon ground black pepper
2 bay leaves
2 rosemary springs (wrap and tie in cheesecloth)
150g soft brown sugar (3/4 cup)
75 ml dry white wine (1/3 cup)
75 ml red wine vinegar (1/3 cup I used champagne vinegar or white wine vinegar)
25 ml balsamic vinegar (good size splash I used white balsamic vinegar)

Directions
1. In a heavy fry pan (I use non stick), heat up some olive oil and add the finely sliced onions – toss around to make sure they all have a coating of oil.
2. Cook over gentle heat until they start to color.
3. Add the salt, pepper, bay leaves and rosemary springs and cook for another 20- 30 minutes. until herbs have wilted.
4. add the sugar, wine and vinegars.
5. bring back to boil and keep stirring all the time. Lower the heat and simmer for about 20-30 more minutes until the liquid is all dissolved and the onions are soft and sticky. Watch carefully as this mixture may burn easily.
6. Pick out the rosemary and bay leaves (this is why I put the rosemary in cheesecloth but I’ve left some in and it was ok too) and spoon the marmalade into clean dry & sterilized jar and seal straight away. Ready to eat after 2 weeks but better if kept for at least 1-2 months. I store in refrigerator but could be processed for longer shelf life.
7. Makes one 300ml jar – but can be easily increased.
The changes I made make it a little brighter in color. As you can see it takes a lot of onions to make just one jar. I used the small jars so I can use just what I need and give away some.
Onion Marmalade is so fabulous on burgers, steaks, ham sandwiches grilled or cold, even put over cream cheese and served with baguette slices or crackers.
I still have beets, tomatoes, green beans, carrots, lettuce, arugula, leeks, broccoli, cucumbers, peppers, and zucchini to get creative with and the rhubarb is still producing. I will probably make some more Rhubarb Ginger Jam this year. Next week I’ll post about my apples. I planted cordon apples left over from a garden show several years ago. You will be amazed when you see them. Please, share with me any interesting way you are using vegetables from your garden!
>
 If you’ve been following along with us this spring you know we’ve been working on our vegetable gardens. Whether you are planting in containers, raised beds or straight into the earth a little planning goes a long way. Check out the link below to learn about how to help your garden produce wonderful edibles all season long.