by Susan | Aug 28, 2015 | garden food, LB Tutorial: Growing Food
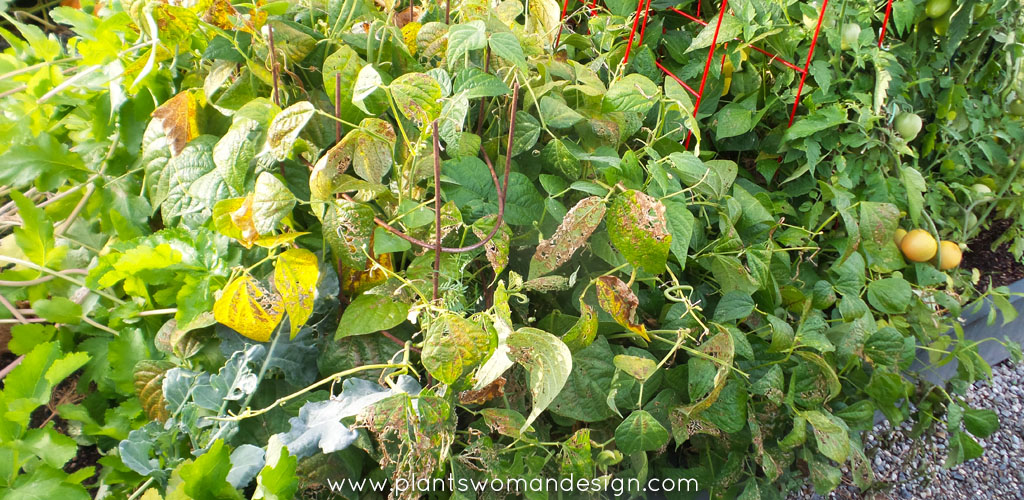
Even while the veg garden is still in full glory it is time to think about fall Vegetable planting. Looking at my garden I see I have some room in the garden where the lettuce has finished, the onions have been harvested and some beans have been pulled out. I left some of the beans in because although they have slowed in production there are still some blooms and beans still growing.
Flush from my success with the cantaloupe I decided to try cauliflower. While never having grown it before it was one of the small packages of vegetable starts available at Valley Nursery. Getting a head start shouldn’t hurt so the packet came home with me along with Onions and Broccoli. If you check out your local Nursery you will likely find winter vegetables also. Usually Swiss chard, Brussels sprouts, cabbage and kale are also available, but I still have these growing in my garden.
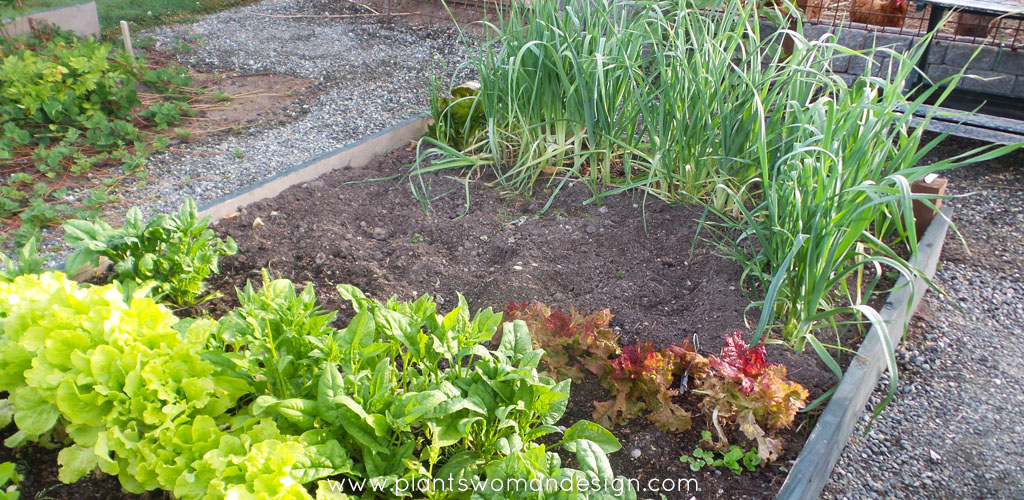
I spent a little time breaking up the soil. Roots of onions and lettuce make the soil a little compacted so a good aeration and dig through was in order then it’s time to plant. Two rows of a leaf lettuce blend and one row of head lettuce blend. Blends give you a good chance to get the best germination depending on the site conditions in the fall. Two rows of roquette (arugula) were next because you must have arugula to have Asian pear salad with goat cheese and arugula. The Asian pears are beautiful right now so I will use the rest of the existing row of arugula to eat now and store pears for later to use this row.
I had onion starts (evergreen bunching onions) and onion seeds (globe style mixture) to replant some of the onion bed next to the leeks.
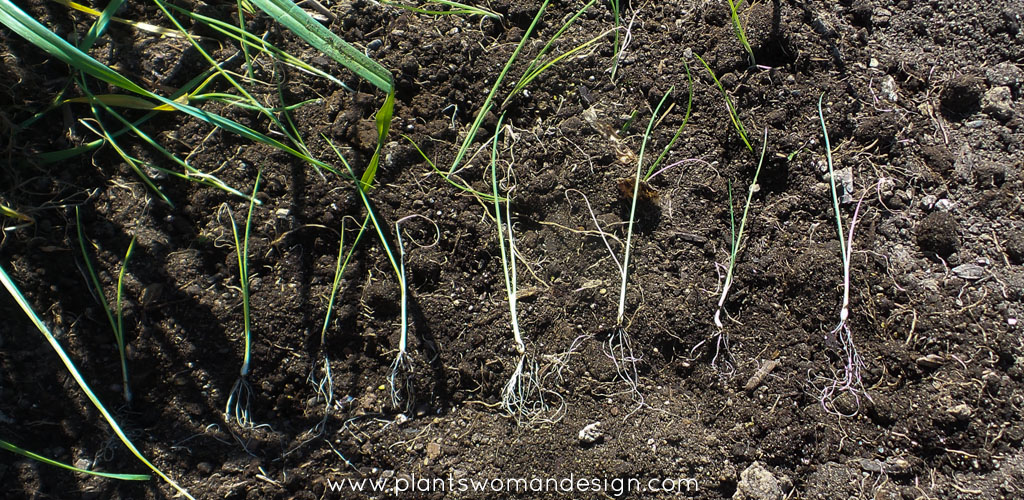
To plant starts I make a depression that looks like a row with my finger. Then space the starts evenly down the row. Firm the soil around both sides of the start to get the seedling to stand upright. After watering them in I will check again to see if they are still standing upright. If not then they didn’t get property firmed in and you have a chance to do that again. They will need some good water as the days are still warm and sunny. Planting starts in this way means the roots are all laying in the ‘ditch’ and you don’t have to worry about some of the roots being broken off or left out of the hole.
The cauliflower starts are in a couple of places. Caution: do not plant the starts where cabbage has grown before. This is to keep them from contact with soil borne pathogens or pests that wait in the soil.
I planted new broccoli near the other broccoli. Although I’m still harvesting broccoli from the current patch I know there will be more needed later on. While over there I took out a couple of mature kale. I had planted kale seeds and they are awaiting their chance to mature under the big kale. They now have a chance next to the broccoli starts from the nursery.
After taking out the zucchini plants I put in some Pac Choy (type of Boy choy). It also likes a warm start and a cool season to mature.
Comment to tell me if and what you are growing for the fall veg season.
Happy Gardening!
by Kristen | Apr 10, 2015 | LB Tutorial: Growing Food
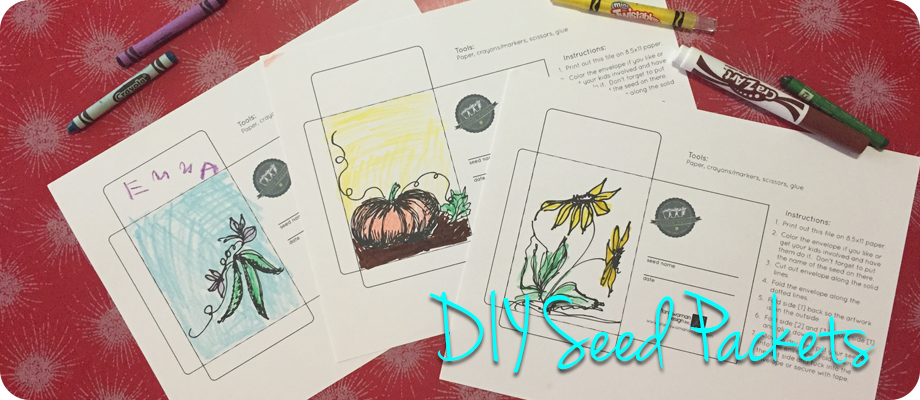
If you are coming over from the post Planting a Legacy welcome! Thanks for coming by. Susan Calhoun, of Plantswoman Design, hand drew art for your seed packets! Make a few seed packets to share seeds with or give seeds as a gift.
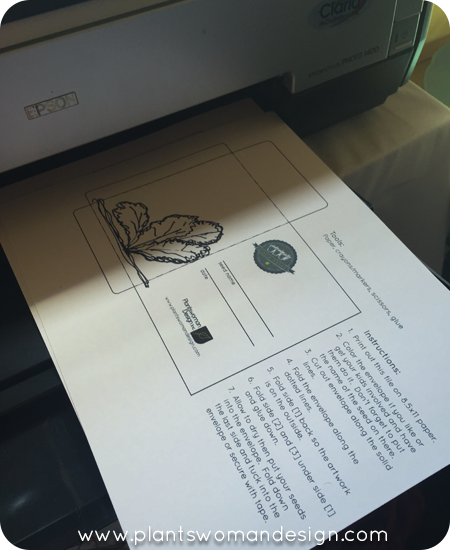
First print out the PWD Seed Packet Activity.
 Have your kids color the pictures on the front of each packet (or color them yourself). Want to draw your own? Use the blank packet to draw or color any way you want. We’ve also included a special Arbor Day packet to share and plant seeds for that special planting day.
  Cut out the packet along the solid lines.
 Fold along the dotted lines.
 Glue along flaps 2 & 3, fold flap 1 over and press down.
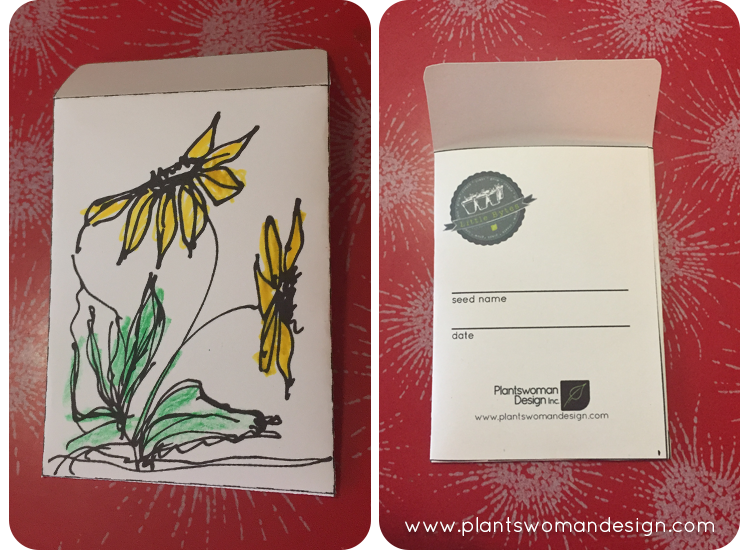
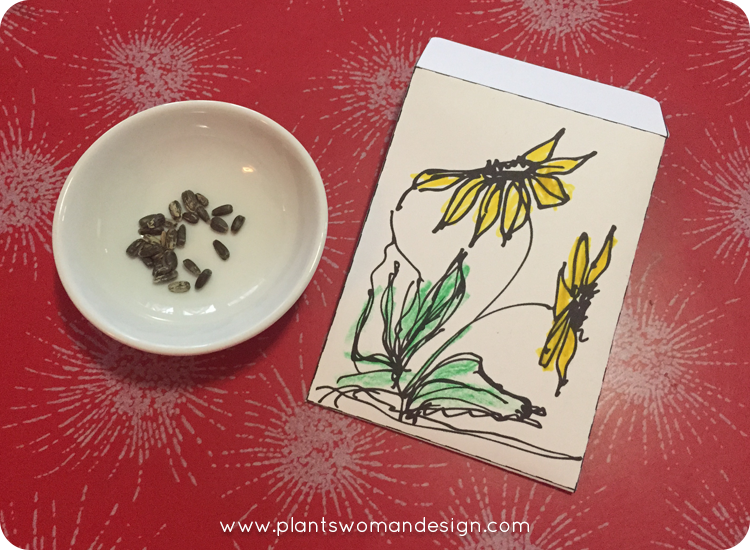 Wait until the glue has dried then put your seeds in and either tuck the flap into the envelope or secure with glue or tape.
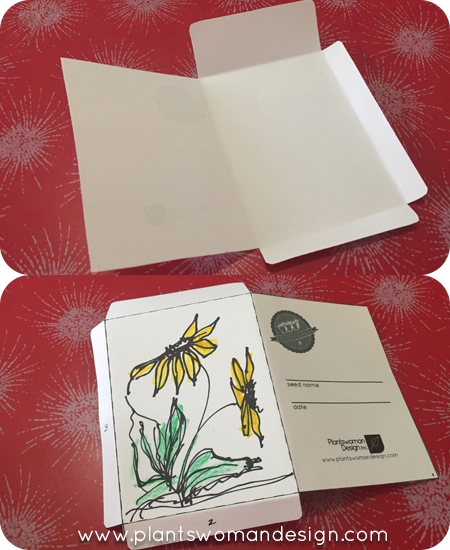
Your seed packet is now complete! Now who wouldn’t want to receive seeds in a handmade packet? Great for Mother’s Day too!!! (hint, hint)
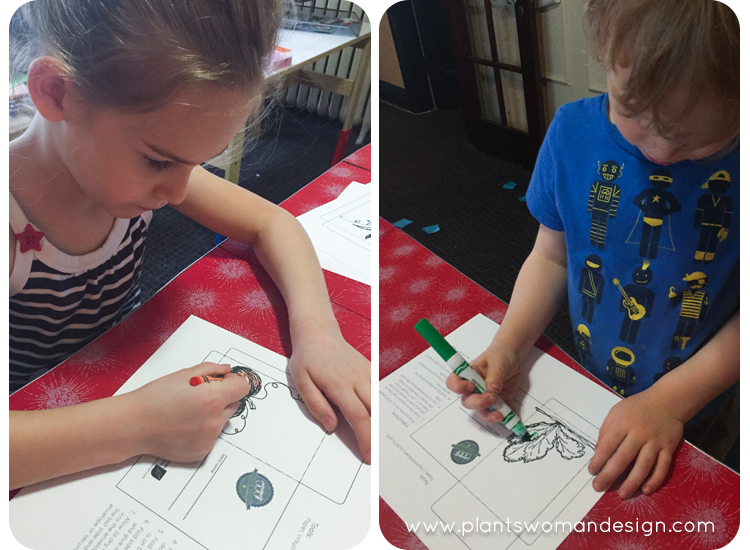
Before we go I just wanted to say a little something about doing this project with young kids. I did this project with Little Chef (3 3/4) and Miss E (6). They did the best they could do and for the 3 year old it was a little color here and a little color there before he wanted to cut the paper. He got the first line really quite well and then this face…
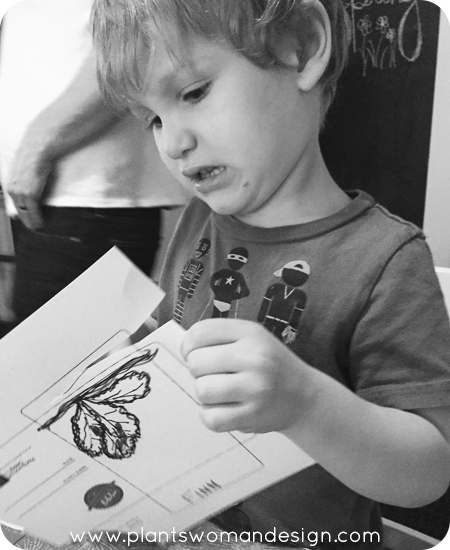 After which he promptly gave up and tore the whole darn thing to shreds. My point in telling you this is to help relieve any pressure you may have about working on this project with young kids. It won’t be perfect. Color won’t stay in the lines, things may be glued together that shouldn’t be and papers may be torn. It’s okay! Getting kids involved in gardening at a young age takes… well baby steps. This little guy in particular enjoys the digging in the dirt part of gardening much more than this part but he gave it a try and that is enough for me.
Enjoy! And send us a photo of your finished project via email to info[at]plantswomandesign[dot]com, on facebook or Instagram (#heyplantswoman).

by Susan | Apr 10, 2015 | LB Tutorial: Growing Food
“Planting a Legacy” may be a strange name maybe for a post about seed packets for the kids but… maybe not. Many of my clients want suggestions for how to encourage kids and grandkids to have an interest in gardening. There is a huge decline in the number of students entering the gardening studies. At the same time we are all becoming more aware of where our food comes from, how far away and at what cost to the environment. To participate in the food cycle we should also encourage our children to grow something at home. Food, flowers, strange and wonderful plants, or trees. This helps ground our kids in the earth and give them an appreciation of all growing and living things.
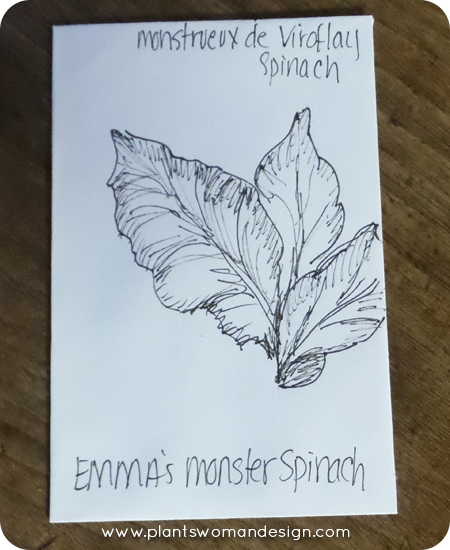
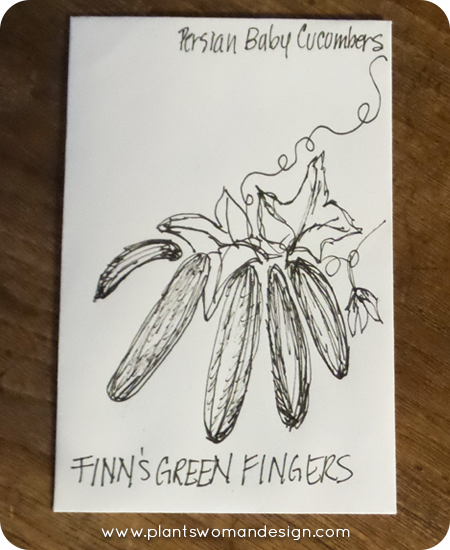 A fun thing I did for my grandkids this year was to make custom seed packets for them to color and to plant. They were excited to color it and see what the plant would look like. I even changed the common name on the package so it became even more personal. Persian Baby Cucumber called Green Fingers became Finn’s Green Fingers. The Monstrueux de Viroflay or Monster Spinach became Emma’s Monster Spinach.
I will have more packages for the seed saving after the harvest of the vegetables and they will be ready to collect and save the seeds for next year.
You can either do your own (I found the blank seed envelopes online as you can see there are many options) or download our free ones below to make your own and let the kids color them! Let’s do more to encourage the kids to grow something.

by Susan | Oct 22, 2014 | LB Tutorial: Growing Food
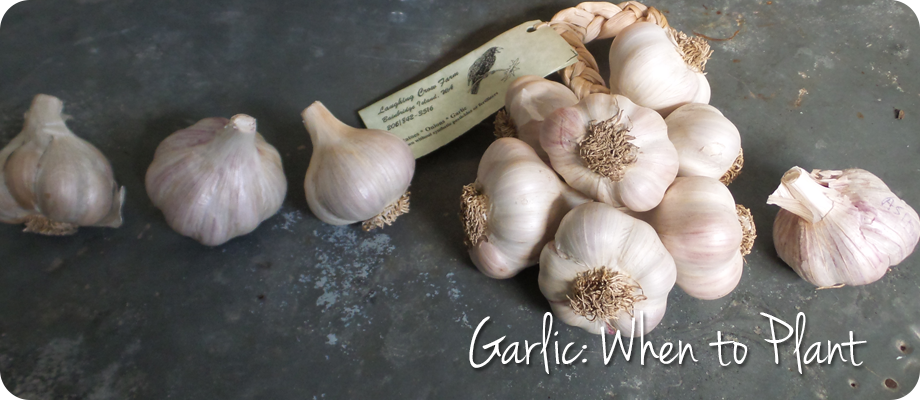
Here in the PNW we don’t really have to plant garlic in the fall. There are fanatics that say ‘have to’ and other that say ‘no big deal’. I even read a article from Gardeners World from England about the controversy of planting garlic in the fall. The general consensus is that hardneck varieties should be planted in the fall and softneck varieties can be planted in the spring or fall. Hardneck varieties can be grown in very cold areas where there is snow cover. Softneck varieties can be grown in all milder areas in the spring or the fall. Softneck varieties keep really well up to 1 year when properly cured. Harneck varieties are often milder and have interesting flavors. (yes flavors in garlic who knew?) One of reasons fall planting is suggested because the bulbs have a longer season to put our roots and increase in size. It is suggested to plant no later that end of October in our area.
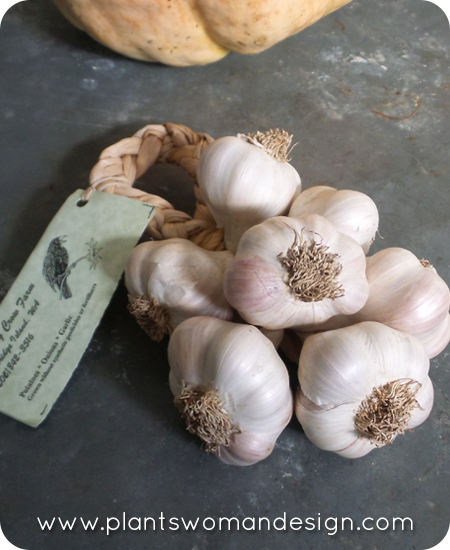
For my experiment I am going to use garlic grown here on Bainbridge Island from the Laughing Crow Farm as well as some others.
The hard neck varieties :

photo from www.territorialseed.com
Chesnok Red Garlic – Late-season. Characterized by its beautiful purple stripes, this Middle Eastern hardneck comes to us from Shvelisi, Georgia. One of our best all-around cooking varieties because its full-bodied flavor lingers and is retained after cooking. Especially nice choice for baking as it has a very creamy texture. Easy-to-peel. Stores 4-6 months. (Territorial Seed)

photo from www.gourmetgarlicgardens.com
Russian Red – Russian Red is a Rocambole garlic with a rich, musky, garlicky flavor and is very hot when eaten raw. Rocambole garlics have brownish-purplish bulb wrappers and easy to peel brownish clove covers and so does Killarney Red. Rocamboles are valued for being early harvesting full flavored garlics that you can enjoy while waiting for the longer storing ones to mature and harvest. Russian Red’s cloves are all of similar large size with no small cloves. Usually harvests in late June/early July and stores into mid-winter at room temp.
Soft neck varieties:

photo from www.burpee.com
Nootka Rose Garlic – HEIRLOOM – Silverskin softneck with bright white skin and rosy streaked cloves; excellent for braiding. Nootka Rose is a late maturing garlic – the latest variety among the Silverskins – but well worth the wait. Flavor is rich and warm, but not overly hot. This is a very long-storing garlic that easily holds into the next spring or even summer. This heirloom comes from the San Juan Islands off the coast of Washington. Softneck. (High Mowing Seeds)

photo from www.gourmetgarlicgardens.com
Asian Rose Garlic – A smooth, silvery-skinned garlic with rose-colored cloves and mild flavor, it ingeniously evokes and amplifies the flavors of other recipe ingredients. This is the garlic of choice for braiding because it keeps for 6 months. Bulbs are loaded with up to 12 cloves. Very fast-growing. Softneck variety. (Gourmet Garlic Gardens)
Silver White – It has silvery skin, easy to peel (slip skin). This is the last garlic to mature each season and they store the longest. Wrappers are tight and creamy white. Great garlic for braiding. When grown in northern (cooler temperatures Silver White can have quite a bite when eaten raw.. It’s a lot mellower when cooked.
I will plant one row of each and then eat the rest. Maybe I should have a garlic tasting party. Would you come?
by Kristen | Aug 13, 2014 | Community Gardens, LB Tutorial: Growing Food
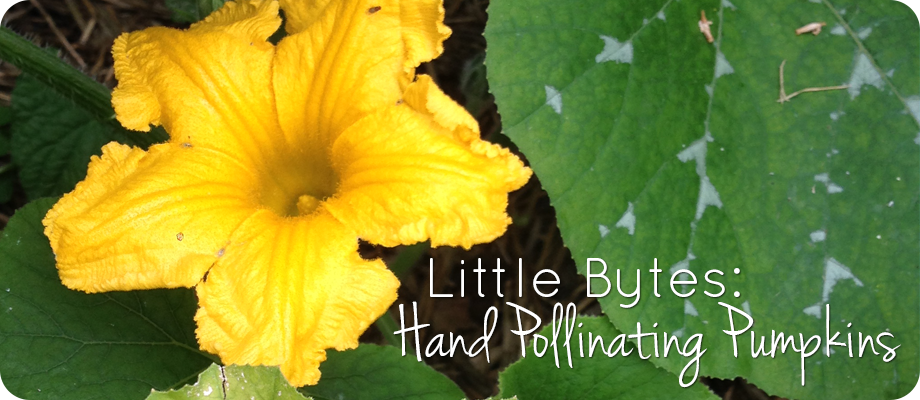
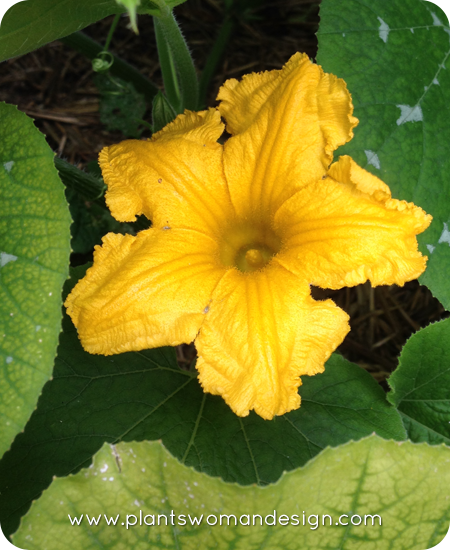
At the beginning of August we talked about hand pollinating pumpkins (you can read about it HERE). You might remember I had one little problem when I went out to make baby pumpkins. I only had male flowers and didn’t see any female flowers. After a few days of checking in with the pumpkins I still don’t see any female flowers. But when I went to the garden today I saw something a little different…
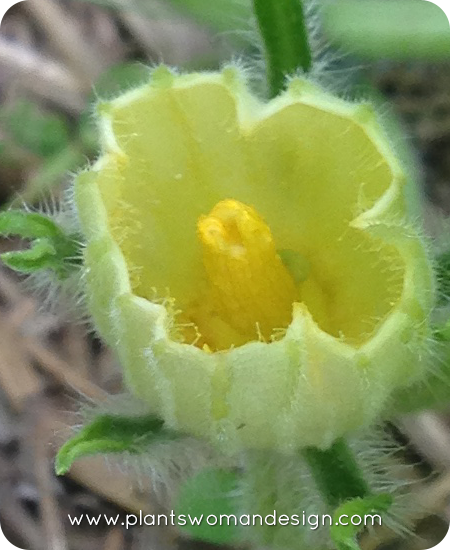
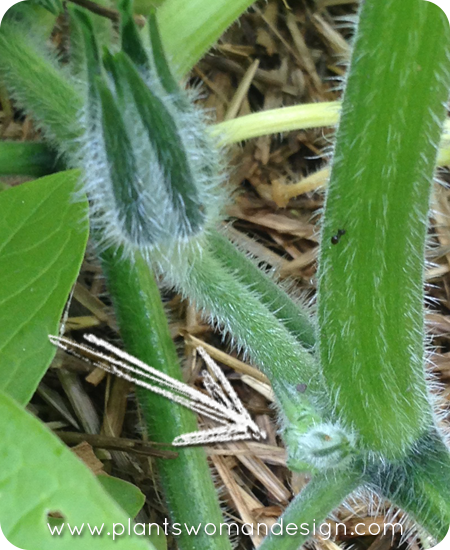 You can see the bigger flower, which is likely to be a male flower again, but lower on the stem is another bud. This one looks different and I haven’t seem them like this before. It’s so much smaller, closer to the stem but coming out of the same joint. It’s also a little plumper than what the male flowers look like this small. I could be wrong but I’m really, really hoping this is a female flower. REALLY hoping…
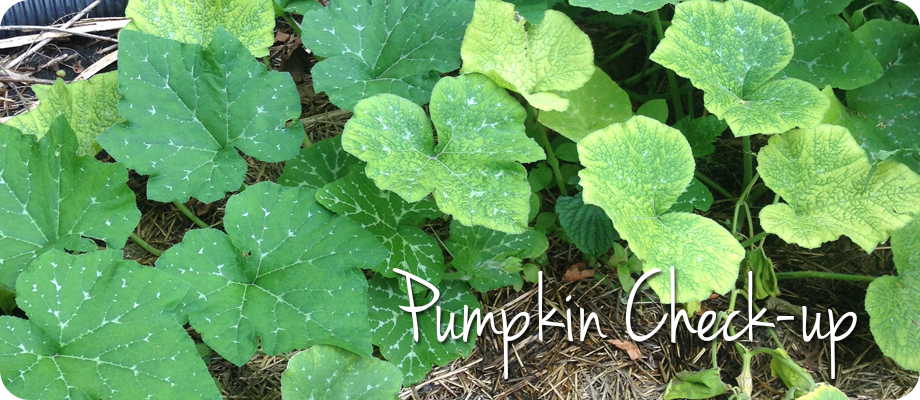
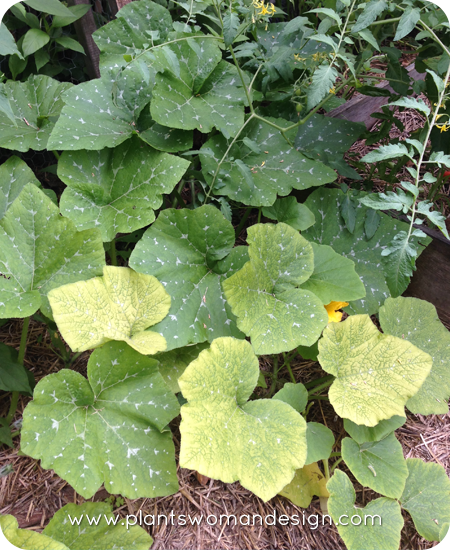
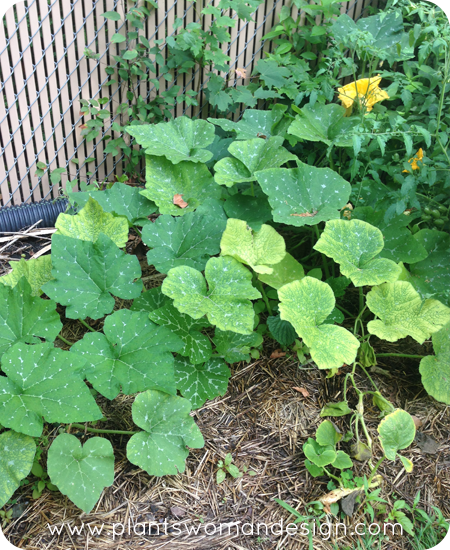 Other things I noticed about the pumpkin vines. After the pumpkin vines began to grow they started running behind the tomatoes. I asked the Plantswoman and she said they were probably getting too much sun so they found a shadier spot. Once the trees fully leafed out above the pumpkins providing more shade the vines started to find their way back to their intended spot. I’m actually glad they retreated behind the tomatoes because their vines are ginormous! It will be difficult to find the rest of the flowers and spy out the fruit since the tomatoes are heavy with fruit but we will make it work.
So, I’m keeping my fingers crossed these pumpkin vines will produce an actual pumpkin. I’ll keep you posted!
by Kristen | Aug 1, 2014 | LB Tutorial: Growing Food, Little Bytes
You may remember that the kids and I planted pumpkins this past spring and I’m happy to report we’ve had some success. Here are three of our pumpkins growing over at the Albany Park community garden. They are pretty happy and seem to be making their way behind the raised bed of the tomatoes. In hindsight I think I would have trellised them to make use of the vertical space we have. Definitely making a note about that for next year.
 At this moment we have one blooming flower and two spent flowers. After talking with the Plantwoman she mentioned I should probably hand pollinate the pumpkins.
(insert crickets)
“How do I do that?” I say. “With a paintbrush” she says. “Yeah, but how?” I say “Do you have a video or something showing how to do it?”
A few minutes later I have THIS video on my phone and all makes a lot more sense. I watched it a few times specifically watching for what the difference is between male and female flowers which, although not specifically mentioned in the video, is clear to see. So, off to the garden with myself to see about my pumpkins.
 I check our one blossom and it seems to be a male flower. So, I check the other spent blooms, they too seem to be male flowers.
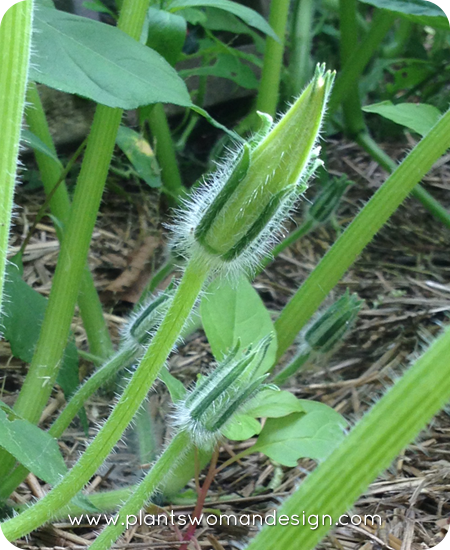
 So, no hand pollinating for me today. We have quite a few more blossoms coming up so we aren’t done yet. Unfortunately, according to my research, the way the blossoms are stretching up from the stem means they are also likely male flowers. Female flowers would be closer to the vine with a pre-fruit or ovary just behind the flower just waiting to be fertilized. I guess this happened to my Aunt last year and there isn’t really anything one can do about it except wait.
Why is this important? Bees. Or the lack of them in most cases. Since pumpkins grow separate male and female flowers they rely on bees and other insects to pollinate the female flowers. Without pollination you won’t see any fruit so you may have to take matters into your own hands, literally. Male flowers are first to appear to help attract the pollinators with the female flowers following. Because of that I’m not going to worry too much about only having male flowers right now. When the time comes, however, I will know what I need to do.
by Susan | Jul 23, 2014 | LB Tutorial: Growing Food
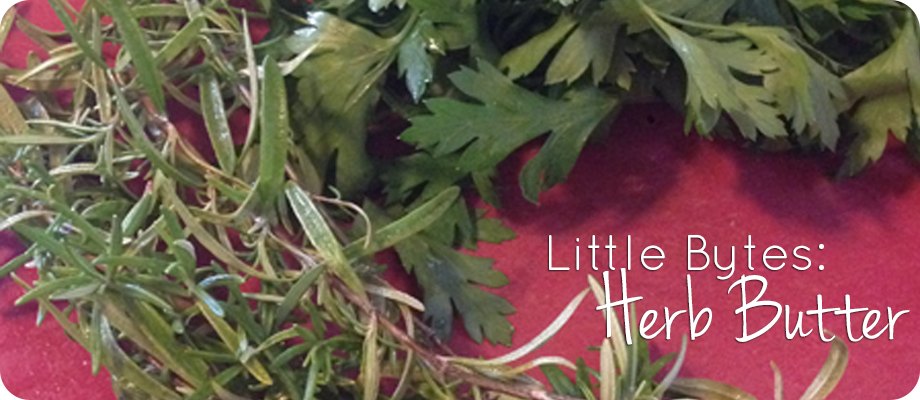
Are you ready to harvest some herbs? By now the herbs we started in the spring should be growing strongly and have good depth of flavor. Today let’s use them in a very simple way… herb butter! You can find herb butter in many restaurants across the nation used on steak, baked potatoes or simply spread on bread.
Ingredients –
- 1/2 cup real butter (should be soft but not melted)
- 2 Tb fresh parsley
- 2 Tb fresh rosemary
A word about butter… I love Costco butter in the big 1 lb packages as it has a great flavor to start with. I also like the Irish butter from Trader Joe’s. It is about 1/2 the cost of the same Irish butter from our local specialty market. Kerrigold is the brand used in the photos.
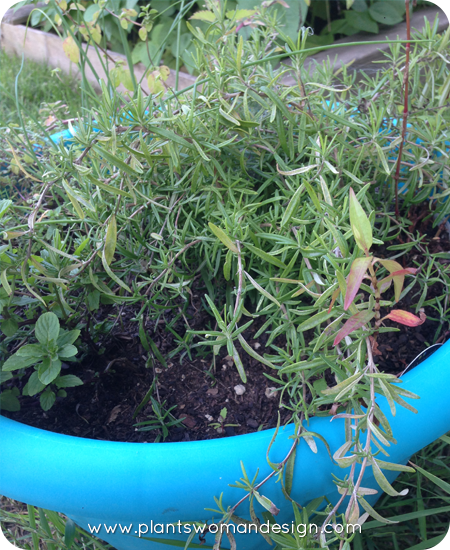 If you haven’t already, harvest the needed herbs from your herb garden taking care to leave some on the plant. You will want to use only the leaves not the stems or flowers. Use clean scissors or kitchen shears to harvest.
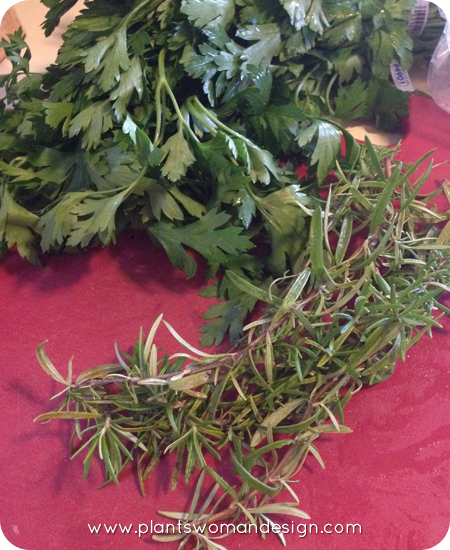 Don’t have enough on your plant? Don’t worry, fresh herbs from the farmer’s market or grocery store will work just fine. Using the kitchen shears or a chef’s knife chop the herbs finely.
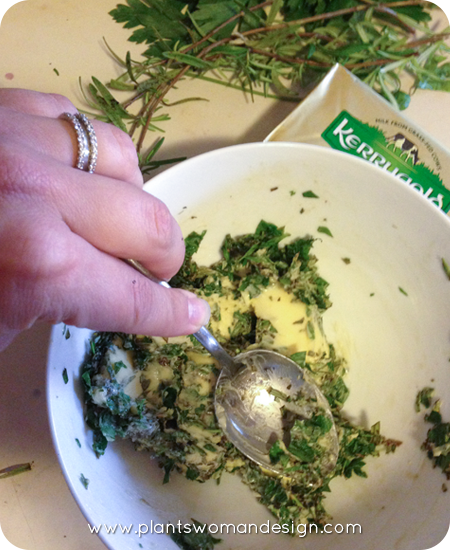 Gently stir the herbs into the butter with a spoon.
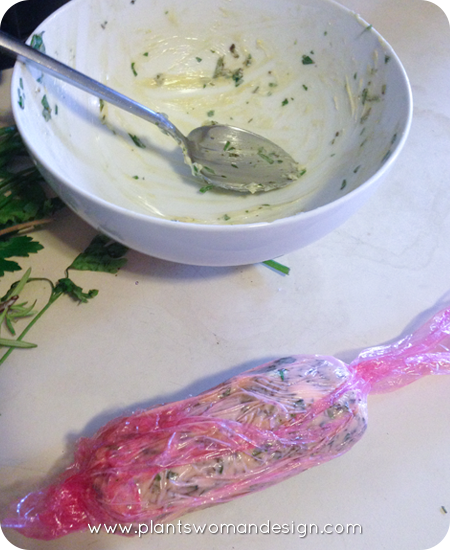 Chill in a decorative dish or shallow pan (great for using a small scoop to serve). Here I wrapped the butter in plastic wrap to shape into a log for easy cutting and sharing. Refrigerate for 2-3 hours before using. This butter is great for making a day ahead for better flavor.
 After your meat is grilled (or roasted if you are using chicken) simply place a scoop or slice of your fabulous herb butter as you serve and enjoy!
Here are a couple of combinations for other butters.
- basil ribbons and garlic (crushed) — garlic bread
- oregano and basil and marjoram — Pasta Primavera with fresh veg
- cilantro and sweet hot peppers — steak fajitas
- sea salt and oregano — hot grilled corn or other vegs
Use the same process outlined above and get cooking! We hope you enjoy making herb butter. Please share your creative cooking herb butters with us in the comments.
Up next is tomato basil bruschetta, YUM!
by Susan | Jul 11, 2014 | LB Tutorial: Growing Food, Little Bytes
Today we are going to plant beans in the lettuce pot. Jen’s lettuce and spinach did really well but now they are tall and straggly. The leaves no longer are mild and sweet but are starting to get bitter. We pulled them out and broke up the soil to prepare it for planting beans. The soil in the container still has lots of good organic matter and nutrients left for another crop.
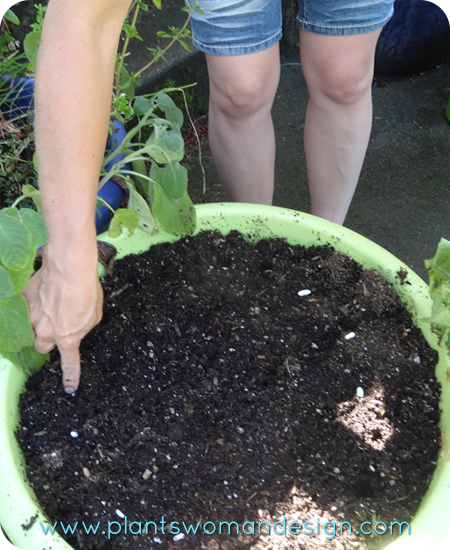
Jen placed the beans in a circle around the edges and left a place in the middle for a cucumber plant. The seeds around the edges get pushed into the soil to about the first knuckle on Jen’s finger. Then she gently pushed the soil over the holes and firmed it down.
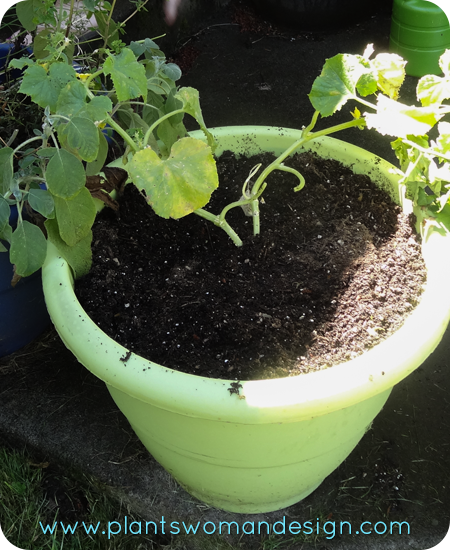 Her family loves cucumbers so we took a trip to the nursery. Even though the variety of starts on the shelves is dwindling we found pumpkins and cucumbers. The cucumbers have two seeds in each 4 inch pot. They are a little overgrown being about 20 inches long with blossoms and even a baby cucumber. If they were smaller I would gently tease them apart and give them each their own space about 12 inches apart. Since these guys are already so big their roots are very intertwined so I will leave them undisturbed except to gently rough up the edges. The pot is between the other two so the vines can scramble over to the other pots as it grows.
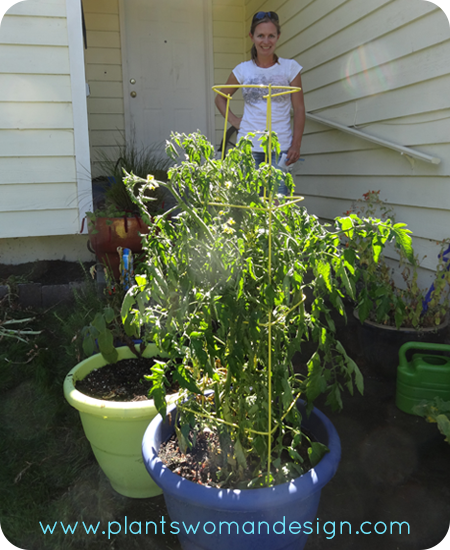
While we were there Jen added a cage around the tomato. It is growing well and needed some support to keep growing upwards. The basil is growing below it.
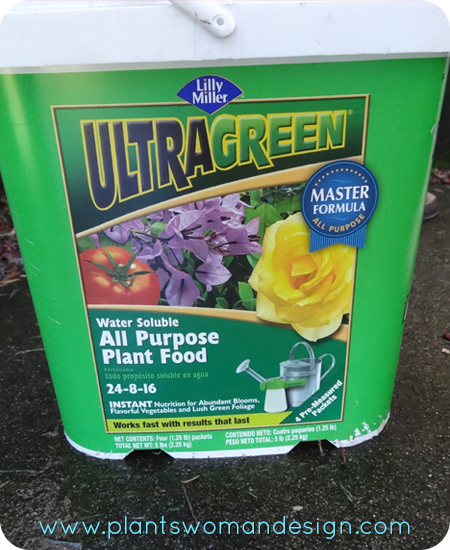
We also gave some fertilizer to the tomato and the cucumber starts. We used a fertilizer that is for blossom and fruit. Following the directions we mixed the fertilizer with water and added it to the containers.
Can’t wait to see what happens!
You can put together a quick container for fresh beans too. Take a look at THIS post to put your pot together and get out there!!!

by Kristen | Apr 30, 2014 | garden food, LB Tutorial: Growing Food, Little Bytes
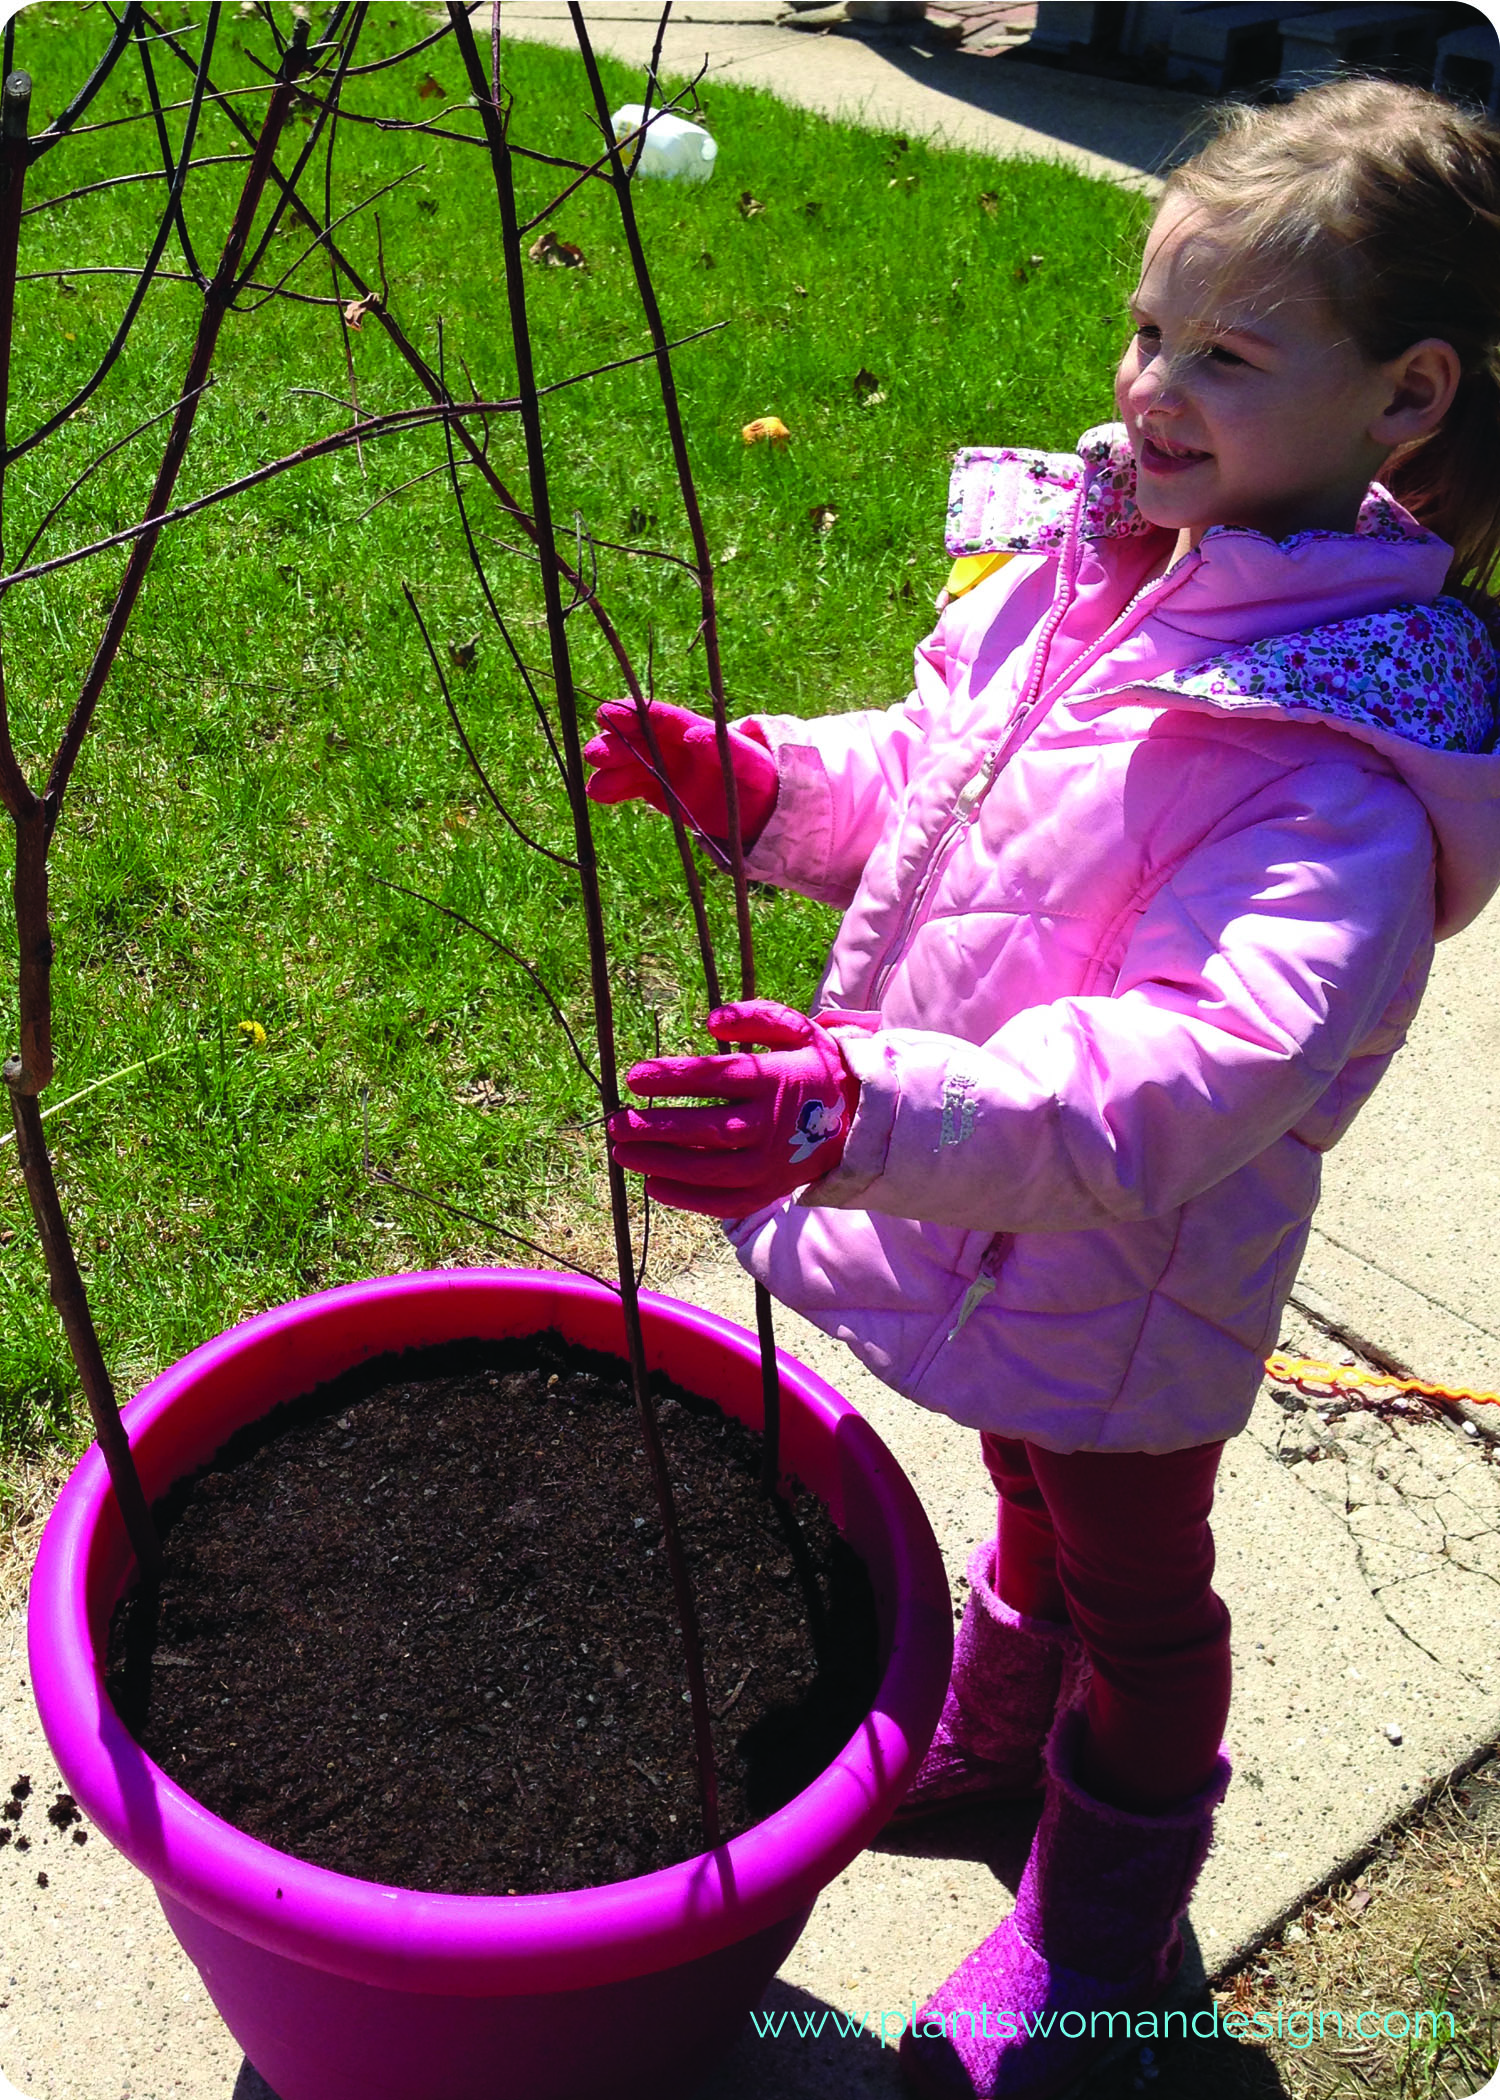
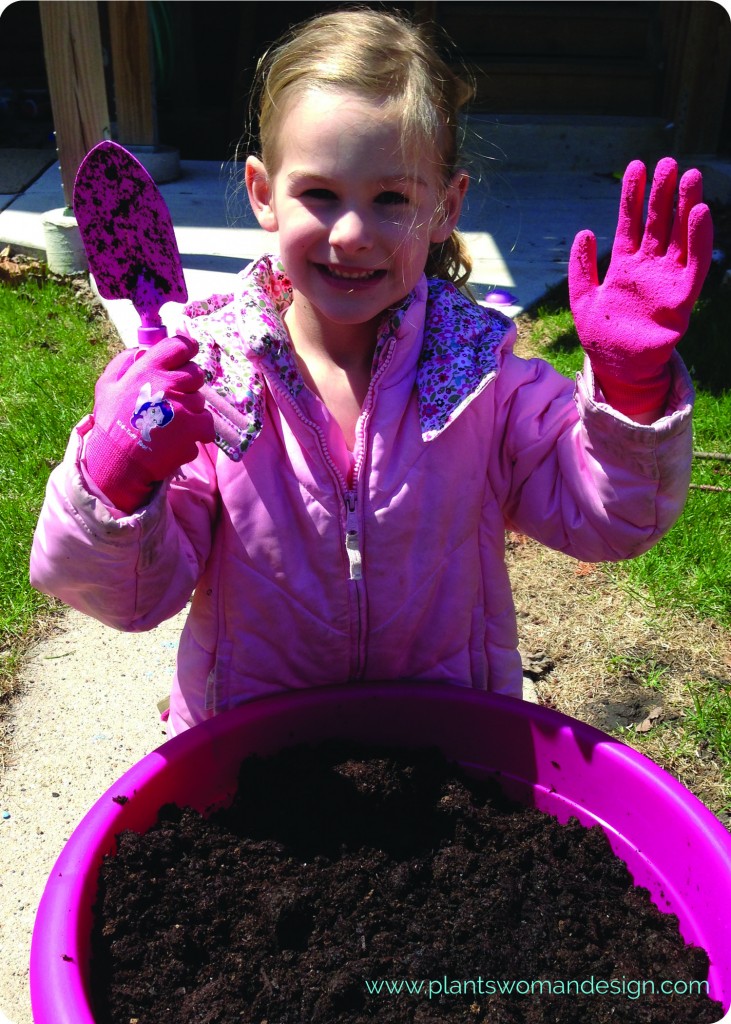
Hello everyone, Kristen here with our completed lettuce container. We had one of those perfect moments when the stars aligned and weather cleared giving us about an hour or so to get out and play in the dirt. If you missed our previous post with the instructions click HERE. My assistant for the day was my daughter, E (gloves and princess spade provided, via Easter basket, by the Plantswoman (aka G-ma)). When E found her basket she was so excited to have garden gloves and a spade all her own. She asked me if she could be a Junior Plantswoman and I told her that would be just fine. So, with out further ado here is our first, unofficial, Jr Plantswoman here to show you how we planted our lettuce seeds.
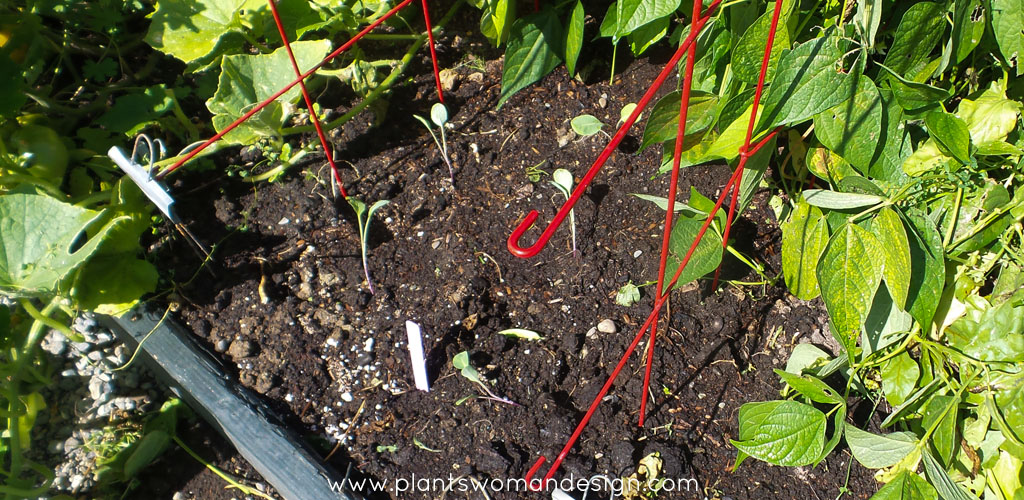
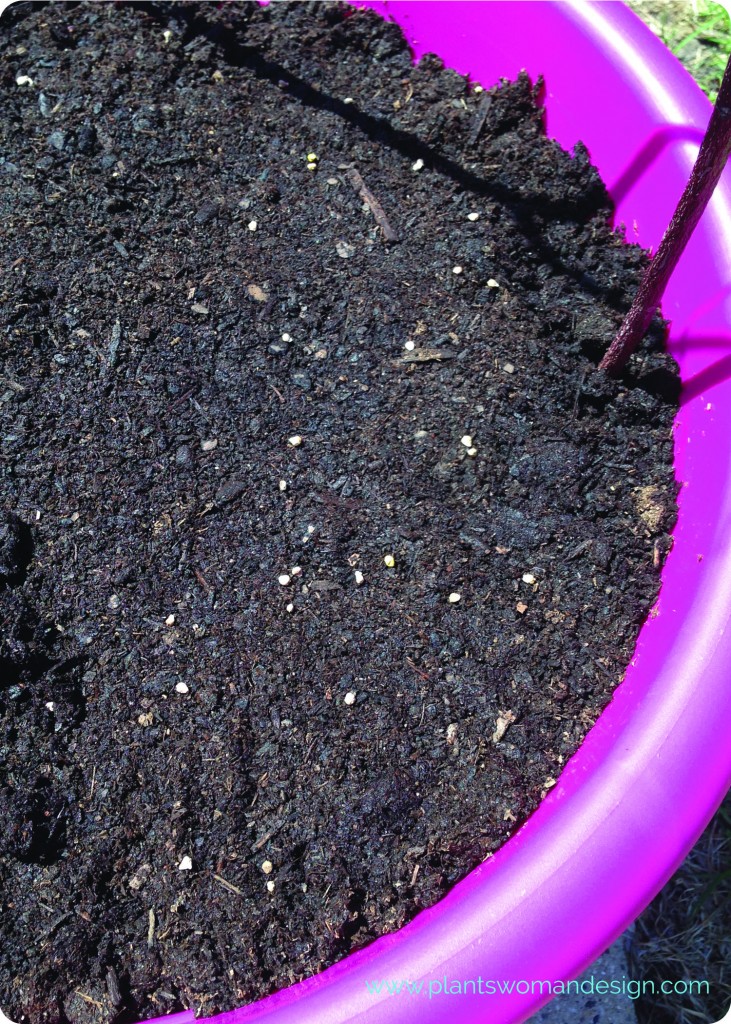
After preparing our pot as outlined HERE we installed our supports for our future beans. We used some branches we spotted on the college campus while walking home from school a couple weeks back. I had a true “I am my mother” moment as I stopped the stroller, ran over to the maintenance crew and asked if I could have some of the branches they were pruning. After the foreman gave me a funny look he said I could help myself. I’ve been saving the branches for an indoor project but I can spare a few for our lettuce containers. That being said, while Jen’s branches may bloom since she cut them fresh, I highly doubt my branches will do anything as they are pretty much dried out.

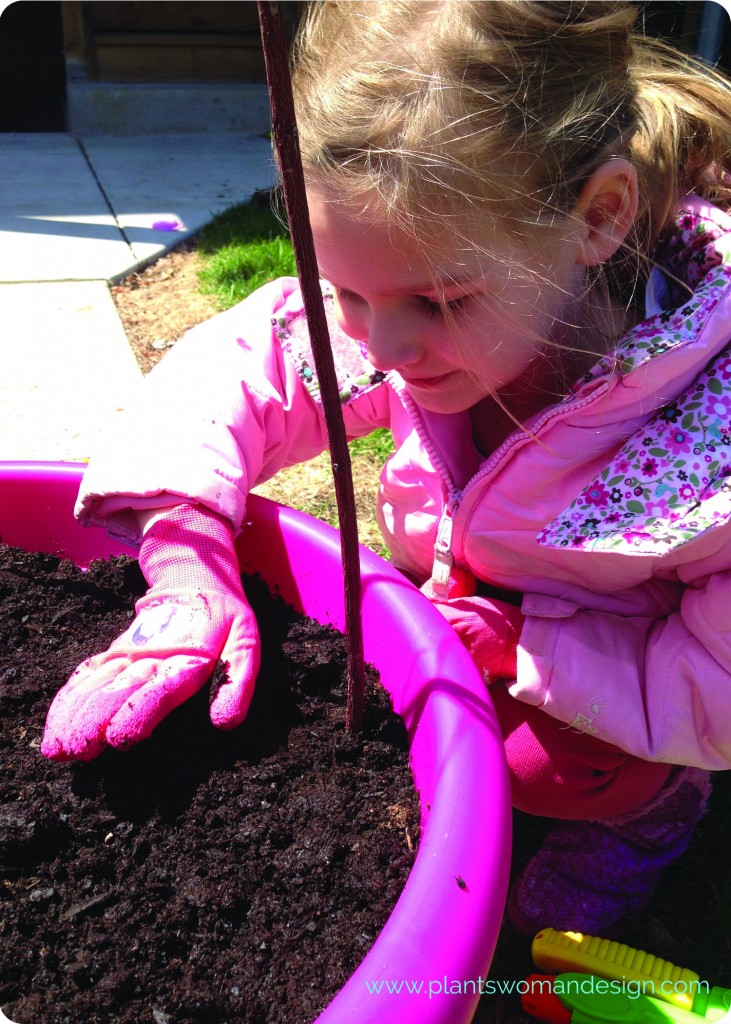
Once the support branches were secure we added our seed. E really wanted to dig holes for each seed so I had to catch her before she dug in, literally.
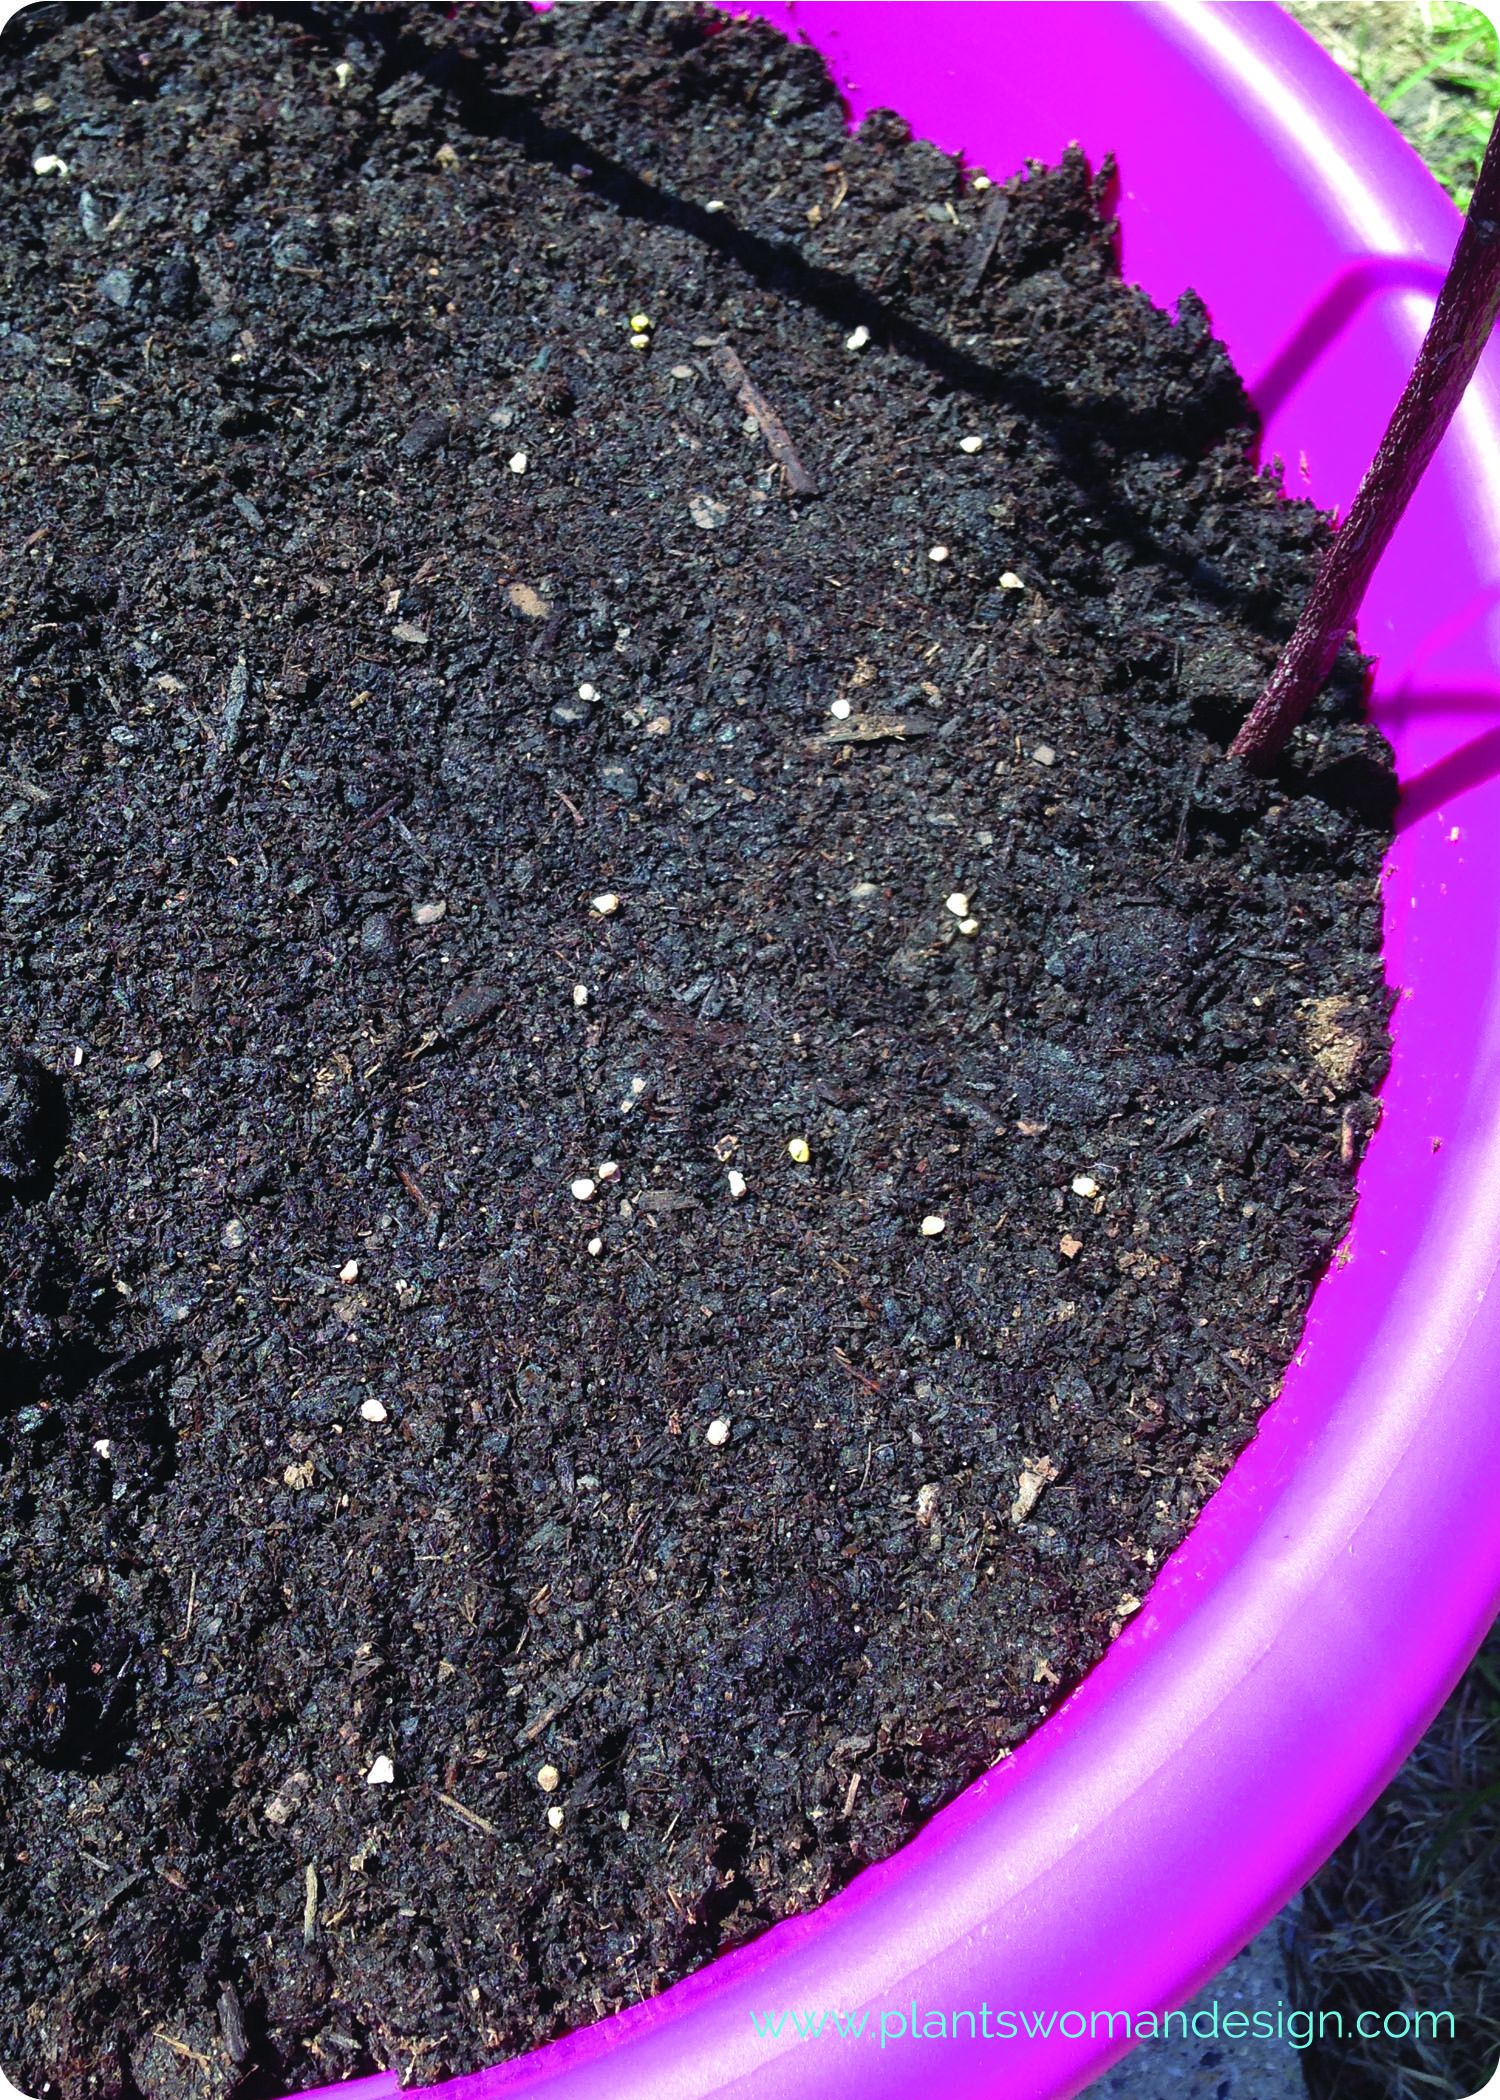
She spread the seed…
 …covered it with more soil…
 …and pressed the soil down lightly (for a 5 year old that is).
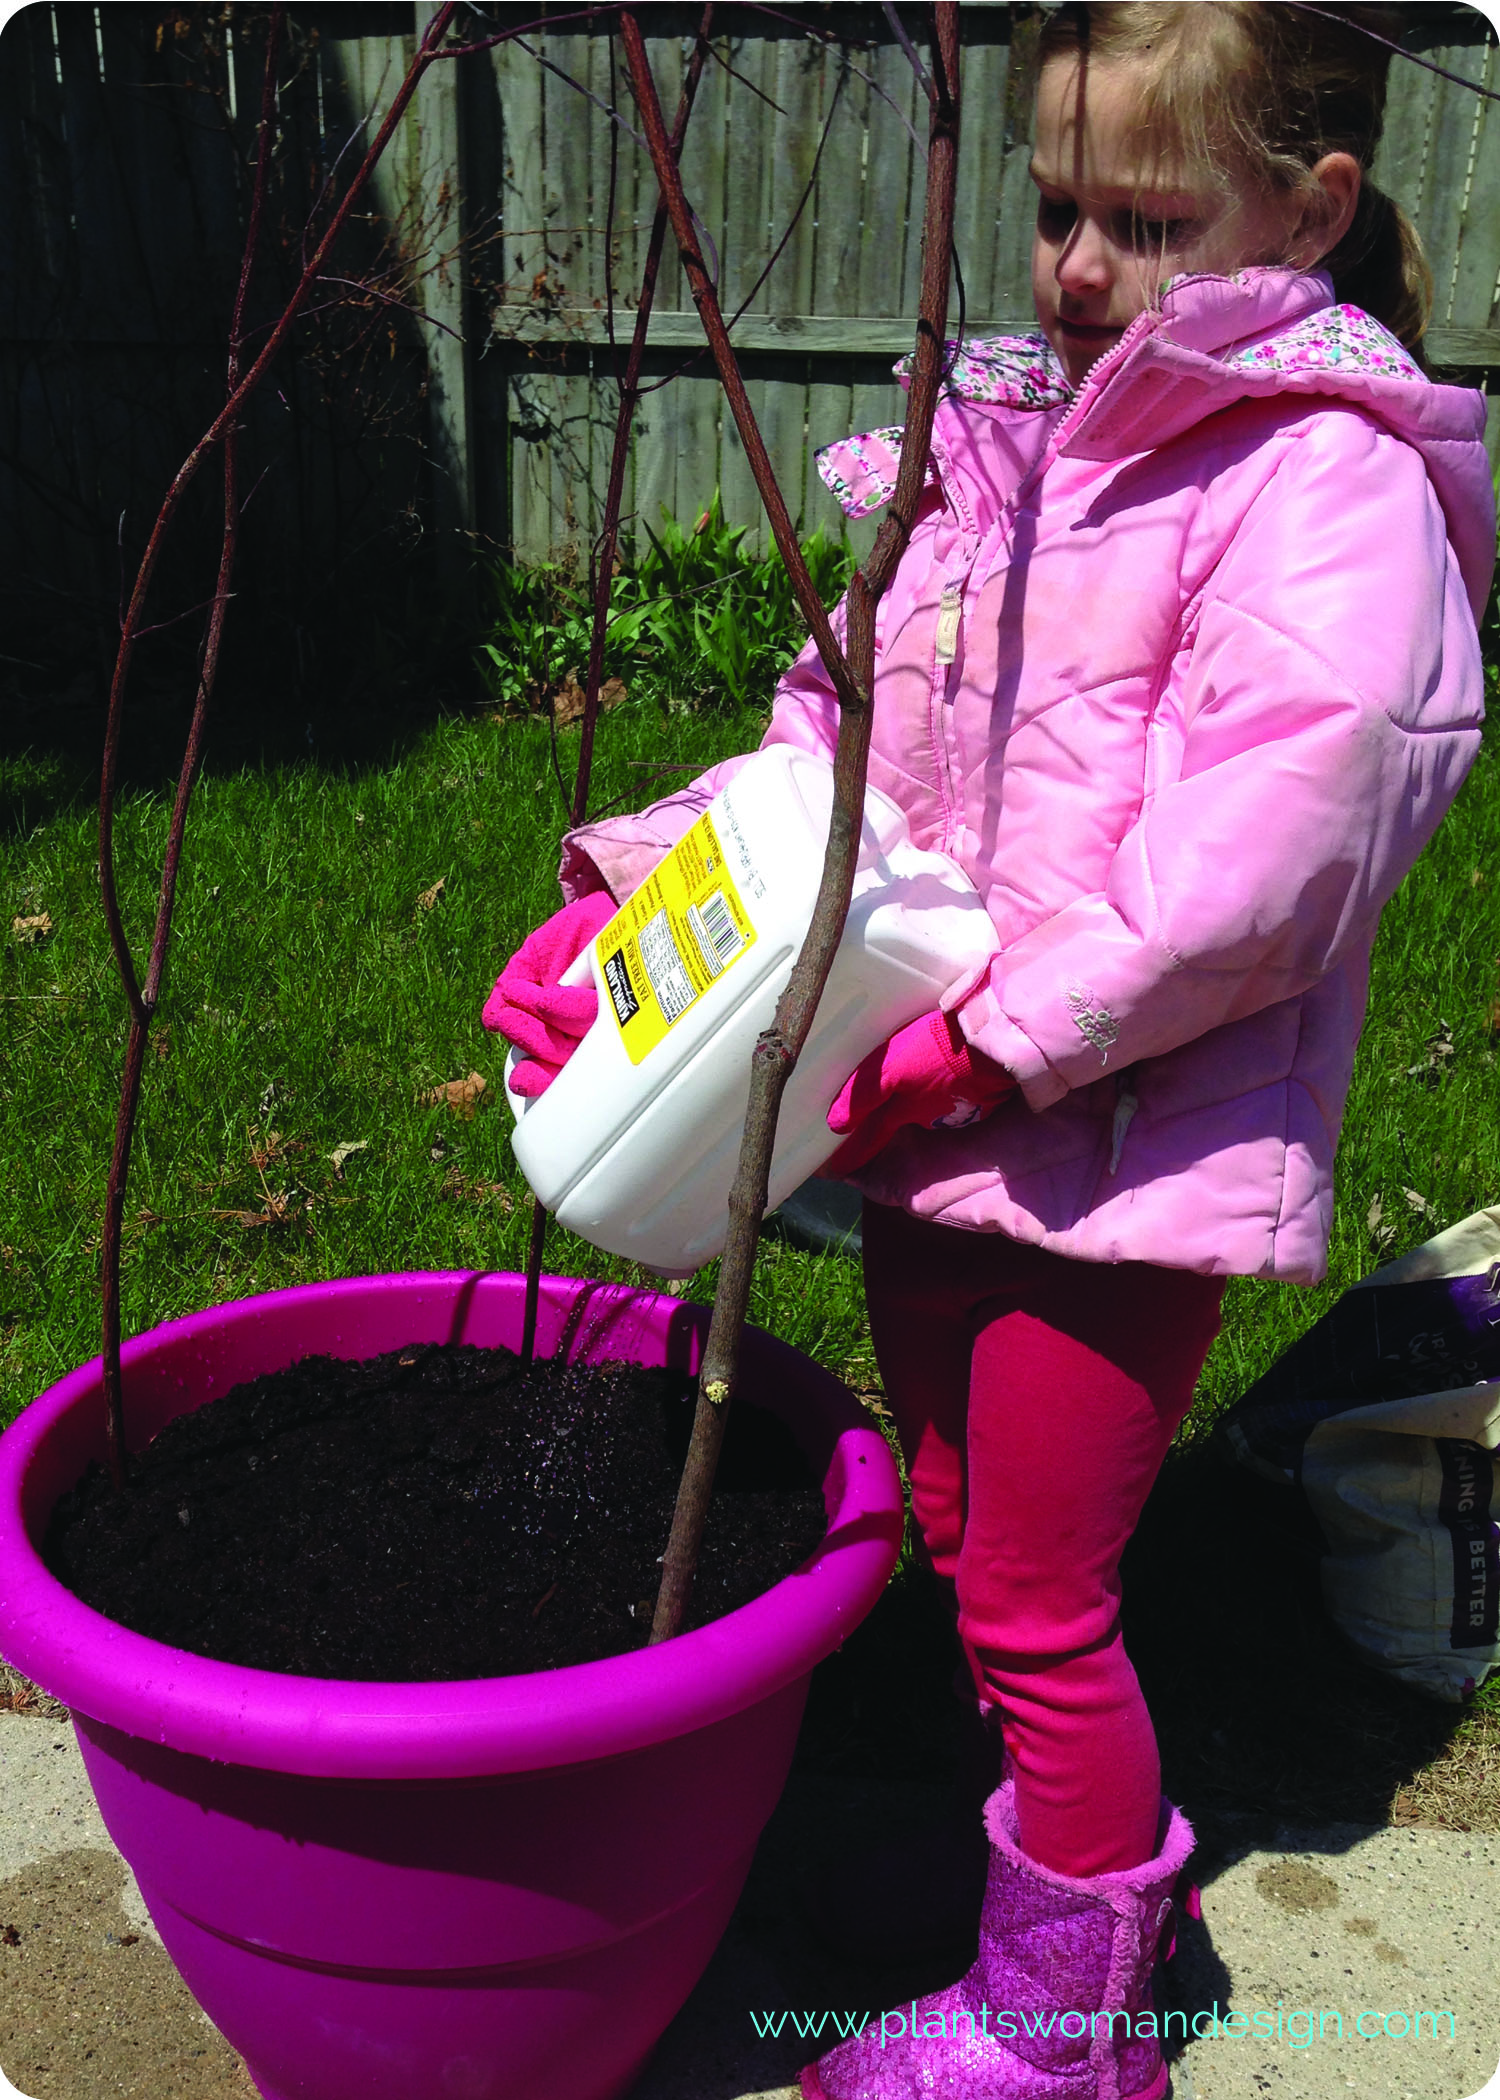
 This is where we ran into a problem. The tutorial Jen and Susan did said to gently water with a wand attachment. We don’t have a wand attachment. It’s not that we can’t get one but we didn’t have one at that specific moment so we improvised. This idea is all over Pinterest and I thought we would give it a try.
To make your own milk jug watering can you’ll need:
- A gallon size plastic milk jug with lid (ours is from milk we bought at Costco).
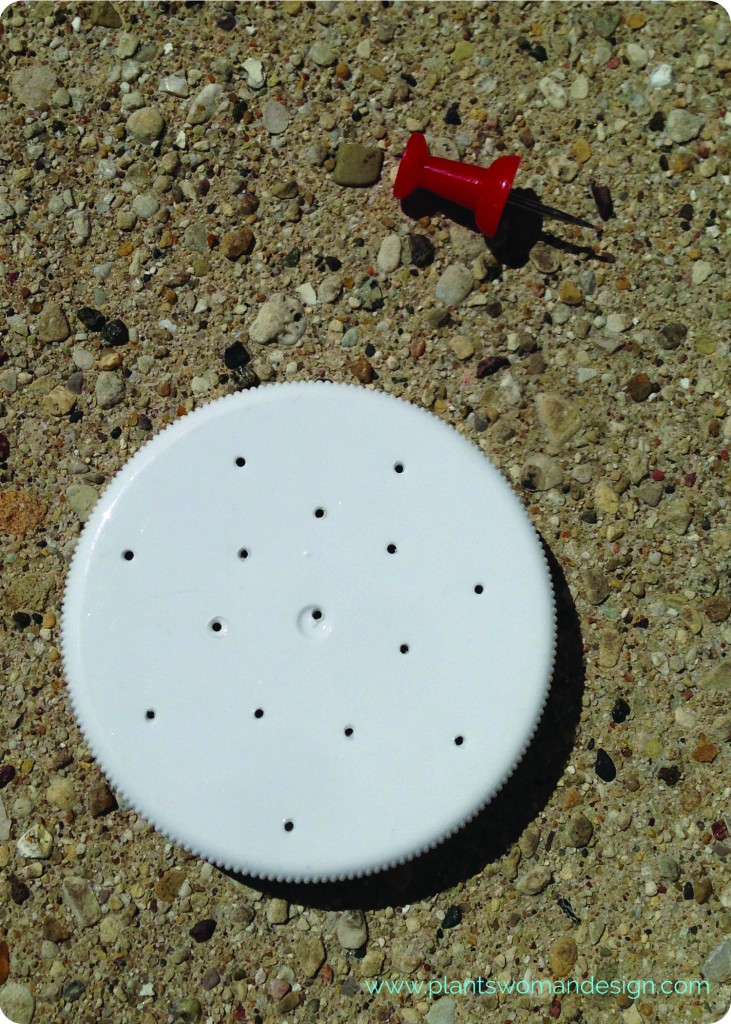
- Regular thumb tac
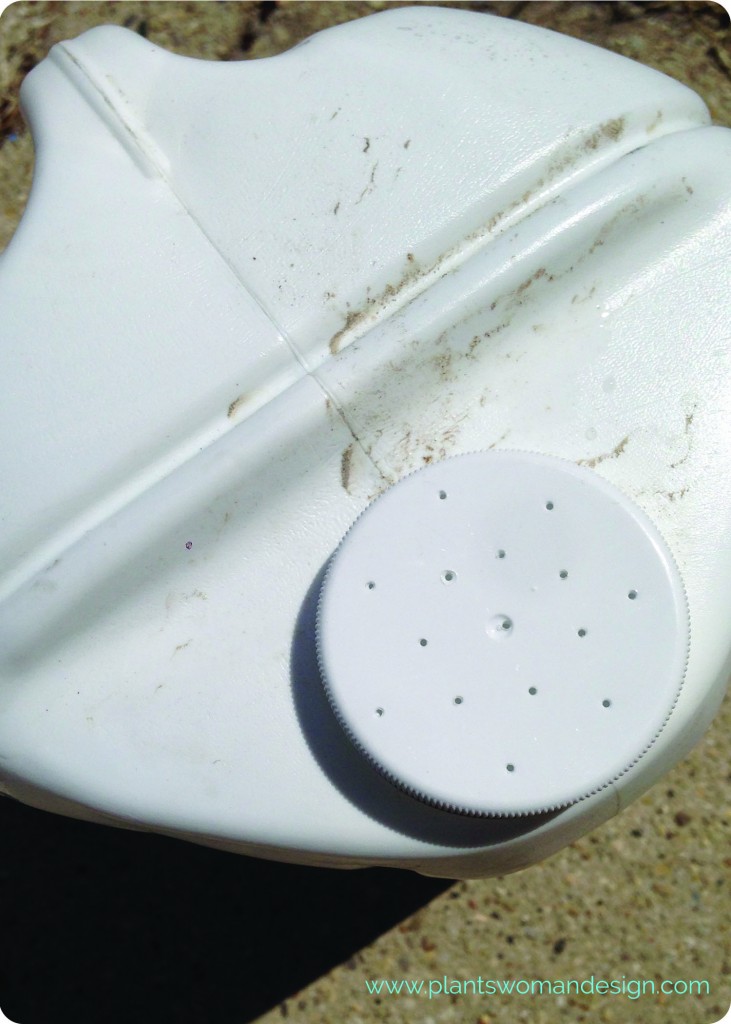
Once you’ve rinsed out your jug thoroughly take the thumb tac and push it through the lid numerous times. Then take the tac and make a hole or two by the handle of the jug to help the jug pour correctly. Fill your jug with water (since E was going to do the watering I only filled it half way), put the lid on and water whatever your heart desires.
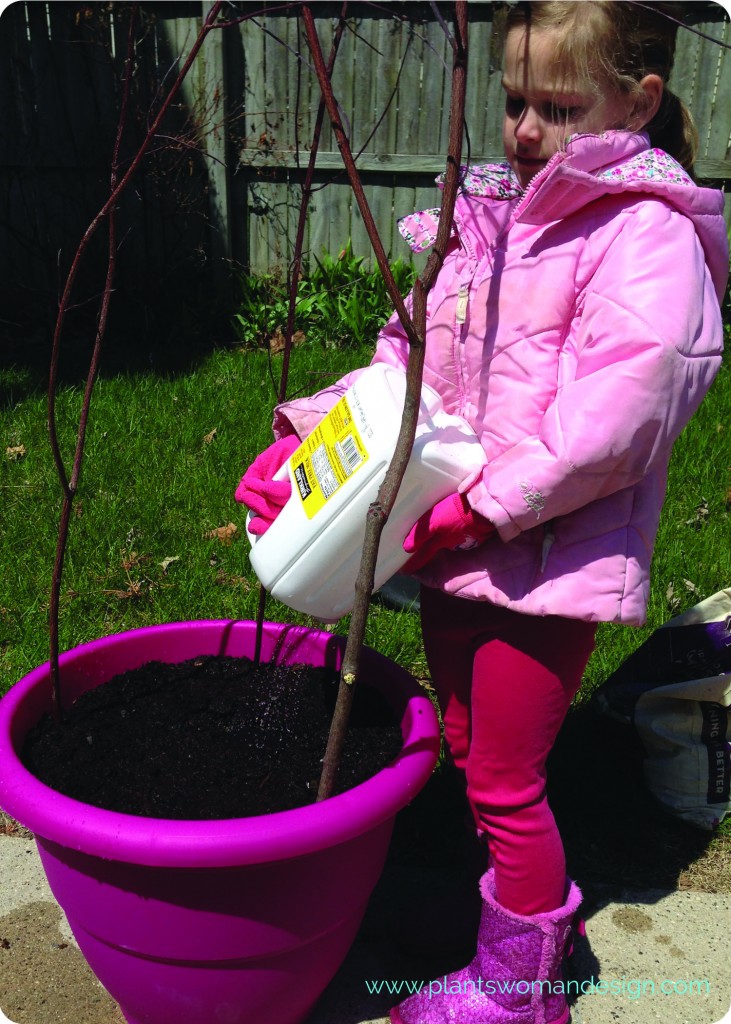 I’m pleased to tell you this little jug worked fairly well. E said it was super slow but I was okay with that because the whole point of using a wand attachment was to make sure you don’t wash the seeds away.
 And the absence of a water powered wand made sure I didn’t get soaked in the process either.
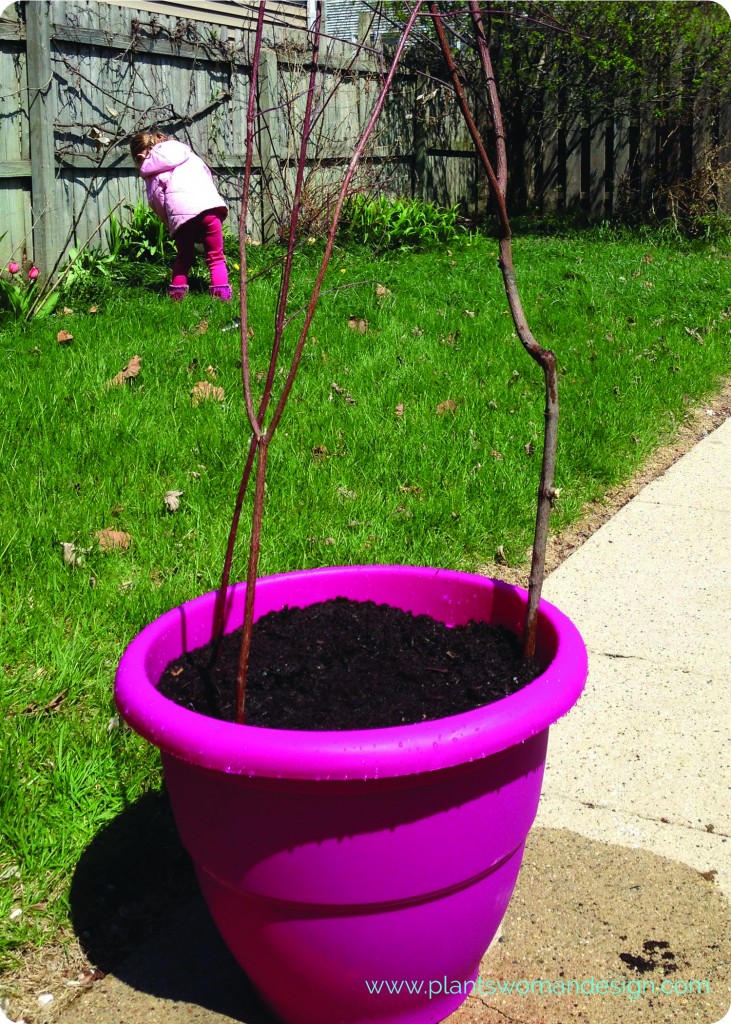 Our finished container doesn’t look like much. But give it time, it will be bursting with fresh, organic, baby lettuce in no time. And if you find you have a little water left over in your jug why not take a walk around your yard and give any thirsty plants a drink. Or better yet, have your kid do it.
We hope you’ve enjoyed learning all about lettuce with us. Did you follow along with us? Send us a picture via email to us at info(at)plantswomandesign(dot)com. We’d love to see it!