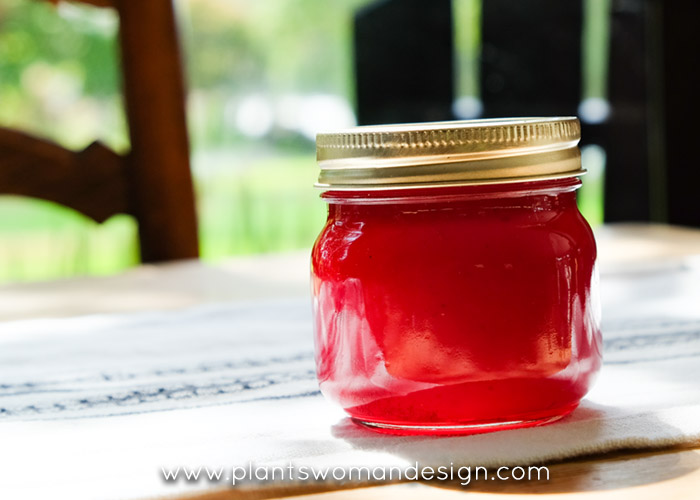
Experiments with Food | Red Currant Jam
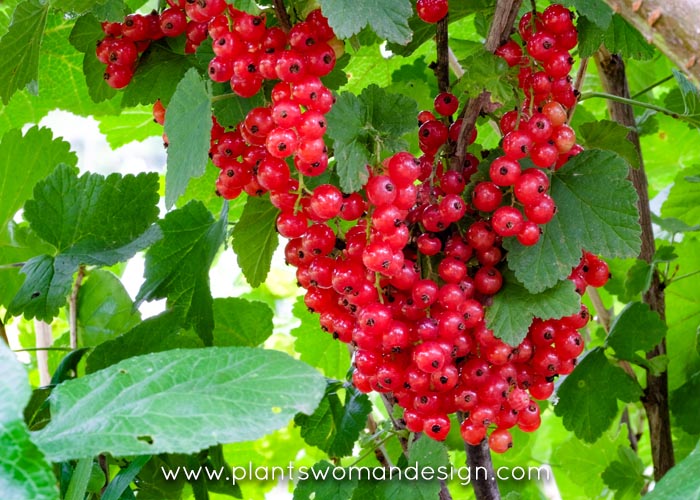
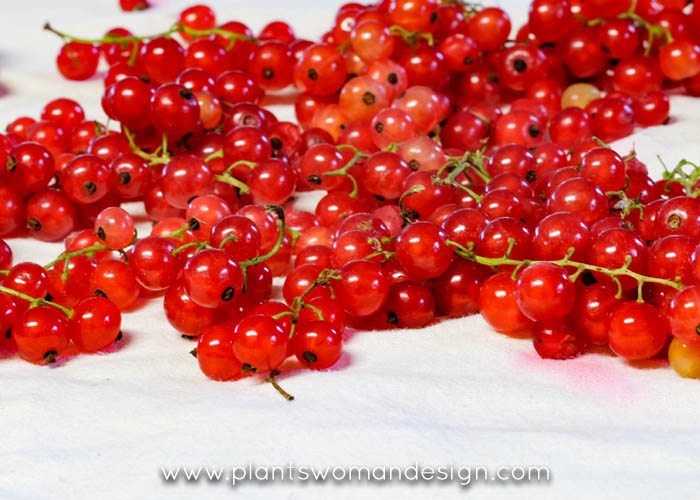

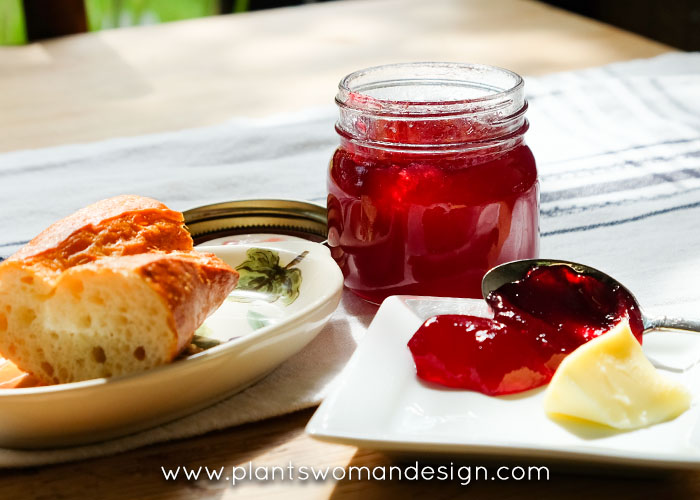


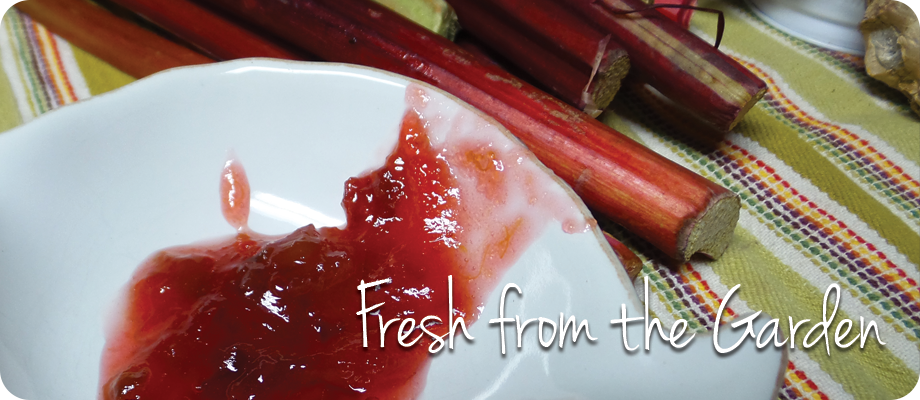
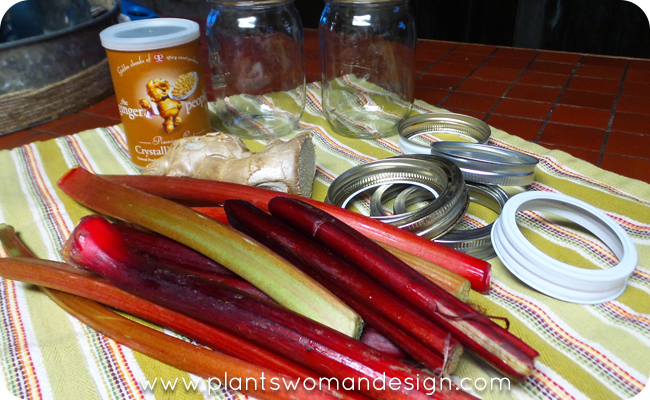
This time of year Rhubarb is at it’s peak. I love many things rhubarb and Rhubarb Ginger Jam is high on the list. This wonderful jam preserves this flavor into the fall and winter when you are craving rhubarb. It is wonderful on Ginger Scones with butter and clotted cream.
This recipe calls for forced rhubarb, which is pink not green and red. But I have used fresh picked rhubarb from my garden and it is great although not as pretty as the forced type would be.
Establishing Rhubarb can be a little tricky. Once it is established it is very tough. This year I put in two plants, one ‘cherry ripe’ and another that is just the regular variety. The regular cultivar is doing ok and the Cherry ripe looks dead. When I was at the nursery today their potted plants looked just as bad.
Make sure that the plant has a slightly solid soil with good nutrients. Add some compost and keep well watered. Beware of fast draining soil rhubarb is not a fan.
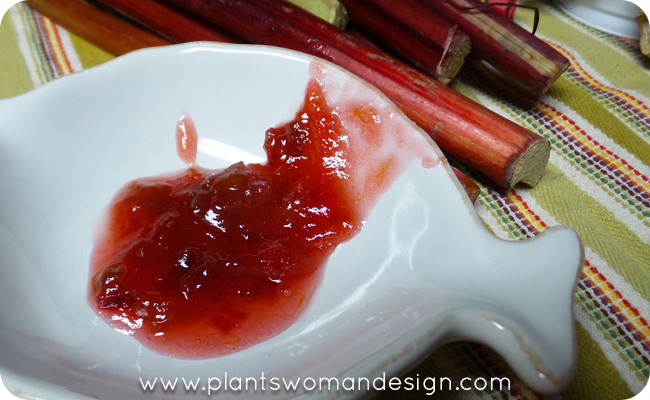
Rhubarb and Ginger Jam (adapted from Good Food magazine)
1 kg/2 lb 4 oz pink rhubarb trimmed weight
1kg/2lb 4 oz Sugar
1 box fruit pectin
Juice of 1 lemon and zest
2 oz crystallized ginger, finely chopped
4 cm piece of ginger, peeled
Wash rhubarb and slice into small pieces. Place into a large plastic bowl and add sugar, pectin, lemon, and chopped crystallized ginger. Finely grate peeled ginger directly over rhubarb.
Stir it thoroughly and cover with cling film and leave for about 2 hrs to allow the sugar to dissolve in the rhubarb juices. Stir it occasionally to encourage this process.
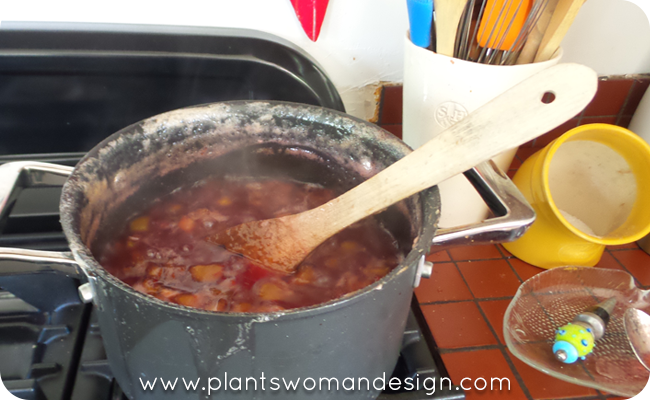
Pop a few small plates in the freezer. Put the mixture into a large pan, and set over a medium heat. Stir until the sugar has completely dissolved, and bring to a boil. Continue to cook at a fairly swift pace until the rhubarb is really tender and conserve has reached the setting point, about 10 -15 mins.
To test for a set drop ½ tsp of the jam onto a cold saucer, leave it for 30 secs. Then gently push it with the tip of your finger. If the jam wrinkles the setting point is reached. If not, continue to cook a couple of minutes more and test again.
Remove the pan from heat and pack into sterilized jars. Seal immediately and label with the date when cool.
Enjoy!
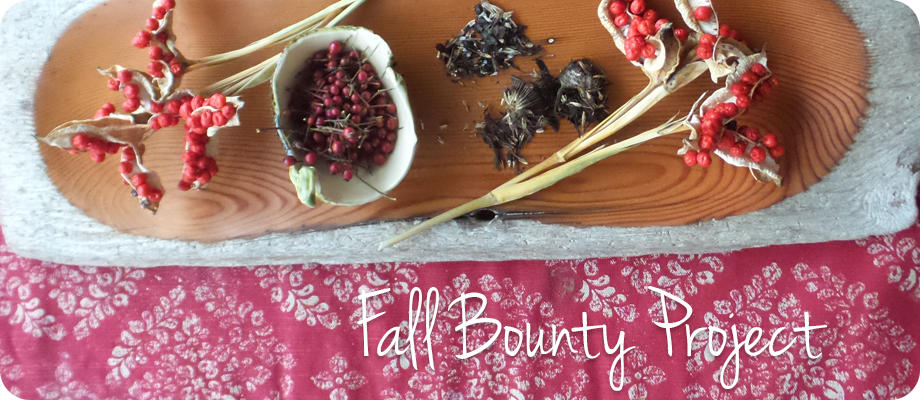
You may remember a few weeks back we gathered some items from the autumn landscape with the promise that we would have a project for you. Well, here it is, our Gather Fall Bounty project, Suet Cakes to feed our fine feathered friends out in this crazy winter we’ve been having.
Here’s what we collected…
Here’s what we bought…
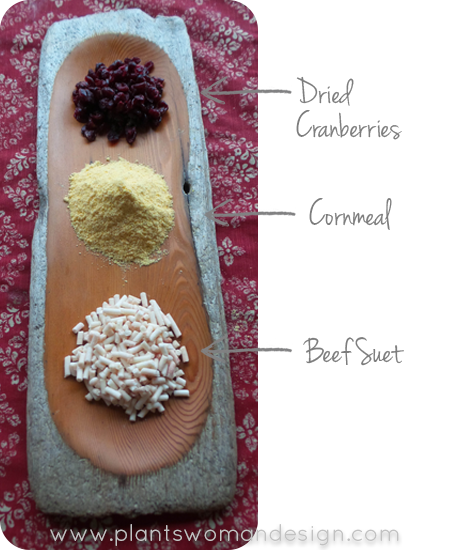 And…
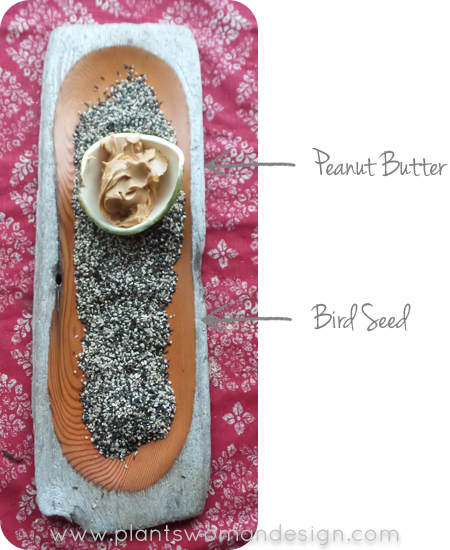
And…
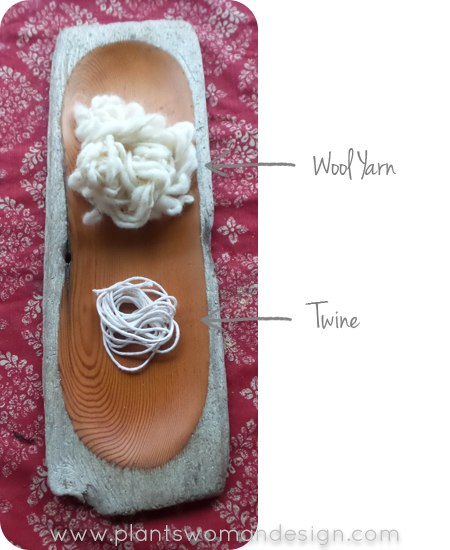
 Along with an empty milk carton here’s what we found around the house…
 For our ‘recipe’ we adapted THIS recipe from the Farmer’s Almanac online.
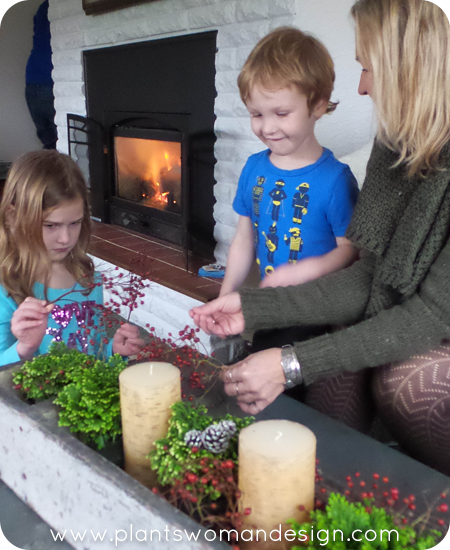 First we had the kids pick the berries from the items we had found. Little Chef was so excited to finally get to pick the ‘bird berries’ (Rose Hips) from the decorations around the house.
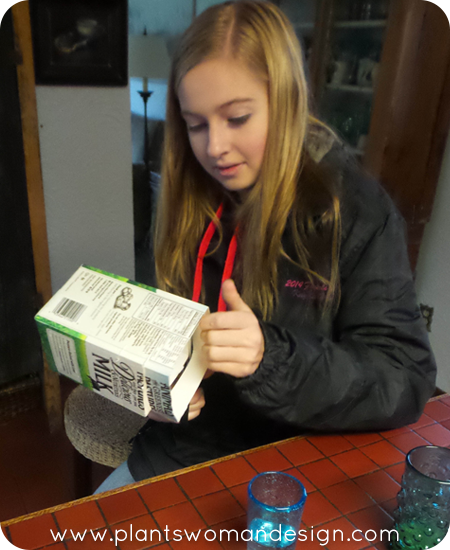 And we set the oldest helper to work cutting our milk carton to use as moulds for the cakes.
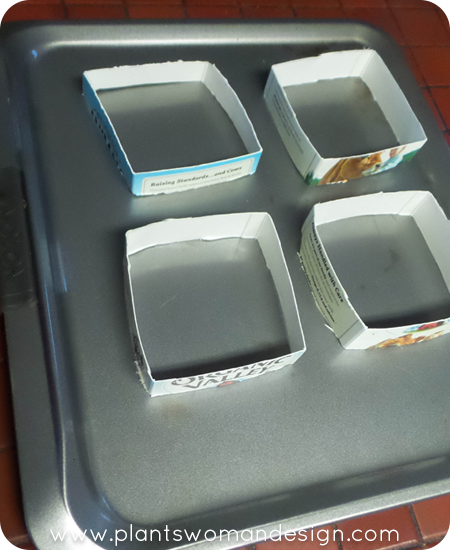 Set these on a cookie sheet for filling. This size should fit well into a store bought suet cake holder. You could free form this step if you wanted, just check your holder’s measurements to make sure whatever shape you end up with fits well.
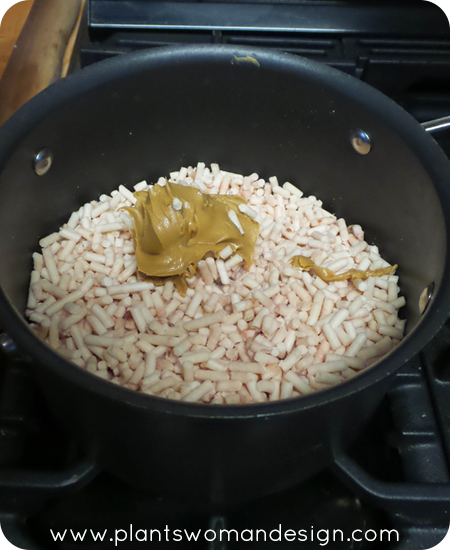 We put the suet and peanut butter in a sauce pan and melted until smooth.
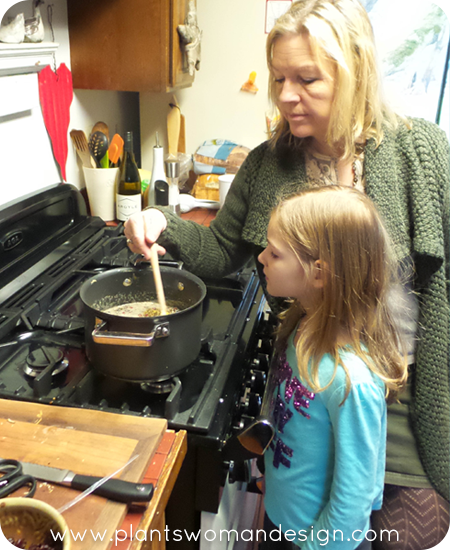 Then we added the rose hips, cornmeal and birdseed and stirred until the ingredients were evenly distributed through out. The mixture will seem soupy and that’s okay.
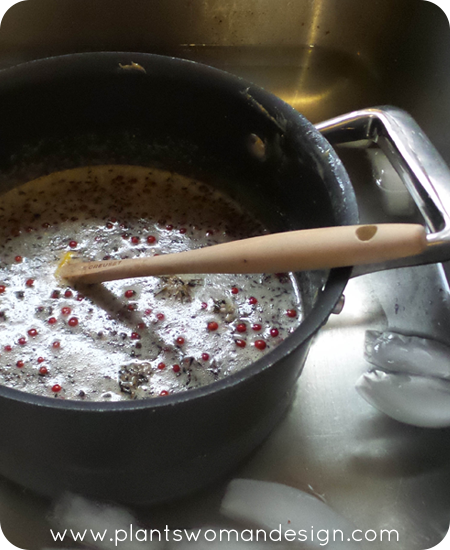 Because we are impatient we put the whole pot in an ice bath in the sink to help it cool down enough to handle it. The mixture will also start to solidify again. While the mixture cools take some time to cut some lengths of twine about 18″ long to form your hanging cakes around.
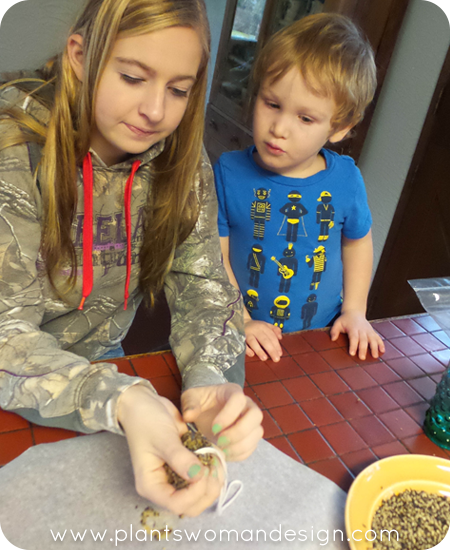
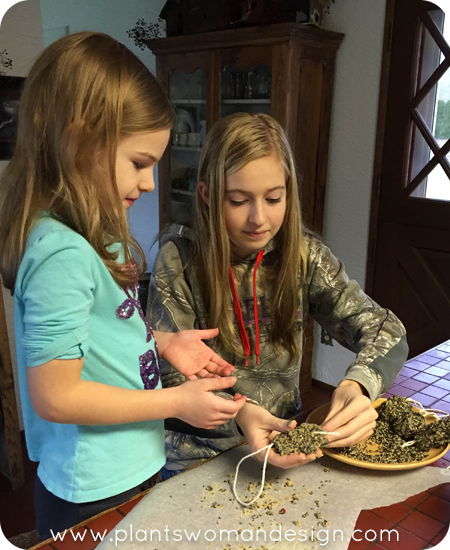 While the mixture is warm but solid enough to handle scoop out a handful and pack it around the string. Double up the string before packing the suet mixture to create a loop for hanging.
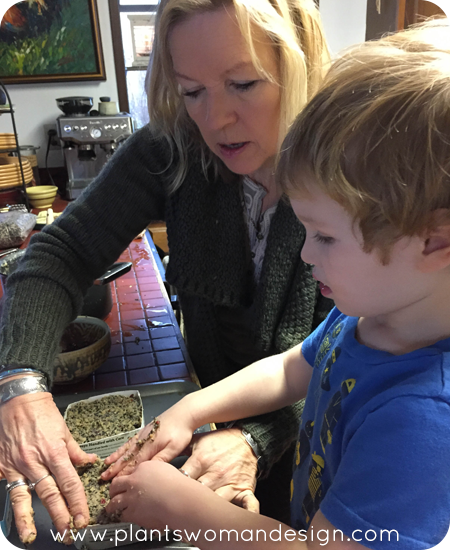
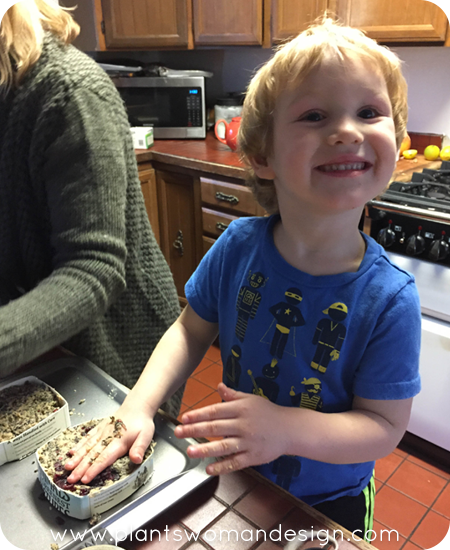 Pack the mixture into your moulds adding some extra dried cranberries to the outside. This is a great job for the smaller kids that may be helping you as it requires less coordination.
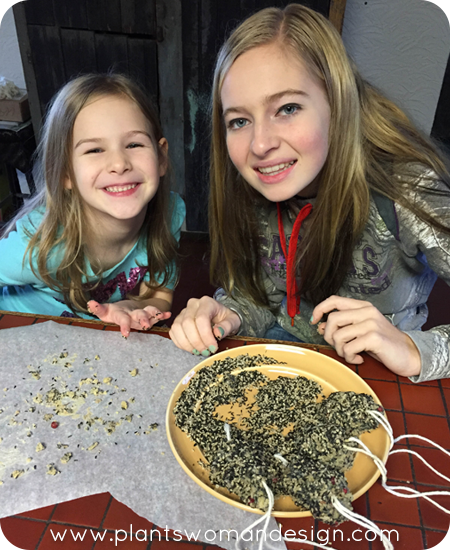
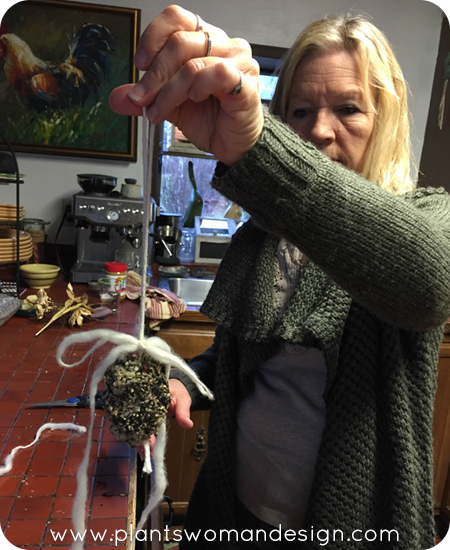 When the hanging cakes have solidified enough to pick up tie a piece of yarn or additional string to the top of the cake. This gives the birds something to hold onto while enjoying their little treat.
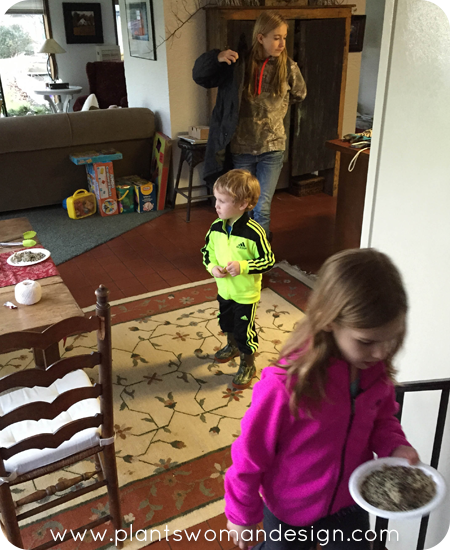
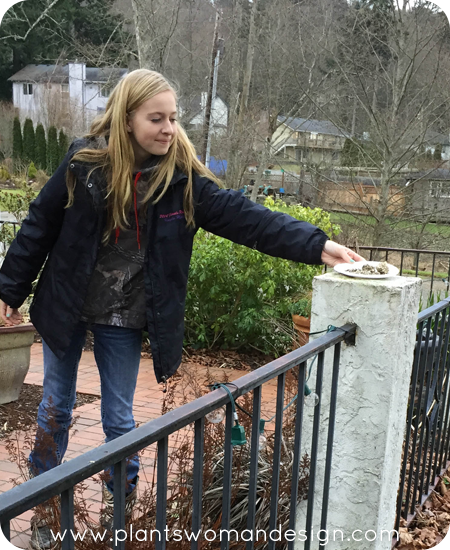
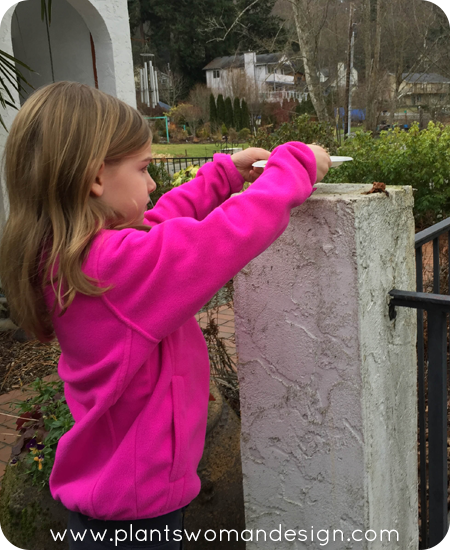 We had some bits that didn’t adhere to our finished product so, while the rest of the cakes finished solidifying, we let the birds help us clean up by putting the crumbs on plates and setting them outside for the birds to enjoy right away.
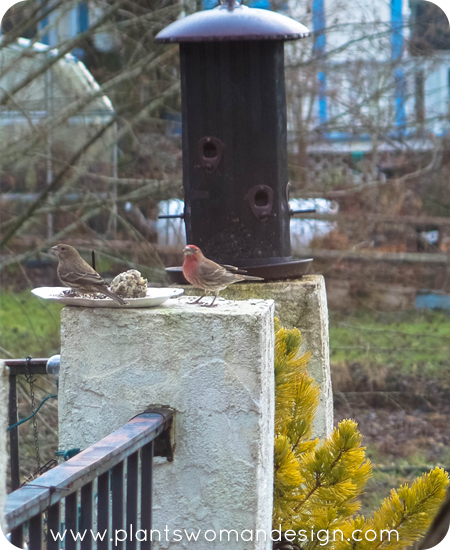
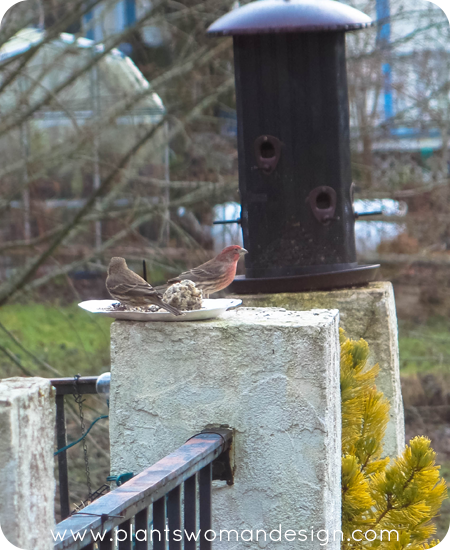
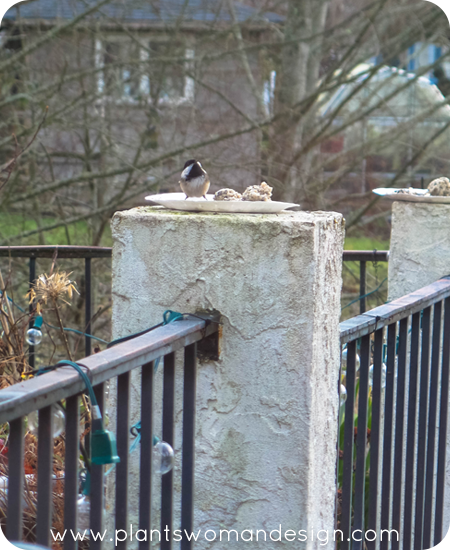 The next morning we had quite a few visitors to watch from the window.
We made more cakes than we needed to use right away so the extras will store in the fridge or freezer until we need them.
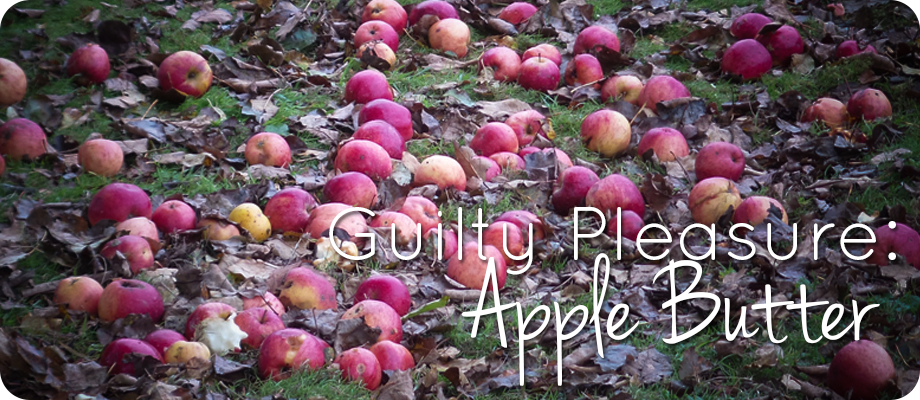
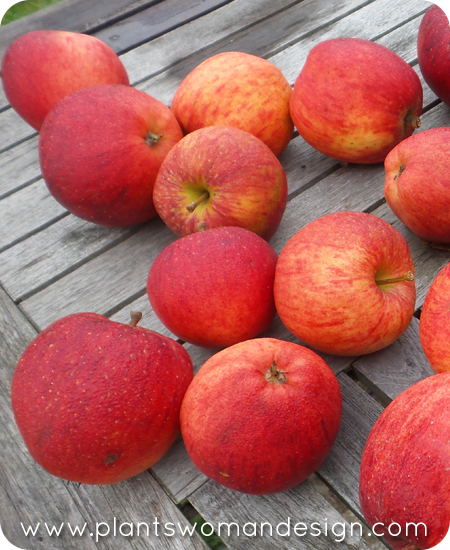 We’ve been mostly enjoying the 6 apple trees that I inherited over the summer with the new house. The one closest to the house has been bombing me most of the summer. It is very overgrown and branches were reaching over the top of the house. Many times at night I was woken by ‘bomb’s’ of apples hitting the roof tiles and rumbling down to the ground. Finally that tree quit when all the apples were down and removed by me. Some were eaten but most of them when into the compost pile. Yes, I did put the word out for volunteers to come and take apples but got very few takers. Now the apple trees further out are ripe. The geese in the neighborhood all know about the free food so they are hanging out all the time. Not being able to stand the guilt from not picking and using them I’ve started using them, apple cake for a dinner party, applesauce on Friday (it was ok with a sweet flavor) and apple butter today… Some friends came and got some yesterday, which was nice. I was wondering if anyone made apple butter anymore so I looked up a couple of recipes online and found a lot of information. Of course I could not use just one recipe but a mixture of several to come up with an apple butter all my own. I wanted a twist so this one has apple brandy added and I used a crock-pot because many recipes said you could use one to help the slow cooking process. It was great! Some recipes call for just putting the finished apple butter in the refrigerator and serving after a couple of weeks but I prefer to put it in canning jars and use a water bath process to preserve it.
Of the three trees that are ripe now, there are two red delicious apple trees and one unknown variety. The red delicious apple used to be the best eating apple in the 1970’s. Usually grown east of the mountains they don’t usually do that well here on the west side. These, however, are very very good. Most recipes call for mixing varieties of apples for flavor. Red delicious apples are not usually good for cooking so mixing them was a good idea. Here’s the recipe I used.
Ingredients:
Step One: Peel, core and chop (not too small) your apples and place in your crock-pot. Stir in the plain sugar and water and heat on high until the mixture comes to a boil. Turn the crock-pot down one level and cook for another 1 ½ hrs or until apple chunks are softened.
Step Two: Add remaining ingredients (brown sugar, cinnamon, ginger, cloves, brandy) and let cook another 2 hours or so. The apple butter will be done when it reaches a dark caramel color and stays firm when cooled on a spoon. I like my apple butter on the chunky side.
Step Three: Sterilize the ½ pint jars and lids. Pour the boiling butter into the jars and process them in a water bath for 25 minutes. (new to canning click here for more information)
Try warm bread and butter with a spoonful of apple butter for a great fall treat!
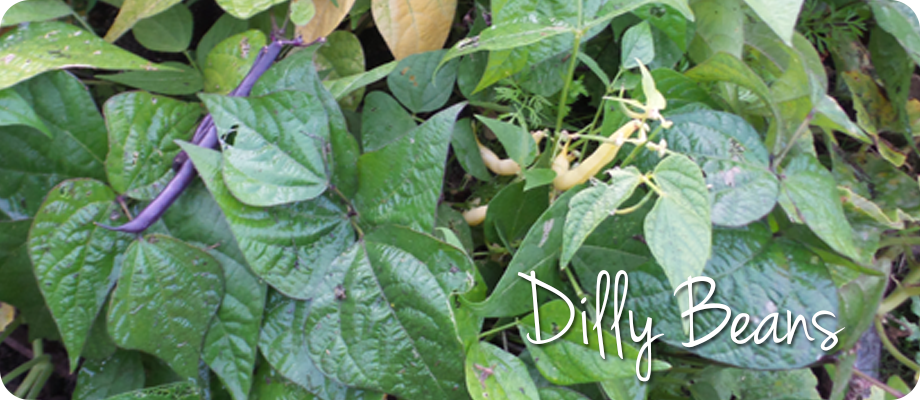
Things have been very successful in the July 4th Garden. This last week I picked my tri-color beans. I love the great colors of yellow, purple and green. My favorite beans are the romano Italian beans. It is like having steak on a vine. They are thick and have great substance. Sauteed with olive oil when young finished with a glaze of butter and Parmesan… Mmm, mmm, mmm, nothing finer. In the July 4th Garden they would not be ready yet as they have a longer maturity rate and require substantial staking. Yes they are on the list for next year… Meanwhile back to the tri-color beans. Flavor is good and they have abundant harvest for a bush type bean. Easy to use in stir-fries, sautés, bean salads, or quick blanched for snacking with dips. It is weird that they all taste the same but look so different. Watching the dark purple beans change to bright green when cooked is also fun. When I first grew them years ago I was disappointed when the purple ones lost their color. It was a great way to get kids to eat vegetables – who wouldn’t want to eat purple beans?
I learned how to make dilly beans several years ago from a good friend. Mary always had a big garden and harvested beans by the hundreds. Dilly beans are great as a snack, on sandwiches, wrapped in ham, on an antipasto platter and yes as a swizzle stick in a bloody Mary. My fresh beans from the garden are perfect for the dilly bean recipe. The key is freshness so you can’t really use beans that are too old or too mature and colorful beans work great.
Dilly Beans
1. sterilize 8 1 pint jars and lids in boiling water for at least 5 minutes
2. combine the water pickling salt and vinegar in a large pot and bring to a boil When it begins to boil reduce heat to low and keep at a simmer while you pack the jars
3. in each jar place the following: 1 head of dill, 1 Tablespoon of pickling spice, 1 Tablespoon of mustard seed, 1 dried chile pepper, 2 cloves of garlic and 1/8 tsp of alum. pack beans into the spiced jars in a standing position.
4. ladle the hot brine into jars, leaving 1/2 inch of space at the top. Screw the lids onto the jars, and process in a hot water bath for 15 minutes to seal. Store for at least 2 weeks before eating.
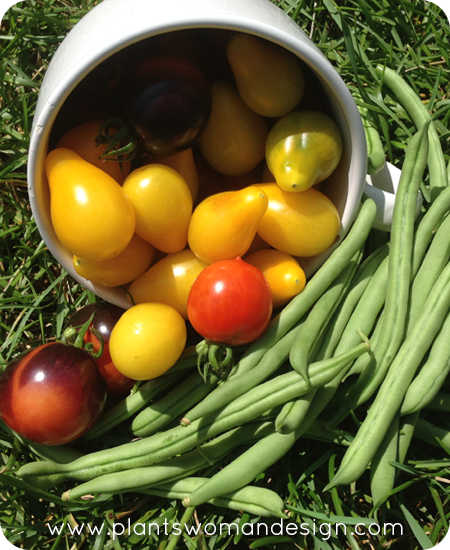 I went to the garden to check on the pumpkins on Monday and grabbed a large soup mug on my way out as an after thought. After all, you should never go into the garden without something to collect your fruit and veg in. This particular trip found my container woefully inadequate. Our tomatoes are looking amazing and between the three families that tend the garden we seem to be keeping up with what the tomatoes can produce. The beans are coming in nicely as well. We thought a beetle had damaged them but they seem to be coming along just fine.
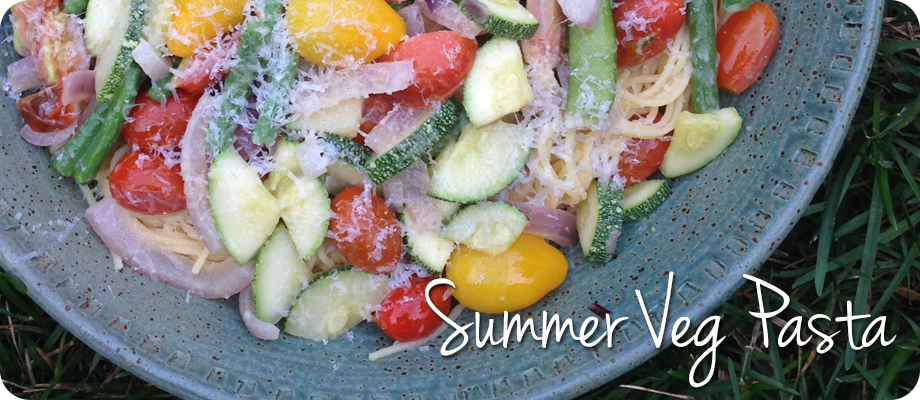
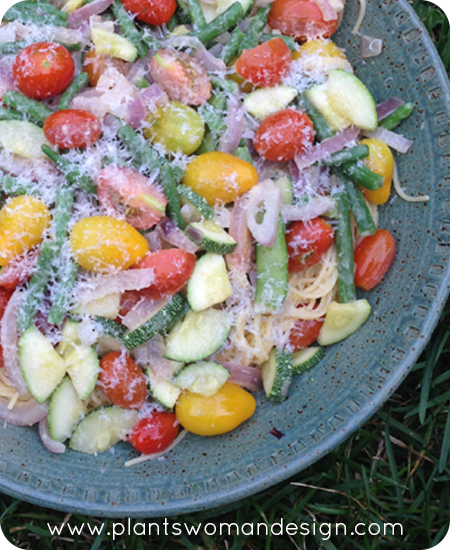 One of our favorite recipes to make with veggies is a Pasta Primavera Pronto recipe adapted from Epicurious.com. The original recipe calls for frozen veg, which is great for winter evenings when you’ve been cooped up in the house too long and cabin fever is starting to set in. But in the summer when fresh veg is available it would be a travesty not to use it in this amazing dish. Here is our recipe for Fresh Pasta Primavera.
Fresh Pasta Primavera
Bring a large stock pot of water to a boil. Add green beans and peas and parboil for 2 minutes. Remove veggies from the boiling water with a slotted spoon or small strainer and set aside. Do not pour out the boiling water!
While the veggies are parboiling, heat the olive oil in a large skillet over medium-high heat. When the oil is hot add garlic and red pepper flakes. Cook for 45 seconds, taking care not to burn the garlic, to make a spicy garlic oil. Pour the oil and all the garlic and pepper bits into a small container and set aside.
Return the veggie infused water to a boil, add the dried pasta, cook until al dente. When the pasta is finished, strain in a colander and place in a serving dish. Toss the pasta with the spicy garlic oil you made earlier (garlic bits and all).
While the pasta is cooking saute the red onions in the skillet with a touch more olive oil until they begin to soften. Add the zucchini. When the zucchini is heated through add the tomatoes. When the tomatoes have begun to warm, make a space in the middle of the pan and toss in the butter and grated cheese.
When the tomatoes have been well heated and the butter melted, layer the contents of the skillet over the pasta. Grate additional cheese over the dish to taste and serve immediately.
NOTES: You can use any combination of veggies that you want to use. We used beans, zucchini and tomatoes because that’s what we had on hand (we almost always use broccoli but were fresh out this round). The one veggie I would never omit if I didn’t have to is the tomatoes. They add a fresh burst of flavor you just can’t replace. I know some folks have a hard time with onion and garlic. You can modify these items to your taste but don’t skimp on the garlic if you can help it. We tend to keep the onions bigger so our little ones can pick them out. If you like yours smaller by all means dice those babies! We have not tried any other oils than olive oil for this recipe. If you try coconut oil or any other kind let us know how it turns out.