
by Susan | Jun 27, 2014 | Plantswoman Design
Finally the dust is beginning to settle from our move earlier this June. What I am now affectionately calling the beach shack is starting to look like home. It is hard to grasp that every inch of this house needs some sort of work. Every appliance, most electrical, most floors, and most windows. The hot water heater is leaking and the heating system non-existent. When I feel overwhelmed I put on my boots and go into the ‘garden’. Well there isn’t a garden per se, just a massive expanse of lawn and weeds. It for some reason doesn’t feel as intimidating as the house. I know that it is just a matter of sweat, time and patience. All within my grasp.
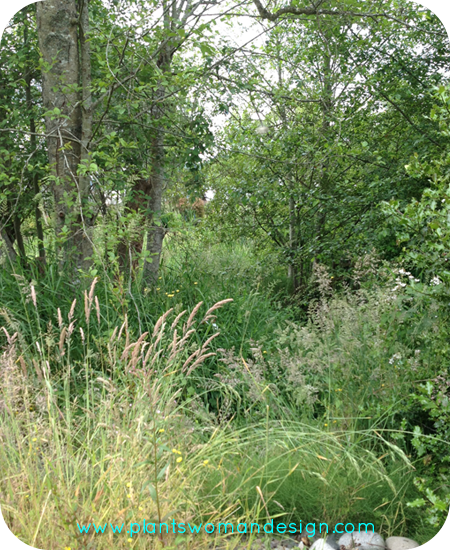
When I look out my window now I see green, I hear birdsong and water running. The 3 1/2 acres of green I now own just needs tending. I need to clear a path to the beach, clear away the pond weed and horsetail so I can see the water and beat back the blackberry bushes that have overtaken what plants are still struggling to survive there. The making of a garden is a much less urgent task than the replacement of faulty wiring but for me it will keep me focused on the reason I am here… the beach.
I have helped clients on the waterfront with beach gardens for many years. It’s always one of my favorite places to garden. There is an inherent challenge with the salt air and the wind exposure. Soil can be blown or washed away. Delicate foliage can be burned by the extreme sun or wind. Things have to be a little tougher on the beach. Now I have a bit of beach of my own. It will be fun to experiment with growing things outside what I already know. To try new things, learn about frost pockets and evaporation first hand. I hope you enjoy these first photos of the new house. It is and will always be more about the land and less about the house (though I will get that unwieldy beast under control as well). Obviously there is much to be done here. Join me on my adventure into transforming this garden… again.
Here is the house and surrounding “gardens”… 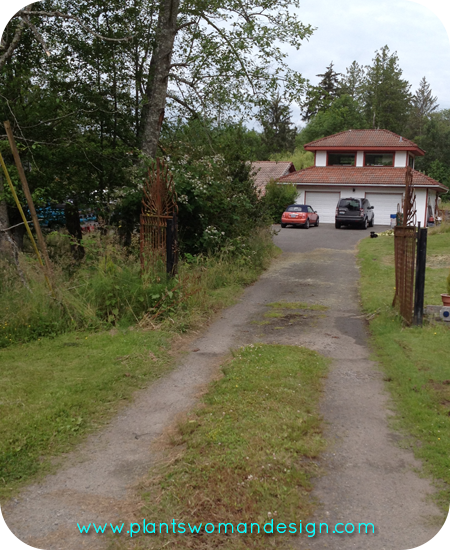
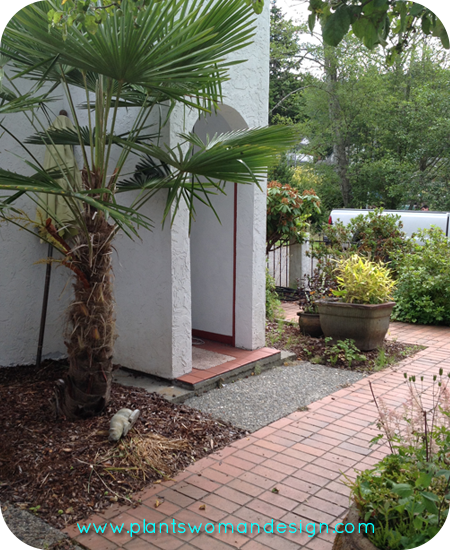
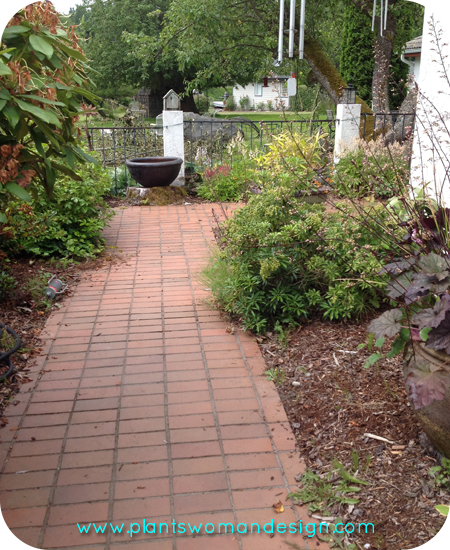
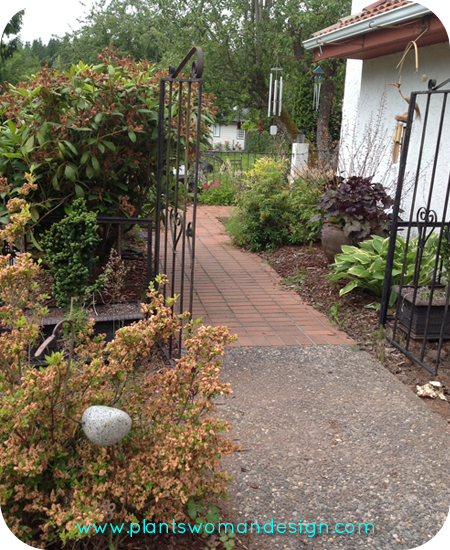 And here’s the blank canvas in a shade of green. I get a little giddy just thinking about the possibilities…
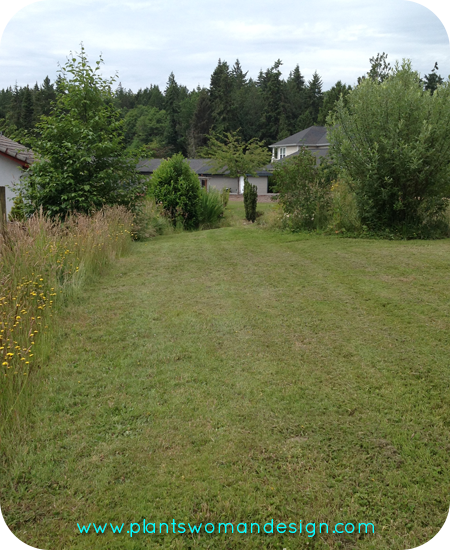
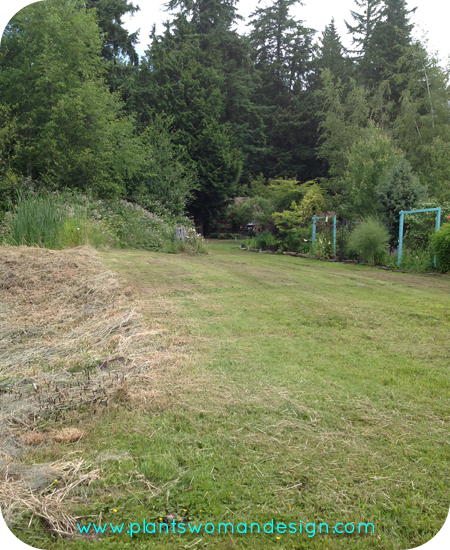
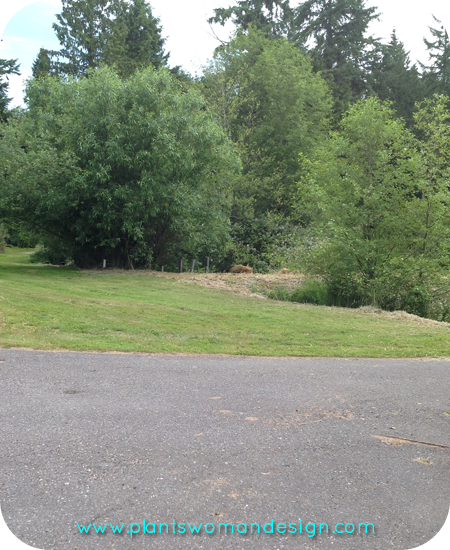
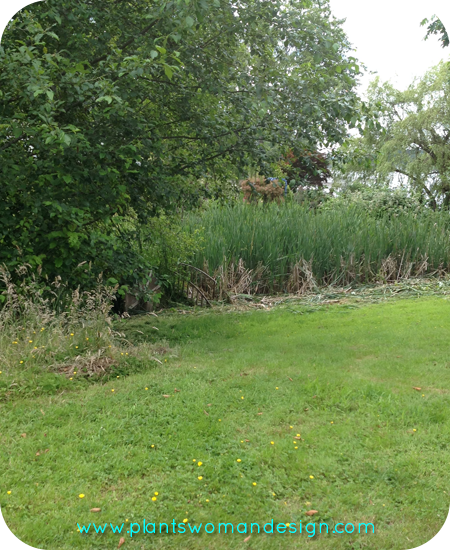
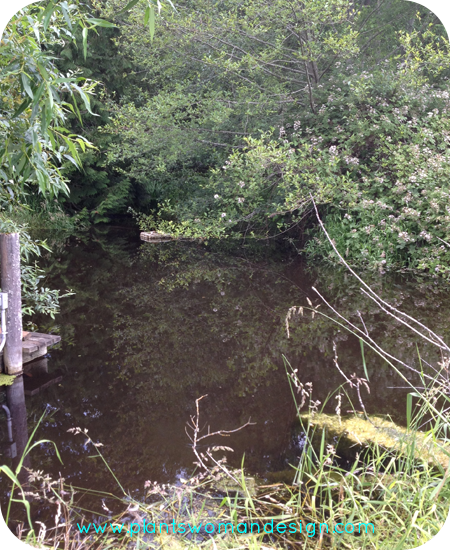
 As if the canvas of green grass wasn’t enough here is my beach. Did you catch it? MY beach!
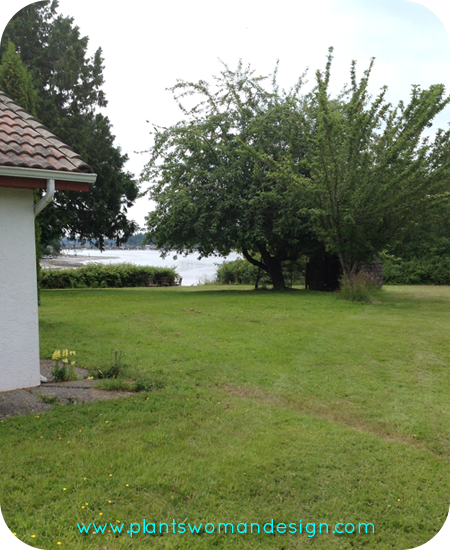
So, there you have it, my beach shack. I’ve already started making little modifications here and there and I will keep posting updates as we go along.
by Susan | Jun 25, 2014 | Plantswoman Design
It was hard to do but I did it. I said goodbye to my garden…
It can be hard to say goodbye to children, parents and homes but it’s all a part of life. Ultimately we manage and at times even learn to embrace it. For a plantswoman, leaving a garden is also hard. The garden is like a child, you plant things as babies and watch them grow. Or like a parent as they teach you things you never knew, like trying to grow something different or test out a new skill (like air layering or starting something from seed). The garden also teaches you something about yourself and those around you (“you are crazy to grow a tree from a seed”).
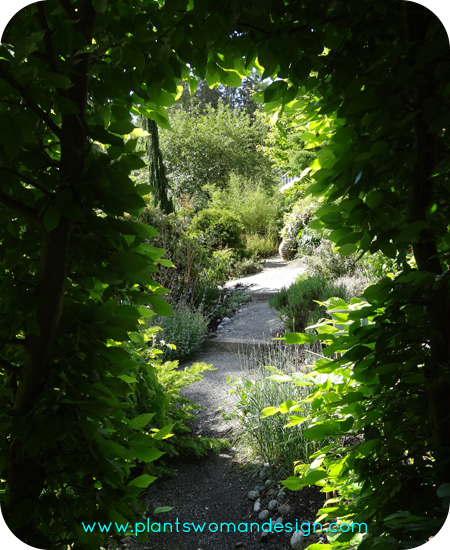
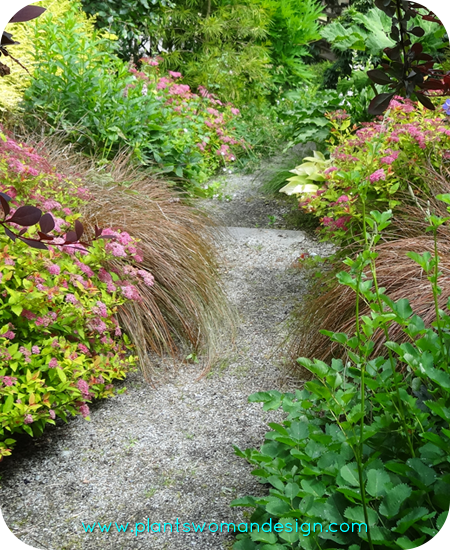
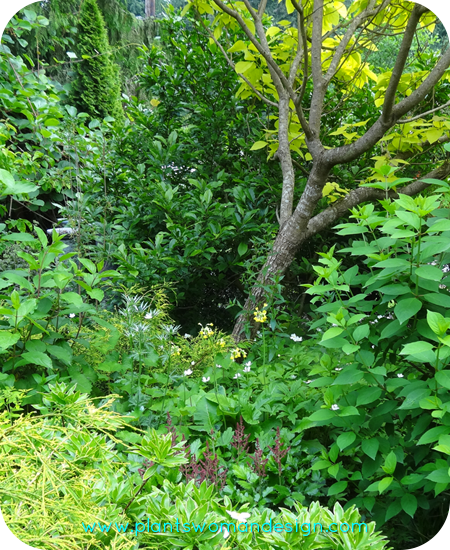
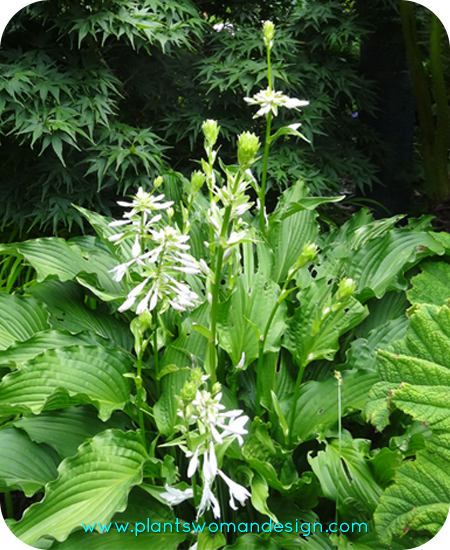
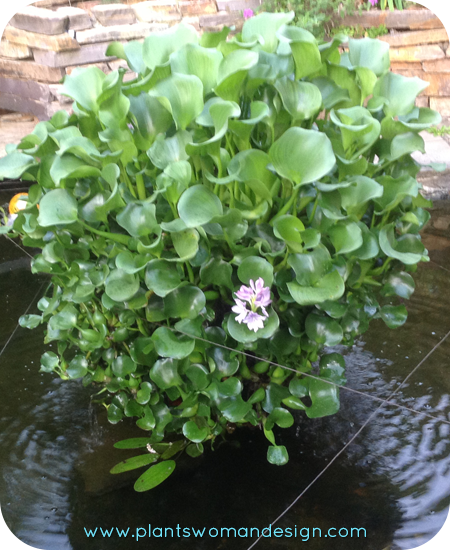
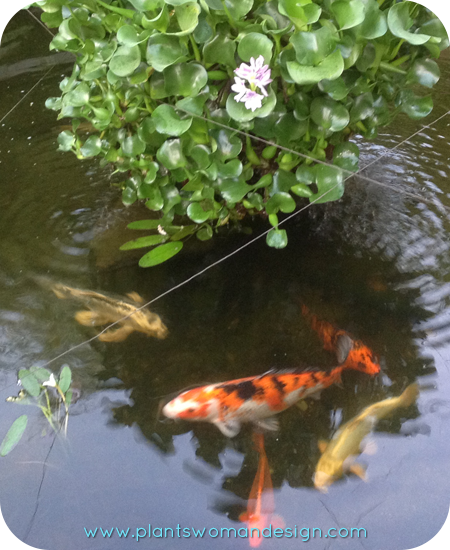
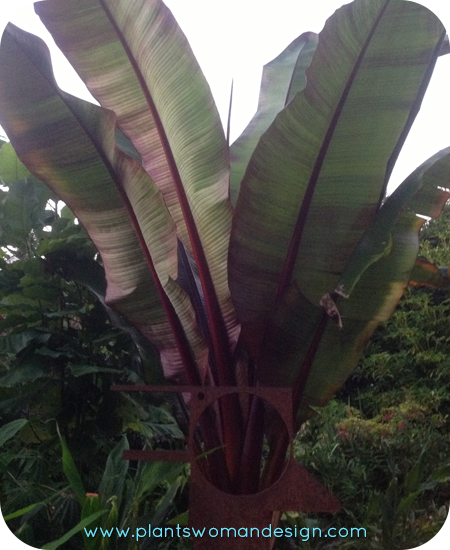
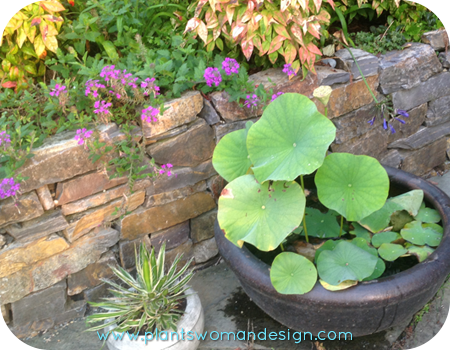
My garden was my outdoor home. When I walked through it felt like it was greeting me, inviting me to sit and contemplate, to eat, to play, and of course to work. Renovation of a garden is similar to the renovation of a house. Take down that wall, get rid of that ugly thing, try a new color here. When I moved in this garden was a wire fence, five different kinds of gravel, landscape timbers, posts and ropes and junipers seemingly too numerous to count. A rotting deck was around the pond and basalt rocks were used as a ground cover to hold the upper bank. In the eight years I lived there fences came down, decking was replaced by flagstone, a new ledge-stone wall over flowing with plants replaced the basalt rock and we invited a lovely family of koi into the newly cleaned and maintained pond. One year my brother was married in the gazebo (rotting decking and railings replaced after a good pressure washing and annuals planted around). Then two years ago my sister was married there as well (lower pond wall built, leveled and lawn added to sit fifty people on it). Events have shaped the garden, along with trials of new plants and new methods. I had a greenhouse built under one of the decks so I would have someplace to overwinter the red banana and other tropicals I love to experiment with. A fabulous pond was built below the house by my then husband and his friend, both employee’s of a company with the necessary big equipment. A bad winter took down some pyramadalis around the shop and I replaced them with bamboo because it is so much more beautiful.
My small 1/2 acre lot never felt that way.
(I know you are getting it now)
Saying goodbye to my Garden was hard.
I am lucky that the people who purchased my house were very enthused about the garden. One of the owners grew up with a mother as a florist and was surrounded by plants. He was so excited by all the things blooming in the garden and the transition from week to week as the sale process took a long time to complete. The quote in the email I got today was “We love it here so much we don’t want to leave’.
Questions about watering, the ponds and the plants are all welcome because I still feel invested in that garden. I love it and want to see it continue to flourish. Things I started as young plants will become mature, the Davidia tree will bloom the first time and ground covers will become a lovely mat all for them… and that’s okay. It feels good to leave a beautiful space behind for someone else to continue to work, enjoy, and harvest.
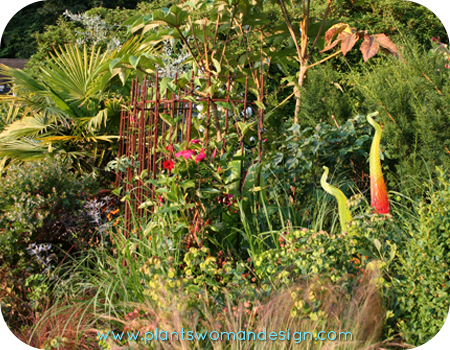
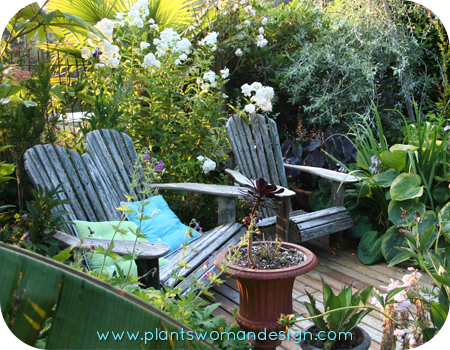
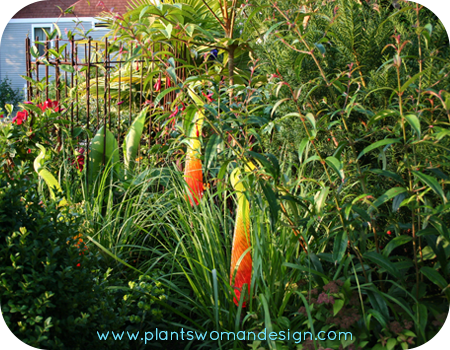
The day I left for the last time I walked through and said goodbye. I touched plants and wished them growth and beauty. I remembered when I planted them and the love and care I gave them. I remembered successes and failures, good times and bad, love and hatred (slugs and morning glory). The stories that garden could tell could go on and on but maybe these pictures will help tell the story.
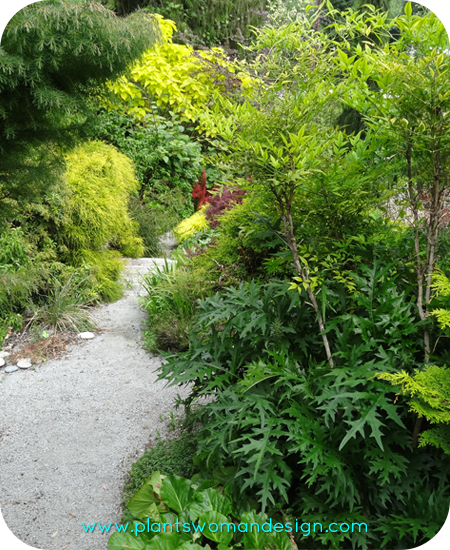
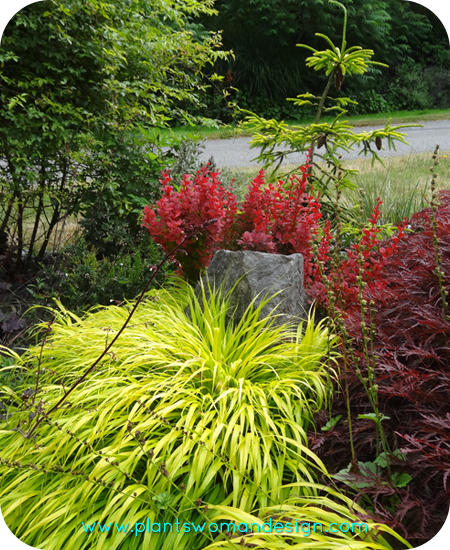
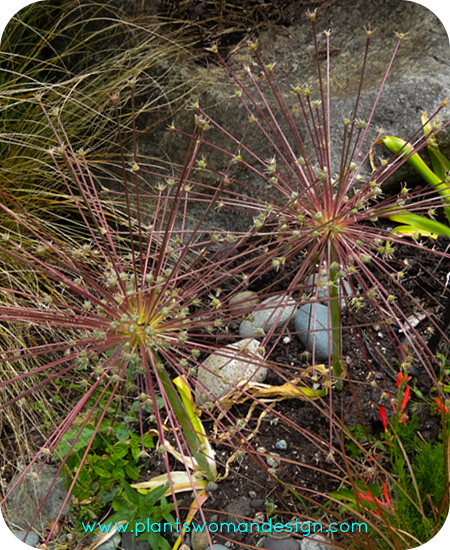
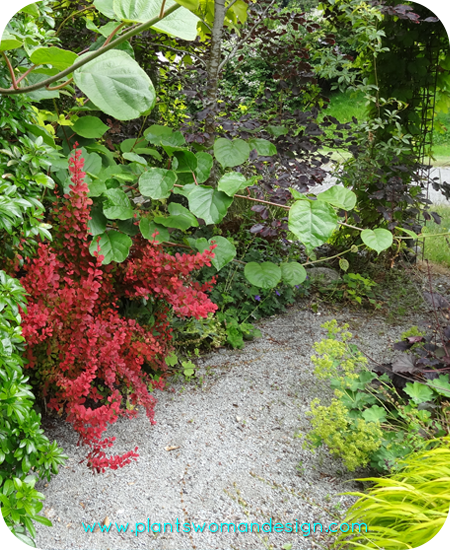
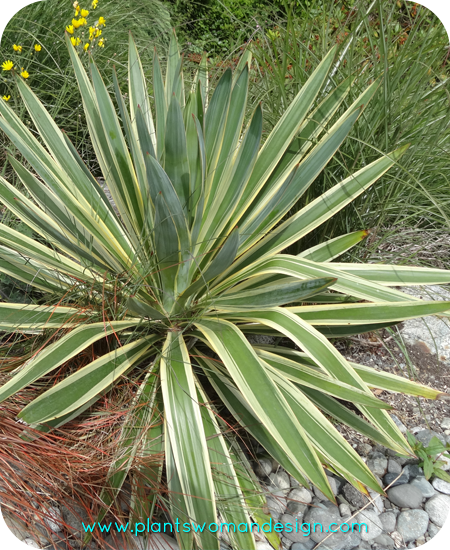
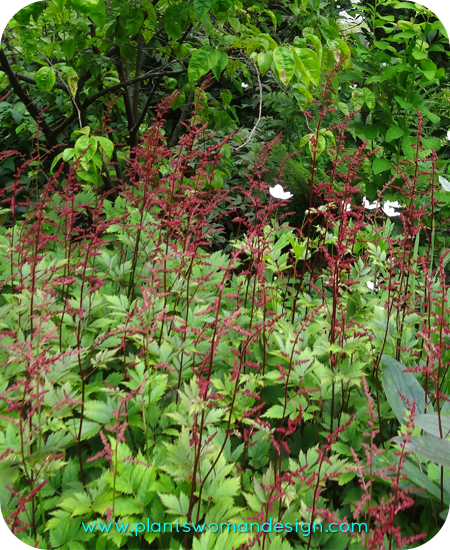
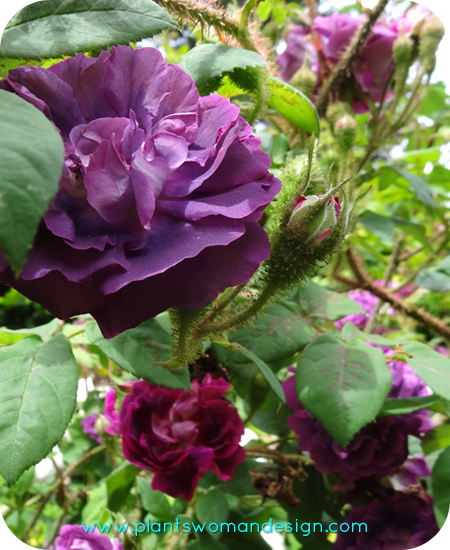
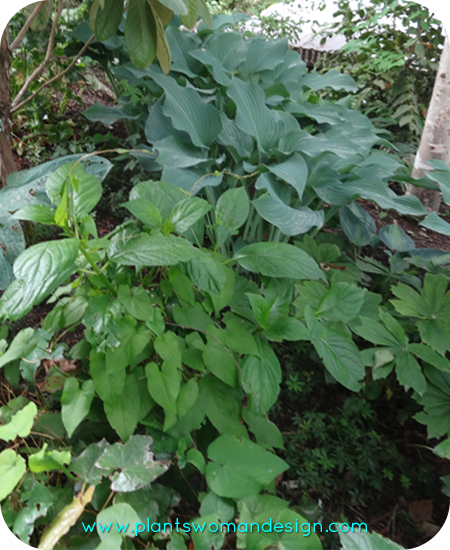
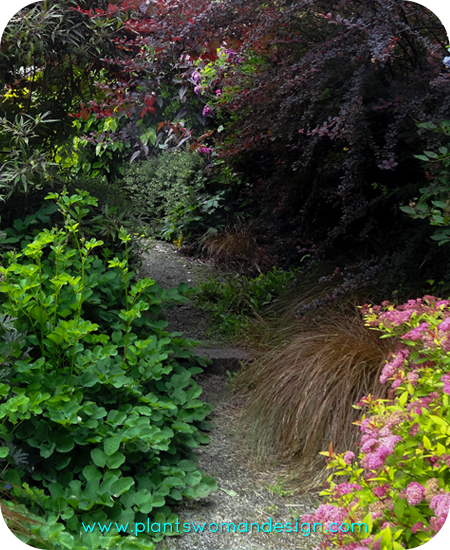

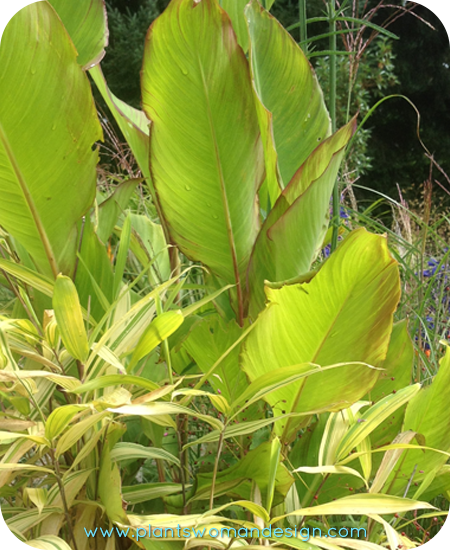
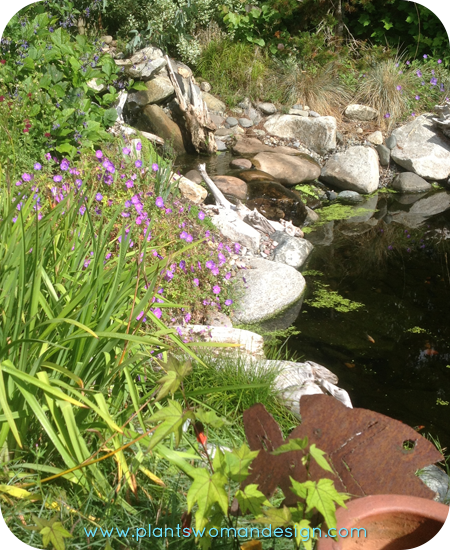
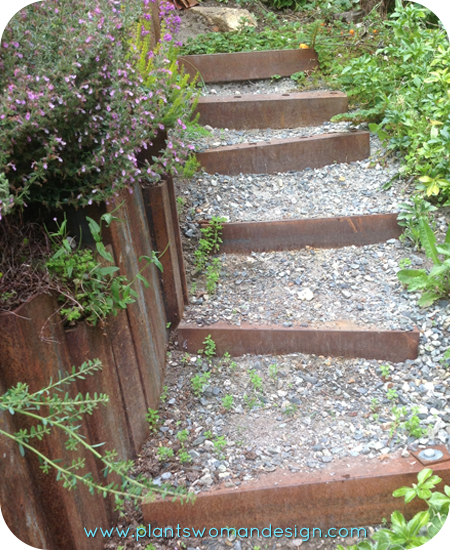
by Kristen | Jun 3, 2014 | Plantswoman Design
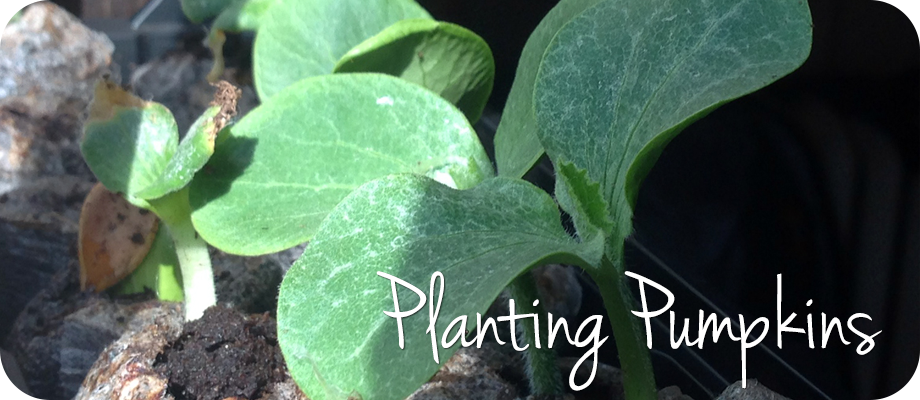
This past Easter the Plantswoman, aka G-ma, sent E and Little Chef (my 5 and 3 yr old) some pumpkin seeds in their Easter baskets. Seeing as it was warming up outside but not quite warm enough to plant directly into the ground we started the seeds inside. Little Chef and I planted his seeds on a warmish afternoon while E was in school.
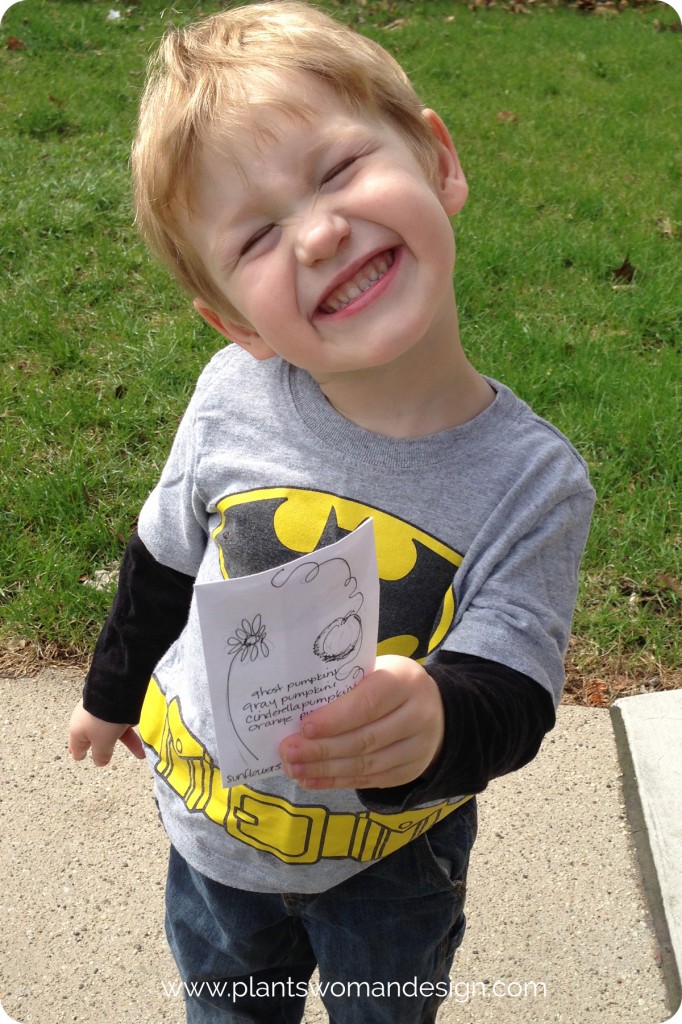
Susan sent a few different varieties and marked the seeds with a marker making it very easy to tell which ones were which.
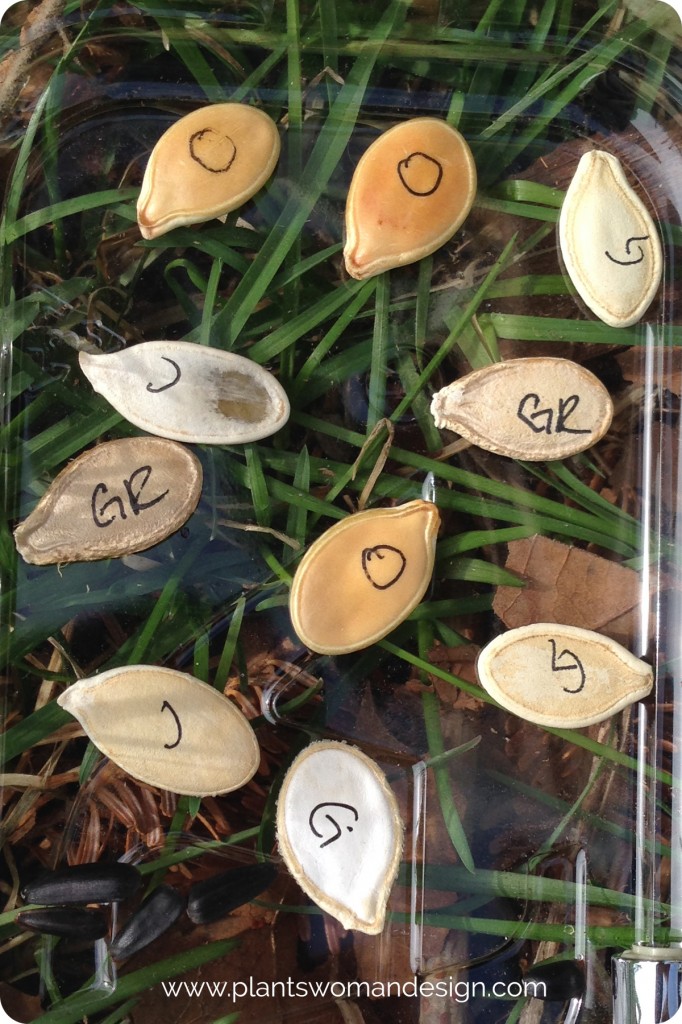
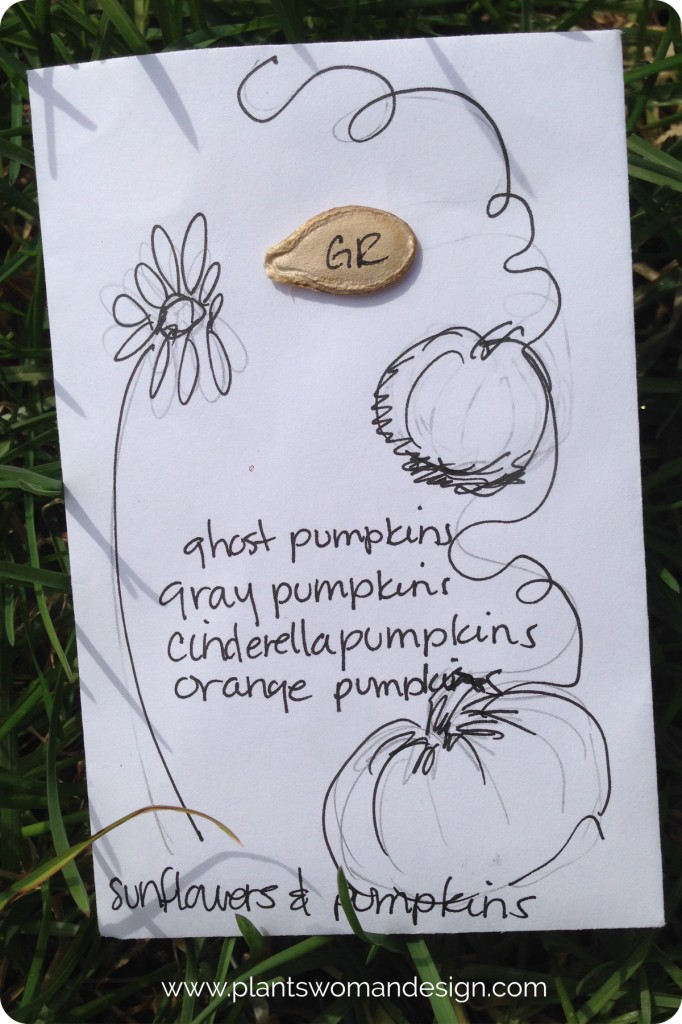 Once the seeds were in the soil, however, it wasn’t so easy to see. I attempted to label them with file labels and toothpicks but soon figured out that system was a little too cumbersome. Once the pumpkins arrive I’m confident it will be pretty easy to see which ones are which.
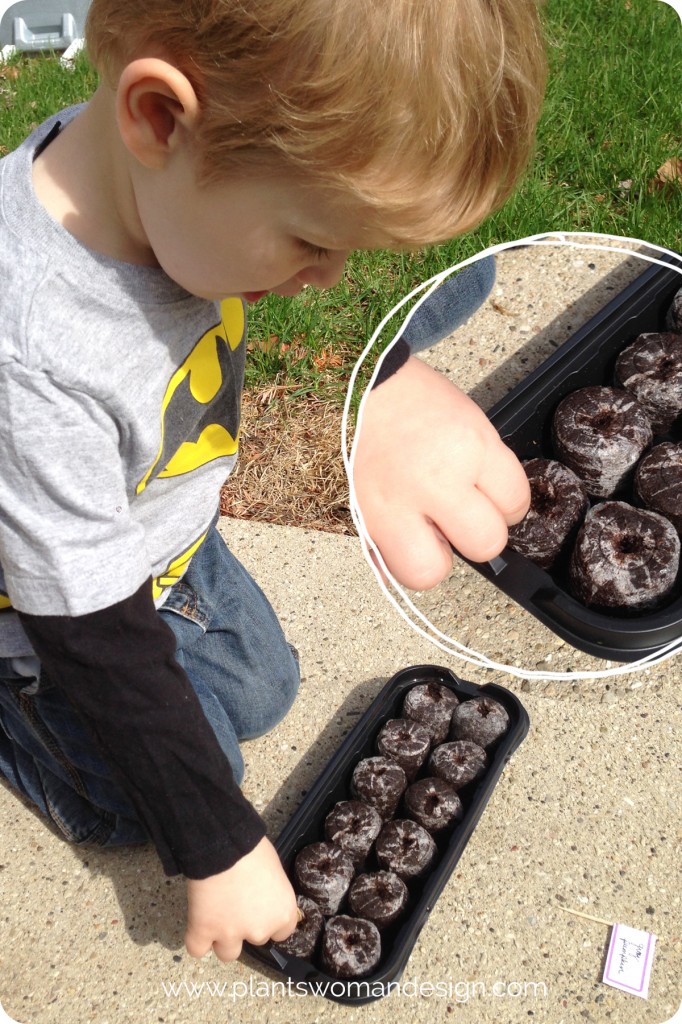 We picked up the seedling container from the local hardware store in their garden section. Little Chef enjoyed planting his seeds and the seedling container was a great way to contain the mess. Once the seeds were all planted we put the container on the window ledge of the south facing windows in our dining room. In about a week and a half we had green!
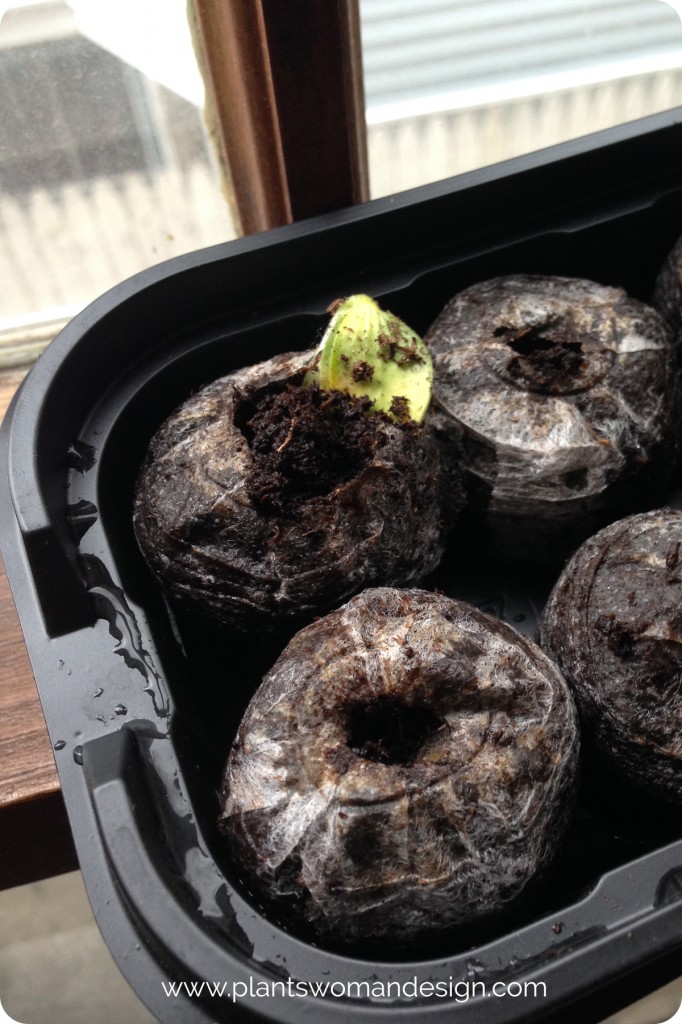 In a few more days we had quite the shock of green coming out all over the place and let me tell you my kids were so excited! Watering the seedlings is a treasured job in our house right now.
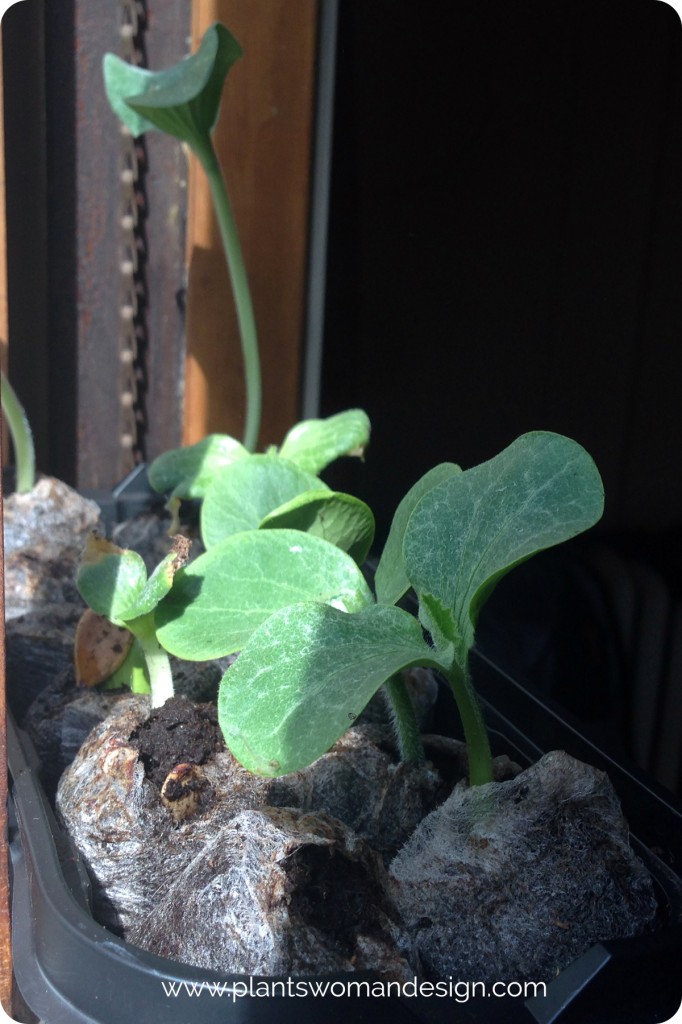 Did you notice the one really tall shoot in the back of that last photo? He was the first shoot to escape. When we planted our pumpkins I didn’t really help Little Chef put the seeds into the potting soil. I just let him plant them and moved on to the next thing for the day (I did try to help him but got the requisite “I do it momma” and let him be). When I noticed the first shoot of green pop out I started worrying about the other seeds. Why weren’t they popping out too? I waited a few more days and checked them again, there wasn’t any green but I did notice the little pods were taking on a new shape. I picked one up to take a closer look there were lovely white roots shooting out of the bottom. Something was growing in there but I couldn’t see it yet. A quick call and photos to my Plant-lady confirmed the seeds were growing upside down. Susan assured me they would find their way out and said if I wanted to help them out a little I could. So I cut the edges of the little pods to let the seedlings find their way a little easier. With in a day or two the rest of the little guys came out to say hello. We planted E’s seeds about a week later than Little Chef’s but they came forth like gangbusters and were ready to go out into the garden before long.
We have so enjoyed growing these pumpkins from seed. I highly recommend popping some seeds into Easter baskets or any gift given in the spring-time. It’s such a wonderful way to be a part of the earth’s awakening.
by Kristen | May 28, 2014 | plants, Plantswoman Design
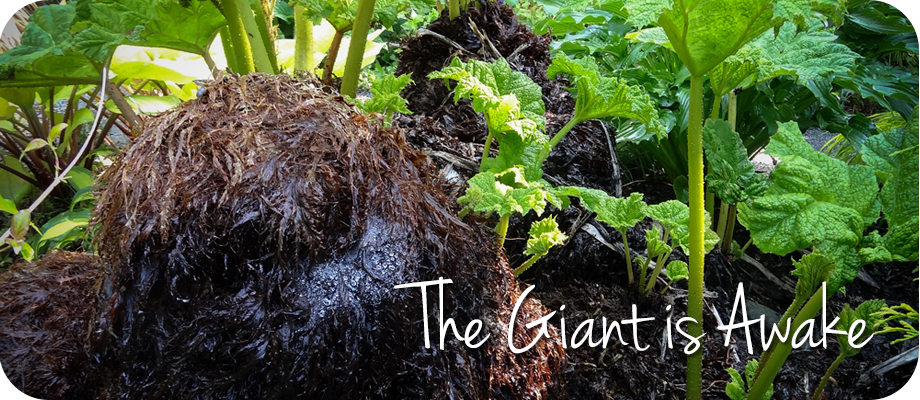
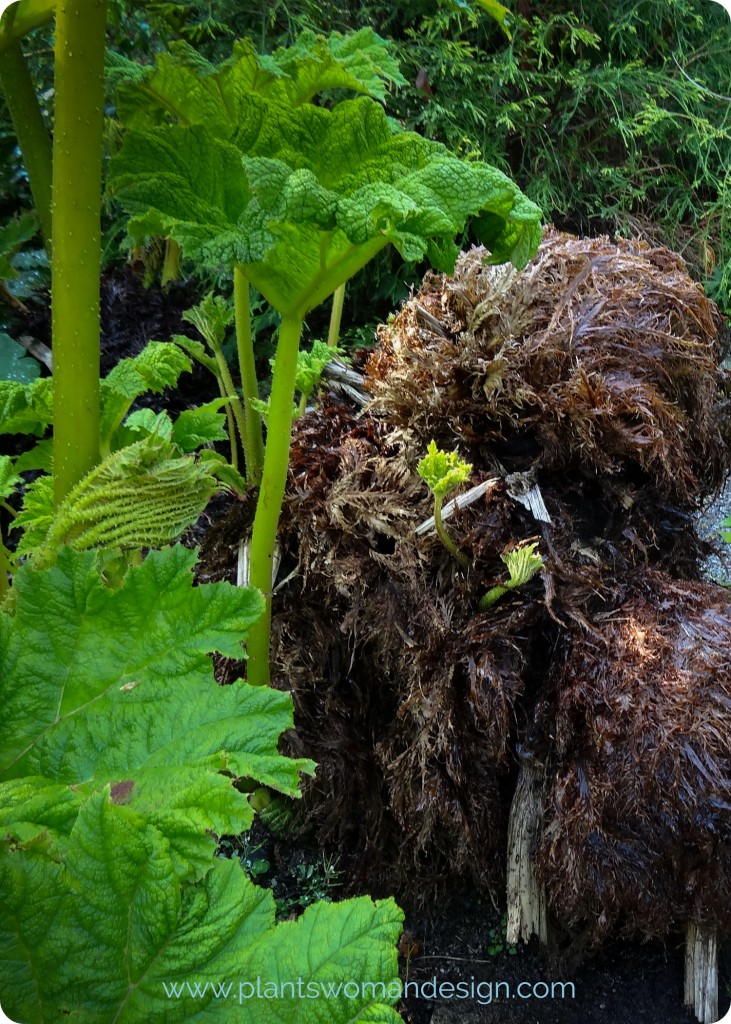
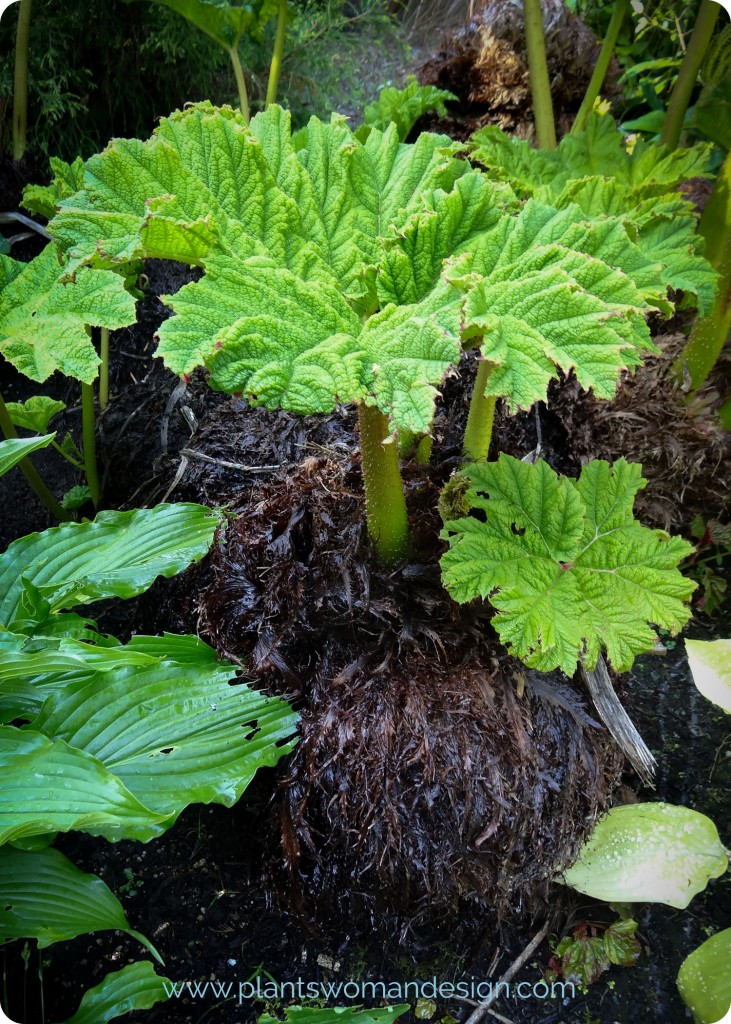
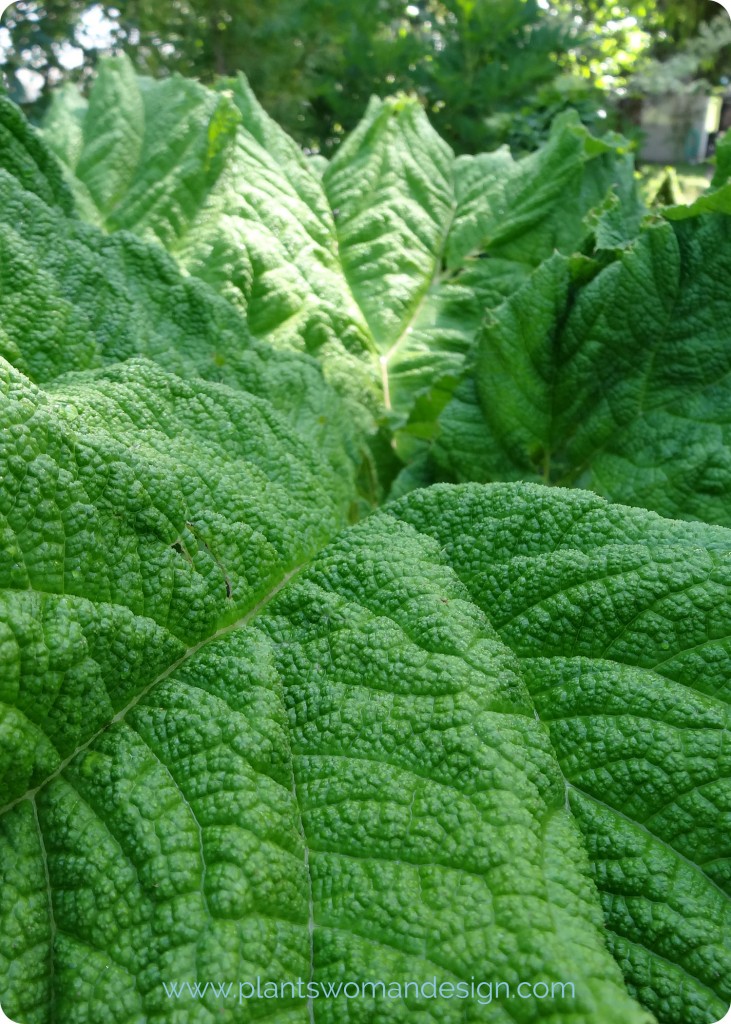
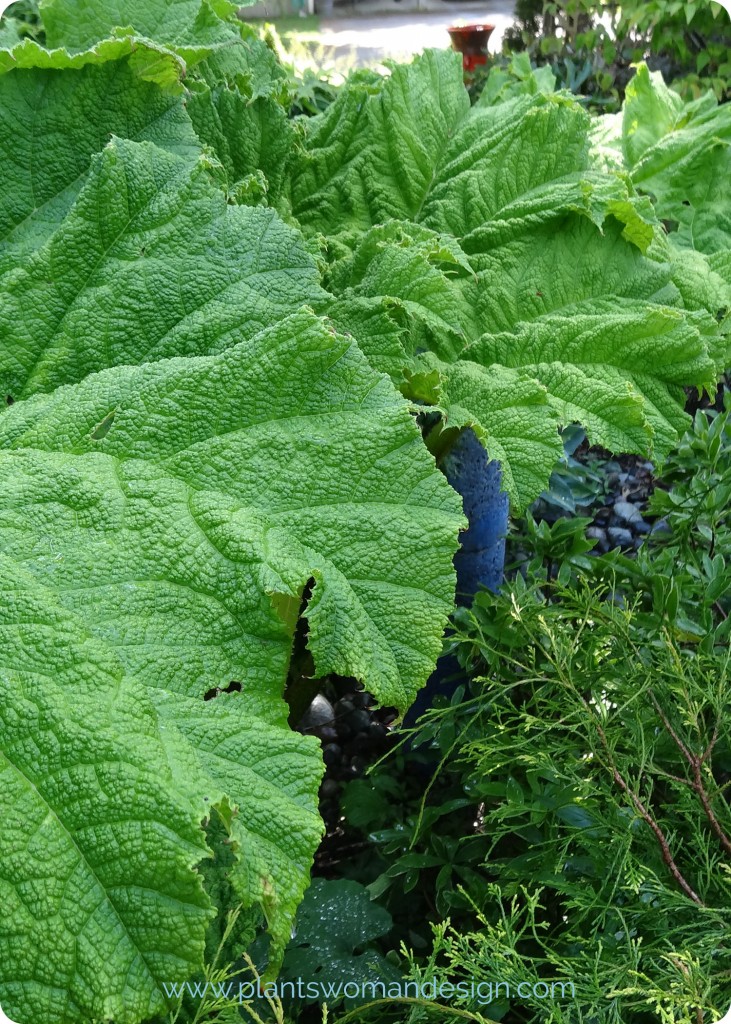
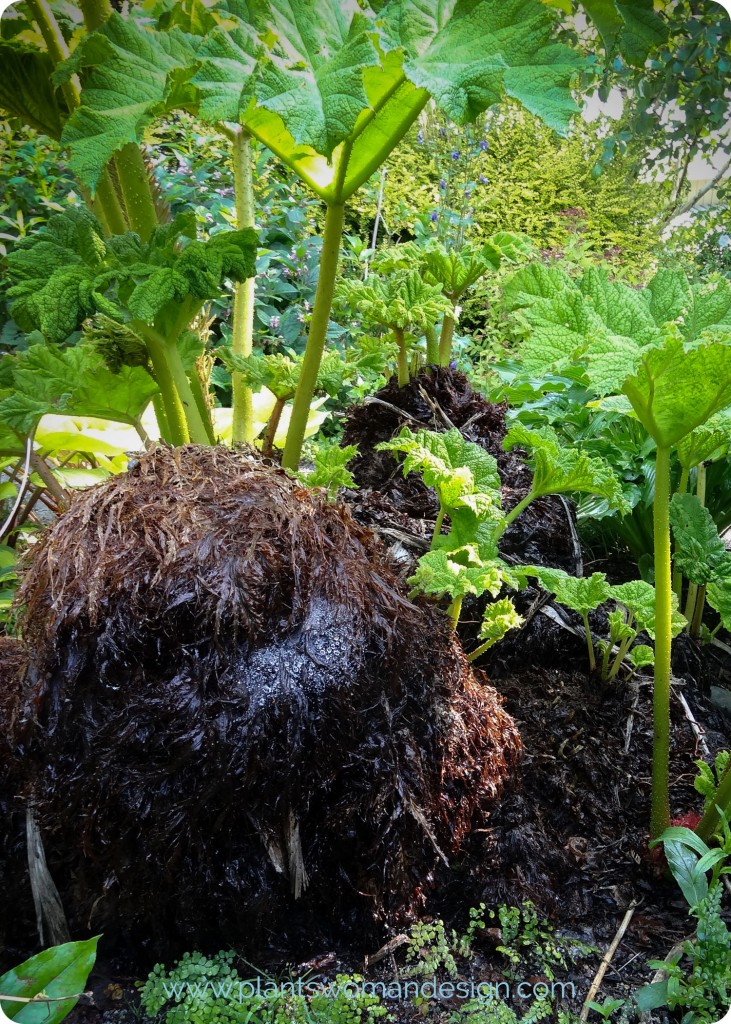
Last week I had the opportunity to wander through Susan’s garden to grab some photos for our recent blog posts. As I walked along the pathways taking pictures I found myself drawn in by the detail of each different plant with their leaves still dripping with dew. I don’t know if this happens to you but I was so focused I stopped paying much attention to what was around me. Standing up after photographing a beautiful spirea ‘golden flame’ I spotted what looked like a dark, wet, dirty animal out of the corner of my eye and about jumped out of my skin. It wasn’t an animal though… It was Susan’s massive gunnera manicata and it was coming back to life.
We’ve posted photos of this gunnera before and even now in it’s new fresh from spring state it is enormous and lush. I hope you enjoy these photos that I took after my heart rate returned to normal and I could enjoy the greatness that is the gunnera manicata. And tell me if the massive rhizomes (clumping) at the base of the leaves doesn’t look like a giant coming up from the ground!
by Susan | May 21, 2014 | Plantswoman Design
I know I’m getting ready to move house, but I can’t help it. Yes some of my current garden will come with me and many things are already out of the ground and into pots but there are always new plants out there waiting for me to buy and grow. Things I’ve been searching for for years that suddenly become available. But what to do with them? I shouldn’t put them in the ground just to uproot them gain in a few weeks. I got it! I’ll clean out my containers that I usually fill with annuals and plant my new little finds. It is easy to tuck the small starts into spaces in the garden and just as easy to tuck them into containers too. With a little effort they will look just as great as the annuals and be easy to move.
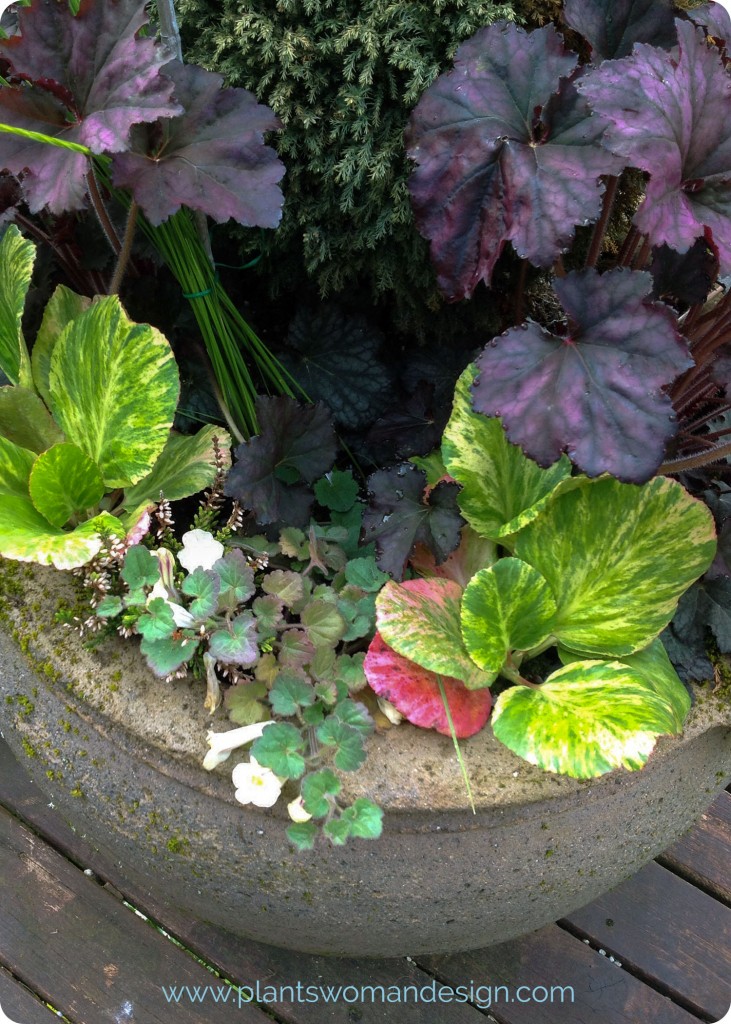 This is a container on my deck that had an upright evergreen chamaecyparis in the center with two heuchera frosted velvet on both sides. I left those in place, removed an astelia ‘westland’ that did not make it through the winter and added Gladiolus tristis for a little height, Bergenia Tubby Andrews, a variegated pig squeak (hate that name), and trailing snapdragon Asarina procumbens. These make a nice contrast to the Heuchera. There is a small white heather also left in the mix that will continue to grow and be there again in the fall adding texture to the fall container.
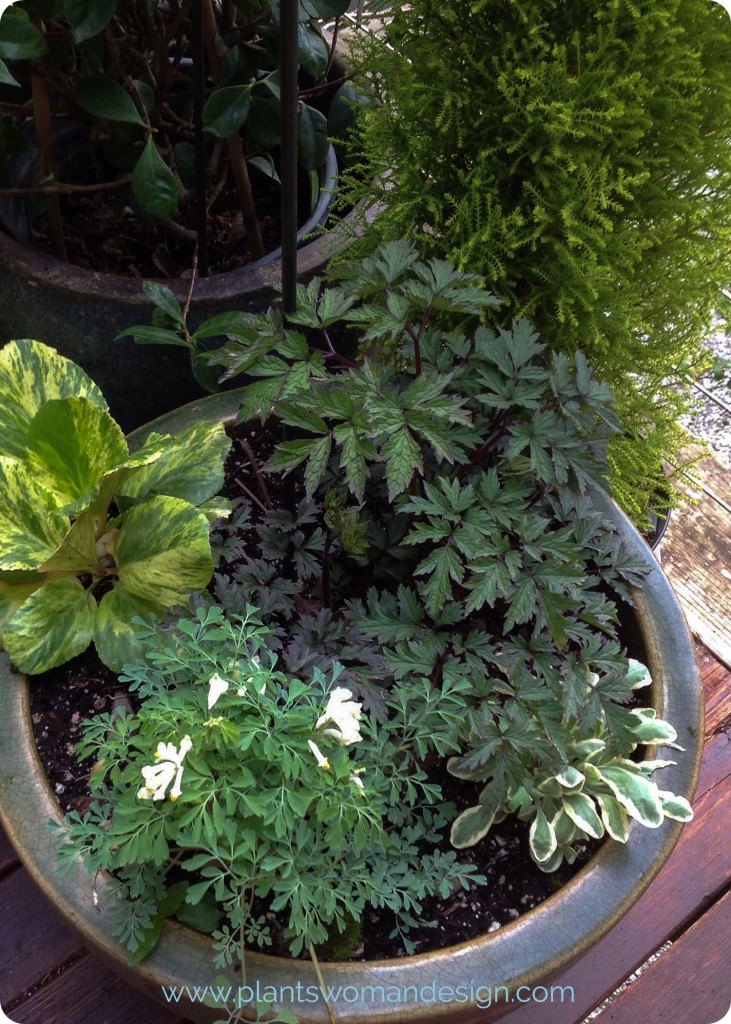 This container had a Cimicifuga Hillside Black Beauty in it. I added another bergenia Tubby Andews, a Corydalis ochruleuca, (one of my favorite corydalis white blossom, ferny blue tinged foliage), and Aurinia saxatillis “Dudley Nevill Variegated’. The combination of White and Black with a little Variegated White Yellow and Green make a fun combination. The Aurinia is a variegated ‘basket of gold’, often planted as an annual, liking dry rocky soil it probably will be an annual in the container. Once I get to my new place I can tuck it someplace more suited to its growth habit and see if it survives.
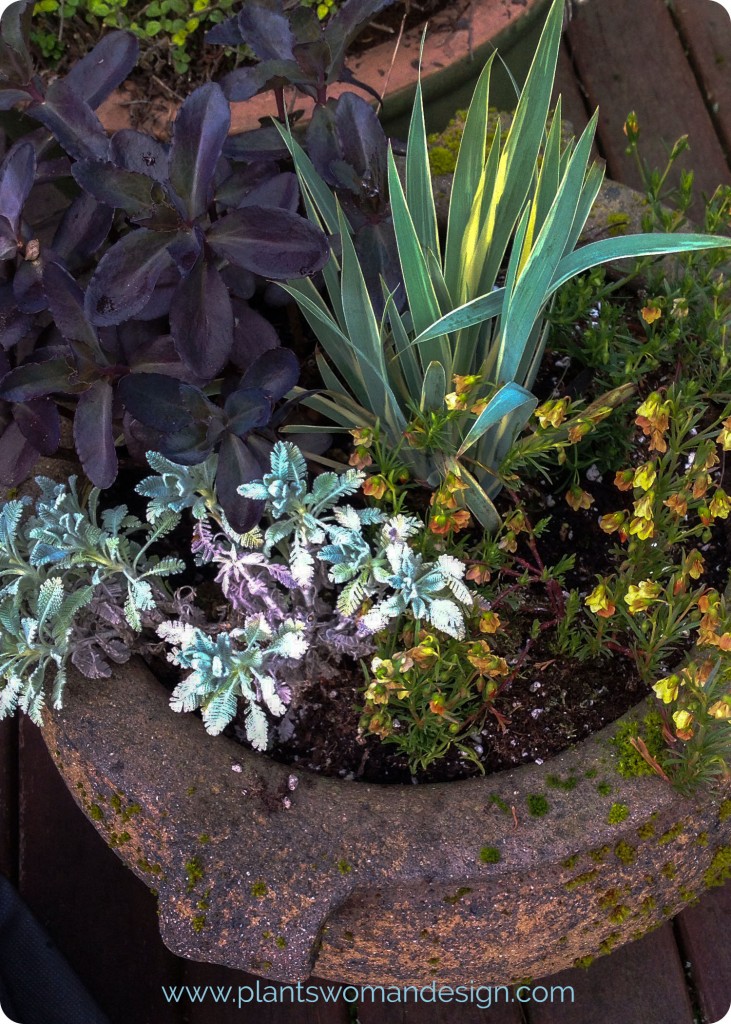 This container has a sedum ‘Black Jack’. I added a Tancetum hardjanii (the silver leaved spilling plant), Honey Bells, (Hermannia verticillata) the orange bells hanging on side. and Sisyrinchium striatum ‘Aunt May’. This variegated iris relative is so great but hard to find and hard to keep growing. It is hardy to mid teens but needs divided when it gets to be a large clump so it keeps growing. The honey bells plant is a sweet smelling annual.
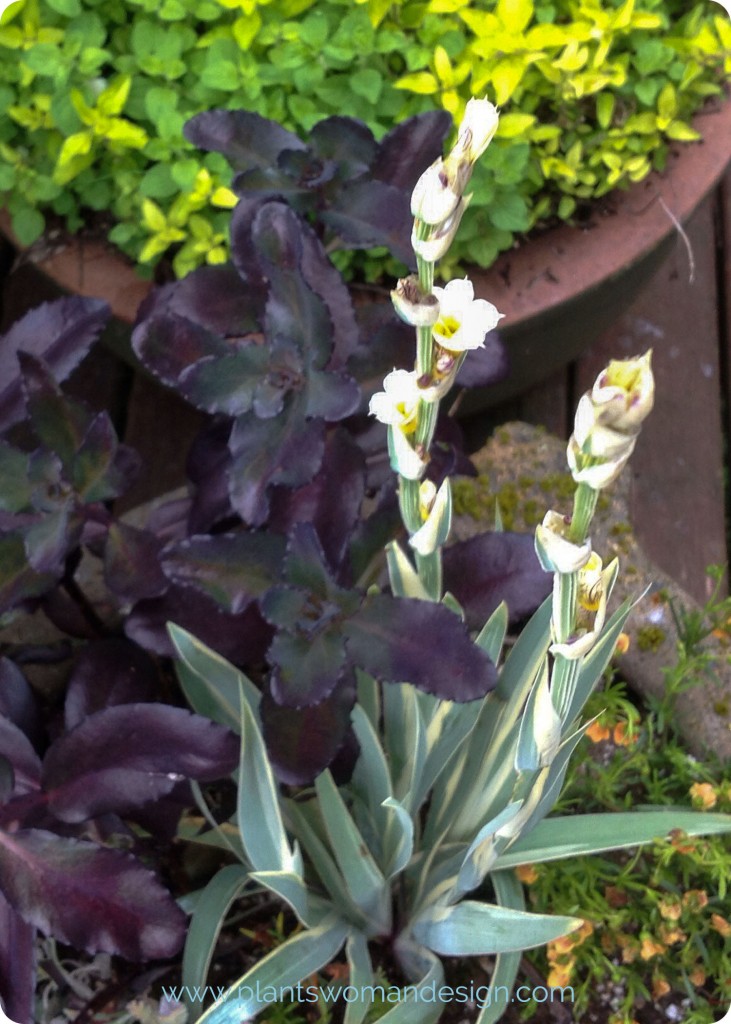 Here is a picture of the blossom as it starts to bloom.
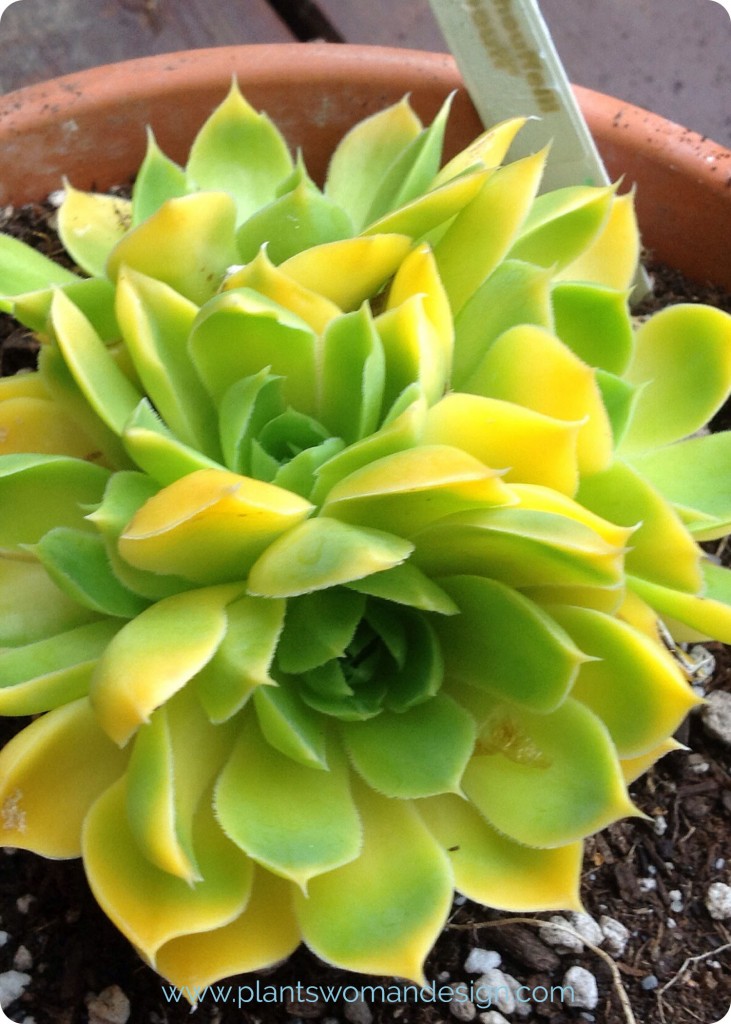 Succulents are very popular right now and I have several containers with succulents. I could not resist this happy little Jovibarba heuffelii ‘Xanthoheuff’ . Wow what a big name for a sweet little hardy, bright green succulent. It is already spreading. I can’t wait to see how it grows.
I love the small specialty nurseries in my area. Their selection of unusual things is better than any big nursery you will find. Their will to survive must be based on their love of plants not on the big income they get. They sell mail order and have open days to sell to the public. I’m looking forward to doing a post on small specialty nurseries soon. In the meantime check out these links for just some of the ones I love.
Sequimrareplants.com, farreachesfarms.com, sundquistnursery.com.
by Kristen | May 16, 2014 | Plantswoman Design
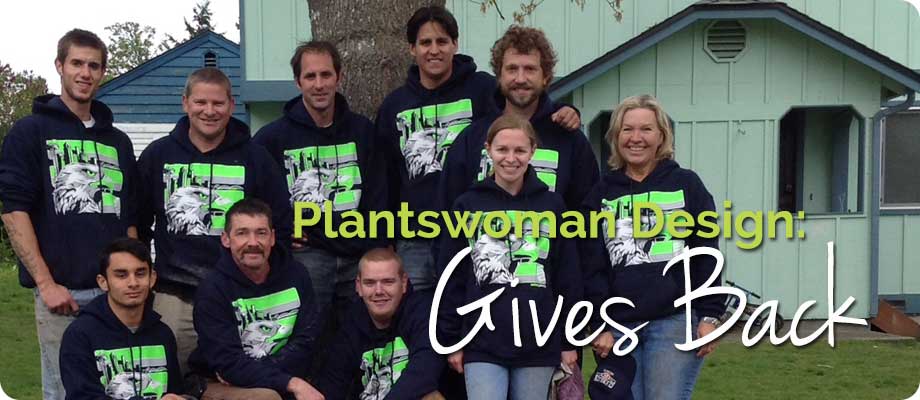
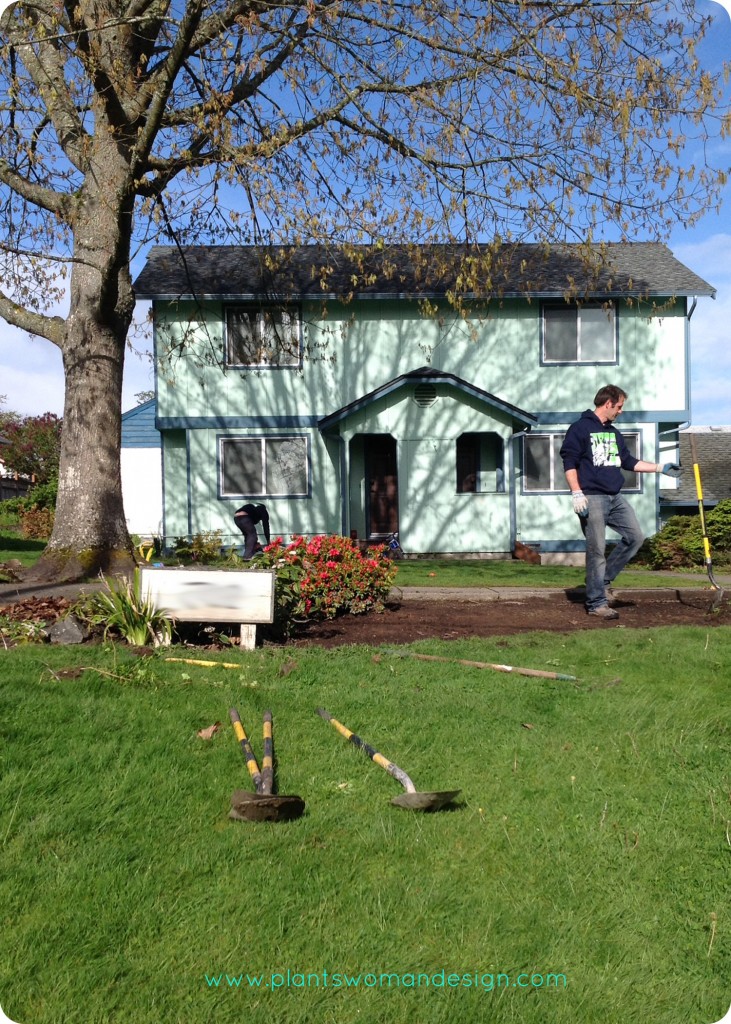
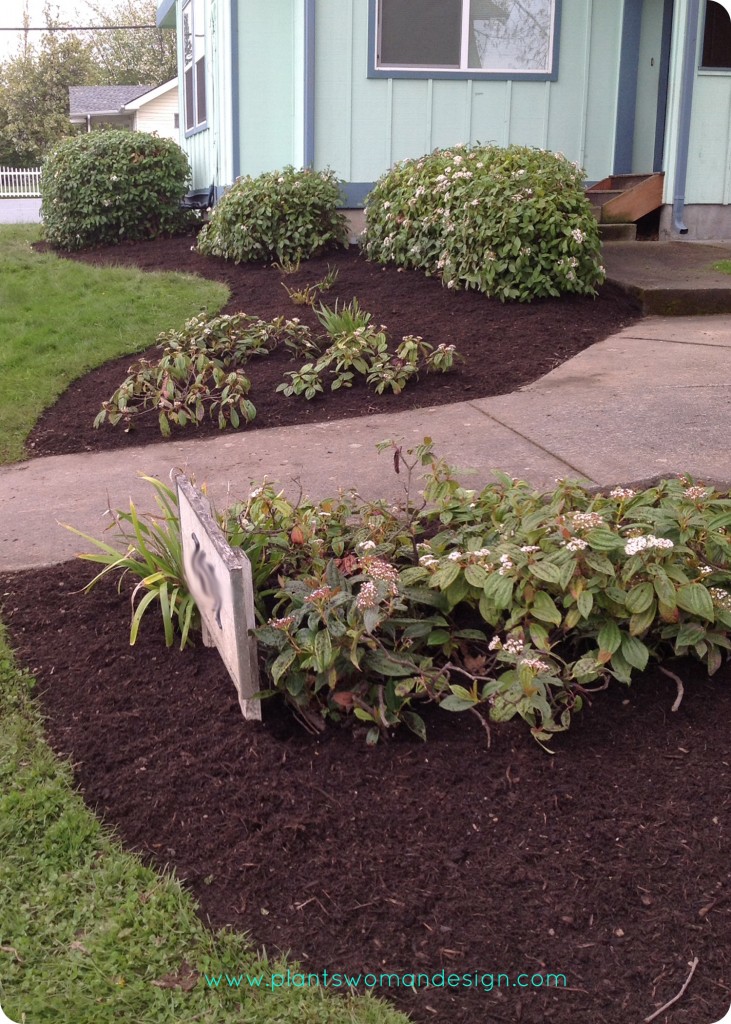
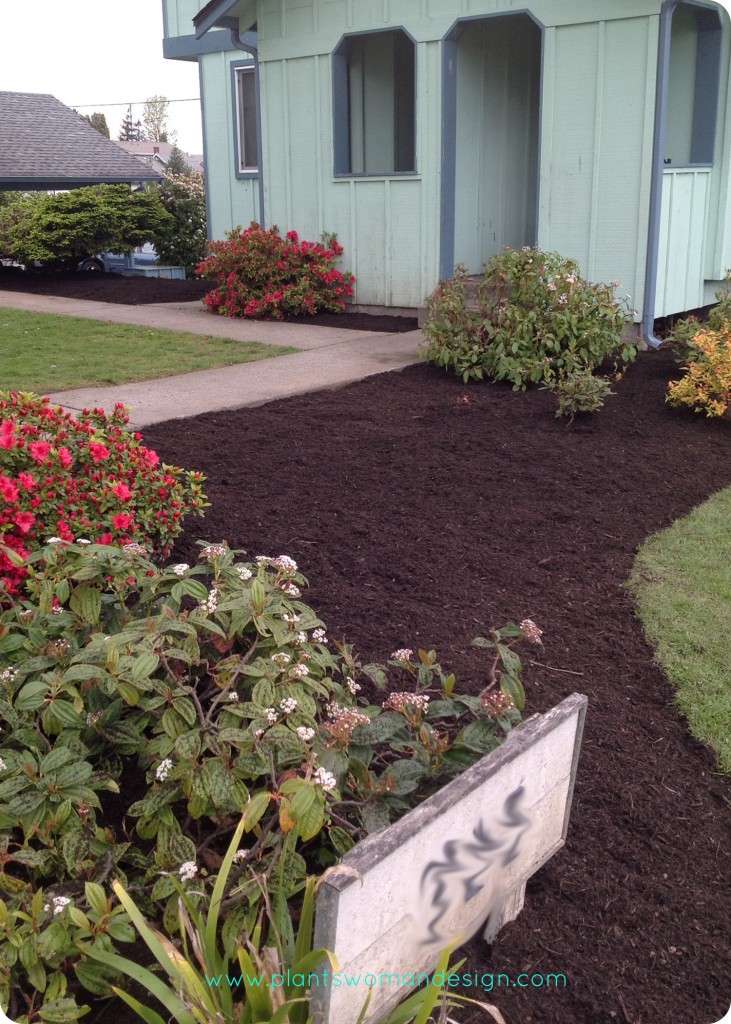
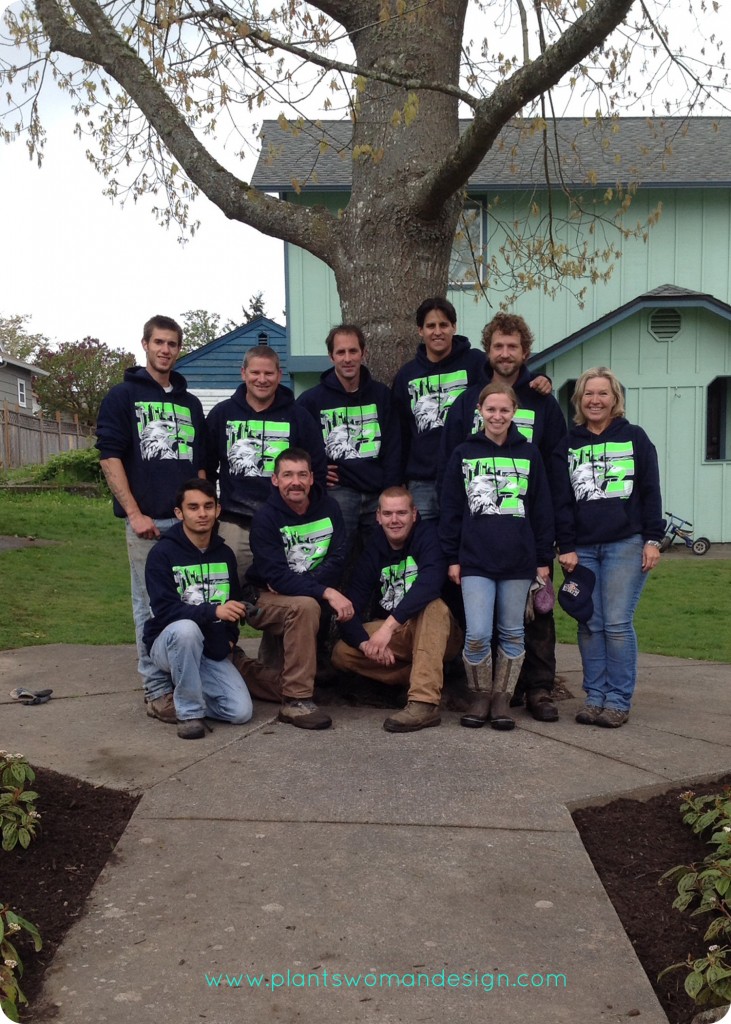
This past April our crew spent a day in our community. We worked with Kitsap Community Resources and helped beautify one of their transitional housing units. It’s an honor to be able to help KCR as they provide so many needed resources to those in need in our community. We also partnered with A&L Topsoil who donated the mulch we needed for the project.
by Kristen | Apr 25, 2014 | Plantswoman Design
We hope we’ve inspired you to get out and grow some lettuce. Next week we will see how Kristen did with her lettuce container and then we will be done with our lettuce focus… for now. As the first crop of the season we want to get you up and growing with us. Be sure to swing by our Pinterest board to see yet more information on lettuce and a few more recipes. We will be adding to this board as we find additional items we want to share with you.
by Susan | Apr 18, 2014 | garden food, LB Tutorial: Growing Food, Little Bytes, Plantswoman Design
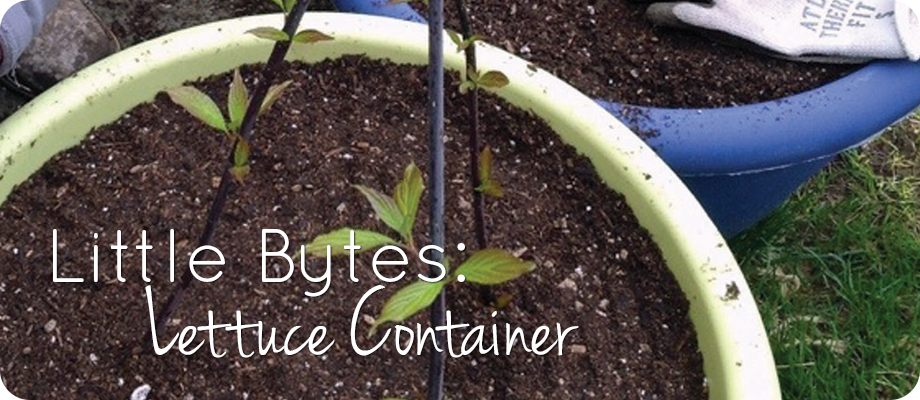
After last week’s post ‘Spring Yes, Spring’ it is time to get the lettuce in the containers. We are going to plant a mixed container with lettuce and spinach leaving room to plant green beans in just a few weeks.
*For more information about making your own lettuce mix check out this post from earlier this week.
As we talked about before lettuce is a cool weather crop. It germinates in low temperature and grows well early spring. You can keep growing it through the summer if you provide some cool shade. If the temps get too warm the lettuce and spinach will bolt. This means going to seed instead of just producing green leaves. I am in zone 7 here, which means my last frost date is usually April 15th. Check the chart at www.almanac.com to find your last frost date. The seed packets will also give the information on the back of the packet.
For this Little Byte we are going to use the Territorial Seed Company’s “City Garden Mix” seed pellets. These are great little inventions that have multiple seeds in a pellet form. The salad greens we are going to grow will be ‘cut and come again’. ‘Cut and come again’ means we will not spread the seeds out and grow the lettuce to a full head but instead cut the leaves as they are getting mature and harvest baby lettuce and spinach leaves. You see young lettuce and baby spinach both for sale. We are going to mix it with Catalina spinach.
Let’s get started!
First you need to prep your container, if you haven’t already done so. Take a look at this post to see how to prep your container. Before planting the lettuce seeds take a moment to install some supports. These supports will be for the climbing beans we will plant in a few weeks. We want to put the supports in now so we will be ready to go when it’s time to plant the beans. You can choose to go to your local garden center and buy a support structure or recycle some twigs or thin branches from your yard. Jen took a look around her yard and cut some 3 ft branches of black twig dogwood.
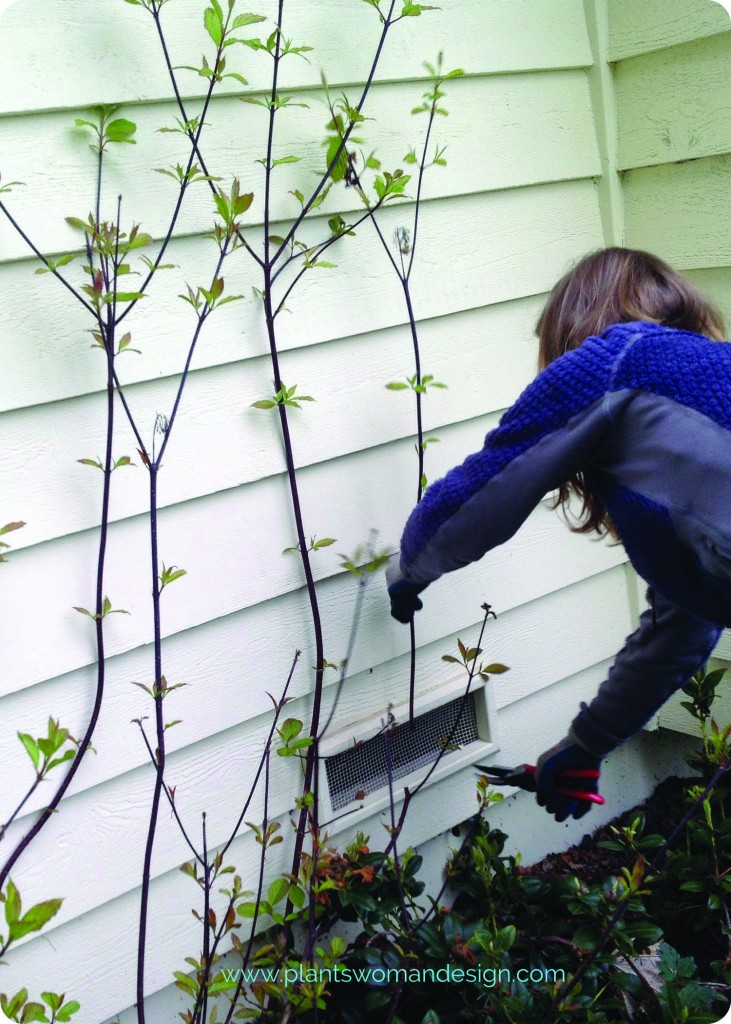
We will keep our eye on the black twig dogwood. They could root out because they are easy to start in water. Rooting out means they will send roots out and become new plants. We will see when we remove the beans after they are finished.
Set the twigs by pushing the supports into the soil creating a teepee like structure. When the beans grow up this structure it will create shad for the lettuce plants when the weather gets warmer. If you haven’t already, give your container a few taps and a good watering to help the soil settle. Firm down the soil around the container. You will want your final soil level to be about 2 inches from the top of the container.
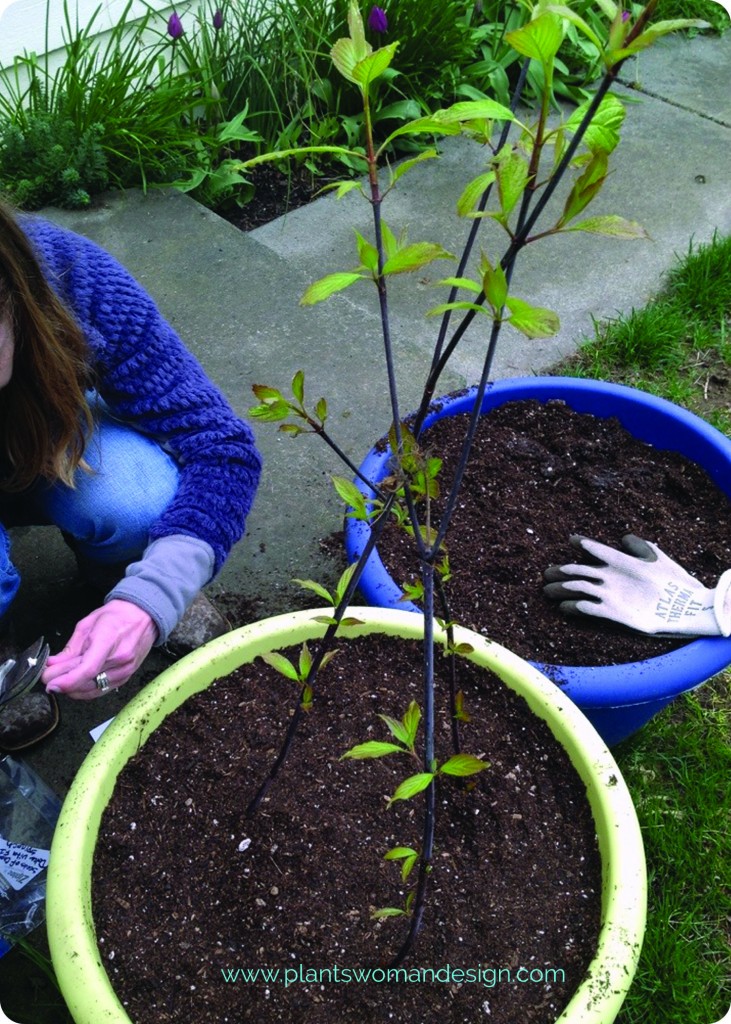
It’s time to put the seeds down. To plant our lettuce we aren’t going to dig the seed in but instead place the seed on top of the soil and spread some additional soil over the seed. These little salad greens just need 1/8 of an inch of soil over them so it is easier to just add the soil after you have laid the seed. If you already used all your soil just scrape some off the top of the container and set it aside. Place the seeds about 1/4 – 1/8 inch apart. Don’t worry about being too exact or about what the back of the seed packet says about spacing. We will harvest this before it reaches maturity so proper spacing for creating heads doesn’t matter as much.
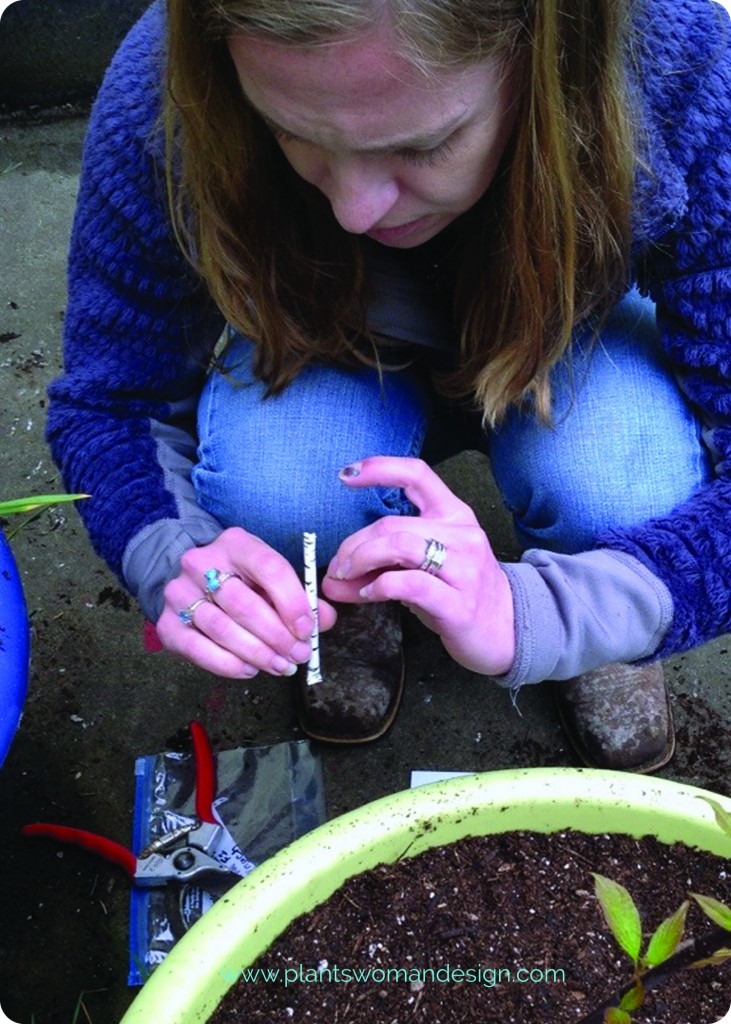
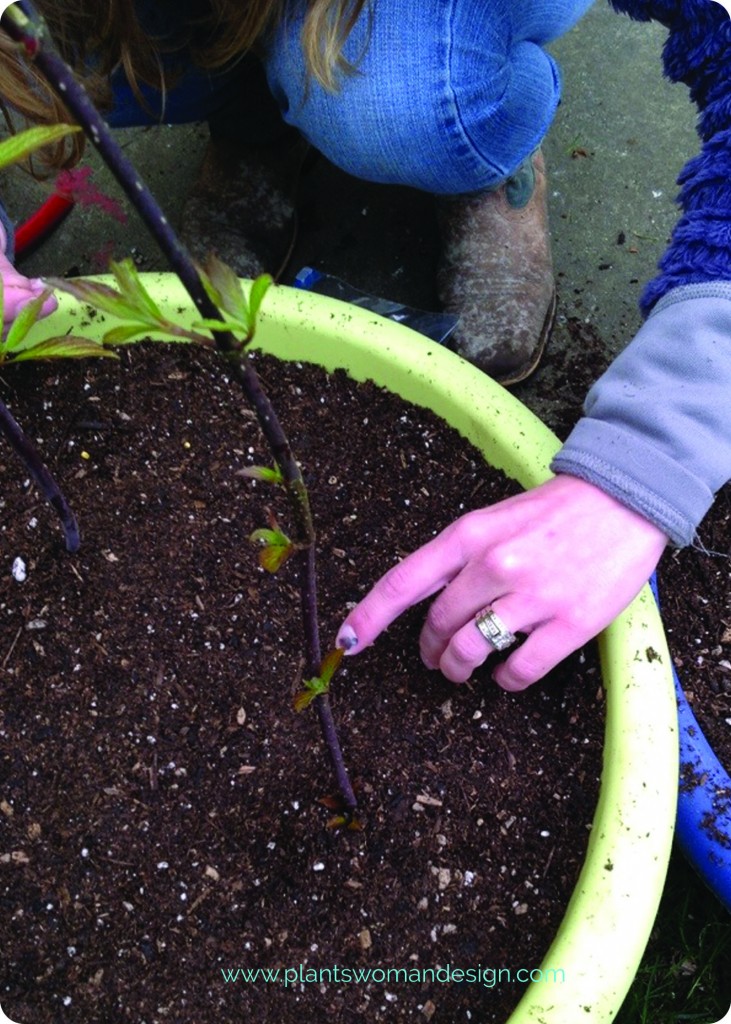
Once you’ve put all the seeds on the soil add the reserved soil lightly on top of the seeds. Press the soil down gently all around and water gently with a wand attachment if you have one. Be careful not to wash your seeds out of place.
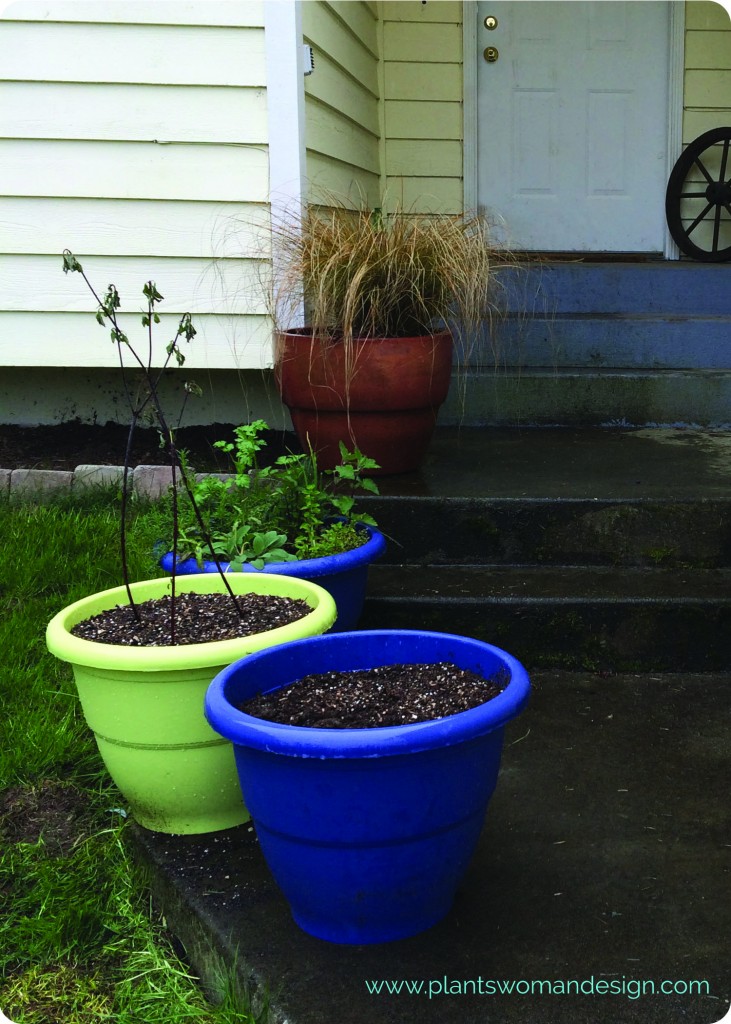
And you are done!
We should see germination of the lettuce in about 7-10 days if the weather remains “normal” for this time of year. Before leaving you newly planted pot swing by your herb container if you planted one with us. Jen visited her herb container and cut some chives for baked potatoes. She can already harvest some of the things she just planted! How great is that? Remember, if you use scissors to cut vegetables or herbs, make sure they are not rusty. A rusty knife or scissors can bring rust to the whole plant. I usually just pinch with my fingers.
I’m off to the green house to check on my tomato seeds… I’ll be sure to let you know if they are up yet.
by Susan | Apr 16, 2014 | garden food, LB Tutorial: Growing Food, Little Bytes, Plantswoman Design
Its almost time. Earth is warming, sun is shinning and now I can stop pacing in front of the window and start planning, purchasing, and planting. Lettuce is one of the first things of the season you can plant. There are some fun ways to start planting with introductions of new lettuce blends and new ways to deliver the blends.
While visiting the nursery and looking for new lettuce seeds I was amazed at how many there were. Seems like that is the trend right now. Of course that started me to thinking why blend only lettuces together. When you go to the store there are all different blends for salad mixes. You will see spinach blended with baby romaine, baby beets, and lettuces, and so on. So I thought why not plant them together. They can all be growing about the same time with different rows, I typically cut my salad greens when they are young so don’t really worry about ‘maturity’ dates.
So off I go to do research. For our purposes we need to know germination rate (how long it takes the seed produce something green that we can see). We want all of our seed to germinate within a few days of each other. This means they will be ready to harvest in their ‘baby greens’ state about the same time. Most salad greens can be treated as ‘cut and come again’.
Strangely enough some seed packets don’t have very much information. I think all seed packets should give basic information and some uniformity would be great. One packet will say how to plant, spacing and harvest but not give a germination rate. A couple even gave recipes! The seed packet is pretty small so I’d rather see great information about the seed, as much as is available, instead of a recipe.
Some rules of gardening to keep in mind as you choose your mix.
1. Same temperature for germination. Don’t use warm weather crops with cool weather crops.
2. Same time of germination. You want seedlings to show up about the same time within a few days or a week.
3. Use good quality seed and no old seed. Many people know that seed can be saved over one season to the next. The seed will still come up but germination rates are decreased.
4. Planting depths should be about the same. 1/2 in to 1/4 inch choose the 1/4 inch depth for all. 1 inch to 1/4 inch choose another variety closer to the same.
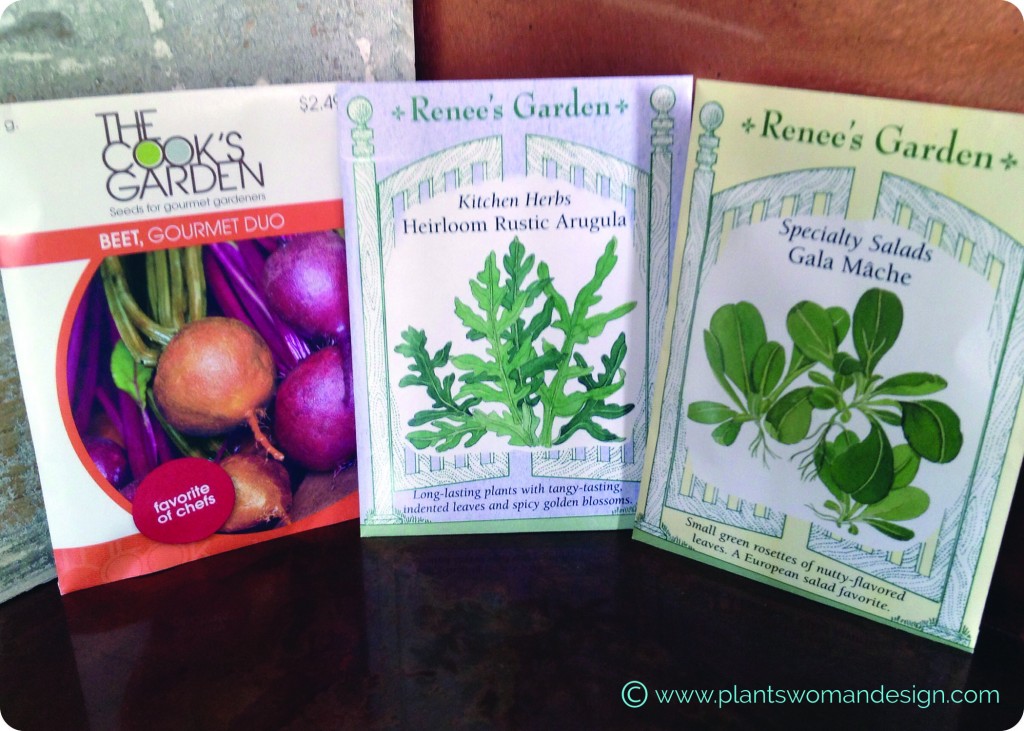
I picked out some great seeds to mix up:
- Gala Mache- Lamb’s lettuce (European favorite) – Renee’s Garden Seeds
- Rustic arugula – an heirloom variety from Italy – Renee’s Garden Seeds
- Red and Golden beets – Cooks Garden Seeds
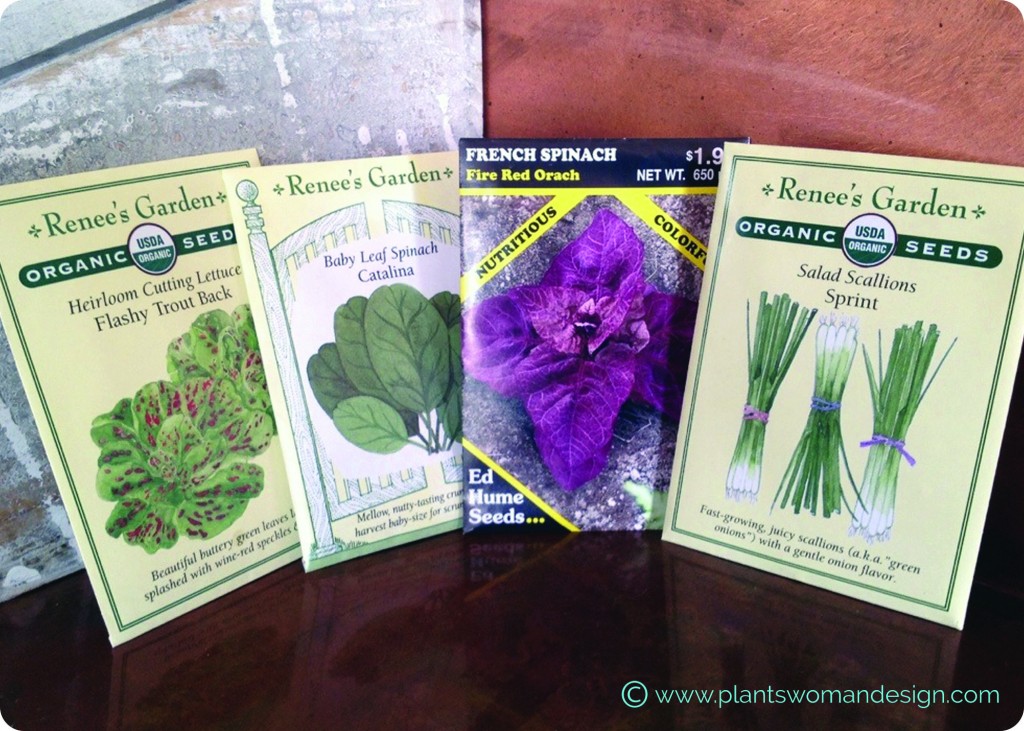
- Flashy Trout Back Lettuce , Heirloom Cutting Lettuce -Renee’s Garden Seeds
- Catalina Spinach Baby Leaf Spinach – Renee’s Garden Seeds
- Fire Red Orach, French Spinach – Ed Hume Seeds
- Sprint Salad Scallions, Green onions – Renee’s Garden Seeds
Side Note: The French Spinach is not a true spinach (interesting right?). It has purple leaves, very nutritious and can be harvested young or cooked like green spinach when it matures.
The scallions can be cut with the rest of the greens to add a mild onion flavor. Beet greens can be cut and harvested young too. We will only use part of the seed packets in the mix and use the rest in a separate row of the garden and allow them to mature into full heads of lettuce.
When I was ready to plant my crop I poured the seeds out together on a mat to mix. Then I funneled them back into the pack for spreading into my prepared soil.
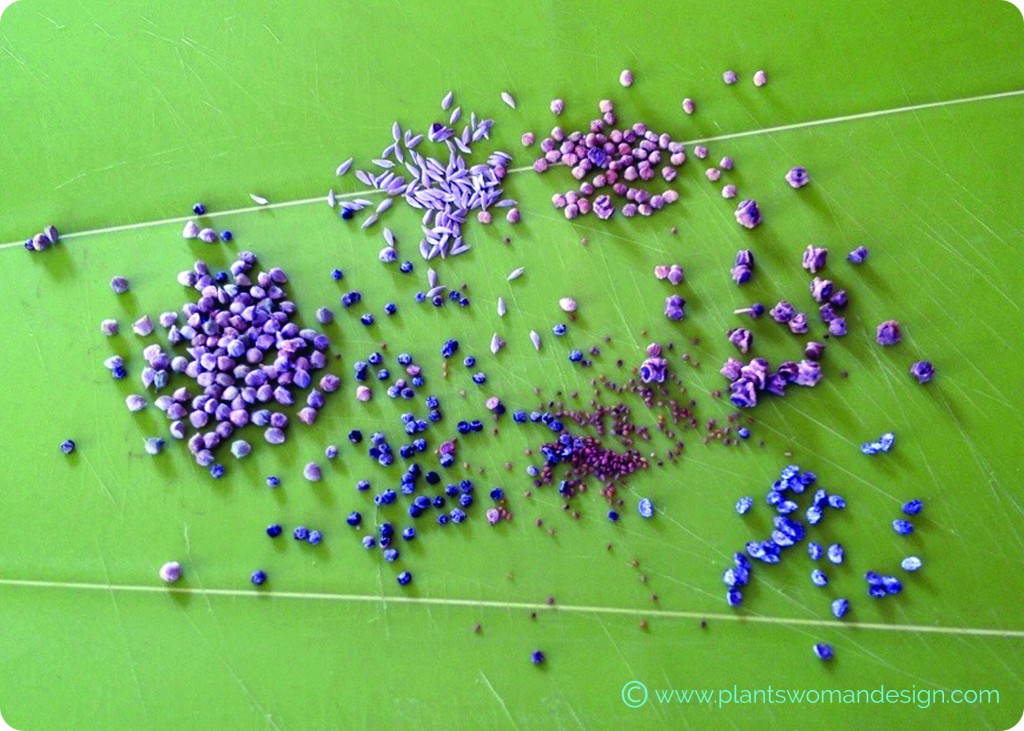 Today is March 23rd and I will go out and plant my seed mix. The earth feels fairly warm and is nice and crumbly, nice to work. I mixed them together into a seed envelope so they could be spread easily. I scattered thinly and then went back over the same line. The bigger heavier seed came out first and the smaller lighter seed came out after. The row is a little broader than my regular rows but I want to cut them in bigger sections so that will work.
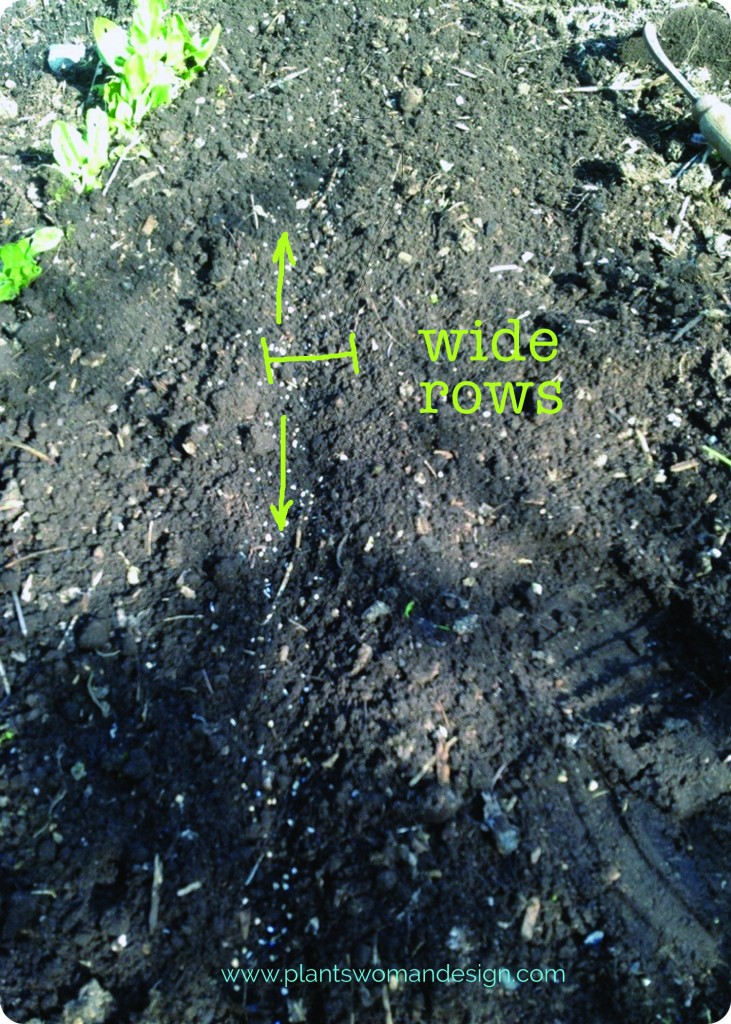 I watered the row in well and placed a grid of metal over the top. I will remove it when I start to see germination. It keeps the birds from going back into the newly tilled up space and eating the seeds. In some cases (the peas) I leave it in place the peas grow through it and it protects from rabbits and cats digging.
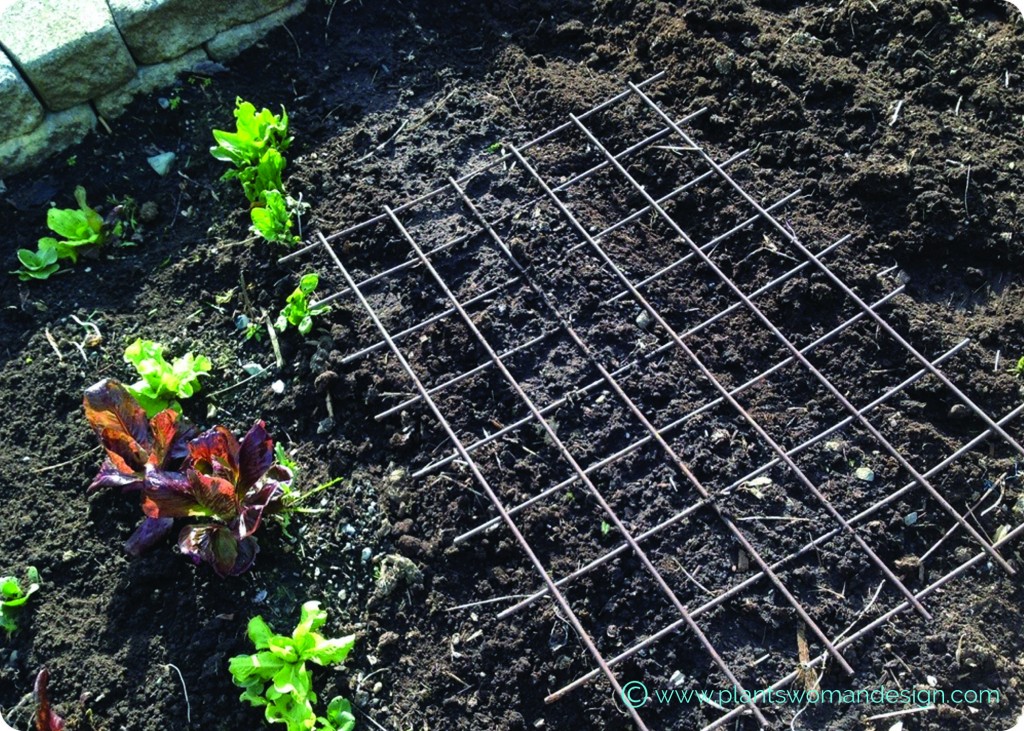 Let’s talk about soil real quick… My soil had organic matter dug into it in the fall and is ready to plant now. I really spend a lot of my energy getting good viable soil that is strong and has lots of organic matter and worm action. This means I won’t have to do a lot of fertilizing later on. Everything we grow needs a good foundation of soil. This helps with pests and diseases because you have really healthy plants. I will fertilize with a diluted fertilizer only once in the season when the seedlings are about 1 inch tall.
I’ll keep you posted on how the seed mix is doing. Let me know if any of you try out a mix of your own…..


 And here’s the blank canvas in a shade of green. I get a little giddy just thinking about the possibilities…


 As if the canvas of green grass wasn’t enough here is my beach. Did you catch it? MY beach!


