As many of you know I design and love beach gardens. When meeting with clients I always discuss several possible areas for sitting. So often they say they want to sit with the view of the water, obviously, that’s why they bought the property in the first place. But as anyone who lives close to the water knows there can be major fluctuations in climate between the different areas of your garden. The front of the garden facing the water can be windy and cold in the morning but warm in the evening, or warm in the morning and cool in the evening. Extremes in temperatures, wind, and sun need to be intentionally planned for. Having multiple areas for sitting and gathering provides a way to be outside whenever possible and that is important.
This winter has proven an eye opening (or eye closing) experience. Here is what I’ve learned…
- The wind is strong off the water even when elsewhere in the county there is no wind. (yes I said county…)
- The structure of the house is sound and has the ability to withstand the wind. The garden has to be the same way.
- The view to the water must be maintained but the exposure to the elements tamed, quite a challenge.
As I worked on an area in the back of the house I was reminded of my design suggestions I mentioned in the post What Comes First The Plant or the Plan. I have not thought this would ever be an area where I would hang out as it is behind the house with access through the kitchen door. It was the logical place for the BBQ but more of a ‘dart out there and do it’, than a destination. Two things this winter have changed my mind: 1. The seemingly constant wind and 2. The western exposure. Wind from the water is blocked by the house and the sun swings around the side of the house and ends up behind it. There are no windows on that side so I didn’t realize how sheltered it was until I was working over there. Hmm (which comes first the plant or the plan )….. While this little corner does not have a spectacular view of the sunset there is bit of water and the sky is lovely as the sun slips over the horizon. The back of the house retains warmth from the last bit of sun and actually provides a great place to sit in the eventide.
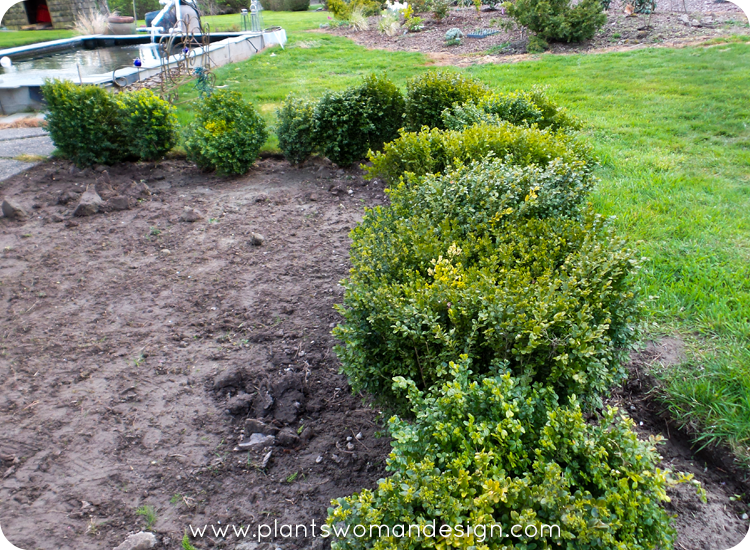 Now I had to plan for privacy from the neighbor’s driveway. When you don’t spend a lot of time in the back of your house there is not that great of need for privacy. The grass has been removed from the area and a boxwood hedge has been placed around the squared off area and I could see more screening would be needed, further away and a little taller.
 The driveway behind goes at an angle but I did not use that angle to plan the line for the hedge. I picked an angle off the house that runs parallel to the house and repeats the line of the boxwood hedge. It is stepped back from the boxwood about 20 feet and connects to the propane tank covered area. I left a space for walking and mowing (will not mow this area eventually) and marked out the spacing for the hedging.
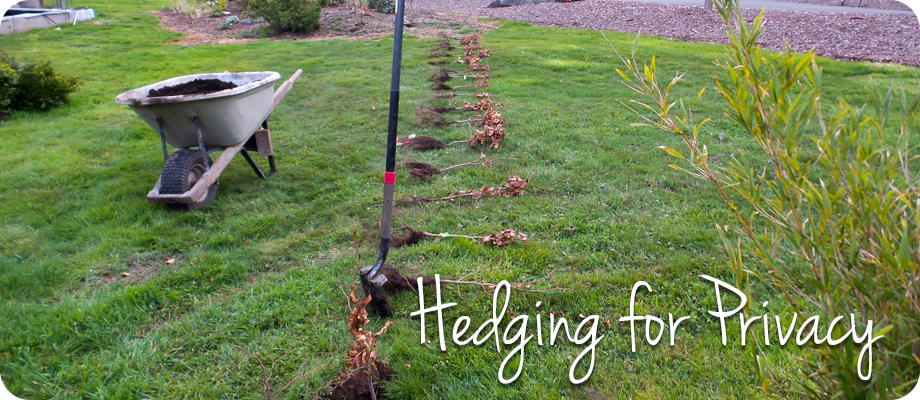
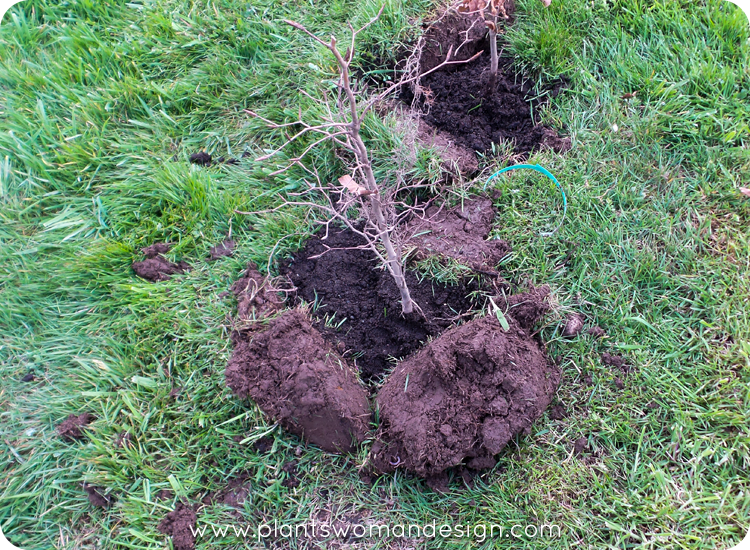 It is early enough in the spring to get bare root plants still. Fagus sylvatica was my choice for the plant material. Measuring the area I placed the plants at equal distance apart and started to dig holes. This area is not totally cleared and prepped for the planting but because it is a hedge the ground can be worked after the plants have been established. Sometimes you just have to get plants into the ground and work the ground around it later.
 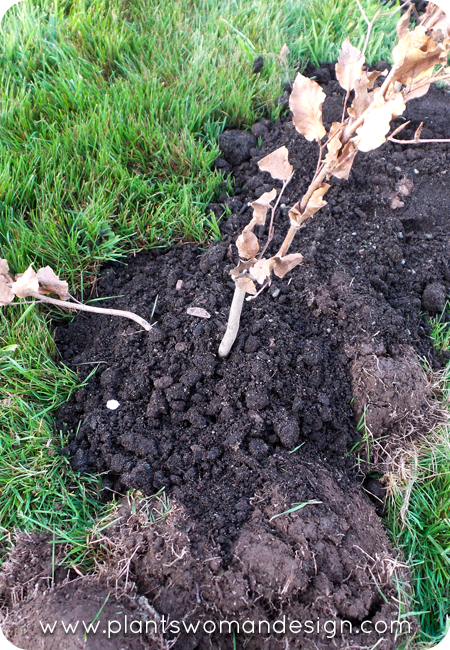 As you can see the holes were dug and the edges of the grass removed were just turn over and placed on the downhill side of the hole. Although not a big slope it does provide a little bit of a well for the water to remain around the plants. The soil in the hole was mixed with a good compost/soil mix I use in all my beds. The roots were then spread out over the soil mound in the hole and back filled with more good soil. Firm tamping down of the soil around the roots insures good soil connection with the roots. Yippee! The hedge has been ‘laid’ in English gardening terms. Later the lumpy grass clods will break down, and can be raked out. A great method for creating planting beds with cardboard and mulch will finish off the project (watch for this in an up coming post, ‘The Easy Peasy Planting Bed’). In the meantime here are some additional tips for planning your own privacy hedge.

