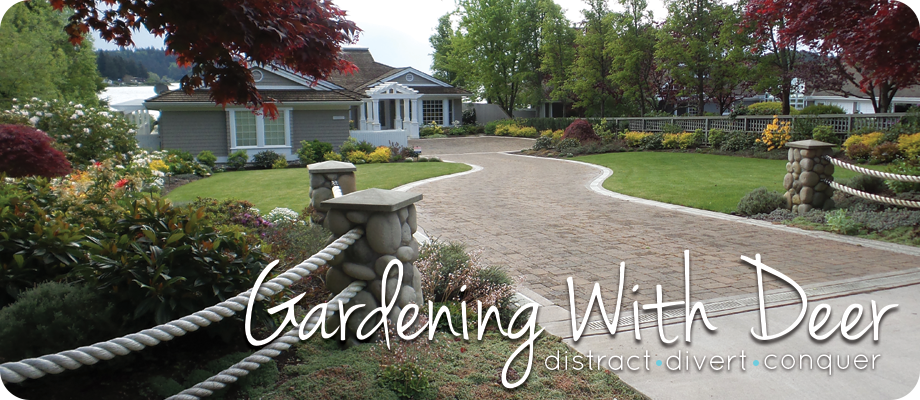
Mid-Century Woodland Garden
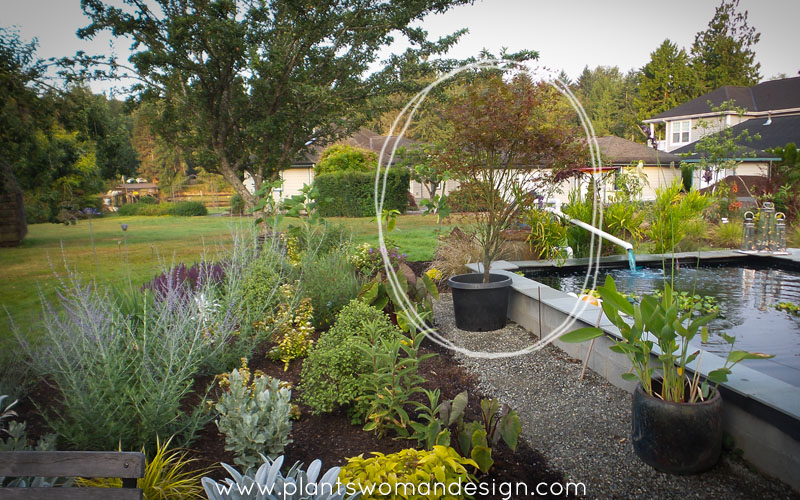
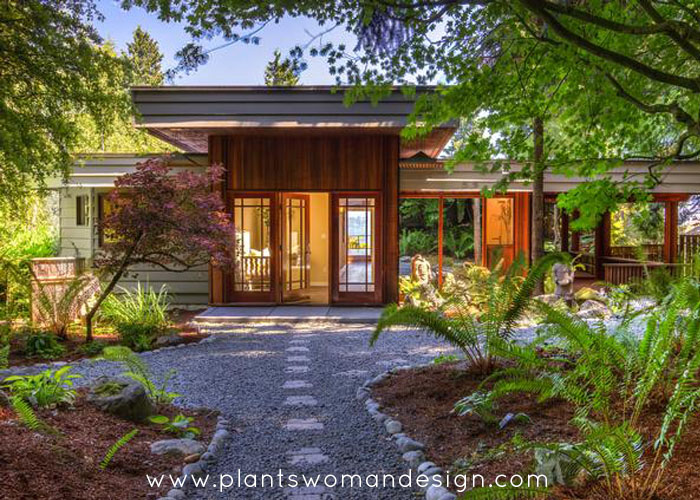
A beautiful house with history and modern lines, a stand of old mature fir trees, and wonderful clients, what more could a designer ask for?
This lovely home was remodeled and updated about 6 years ago. Built many years ago without permits it was a definite challenge. A sensitive contractor and clients with good design esthetics made for a gracious custom home. After the remodel the garden was kept clean and tidy but did not really have the same level of design and materials as the house did.
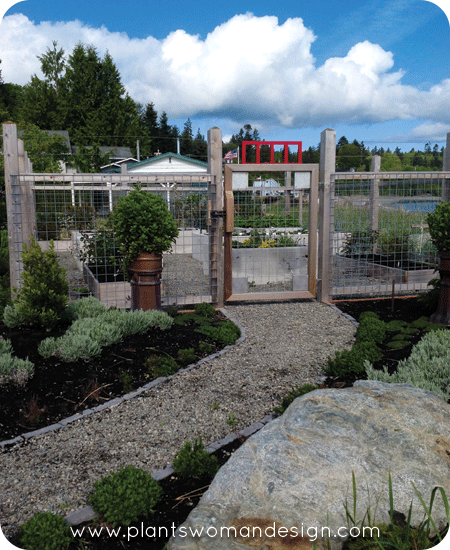
I was excited to be involved. Some of the challenges of the site were the same as in the house. How to keep the eclectic history of the garden with large trees and native plants while creating an entry walk worthy of the house. A bamboo fence added a little of an Asian feel, leaving it was important because of the history but we didn’t want the garden to be a Japanese style garden. I minimized it with a much more dominate walkway and plantings that draw the focus down to the entry of the house.
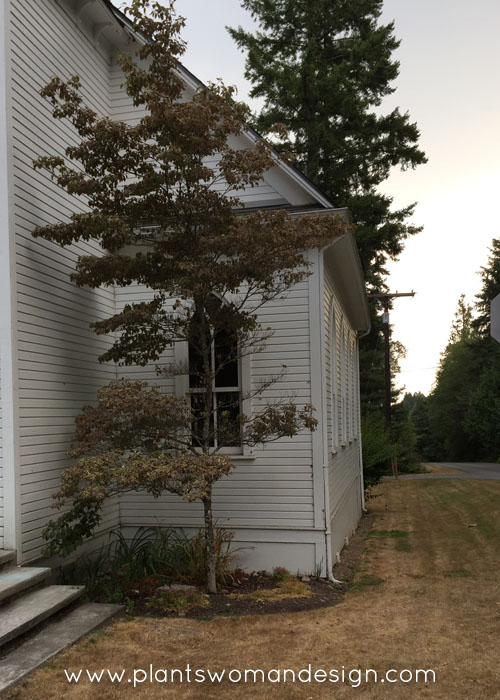
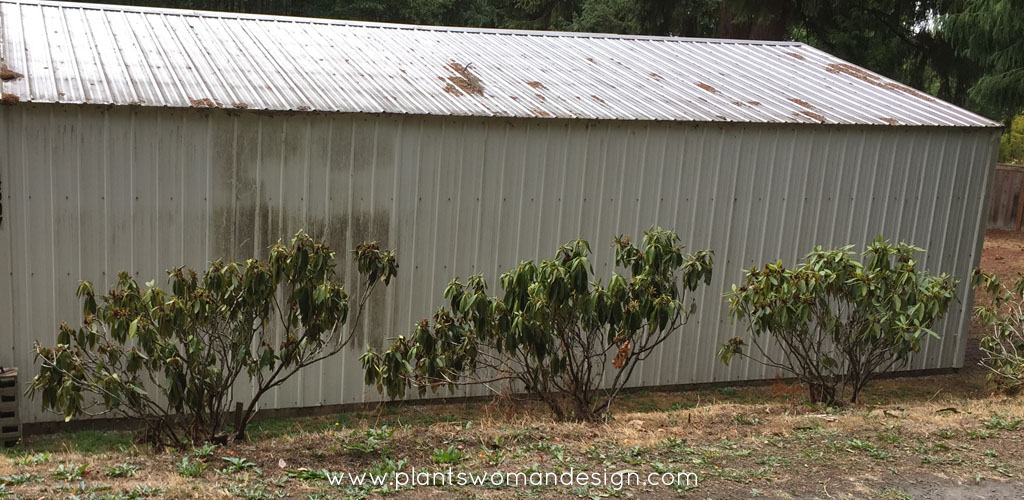
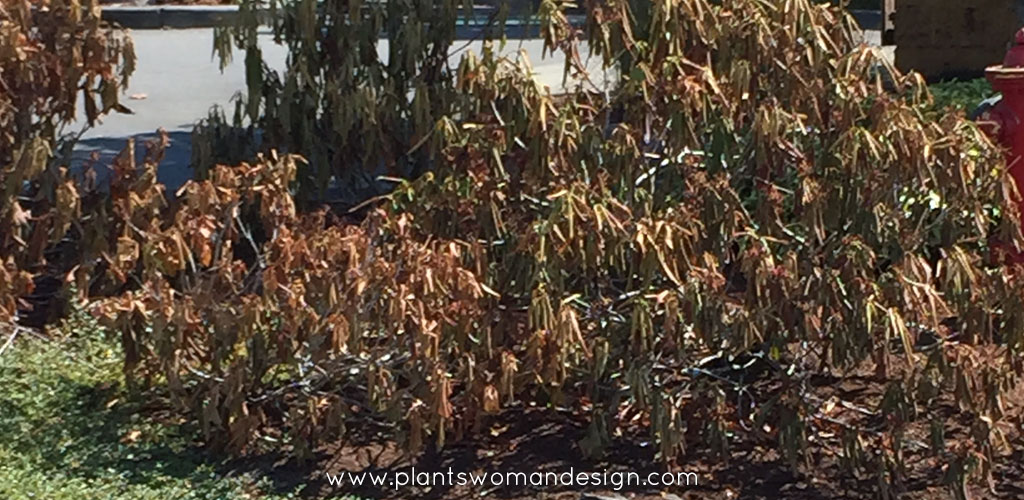
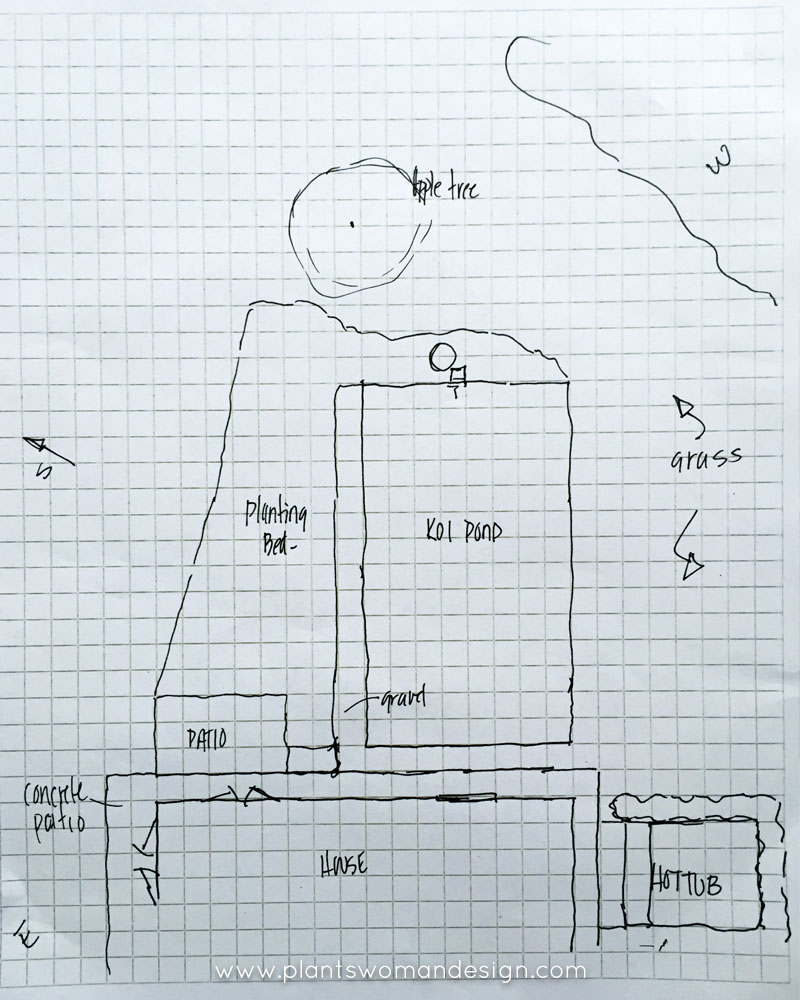
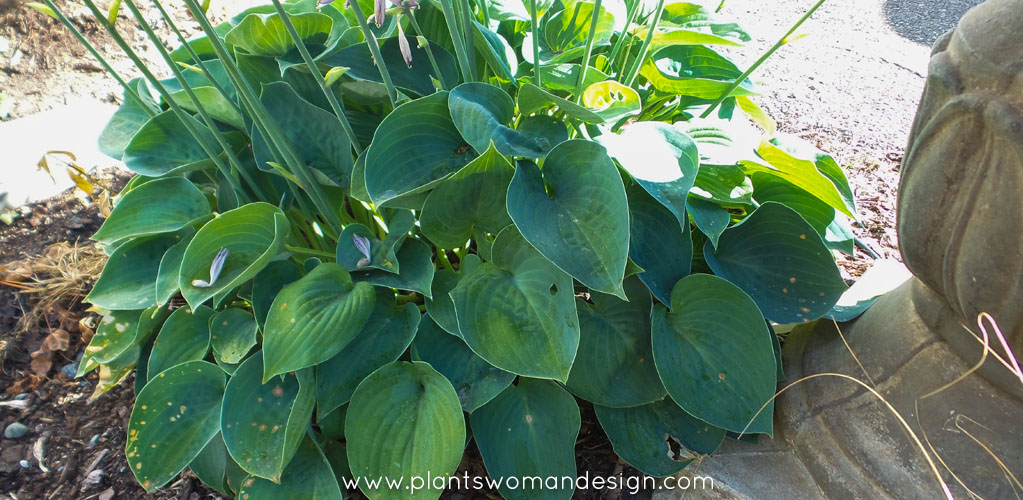
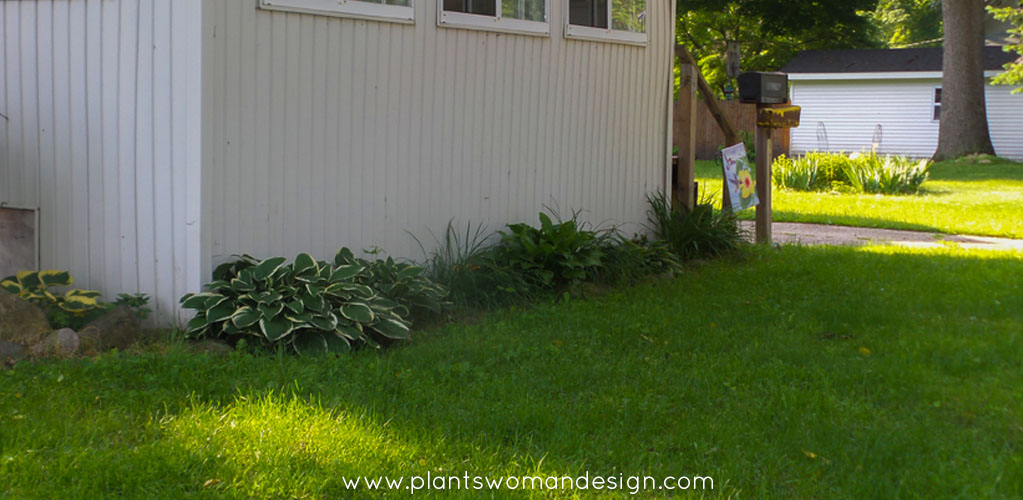
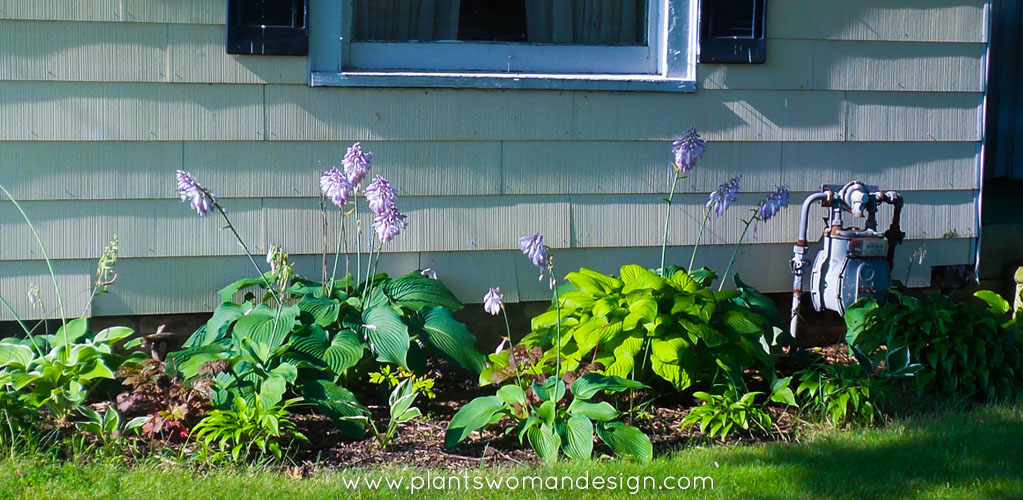
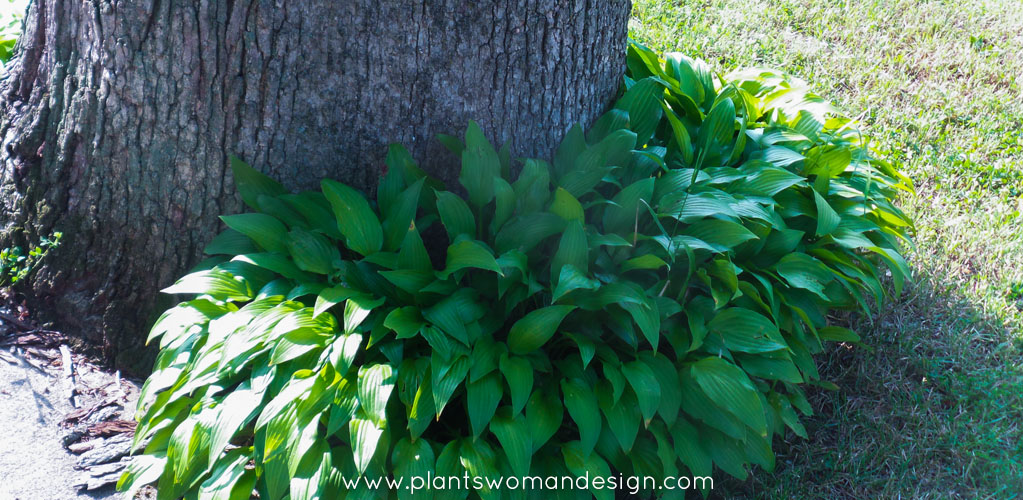
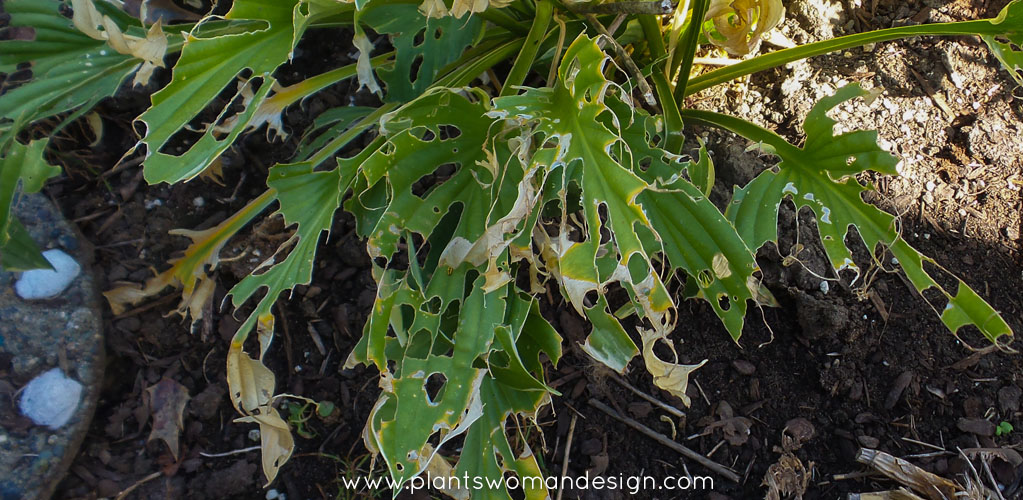
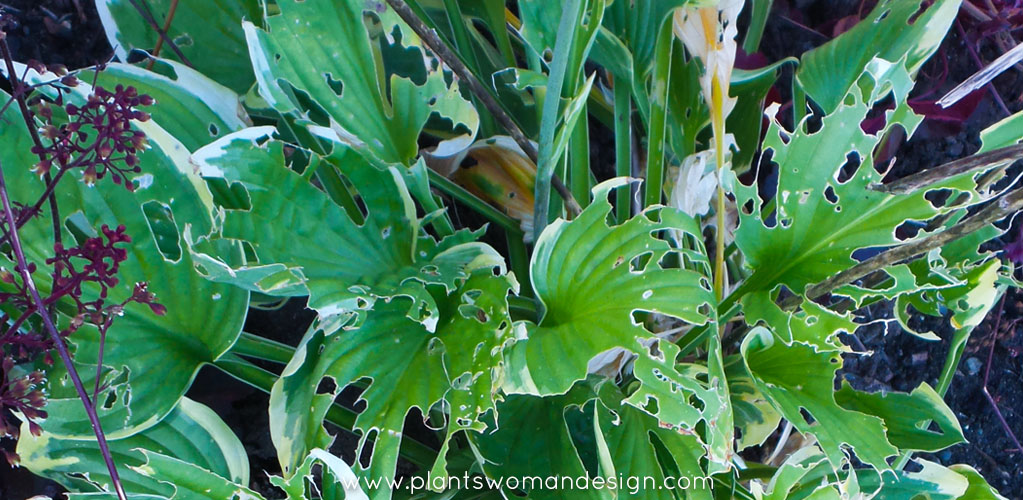
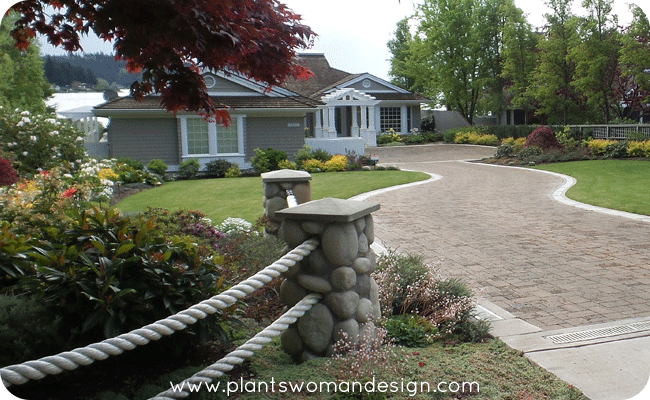
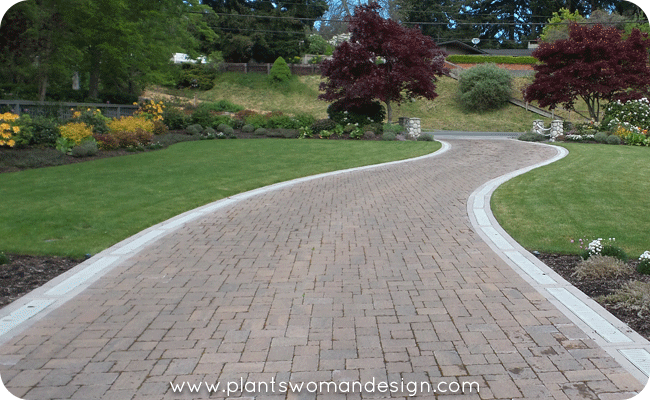
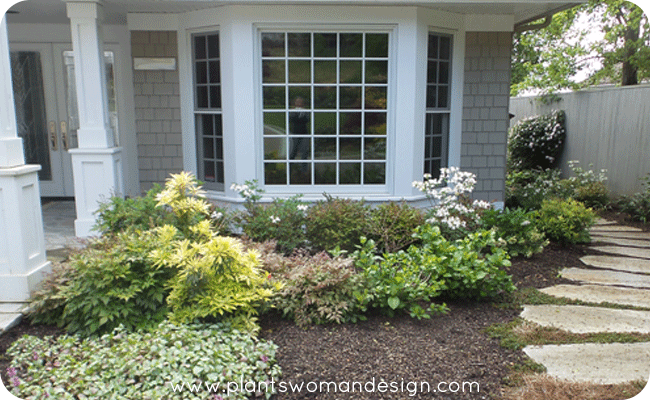
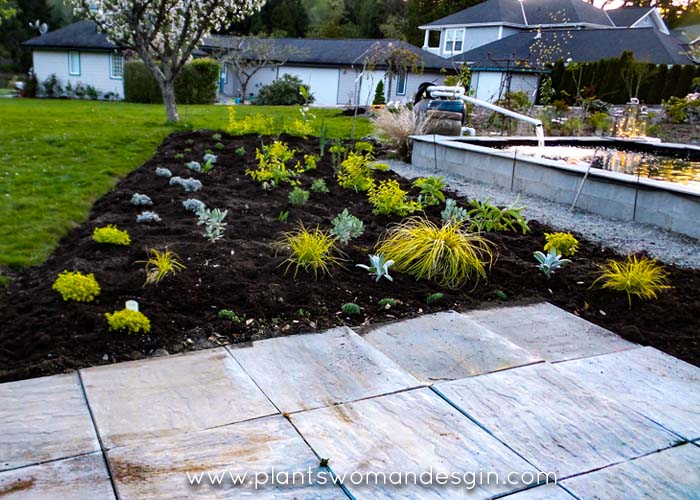
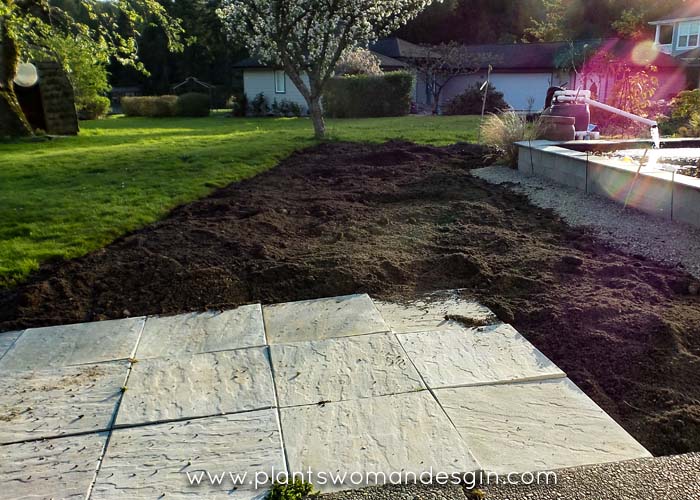
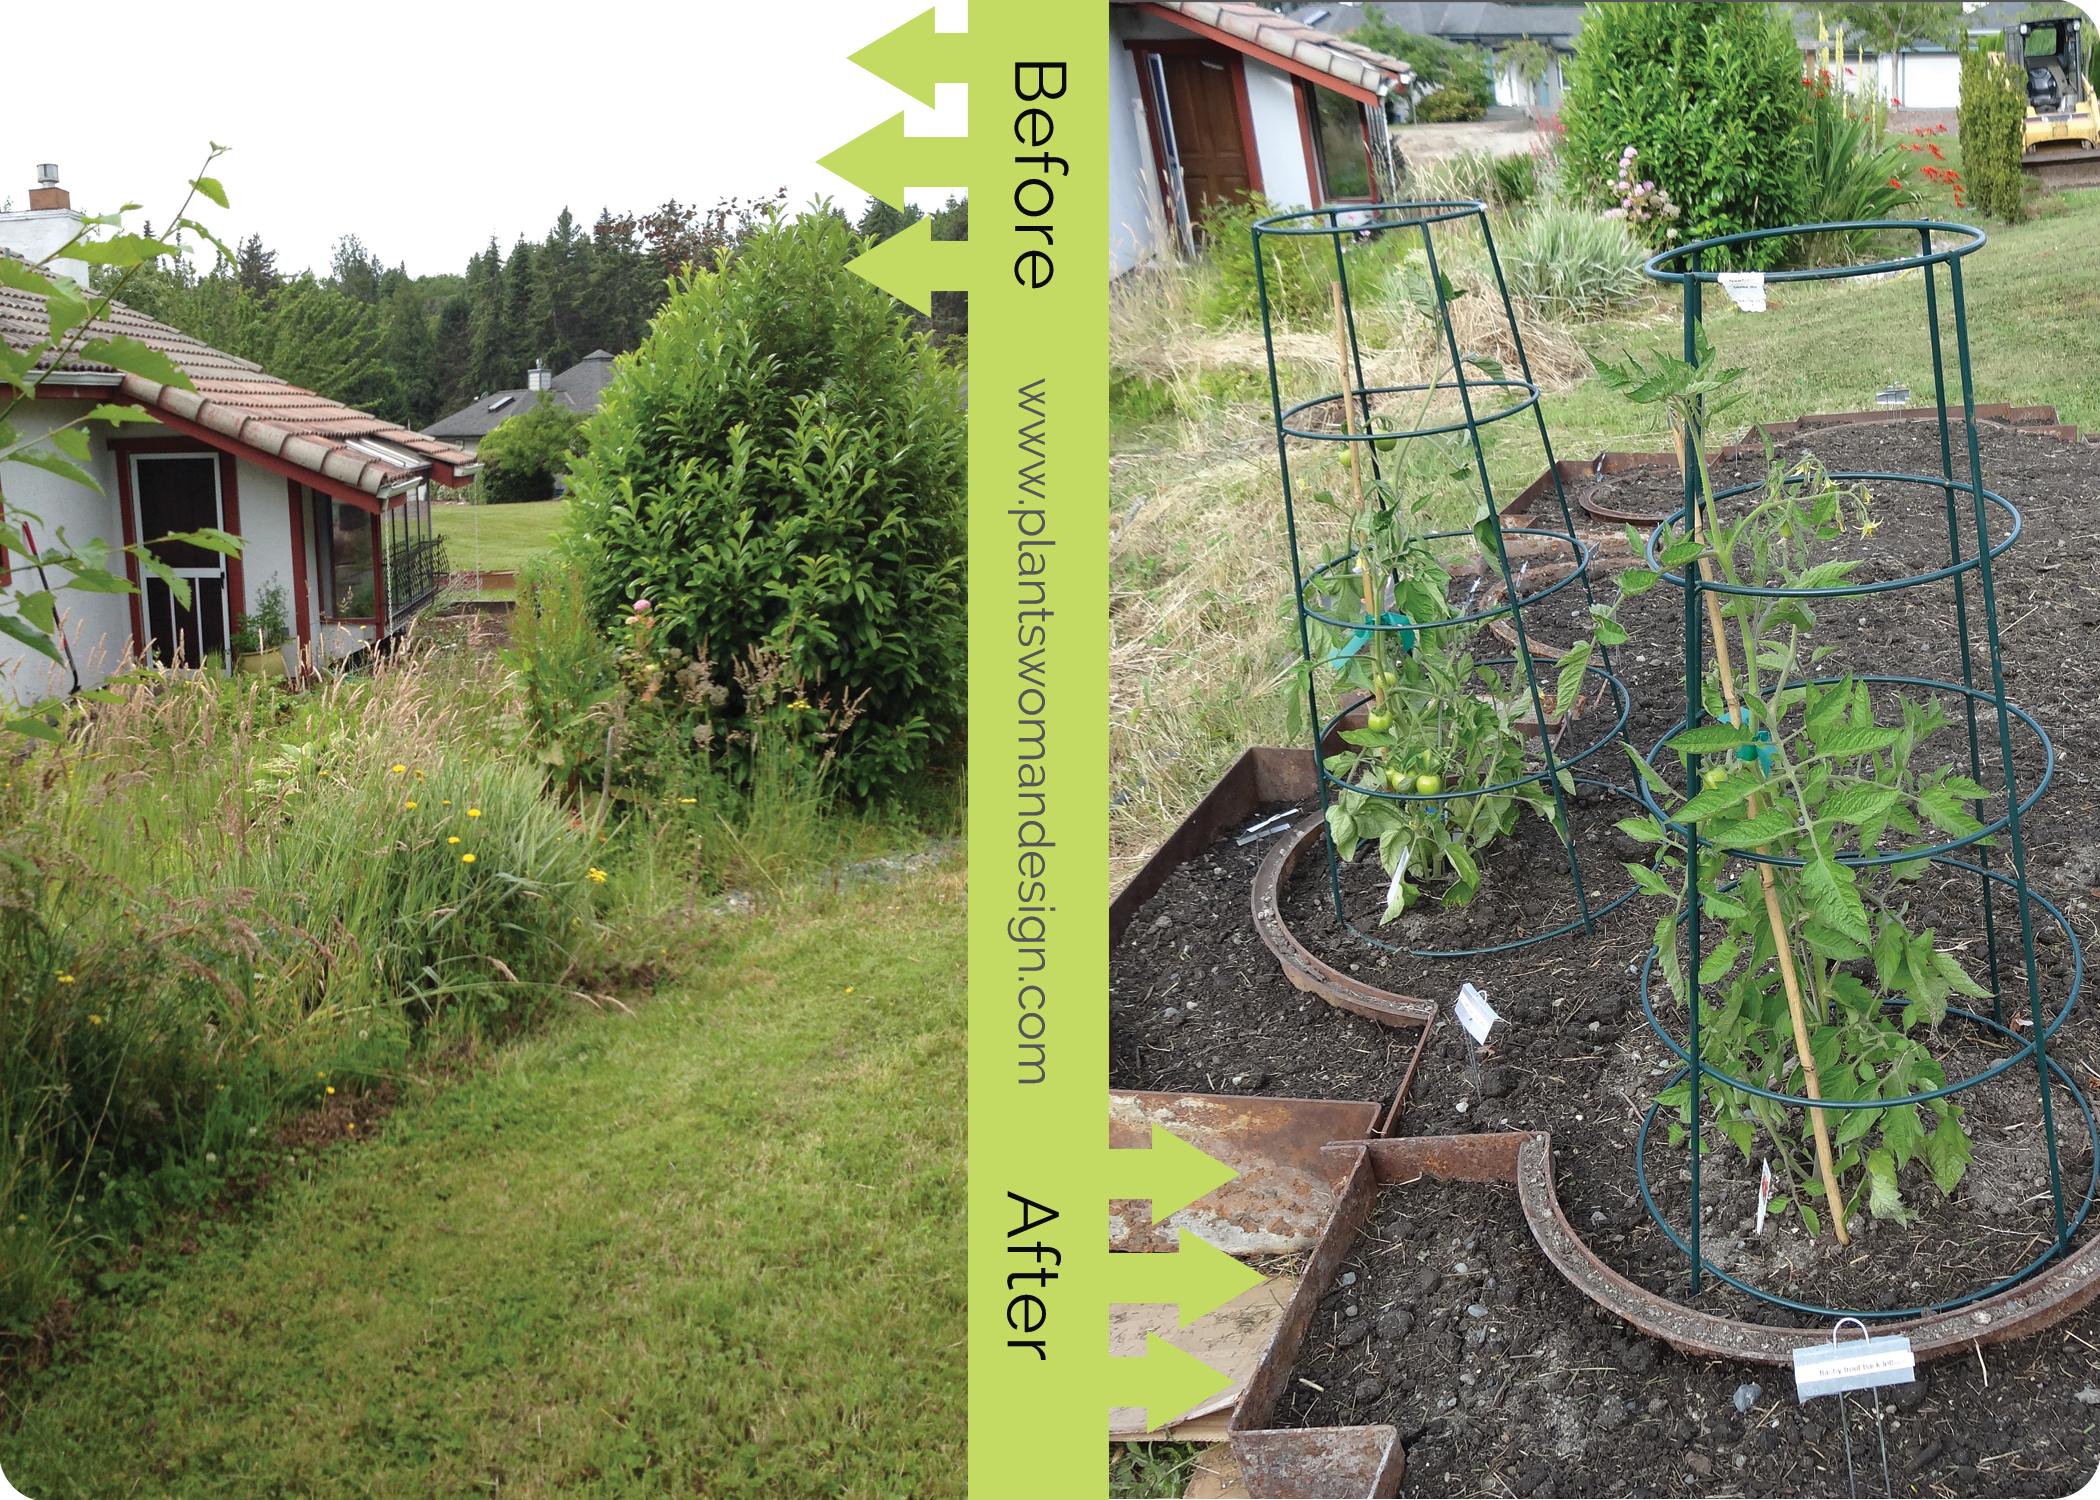
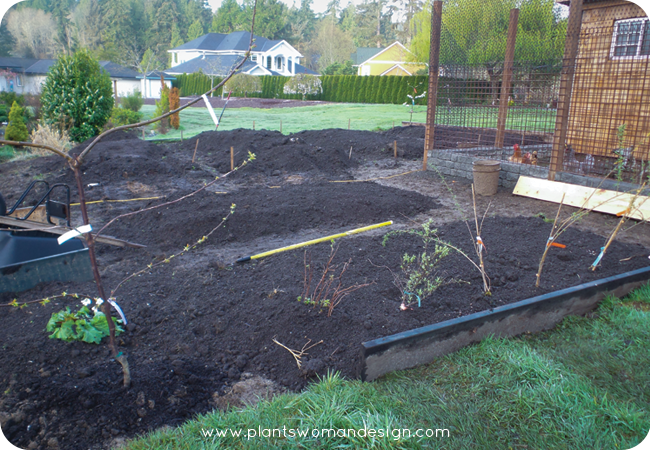
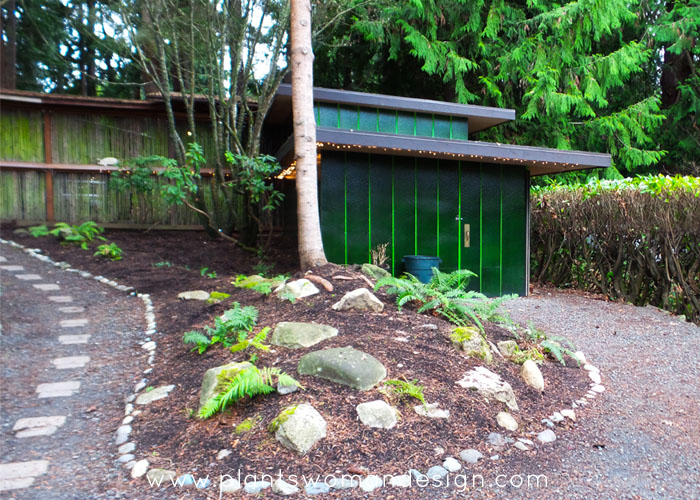
Before
Before
Before
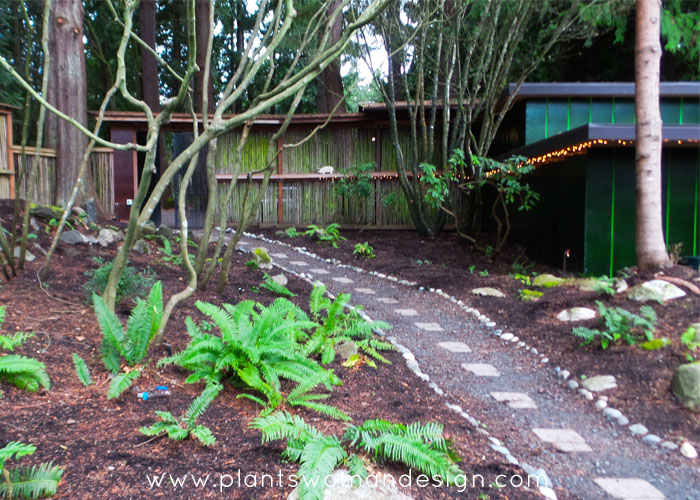
Thinning out the Acer circinatum, native Vine Maple, was a hard sell for my clients. Getting to see the thin lines of trunks with their twists and beautiful bark, uncluttered the mid level of the garden was an important element. It becomes a lighter space, and you are able to view the entry while walking through the tall dark fir trees, and lovely light green trunks and leaves of the maples.
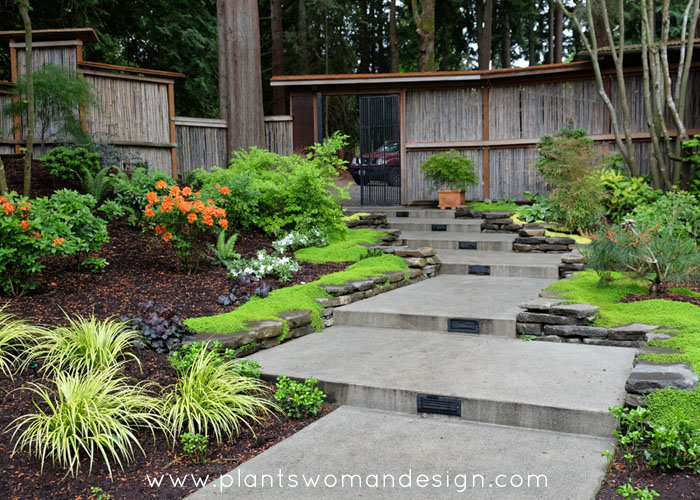
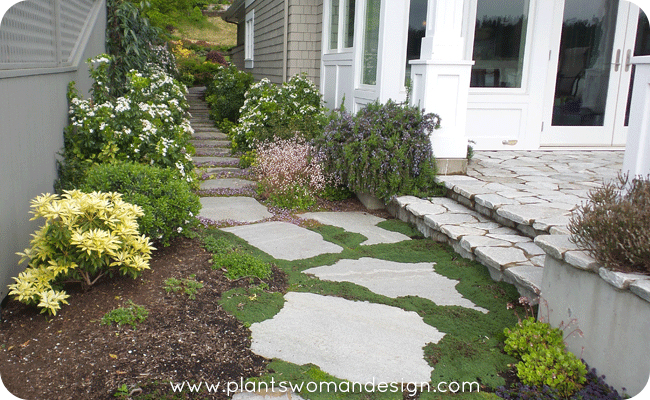
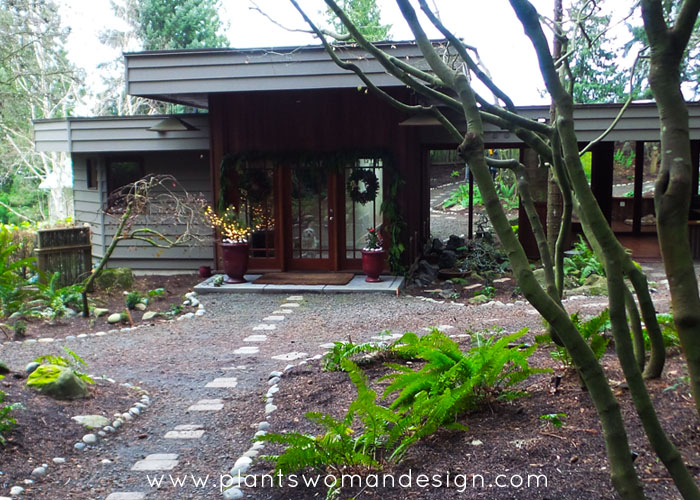
The walkway was created out of poured concrete that was acid washed. Subtle down lighting illuminated the area to walk on without giving too much light that would distract from the garden itself. By creating an indirect path it gives an opportunity to pause on the way down to the front door. Sometimes walkways that go down to an entry are more difficult to feel at ease on. The front cement stoop was removed and stone tiles that match the inside hallway stone were added. This creates a visual that draws the eye from the front porch through the entire house to the view out the front windows. A sense of arrival that is a real reward for walking down the pathway.
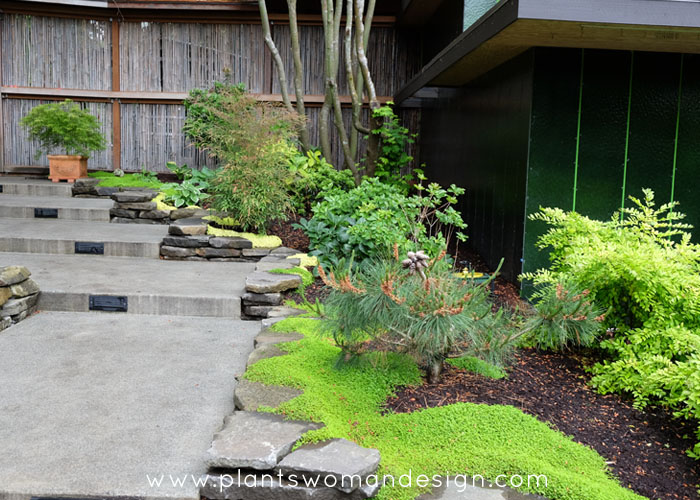

Stone on the edges of the walkway (Silver Falls Ledgestone) keep the walkway clean from higher soil levels along the path. These are also softened with a combination of two types of Baby Tears. Bright green plant foliage also lightens up the area. Japanese maples and mugo pines were on the property along with some additions from the client’s other home. Many of them were moved into new positions that made them more important. Focal points were created in different areas, with dog proof groundcovers on the edges of the pathways. A fine gravel, granite ¼ inch minus, (also called decomposed granite) gives a solid pathway that is still friendly to dog paws.
Guests are always excited to come and visit and while sorry to leave, the walkway gives a beautiful, totally different perspective on the way out.
Design ideas:
Work with what you can keep on a site. You don’t always have to take everything out and start over. Leaving some of the plants on a site give a sense of history to a garden.
Design for all the users of the garden. The first bright green grass I used (hakonechloa macra aureola) had to be replaced because the clients two dogs loved it so much they ate it. The acorus graminus, sweet flag grass, is just as lovely without the same attraction for the dogs.
Create interesting perspectives from different areas of the garden. Coming in should be different than leaving and cameos of special plants can be scattered around the garden.