by Kristen | May 28, 2017 | LB Tutorial: Growing Food
Not to be outdone by the Easter Garden the grand-kids in Illinois (zone 6a) planted a garden with their mom for Mother’s Day. Let’s join Kristen for a quick tour…
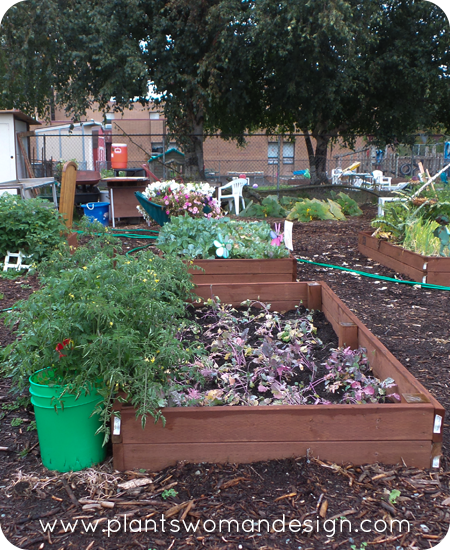
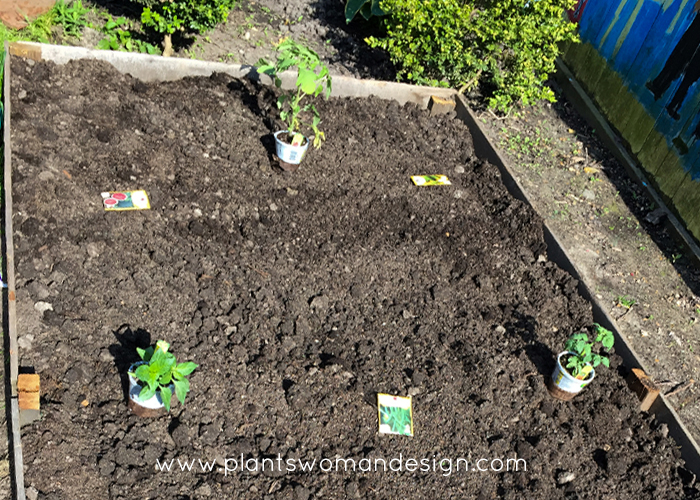
We started prepping our garden back at the end of April. If we wanted to we could call our little garden the Secret Garden because it is hidden from view in the side yard of the neighborhood church’s 2-flat. Most people don’t even know there are garden plots back there unless they are brave enough to ask the right question to the right person. It is a perfect little spot for us amongst a few people lucky enough to get a spot. Our patch is roughly 8’x16’. We used the boards from a section of old fencing to build the retaining border and used drywall screws to secure the boards to wooden stakes we drove into the ground with a hammer. This proves that you can build a garden bed with just about anything you have on hand. It doesn’t have to be perfect or Pinterest worthy.

While we were digging through the soil to put in the raised bed boarders we found tons of worms doing their work, which was such a good sign. Our son made it his job to find as many as possible and ended up finding the biggest worm any of us had ever seen in life. Even with all the worms the soil here is full of clay. We amended the soil with manure and compost. Our daughter just couldn’t believe we were planting seeds in poop. We assured her it was ‘clean’ poop but that didn’t help.
On Mother’s Day we joined the throngs of people at Home Depot and purchased three tomato plants and a red bell pepper start along with seeds for watermelon, cucumber, carrots, beans, lettuce and spinach. Because of our small space, we chose bush varieties for the melons, cucumber and beans. Just like the Easter Garden we also found seed tape for the spinach.

Back at the garden we laid out the seed packets to find the best placement for each vegetable. Because of how the sun travels over the garden we chose to forego traditional rows and plant in groups instead. With the tallest plant, the beans, in the middle and the vines in the corners, so they could spill out over the edge if needed, I’m hoping the design will make the best of the sunny hours. When the time comes to stake up the tomatoes and beans I want to take a page from the Planstwoman show garden and use metal tubing to prop them up.
Since planting the garden we had a week of 85+ degree weather which really gave our seeds a good start. It has been chilly and wet since then but the sprouts fighting their way up through the soil.
What have you planted in your garden this spring?
by Susan | Apr 14, 2017 | LB Tutorial: Growing Food
It is always a struggle to find something to give to a 16 year old for Easter… Dress? No GMA. Little white gloves, hat, chicks, bunnies, stuffed animals? No GMA. This girl doesn’t even like candy that much. A Starbucks card is good but pretty ordinary. So, this year I just asked her… ‘A Vegetable Garden’ was the answer.
WHAT? A garden? How fun! I can so do that.
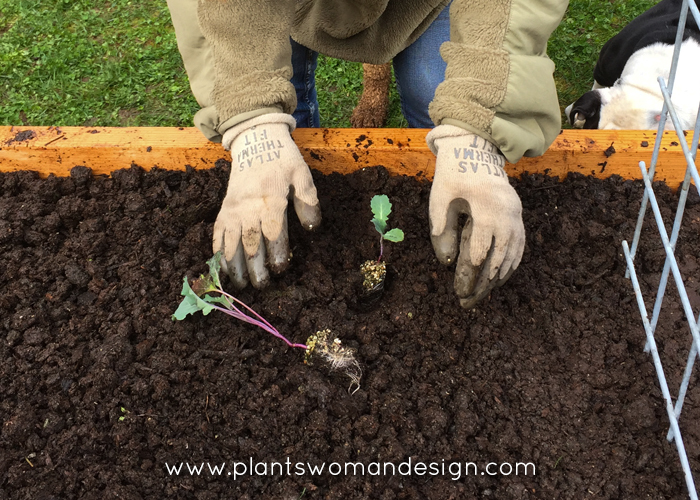
Raised beds were necessary so with the help of her Dad they made two raised beds a few weeks ago. They have dogs, cats, goats, and horses so anything edible needs protection! Last Saturday on a rainy (surprise, surprise) morning I brought a little dump truck full of soil and washed manure. Kayla, her mom, and I filled the boxes in about an hour while slipping and sliding in the spilled soil and rain. Lovely thing about soil with the manure is the amazing amount of worms!
Kayla had a huge list of plants that I ordered from Botanical Interest Seeds and Territorial seeds. So many that they will not all fit into the beds. She did her research and picked things that will be the right size for their raised beds. And fun things too like 3 Colored Carrots, Purple Beans, and sunflowers!
Of her huge list only the early season crops – sugar magnolia peas, little snow pea, Bullet Lettuce, pot and patio lettuce blend, Olympia Spinach, and Kaleidoscope carrot collection, could be planted now. We also had some purple broccoli and green broccoli starts to plant.
We used a left over piece of galvanized fencing to support the peas (they get 24 inches tall). The soil in the beds was so wet and clumpy it was like planting in mud. We may have to replant some of the seeds if they don’t make it because of the wet. We also put some grow cover over the beds to protect the soil from excess compaction and to raise the temperature of the soil for germination. Good thing we did because the temperature two days later was 28 degrees. The average last frost date for Seattle area is March 24th. Guess this year is anything but average. We have also had 60% of the total average rainfall for the year already.
We will continue to report on the status of the Easter present.
Happy Spring!
by Susan | Apr 1, 2016 | gardening, LB Tutorial: Growing Food
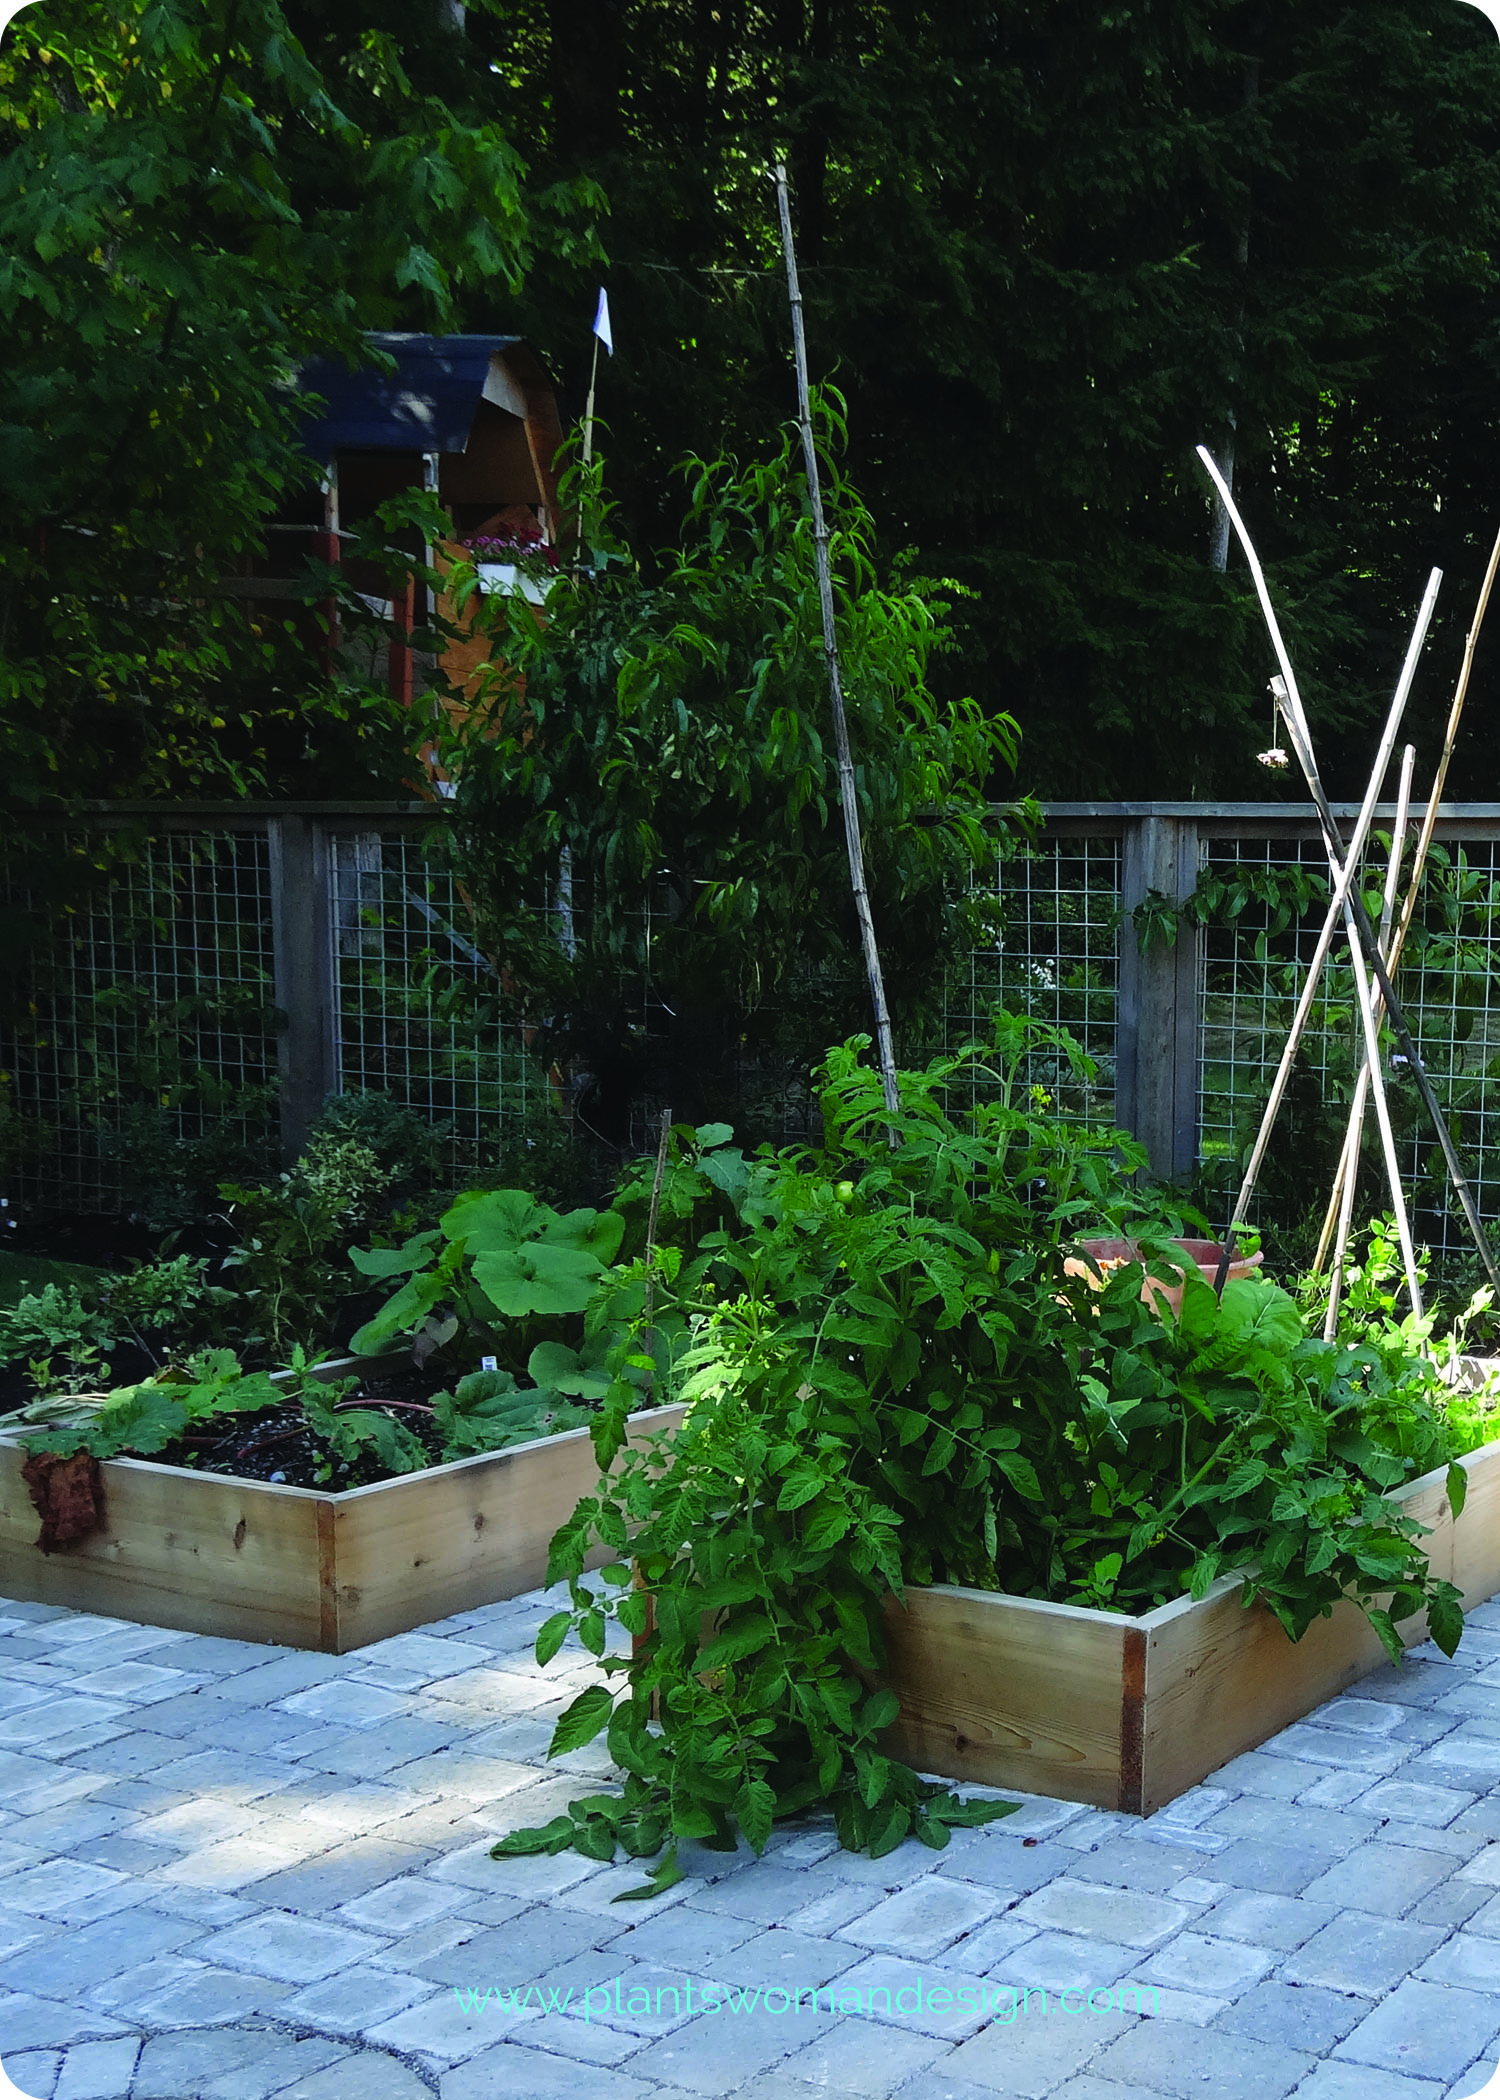
As I wait for the seeds to arrive it’s time to start working on my garden beds. I choose to use raised bed gardening for my vegetable beds and have helped many customers to do the same.
Raised bed gardening has several advantages. They give a greater depth of soil (which results in better roots), improve drainage, and the soil is quicker to warm up in the Spring. The beds don’t require tilling or double digging to improve the soil. In fact the more you stay off of them and don’t compact the soil the better it is.
I’ve made raised beds out of galvanized tubs, cedar, concrete, and stone. All of these bring the garden up to a level that it is easy to work in. My method is open box wood built with leftover planks from a long ago garden show. The grass was removed and boxes built and put in place. Some people just leave the grass and pile soil on top but I feel the breakdown of possibility of grass and weeds coming through is not worth the chance.
Here are some tips to get your raised bed garden ready for the spring.
- Remove any old plants and weeds out of the beds. I have some broccoli and leeks left in the garden from last year. Now it is time to remove them and create space for the next planting. There are some weeds that seem to return every year and now is the time to get the jump on them. I leave the onions and garlic that I planted last fall alone except to add some bone meal to the sides to give them a little boost. Living with a zone 7 garden the ground is not frozen but this year it is absolutely saturated with water. When pulling the old plants from the beds I try to knock most of the soil from the roots so the soil stays in the bed. The roots and tops of the leeks go into the compost bin, the weeds into the debris pile, and the leafy bits to the chickens. Everybody is happy.
(see the notes below about how I sort my garden piles)
- Check for holes and needed repairs to make sure every thing is sound for the upcoming year. There are some rodent holes in the edges of the beds so I work in some large rocks under the corners to block up holes. My chickens can also be messy in there so sorting out the soil and raking it is needed. I don’t dig into the soil at all right now for two reasons. First, the soil is too saturated with water and digging through it will break down the structure of the soil. Second, resting the soil and adding amendments on top create good worm action.
- Add mushroom compost to the top of the beds. During the gardening year the beds can lose soil from harvesting. Topping up the beds with mushroom compost creates a perfect bed for new seedlings. Usually the compost from the bin is saved for the non-vegetable beds. The ornamental beds love it and if there are a few weeds left in the compost they are easily dealt with.
gets vegetable leftovers, leaves, cuttings, and prunings. It also gets the clean out of the chicken coop including the white pine chips and manure. Newspaper and cardboard too.
gets weeds, clumps of grass, cedar branches, any invasive plants like lamium, horsetail, or bamboo.
gets bamboo stakes, left over wood from projects, larger branches from fallen trees or wind damage
Looking for some raised bed inspiration?

by Susan | May 22, 2015 | garden food, LB Tutorial: Design Challenge
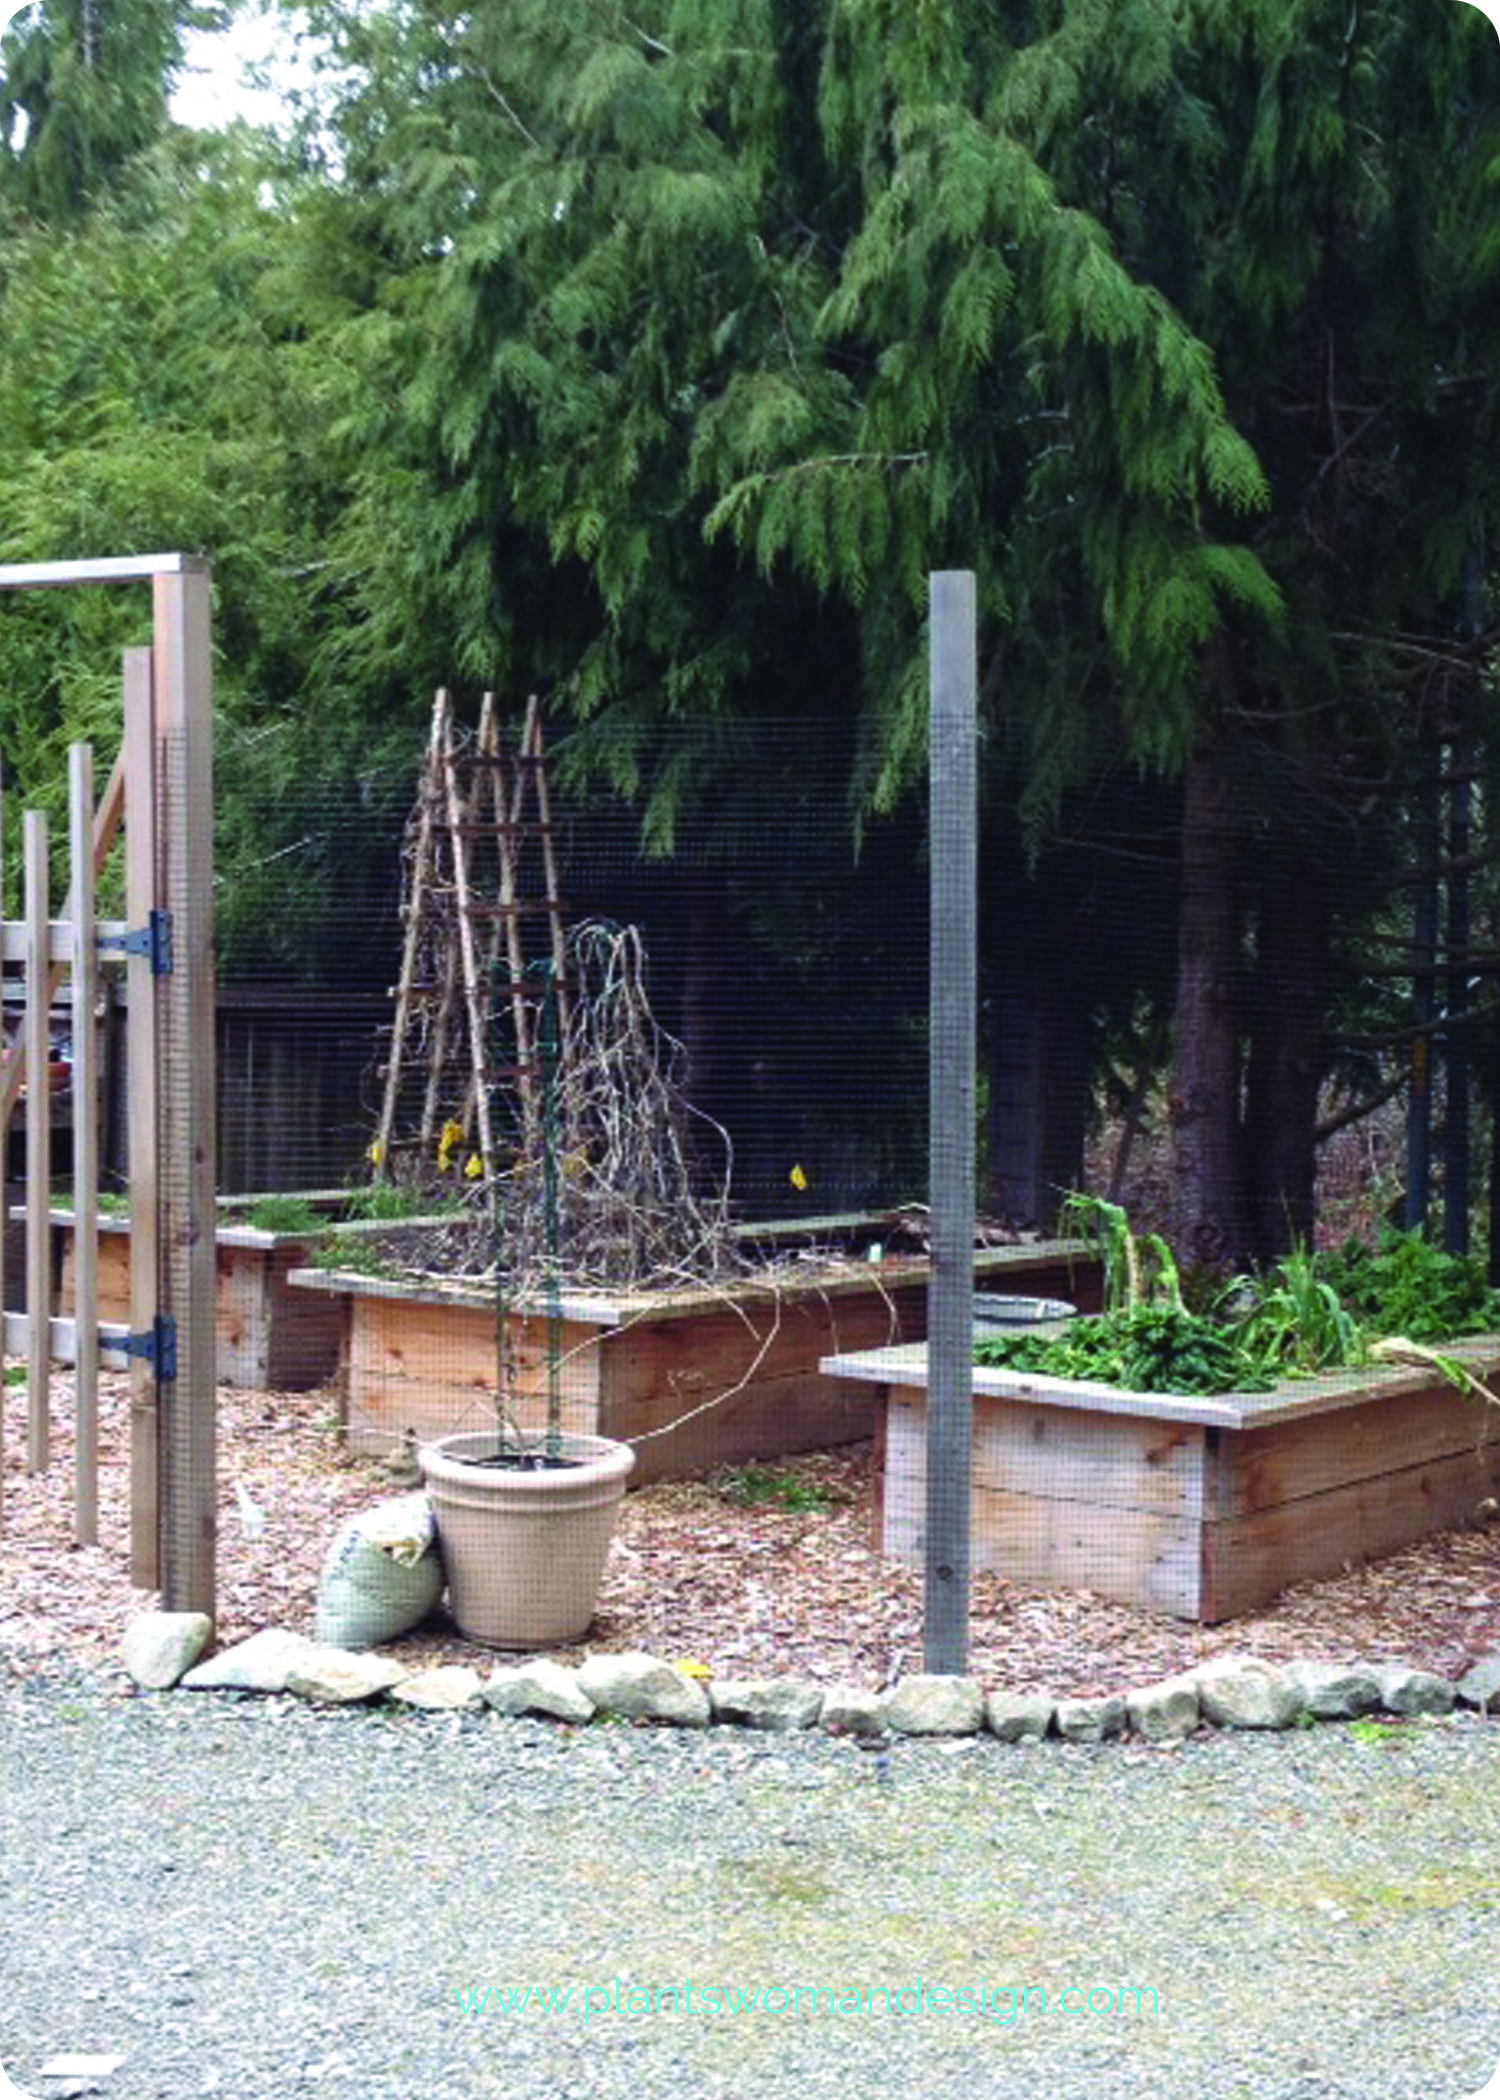
There are times when I wonder if other designers get to design and plant vegetable gardens. I feel lucky that way! Recently I got to design and plant a veg garden for clients who only come in during the summer.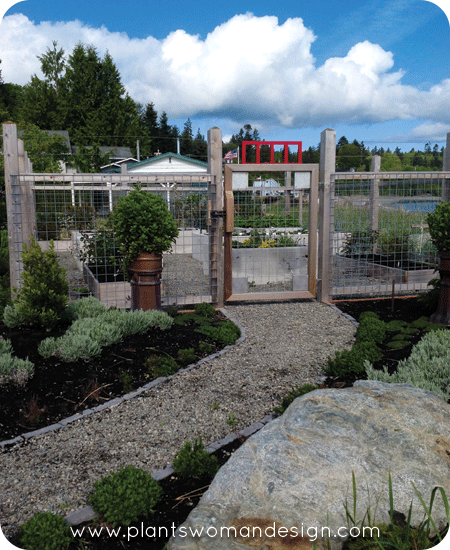 Obviously without year round residents a fence is needed. Because we aren’t sure how many deer are in the area the whole of the edibles and roses are protected. The fencing is galvanized wire and is connected to 8 x 8 cedar posts, the metal work on the gate was created by the owner. They put the fencing and gate together as a weekend DIY project.
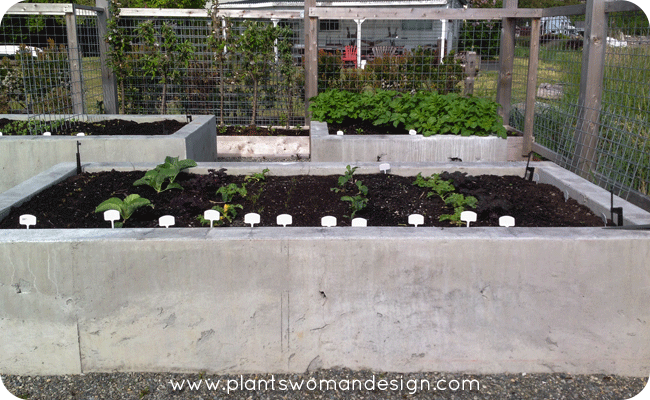 The raised beds are concrete poured into forms but not packed down to give it a rustic finish. We left the with bottom of the form open for good drainage and installed landscape fabric membrane over the native soil at the bottom of the beds to keep the beach grass out. Water is able to go through the soil and into the native soil beneath.
Drip irrigation was added with spray emitters at the corners and along the edge for good coverage. This system connected to the main irrigation system but is on a separate zone. We added a frost free hydrant for extra water when needed.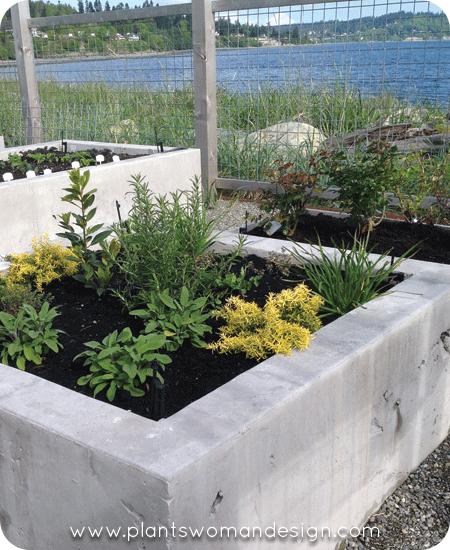 The first bed is the herb bed with a center cone of rosemary and a bay tree. Basil will be added later when it gets warmer.
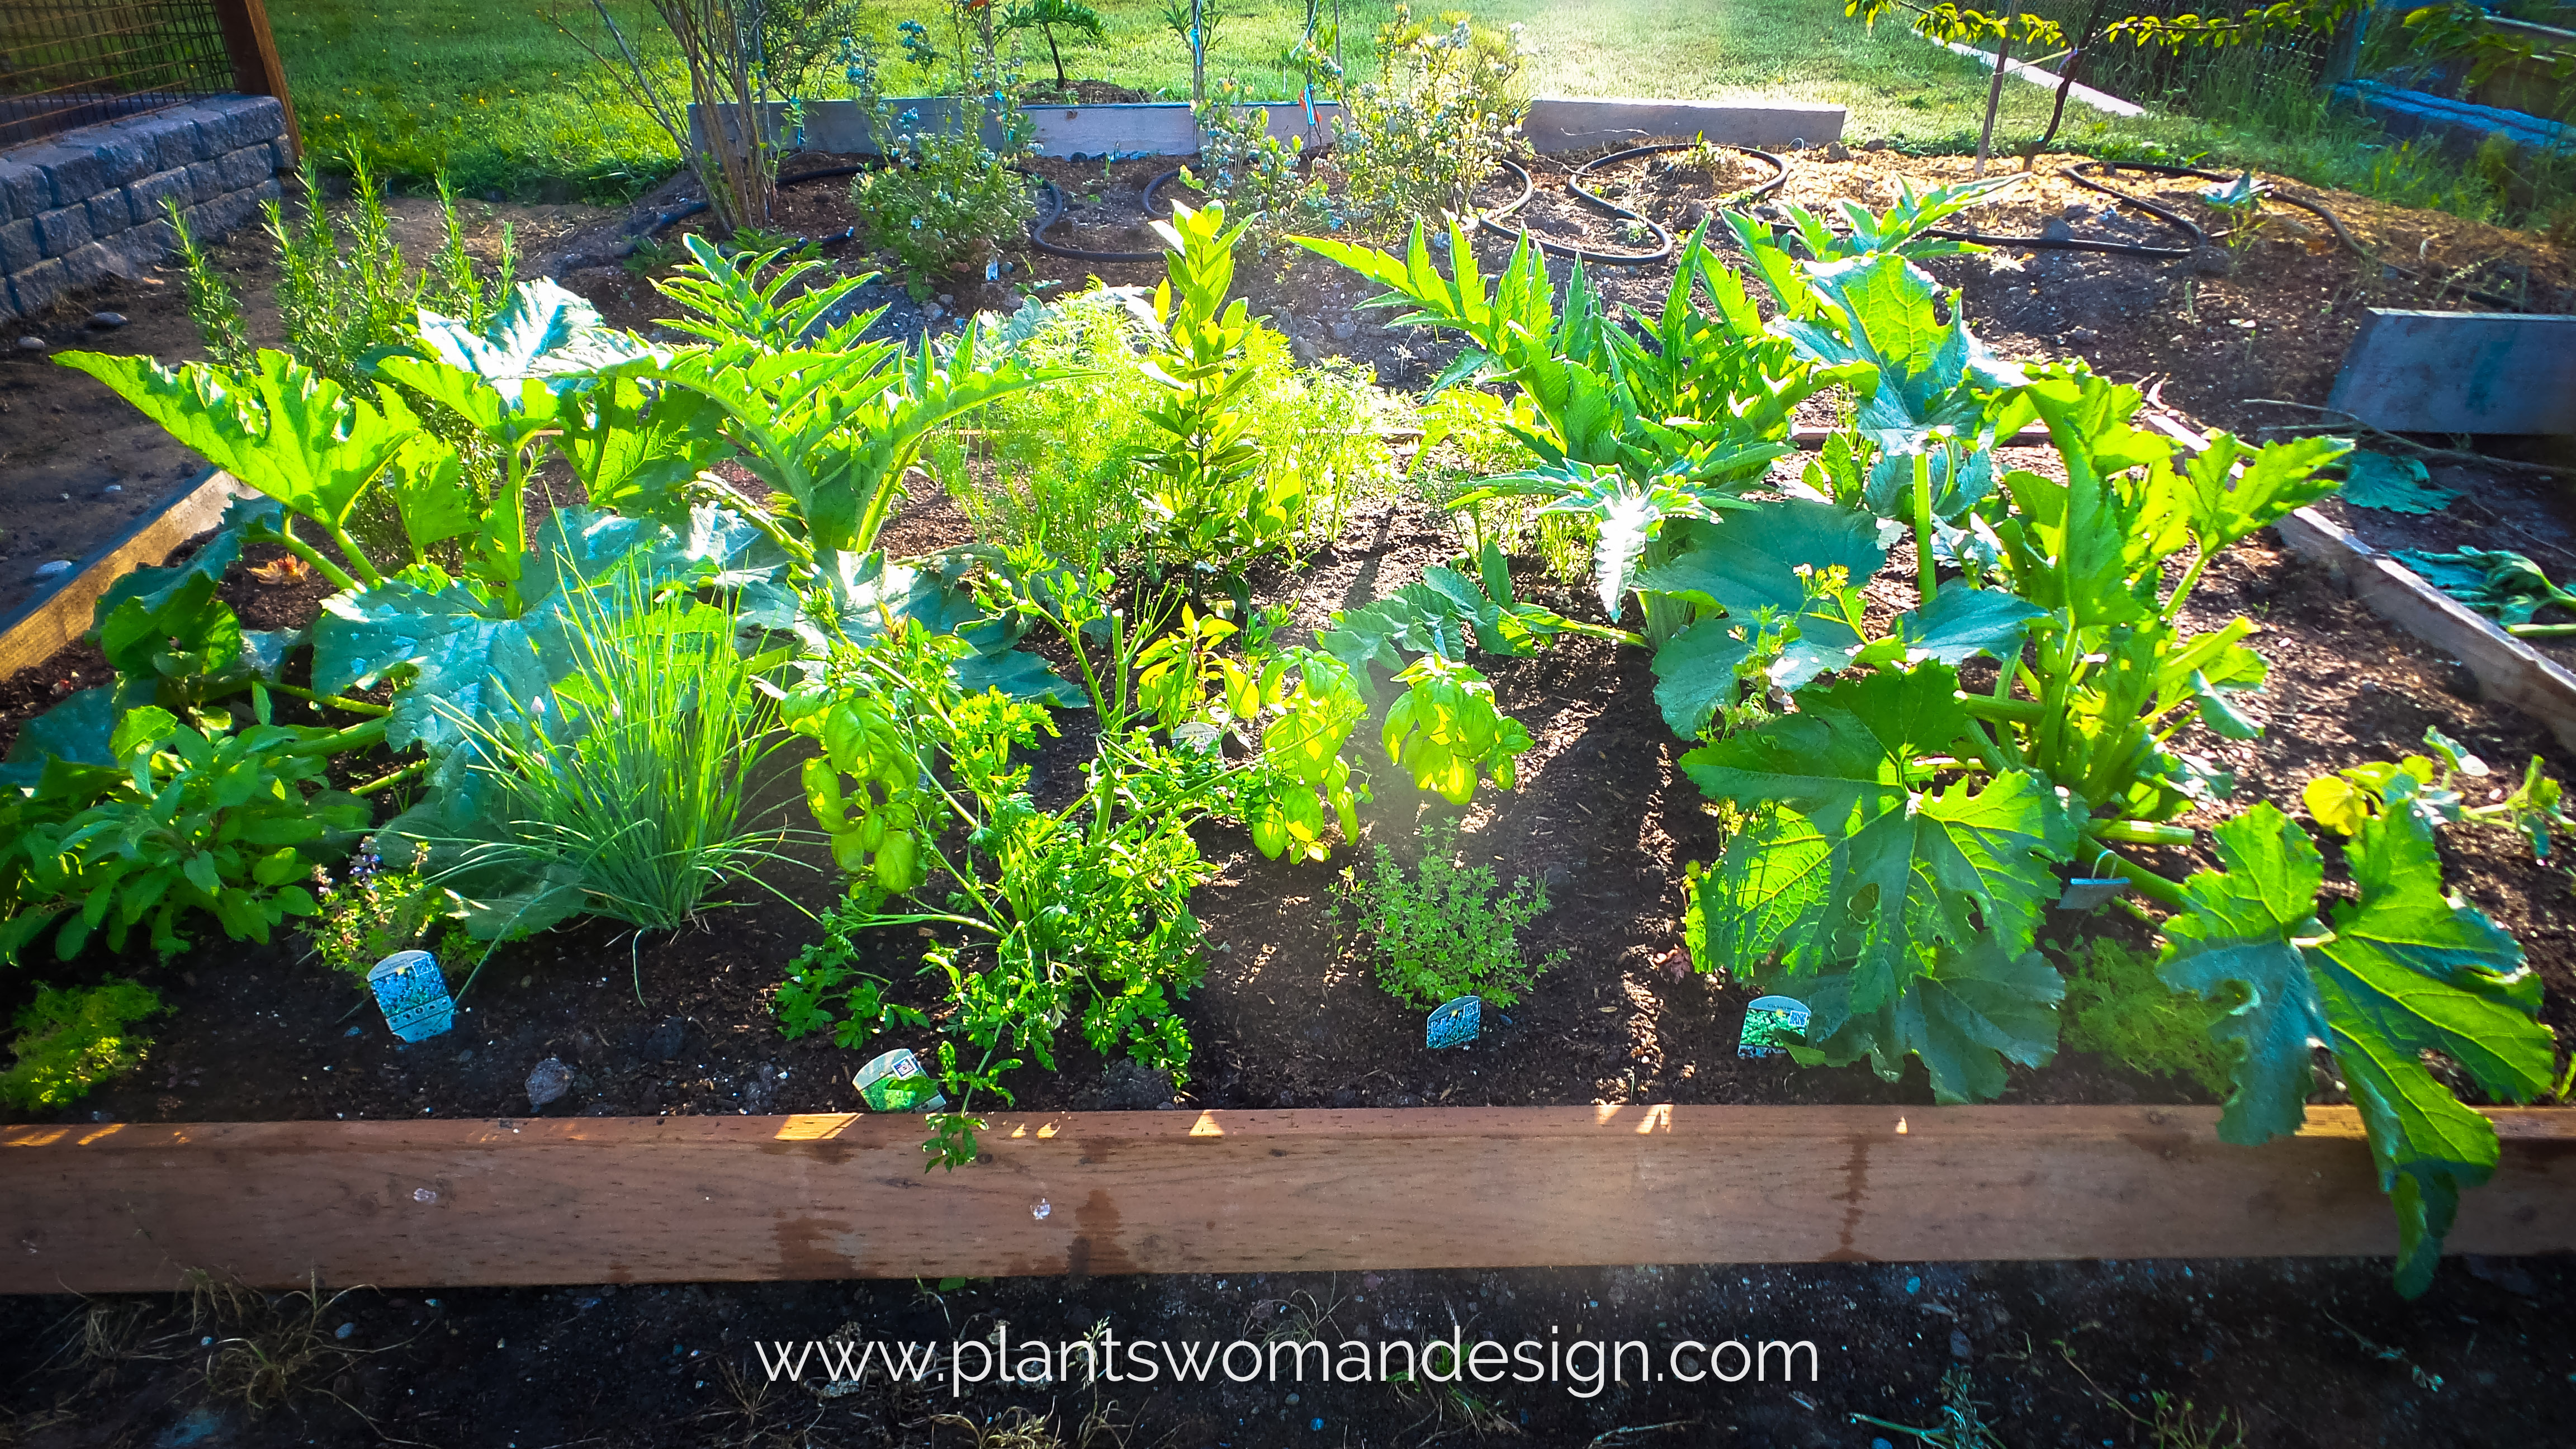
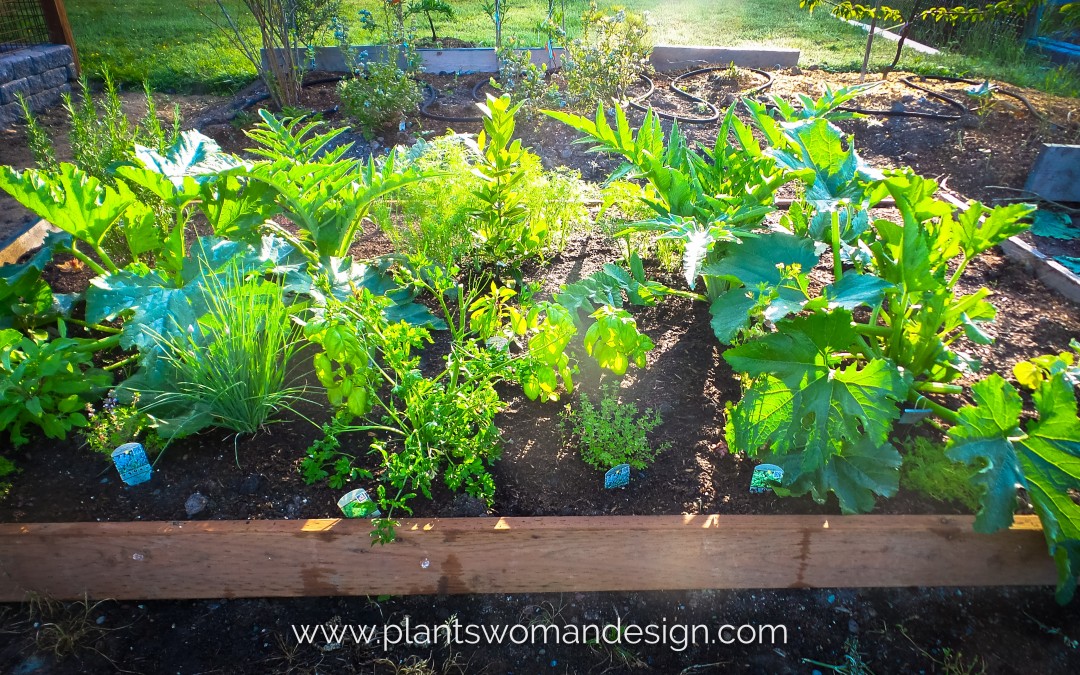
Early spring crops were put in first with some starts of kale and broccoli added along with the seeds of the same. I used different colors of kale and chard along with several colors of lettuce to make patterns in the planting. Red leafed lettuces, Radicchio, Romaine lettuce, spinach, and arugula are all planted in rows to make a pattern.
Fun purple beans, purple sprouting broccoli and watermelon radishes add some interest and more color. One bed is dedicated to exuberant potatoes both fingerling and yukon gold. Chard is tucked in there for fall color. We dig the potatoes out in the spring removing some. Here in the Pacific Northwest potaties continue to grow all year so will get too congested if left on their own.
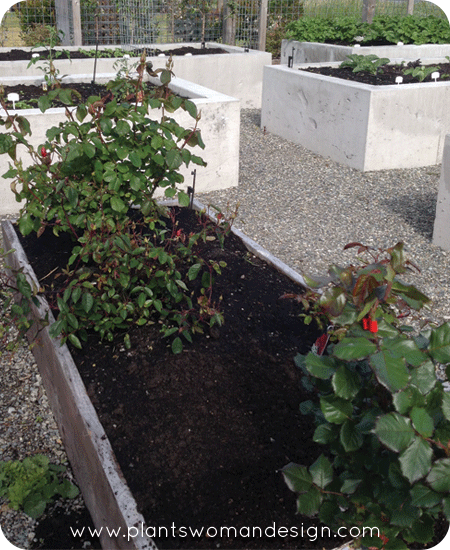 Two side beds hold a collection of roses for cutting. Two new ones we are trying this year are Chihuly and Anna’s Promise.
How many of you readers grow a vegetable garden along with the decorative ornamentals? Tell me what your favorite vegetables or herbs are!
by Susan | Apr 3, 2015 | LB Tutorial: Design Challenge
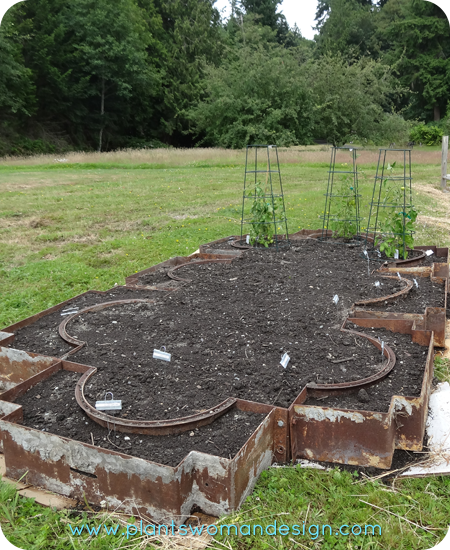
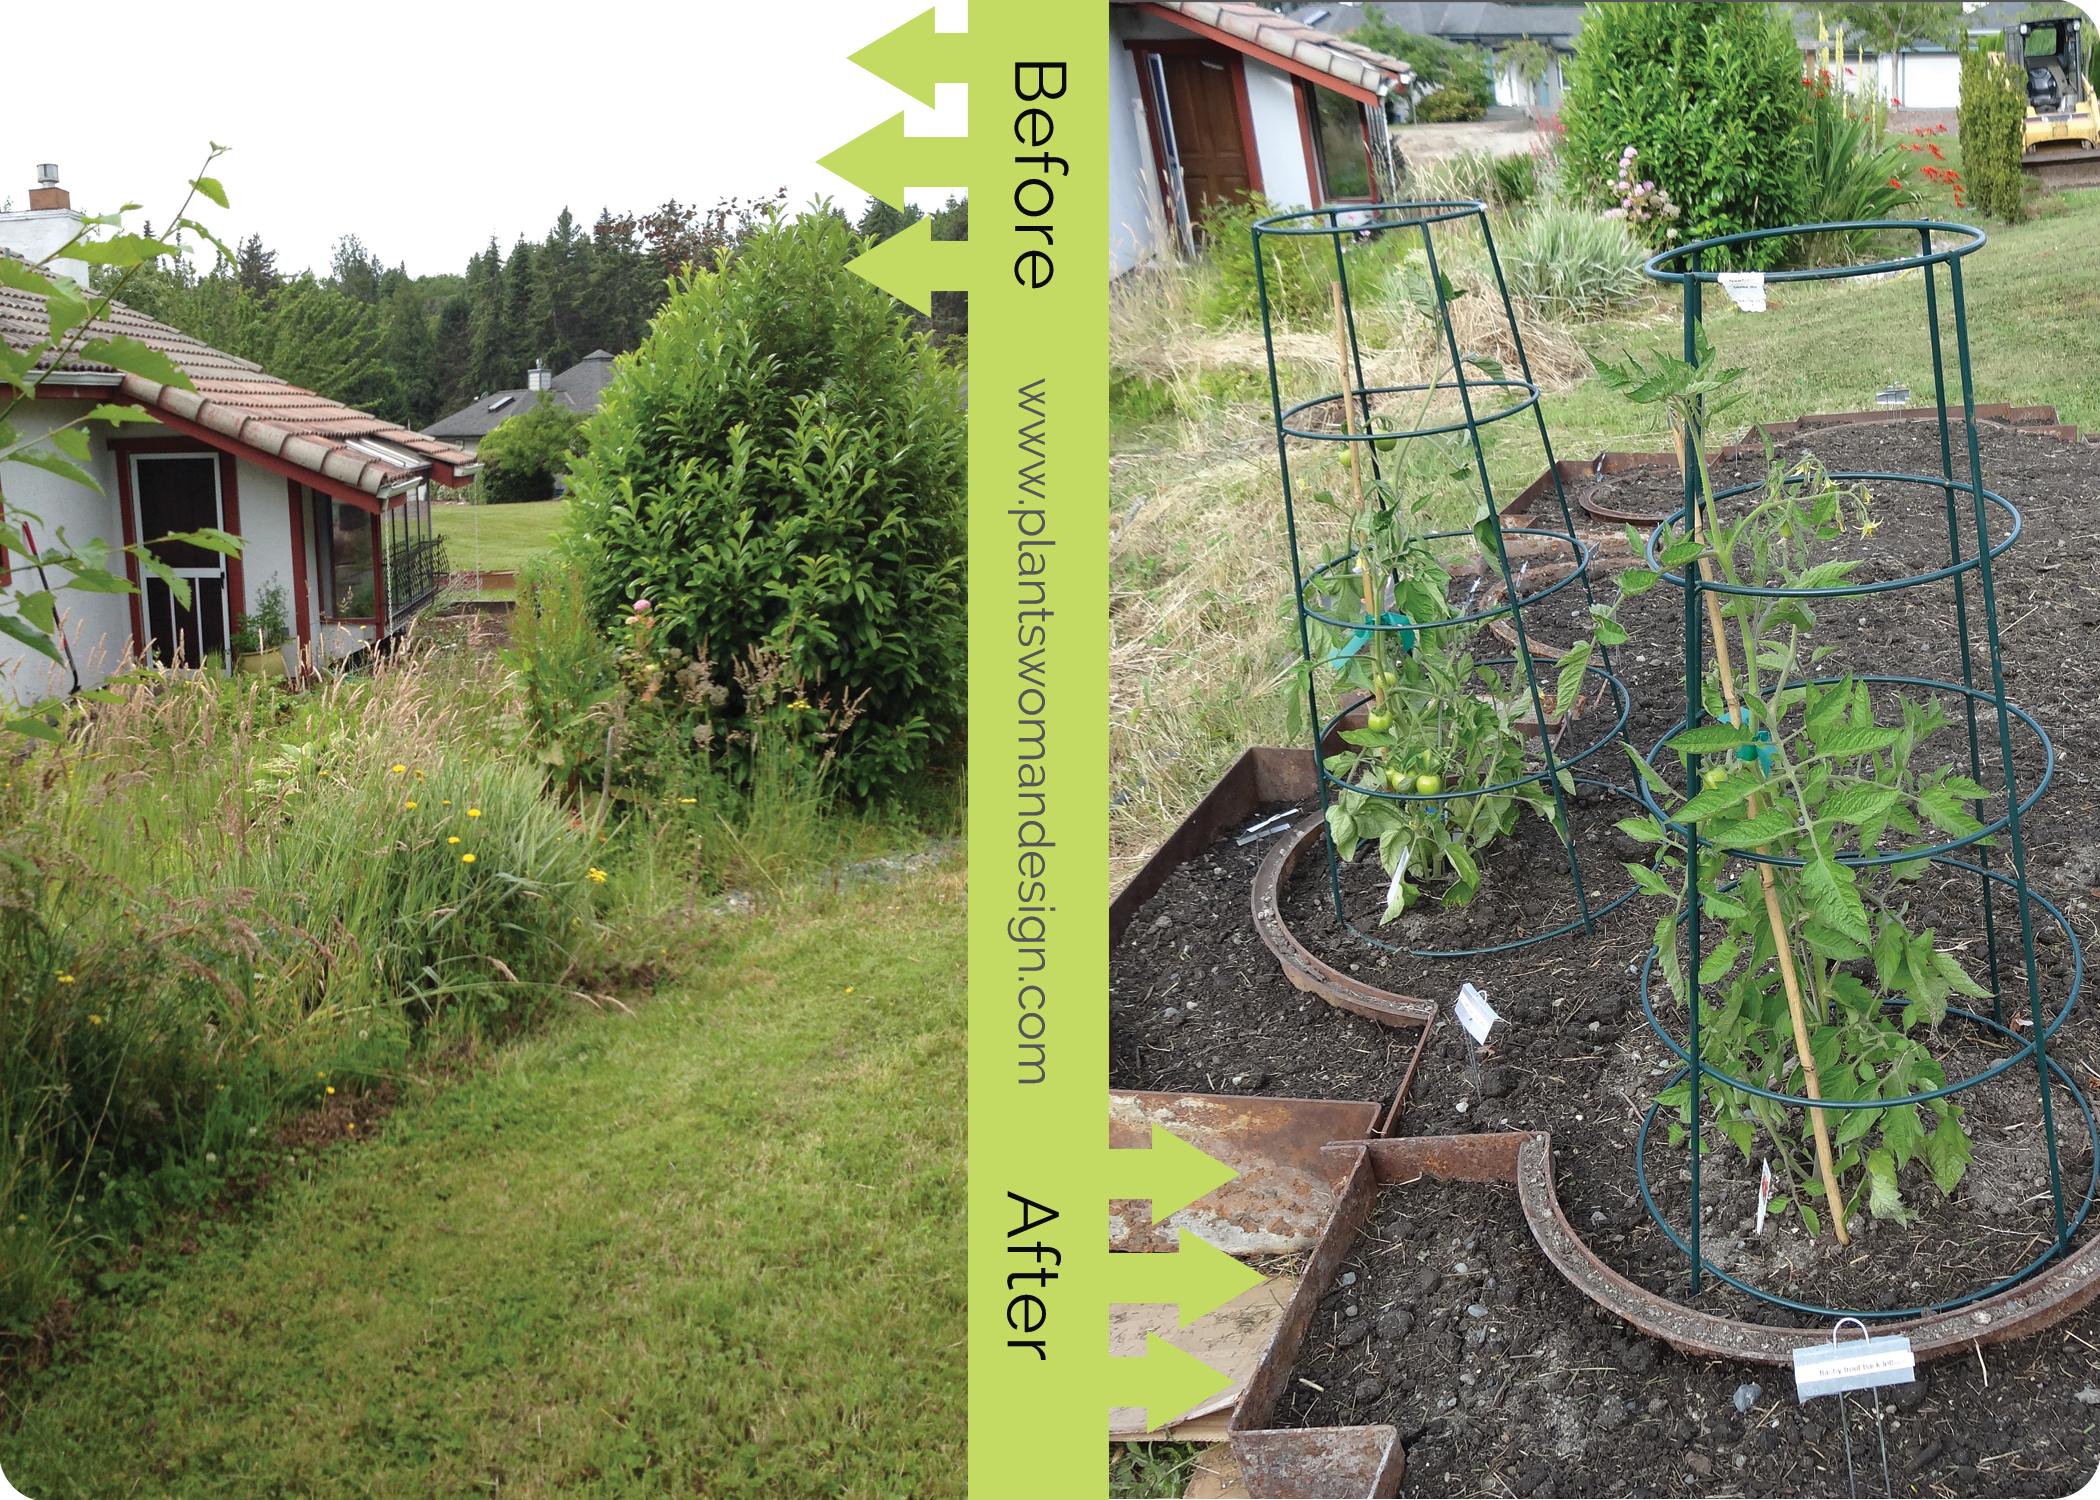
 I often tell my clients when we meet that I come in and make a big mess before I put it back together again. That has to happen at my house too. Last week I pulled up all the metal pieces that I had for the vegetable garden.

before: when I first moved in | after: metal edged garden
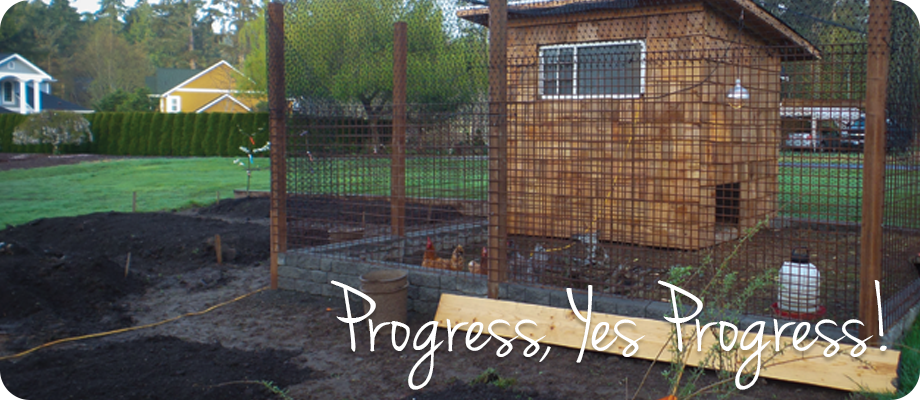
I removed grass (little bites at a time right?) and moved soil into beds. You can see the new chicken coop in the background. It is still a work in progress too (watch for a feature on the chicken coop soon).
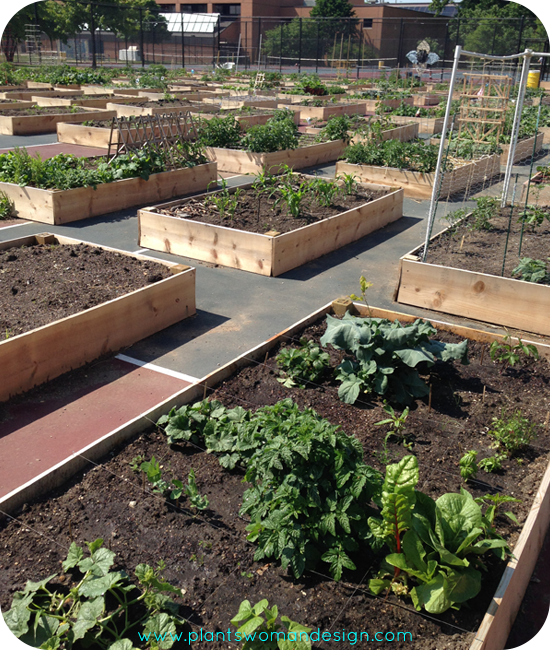
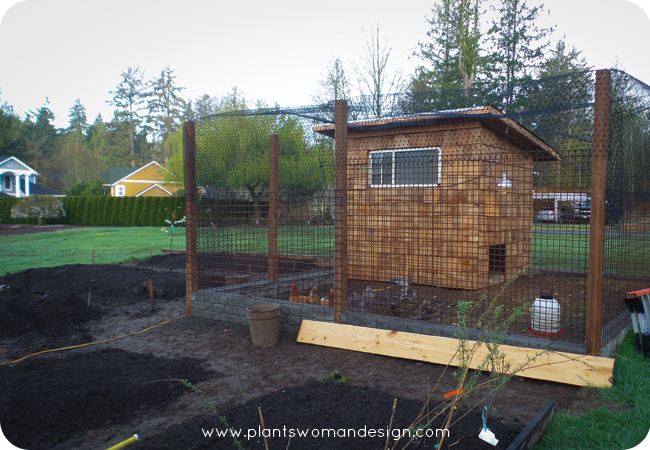 Spring is early this year and I’m looking forward to getting the vegetable garden planted. Several of my friends have looked at it and commented on the size. Yes it is a lot of dirt for just one person. BUT I have a method to my madness. There are several community service opportunities in planting vegetable gardens for the homeless and food bank participants.
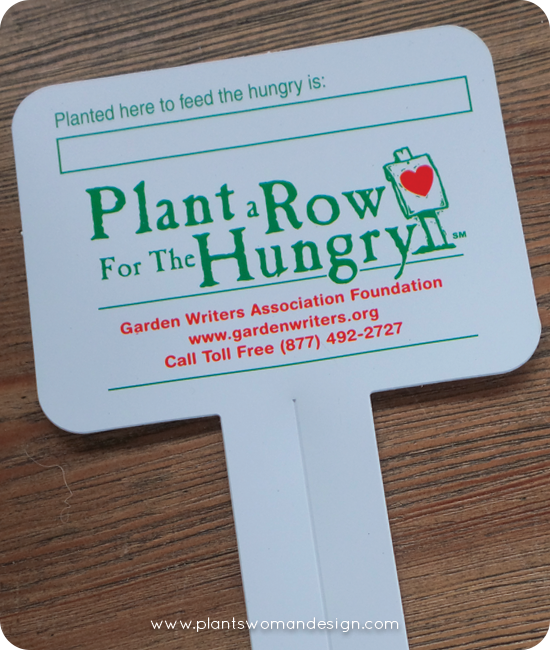 One such program is ‘Plant a Row for the Hungry’ by the Garden Writer’s Association of America. They encourage gardeners to not simply give away their excess but actually plant a row specifically for that reason. A great local resource is the Solid Ground website www.solid-ground.org. This web site has information about Seattle’s Giving Garden Network, P-Patch programs and Lettuce Link. In 2014 these community gardens donated 55,198 pounds of fruits and vegetables. We can all do our part too.
click here to read
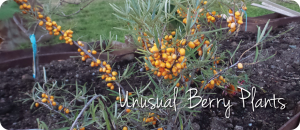
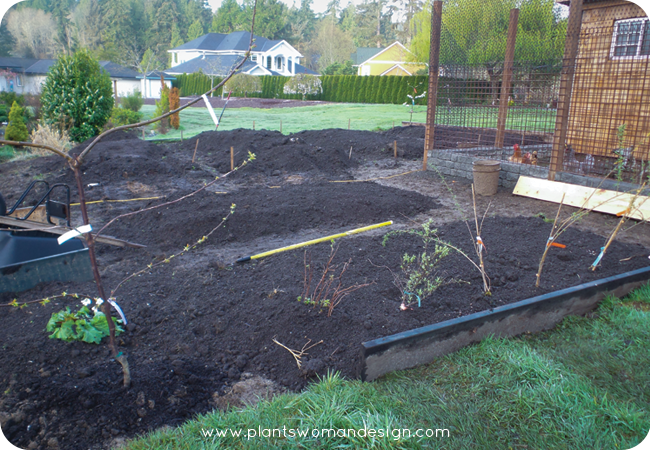
For right now the soil is ready. I have to add some borders around the edges to keep the grass out and contain the soil and gravel. I will add gravel pathways for now and eventually put in pavers. The long beds will be the main vegetable beds. A shorter bed to the east will have the gogi berries from last year (click on the picture to read that post) along with rhubarb, blue berries, and raspberries.
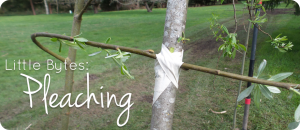
 The corner has been planted with two espalier cherry trees and have three different types of cherries on the same tree. My vision is to weave the branches together and graft (called pleaching) them into a living fence in the corner.
click here to read
Pleaching is a simple type of grafting. Weaving and shaping branches in this way is an ancient practice farmers have been doing for centuries. By carefully interweaving plants, clever (and patient) gardeners have made gorgeous, functional, long-lasting structures out of trees and vines.
Grafting is easier than you think! It requires a sharp knife and some grafting tape or electrical tape. Creating a willow tent for kids play area will be a fun project that I will try first. Using something that is easily grafted like willow or red twig dogwood is the best for a first project. Fortunately I have many willows on the property so using them is easy.
The other side has two espalier pear trees in a row. One more is needed to satisfy my des ign brain. An old gate will go into the area between the row and the Chicken coop.
One of the biggest challenges is the soil on the bank between the greenhouse and the vegetable garden. It is very yucky clay soil and very wet. I had thought to put herbs there but because herbs mostly like dry soil that will not work. It would be a great place for Asparagus but the soil is not great so I’m not sure they would be happy there. A small wall could be created and the soil filled back in, so many choices. This is one of those times when leaving it alone is a good idea. Creating a pathway and a ramp will be necessary for travel back and forth. Working on a problem in design can be frustrating unless you take your time to think the problem through. Not doing anything until you come up with the exact right idea is better than doing the wrong thing a couple of times. I will admit sometimes I’m impatient and just want it finished and that usually gets me in trouble.
I’ll keep you posted on my projects as they progress. What projects are you working on this spring? Are you going to try pleaching with me?
by Susan | Apr 9, 2014 | Plantswoman Design
Our Grandparents grew food. They knew that they could grow what they couldn’t buy in the store. During the World War fresh food was scarce so they cultivated the ground and grew there own.
The need for growing food kind of skipped a generation because our parents had plenty: plenty of money and plenty of places to purchase food. I didn’t know you could eat mushrooms unless they came out of a can. The first time I saw them in a grocery store I was amazed at how different they looked. The luxury of having money to purchase food was a status symbol. Now, just like many new things we have pushed them aside to pursue the old methods. But of course we do it with a modern twist. We like to grow vegetable and fruits but in our own way.
Now we elevate them, contain them and cultivate them in a designed garden. No more long rows of veg and fruit with cultivators and stakes. It is partially because we have less land to grow and partially our desire to condense the growing medium and effort involved to get more for our expense of time and water.
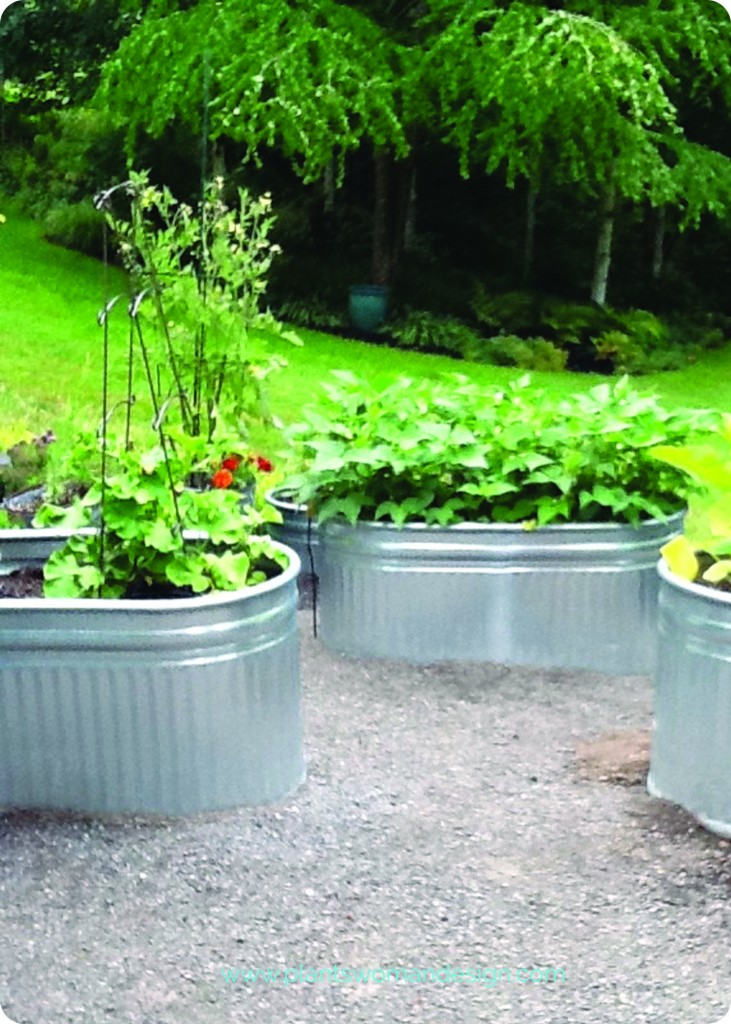
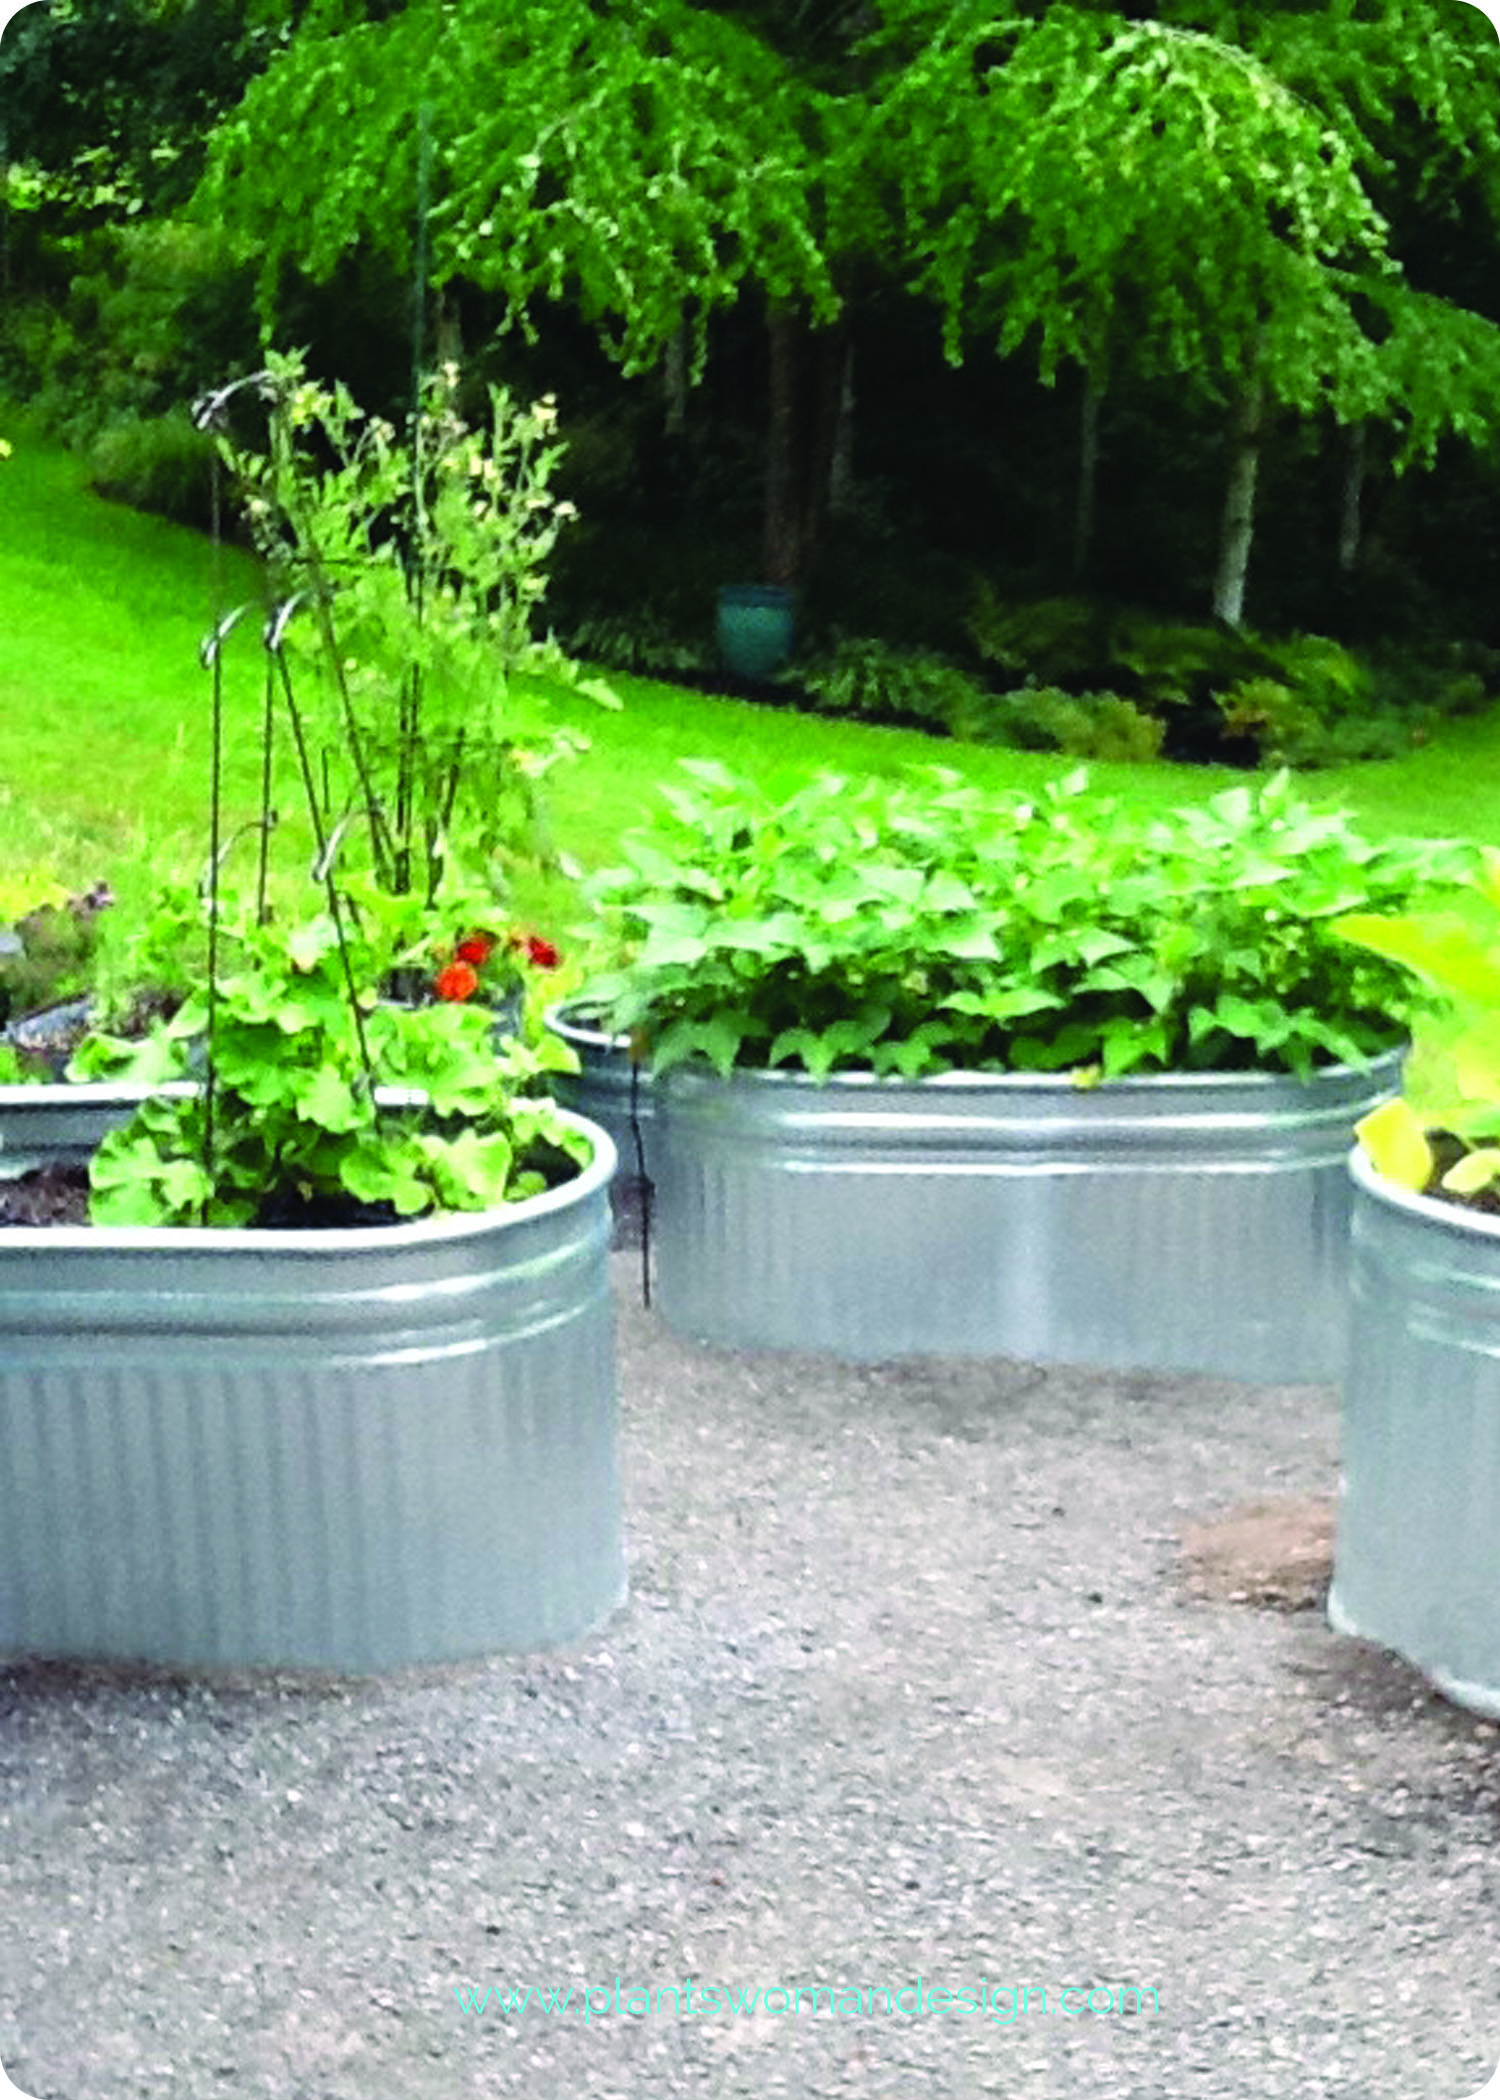
Galvanized Vegetable Beds, Raised Bed Gardening

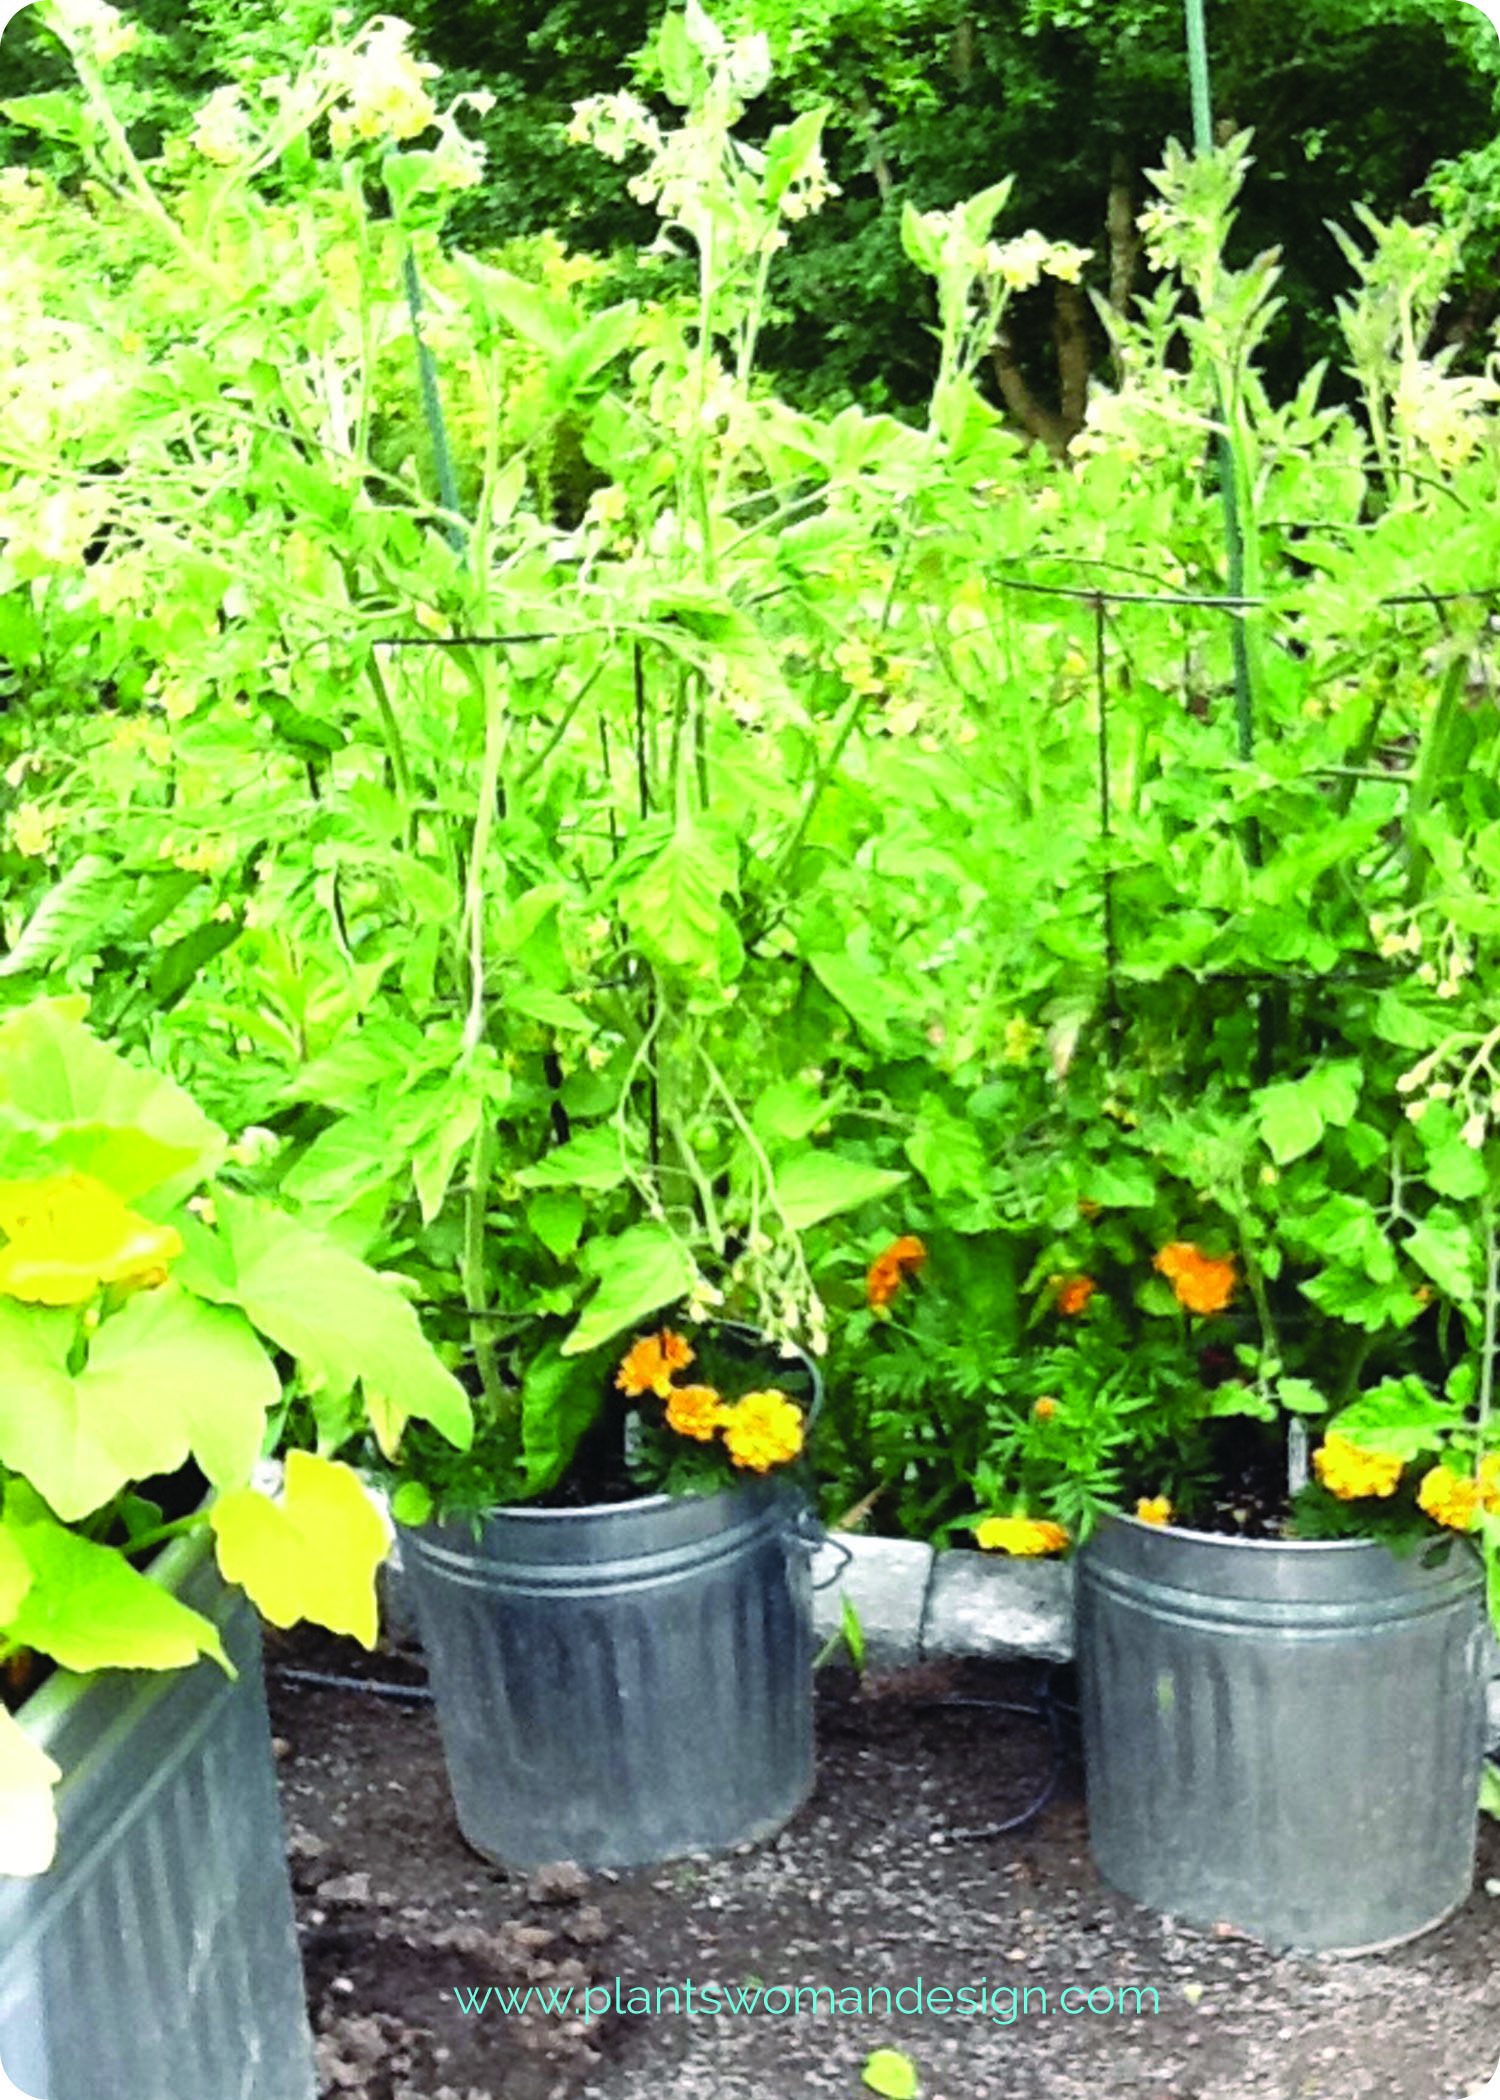
galvanized tubs
These galvanized tubs create a great space for tomatoes. It condensed the water so it stays where the plants can get to them. They are watered with a drip system at the soil level so the leaves stay dry except for rain showers. The galvanized metal warms the soil earlier in the year so the seed germinate faster and seedlings grow better.
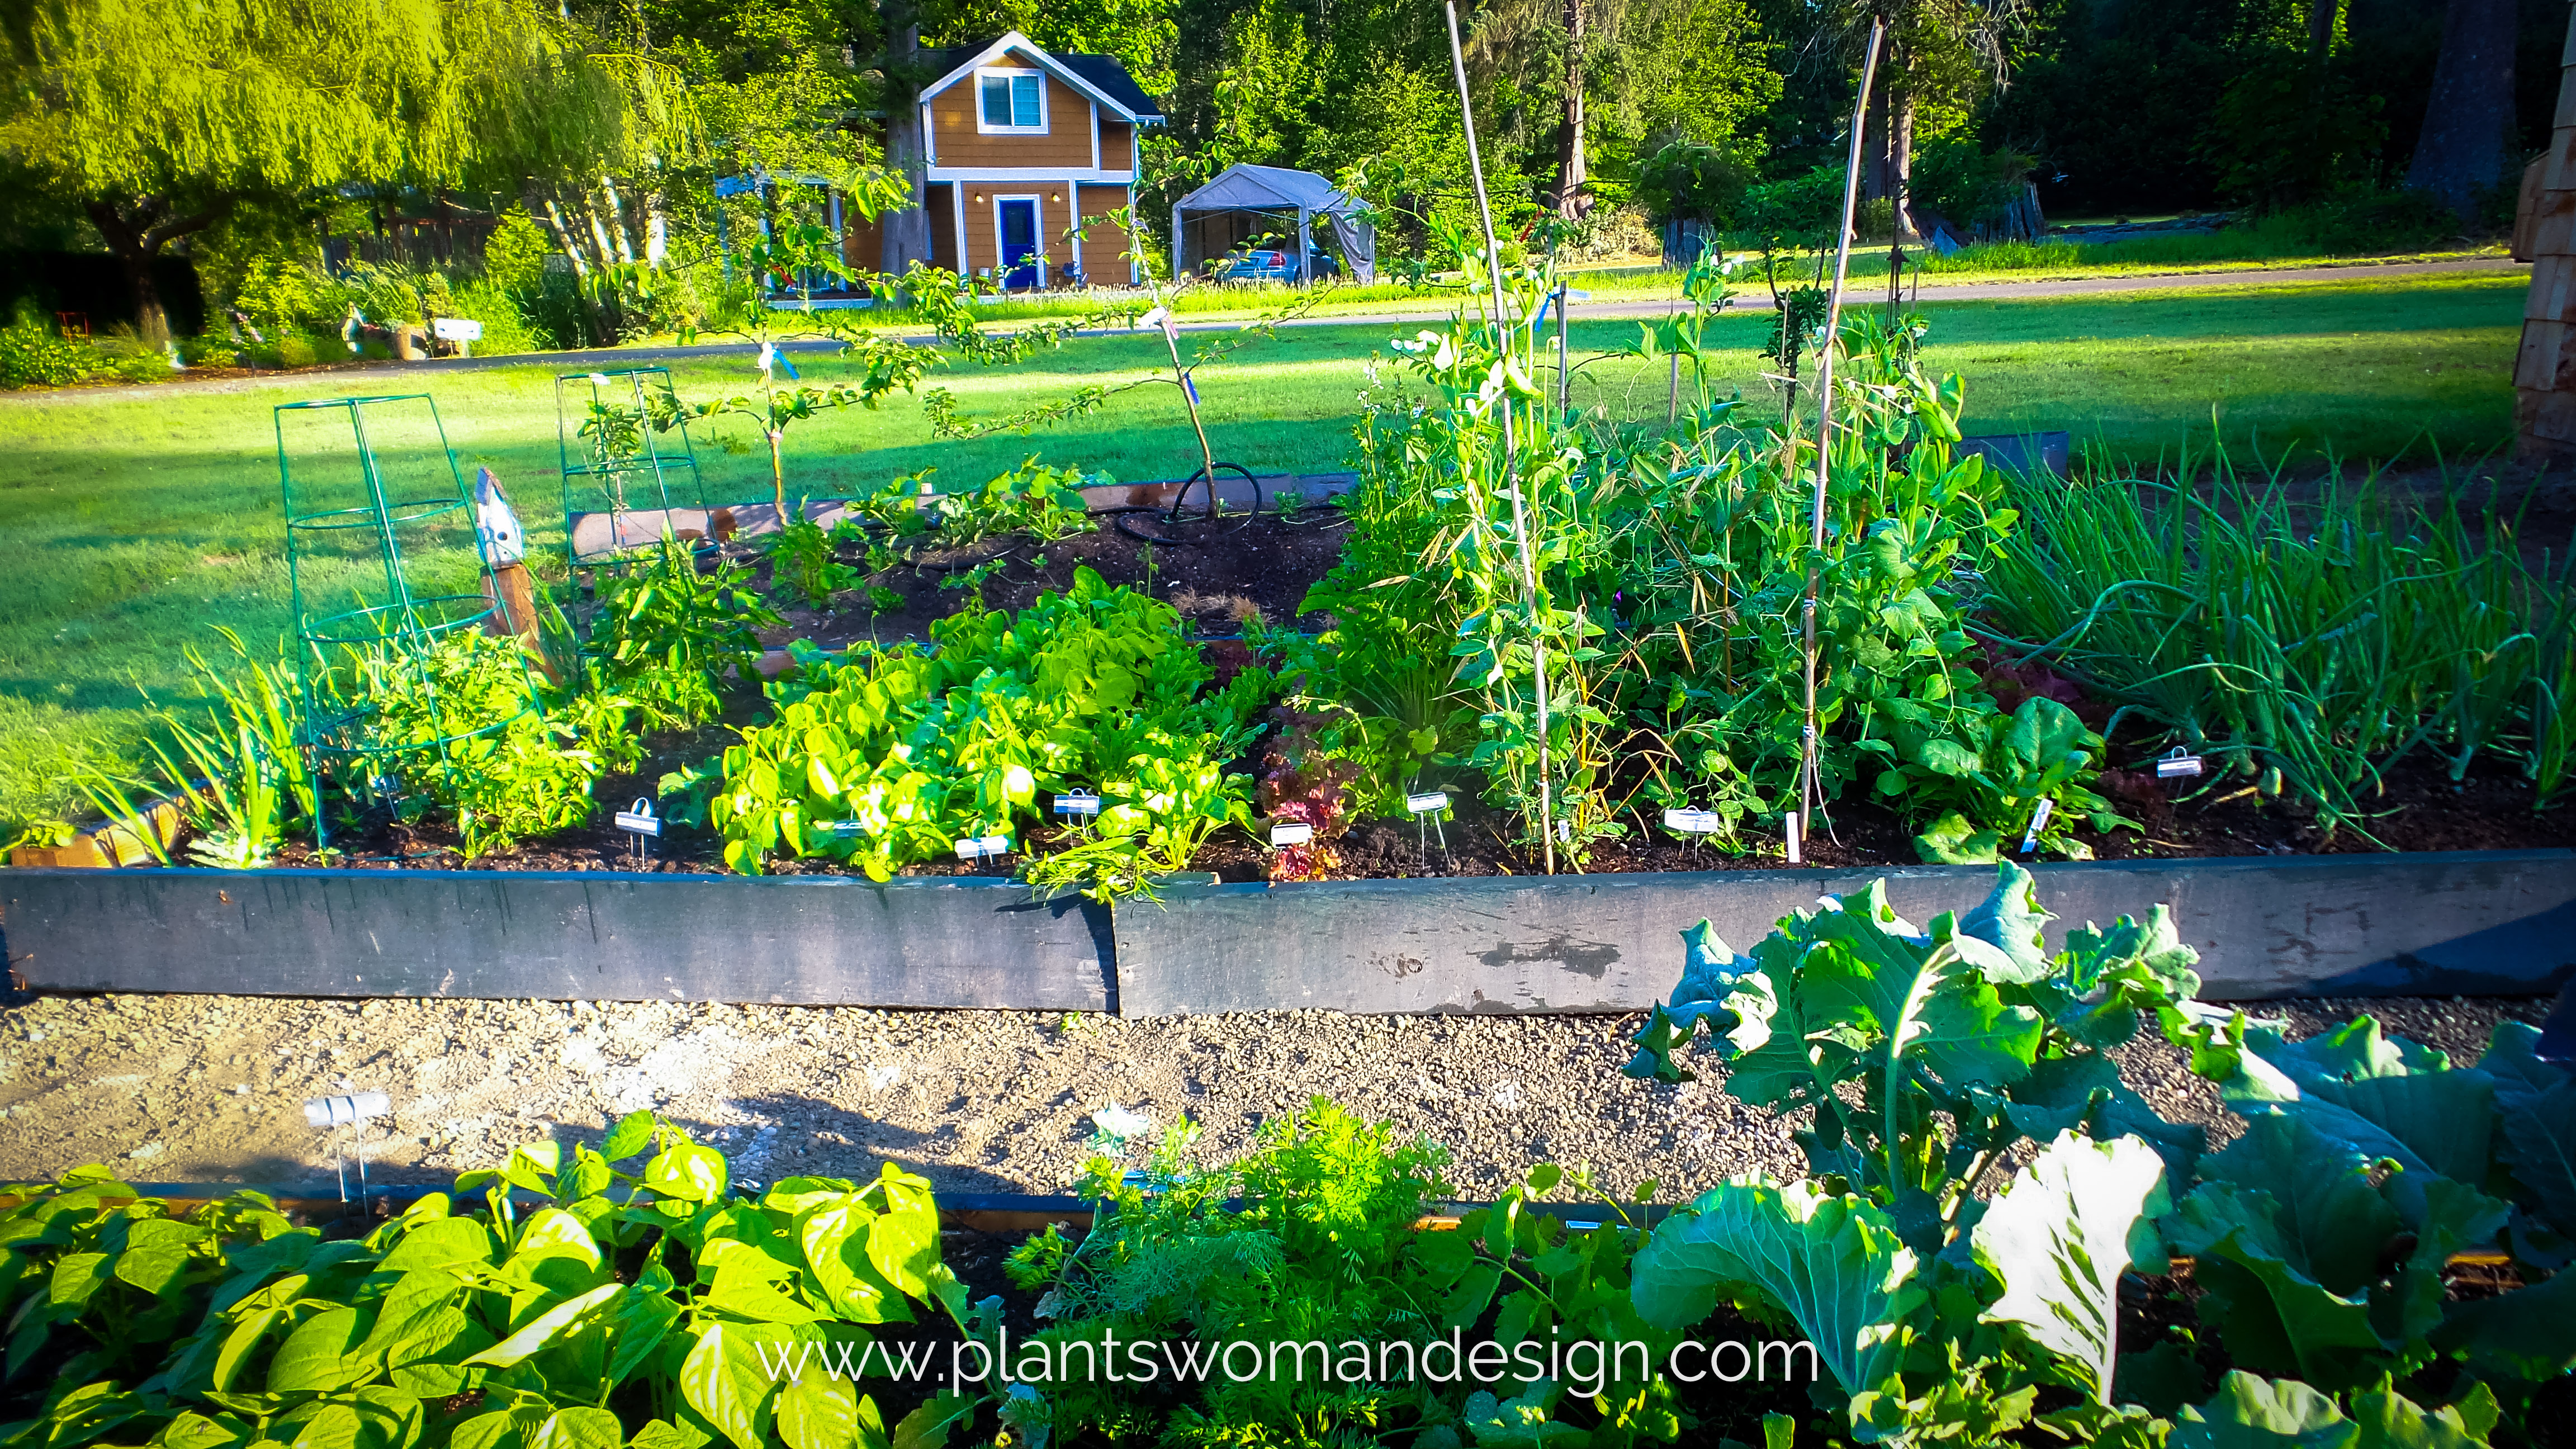
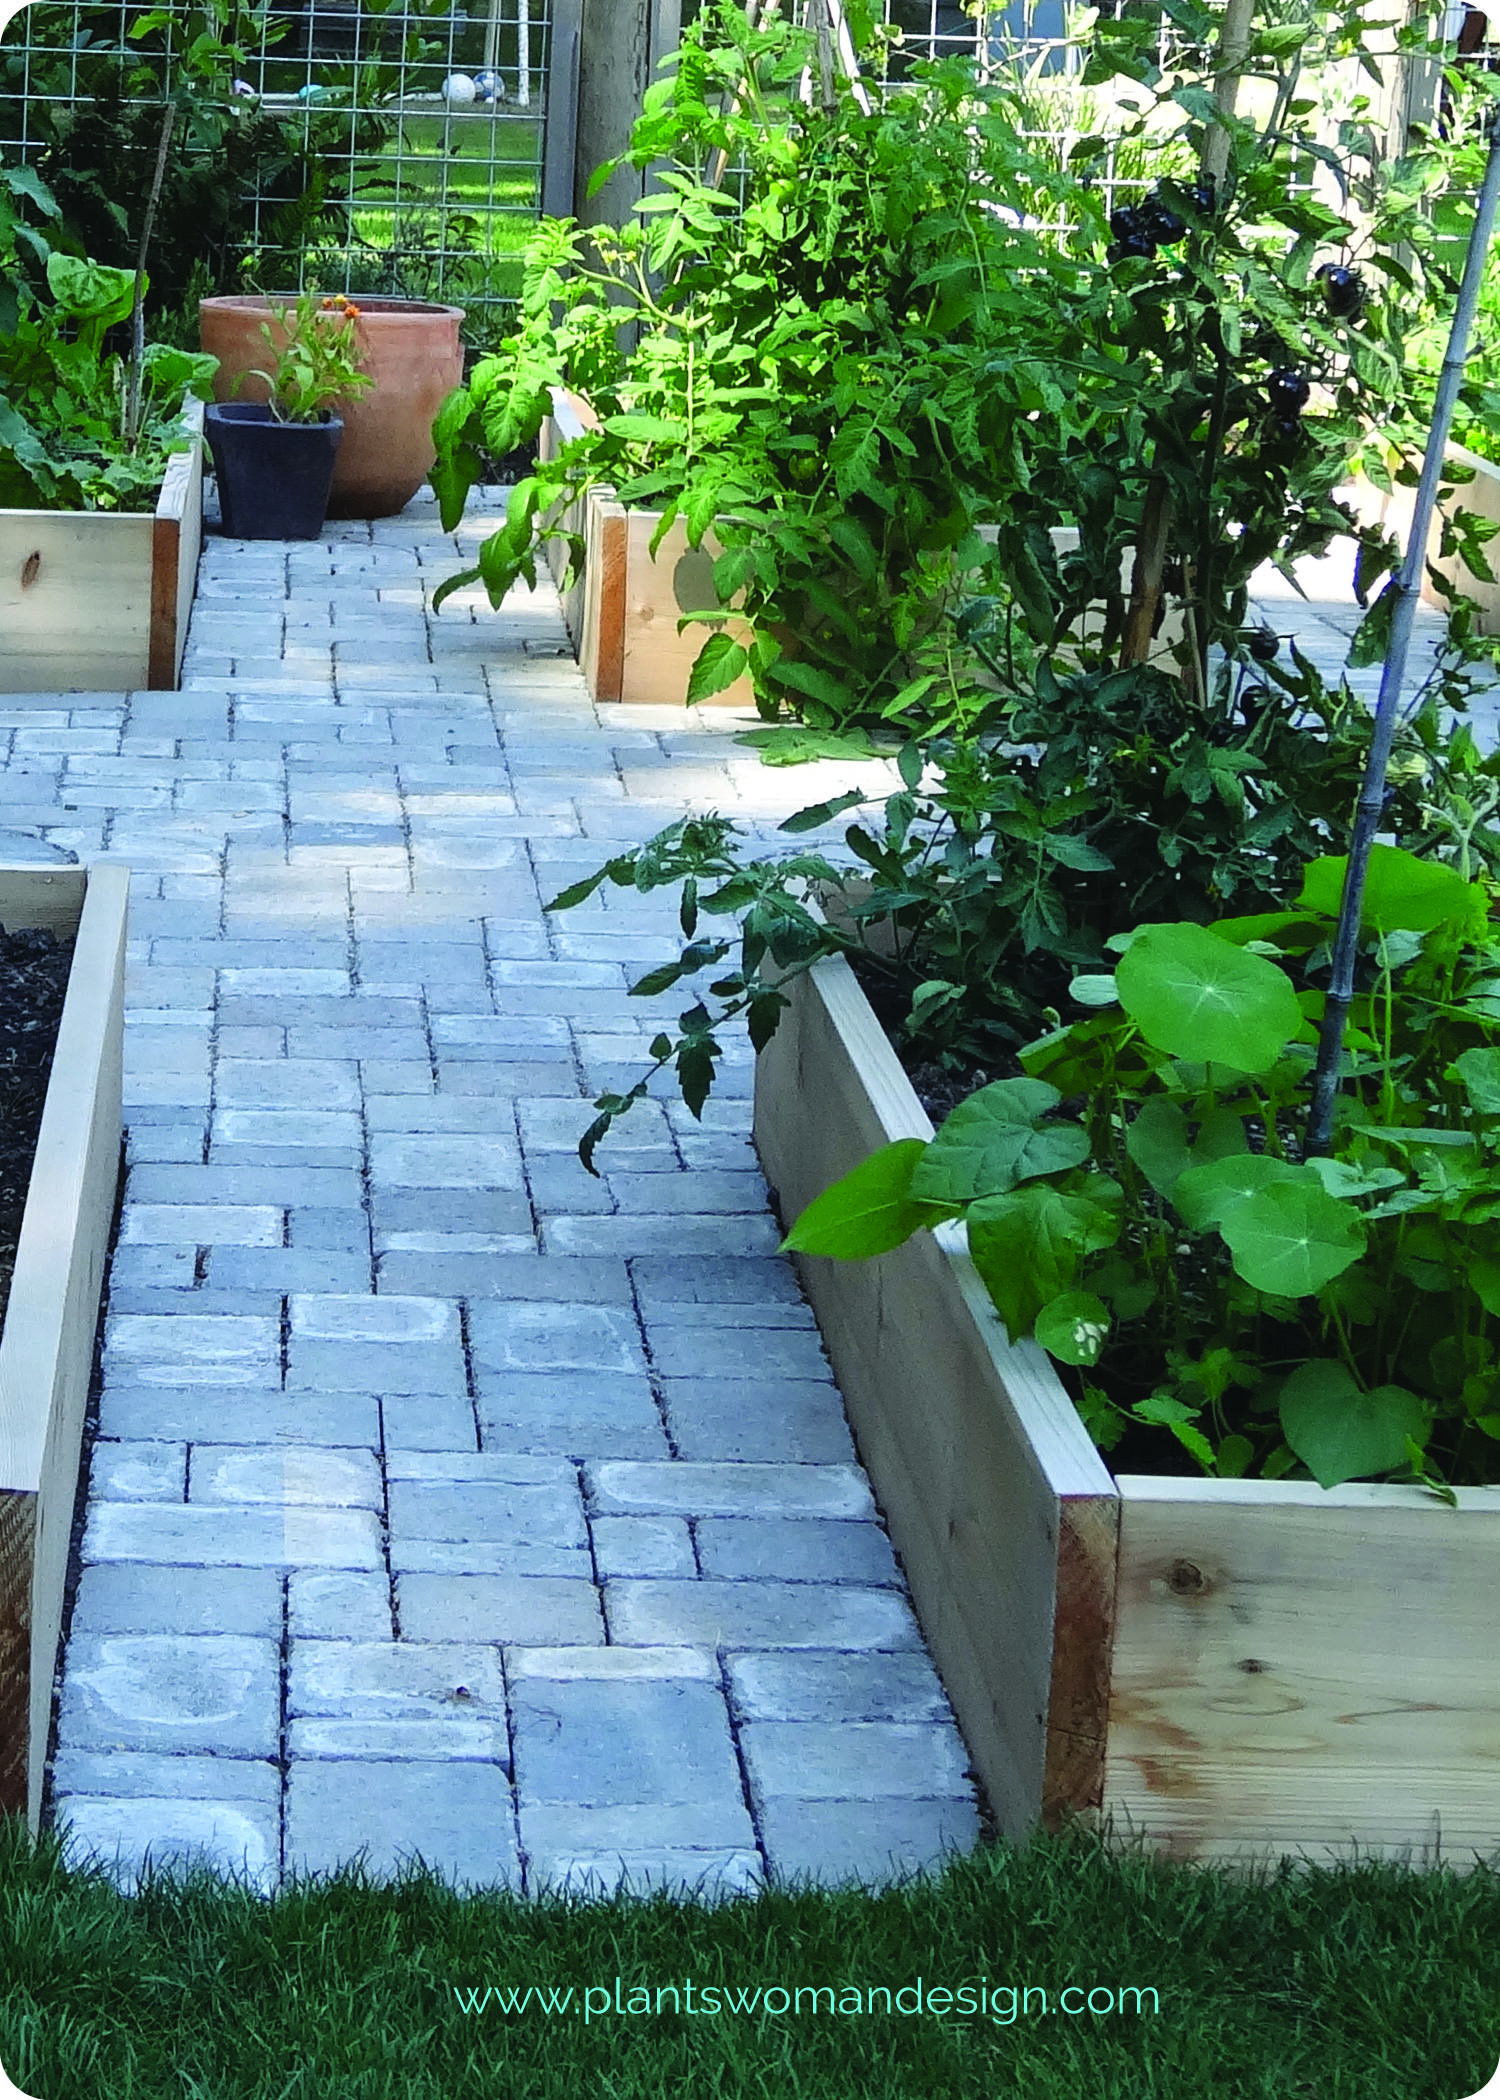
When we have a little more space and more mouths to feed we do a little bit bigger garden. We still want it to be easy to get to (close to the house), easy to care for (raised contained soil) and easy to water and pick. We also like the ability to keep it clean and easy to weed. This garden with raised beds, and paving stones surrounding is so easy to manage.

raised Vegetable Beds
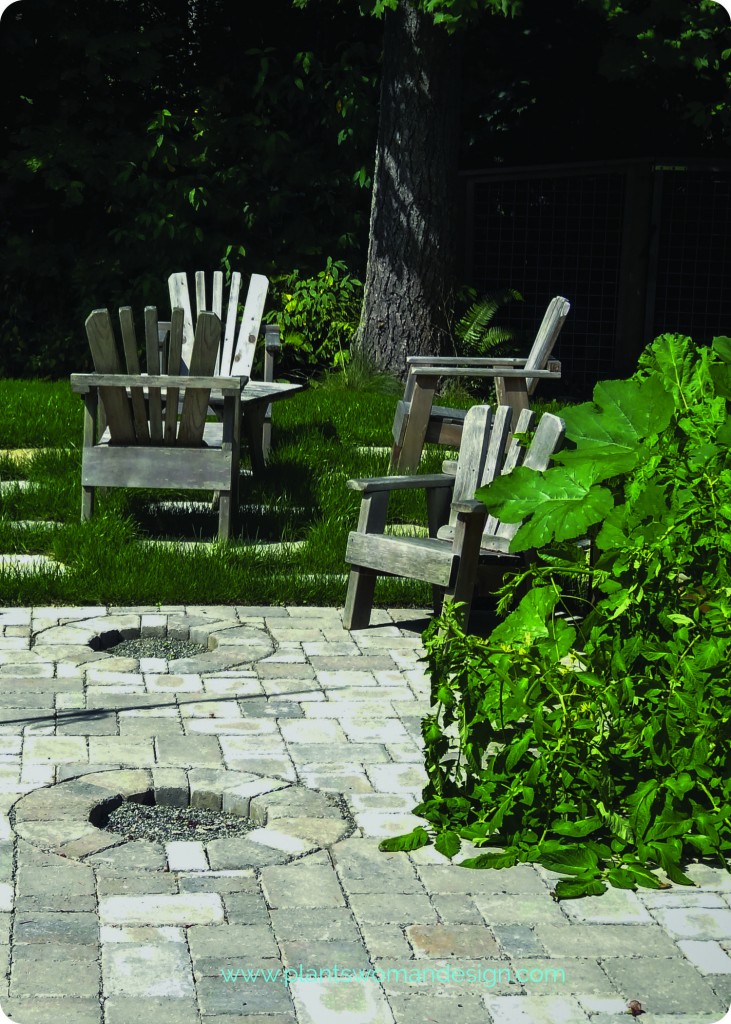
raised beds and place to rest, the circles in the pavers now contain columnar apple trees
raised beds and pavers
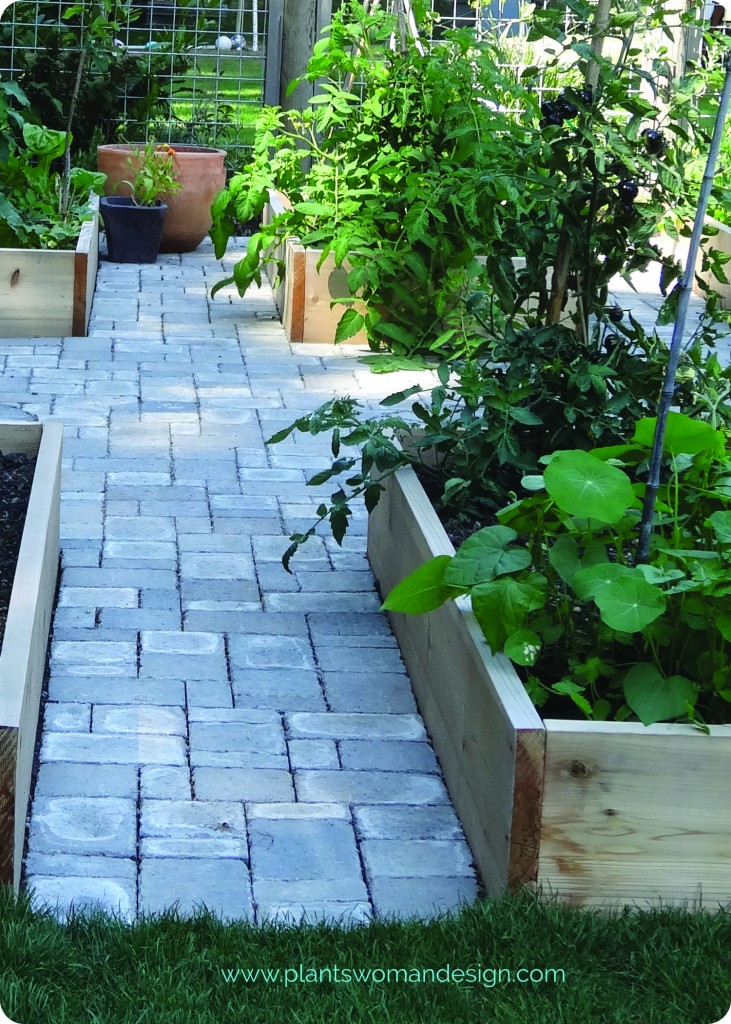
We also may need to keep them from predators. Deer fencing can be used to keep the food available and not make a snack bar for deer and rabbits.

deer fencing surrounding raised Vegetable Beds
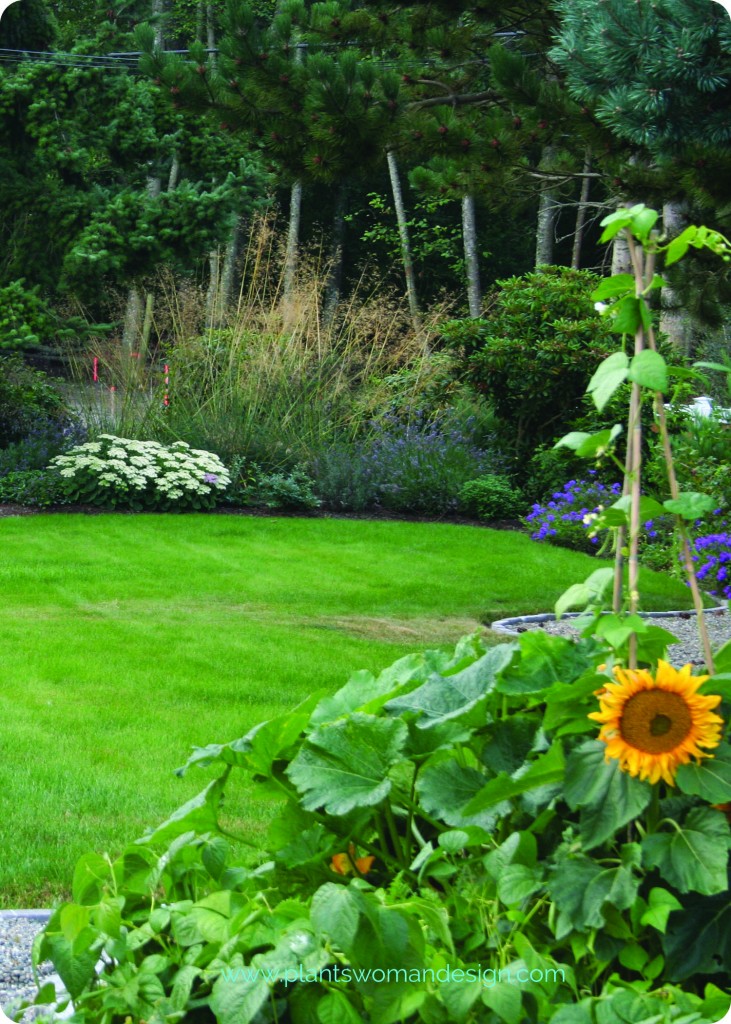
Gardens can be beautiful with Vegetables and herbs integrated. This last example shows a lovely beach style border ending in an herb bed. The raised bed on the right side of the picture contains squash and beans. Beautiful in their own right and in context with the whole of the back garden.
integrated Veg and Herb Garden