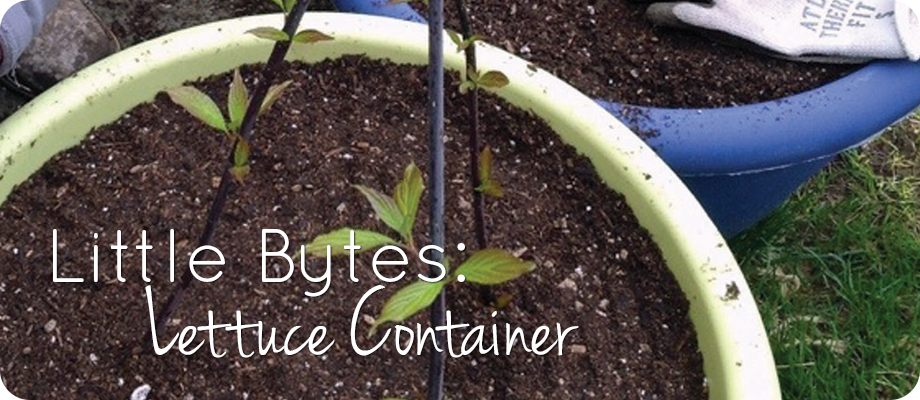
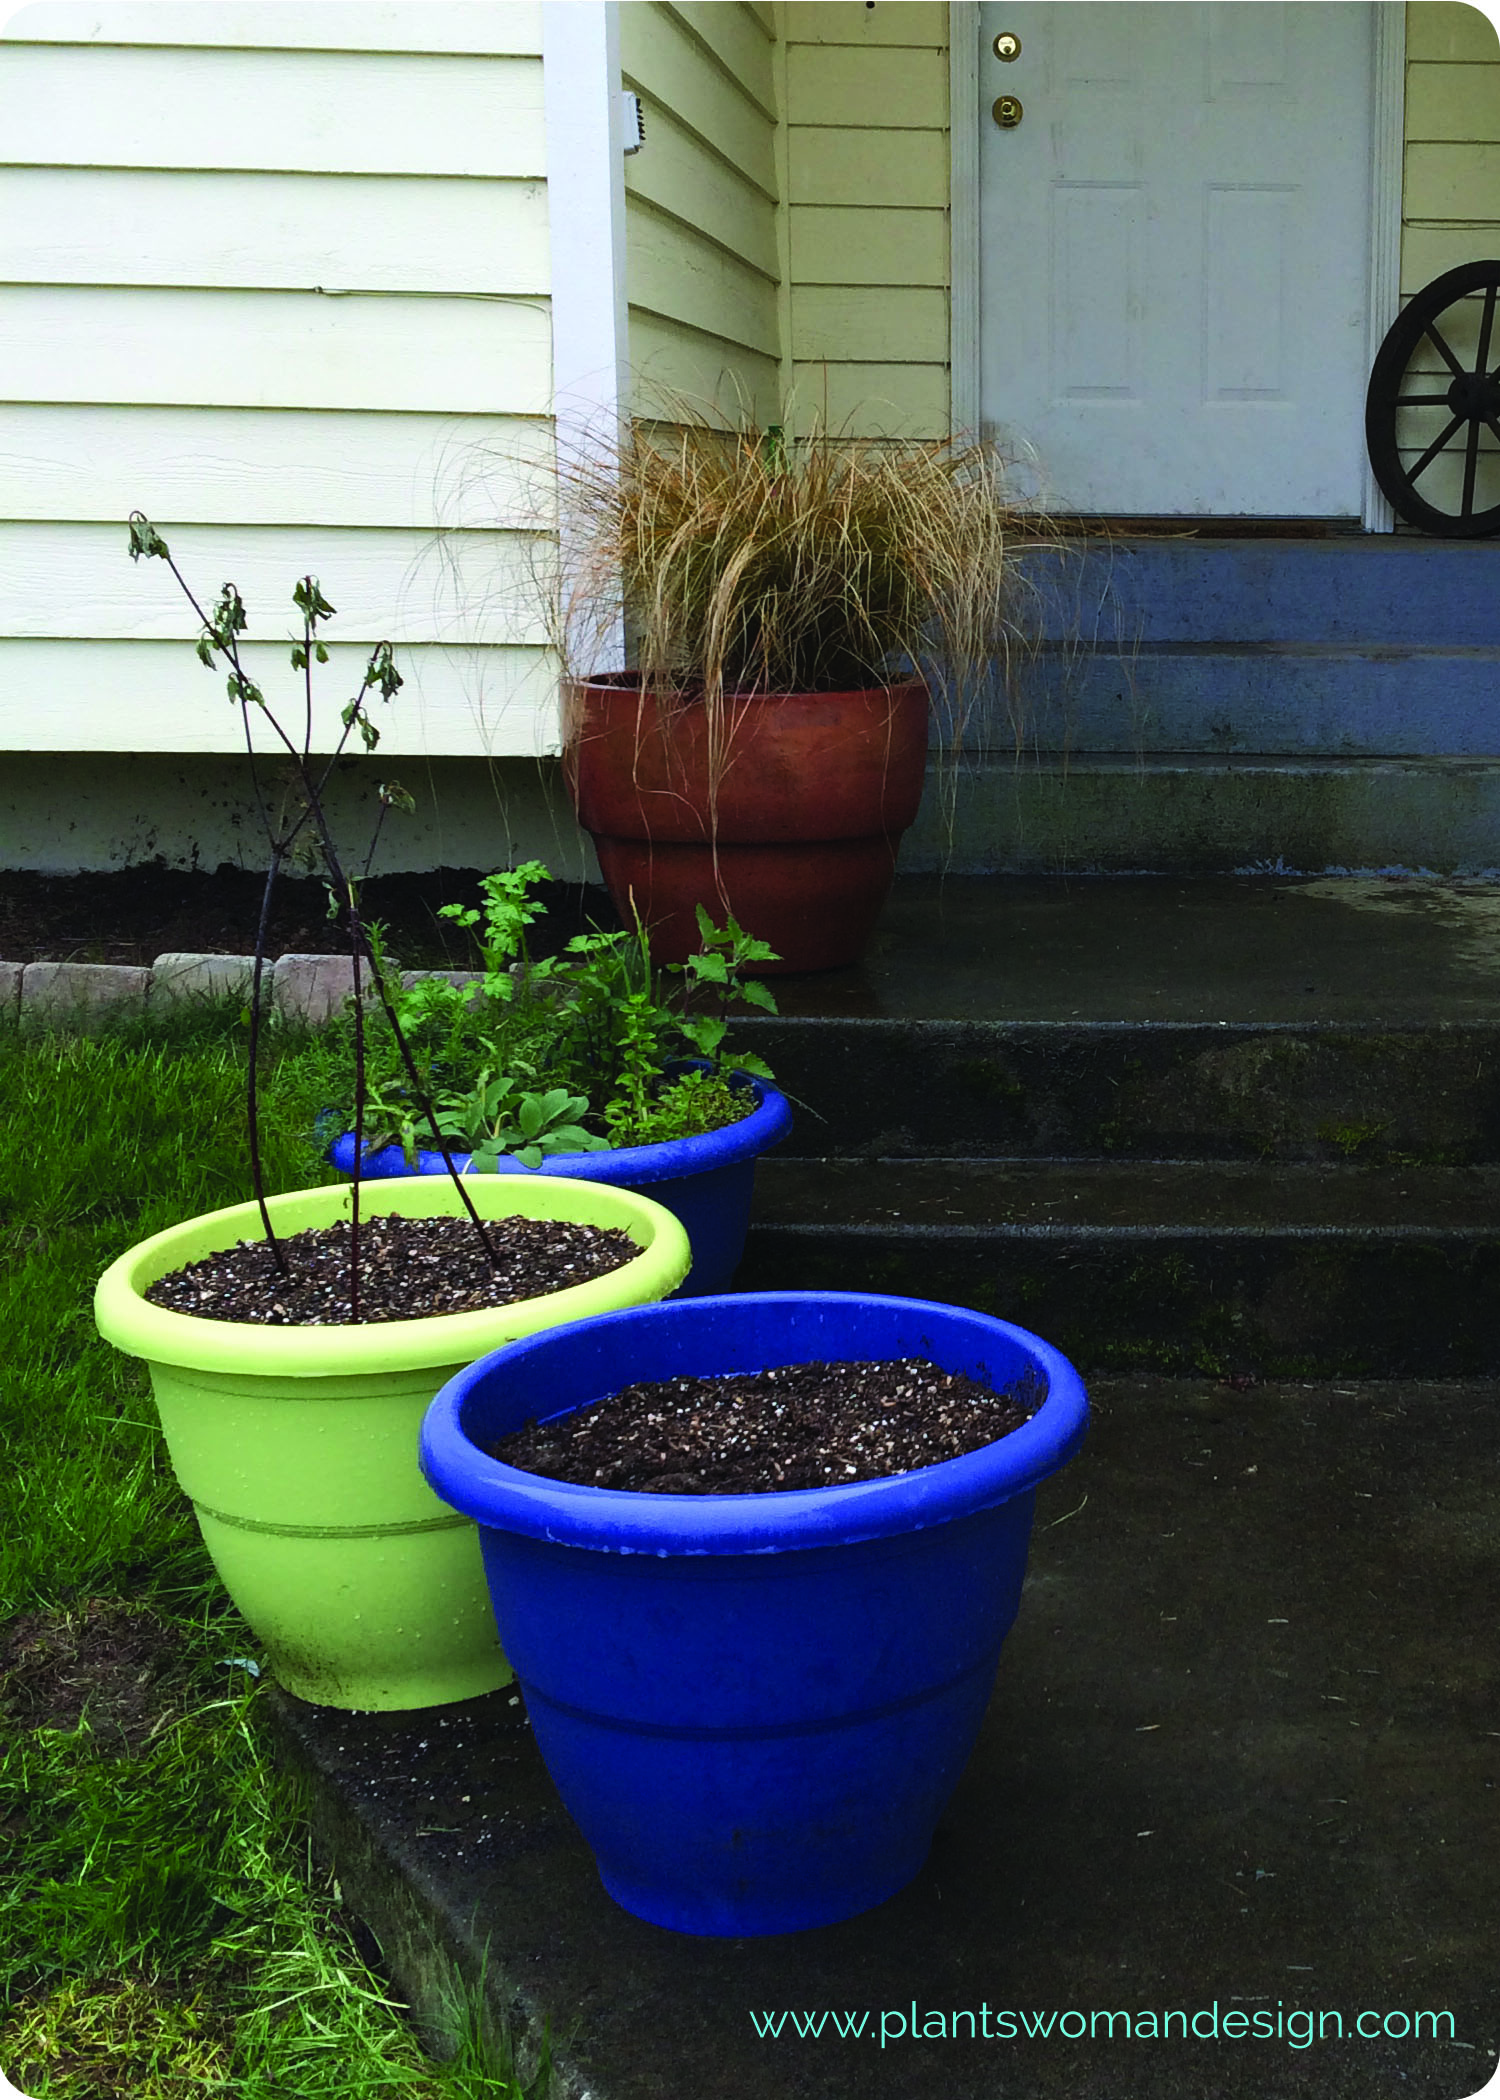
Little Bytes – Lettuce Container
After last week’s post ‘Spring Yes, Spring’ it is time to get the lettuce in the containers. We are going to plant a mixed container with lettuce and spinach leaving room to plant green beans in just a few weeks.
*For more information about making your own lettuce mix check out this post from earlier this week.
As we talked about before lettuce is a cool weather crop. It germinates in low temperature and grows well early spring. You can keep growing it through the summer if you provide some cool shade. If the temps get too warm the lettuce and spinach will bolt. This means going to seed instead of just producing green leaves. I am in zone 7 here, which means my last frost date is usually April 15th. Check the chart at www.almanac.com to find your last frost date. The seed packets will also give the information on the back of the packet.
For this Little Byte we are going to use the Territorial Seed Company’s “City Garden Mix” seed pellets. These are great little inventions that have multiple seeds in a pellet form. The salad greens we are going to grow will be ‘cut and come again’. ‘Cut and come again’ means we will not spread the seeds out and grow the lettuce to a full head but instead cut the leaves as they are getting mature and harvest baby lettuce and spinach leaves. You see young lettuce and baby spinach both for sale. We are going to mix it with Catalina spinach.
Let’s get started!
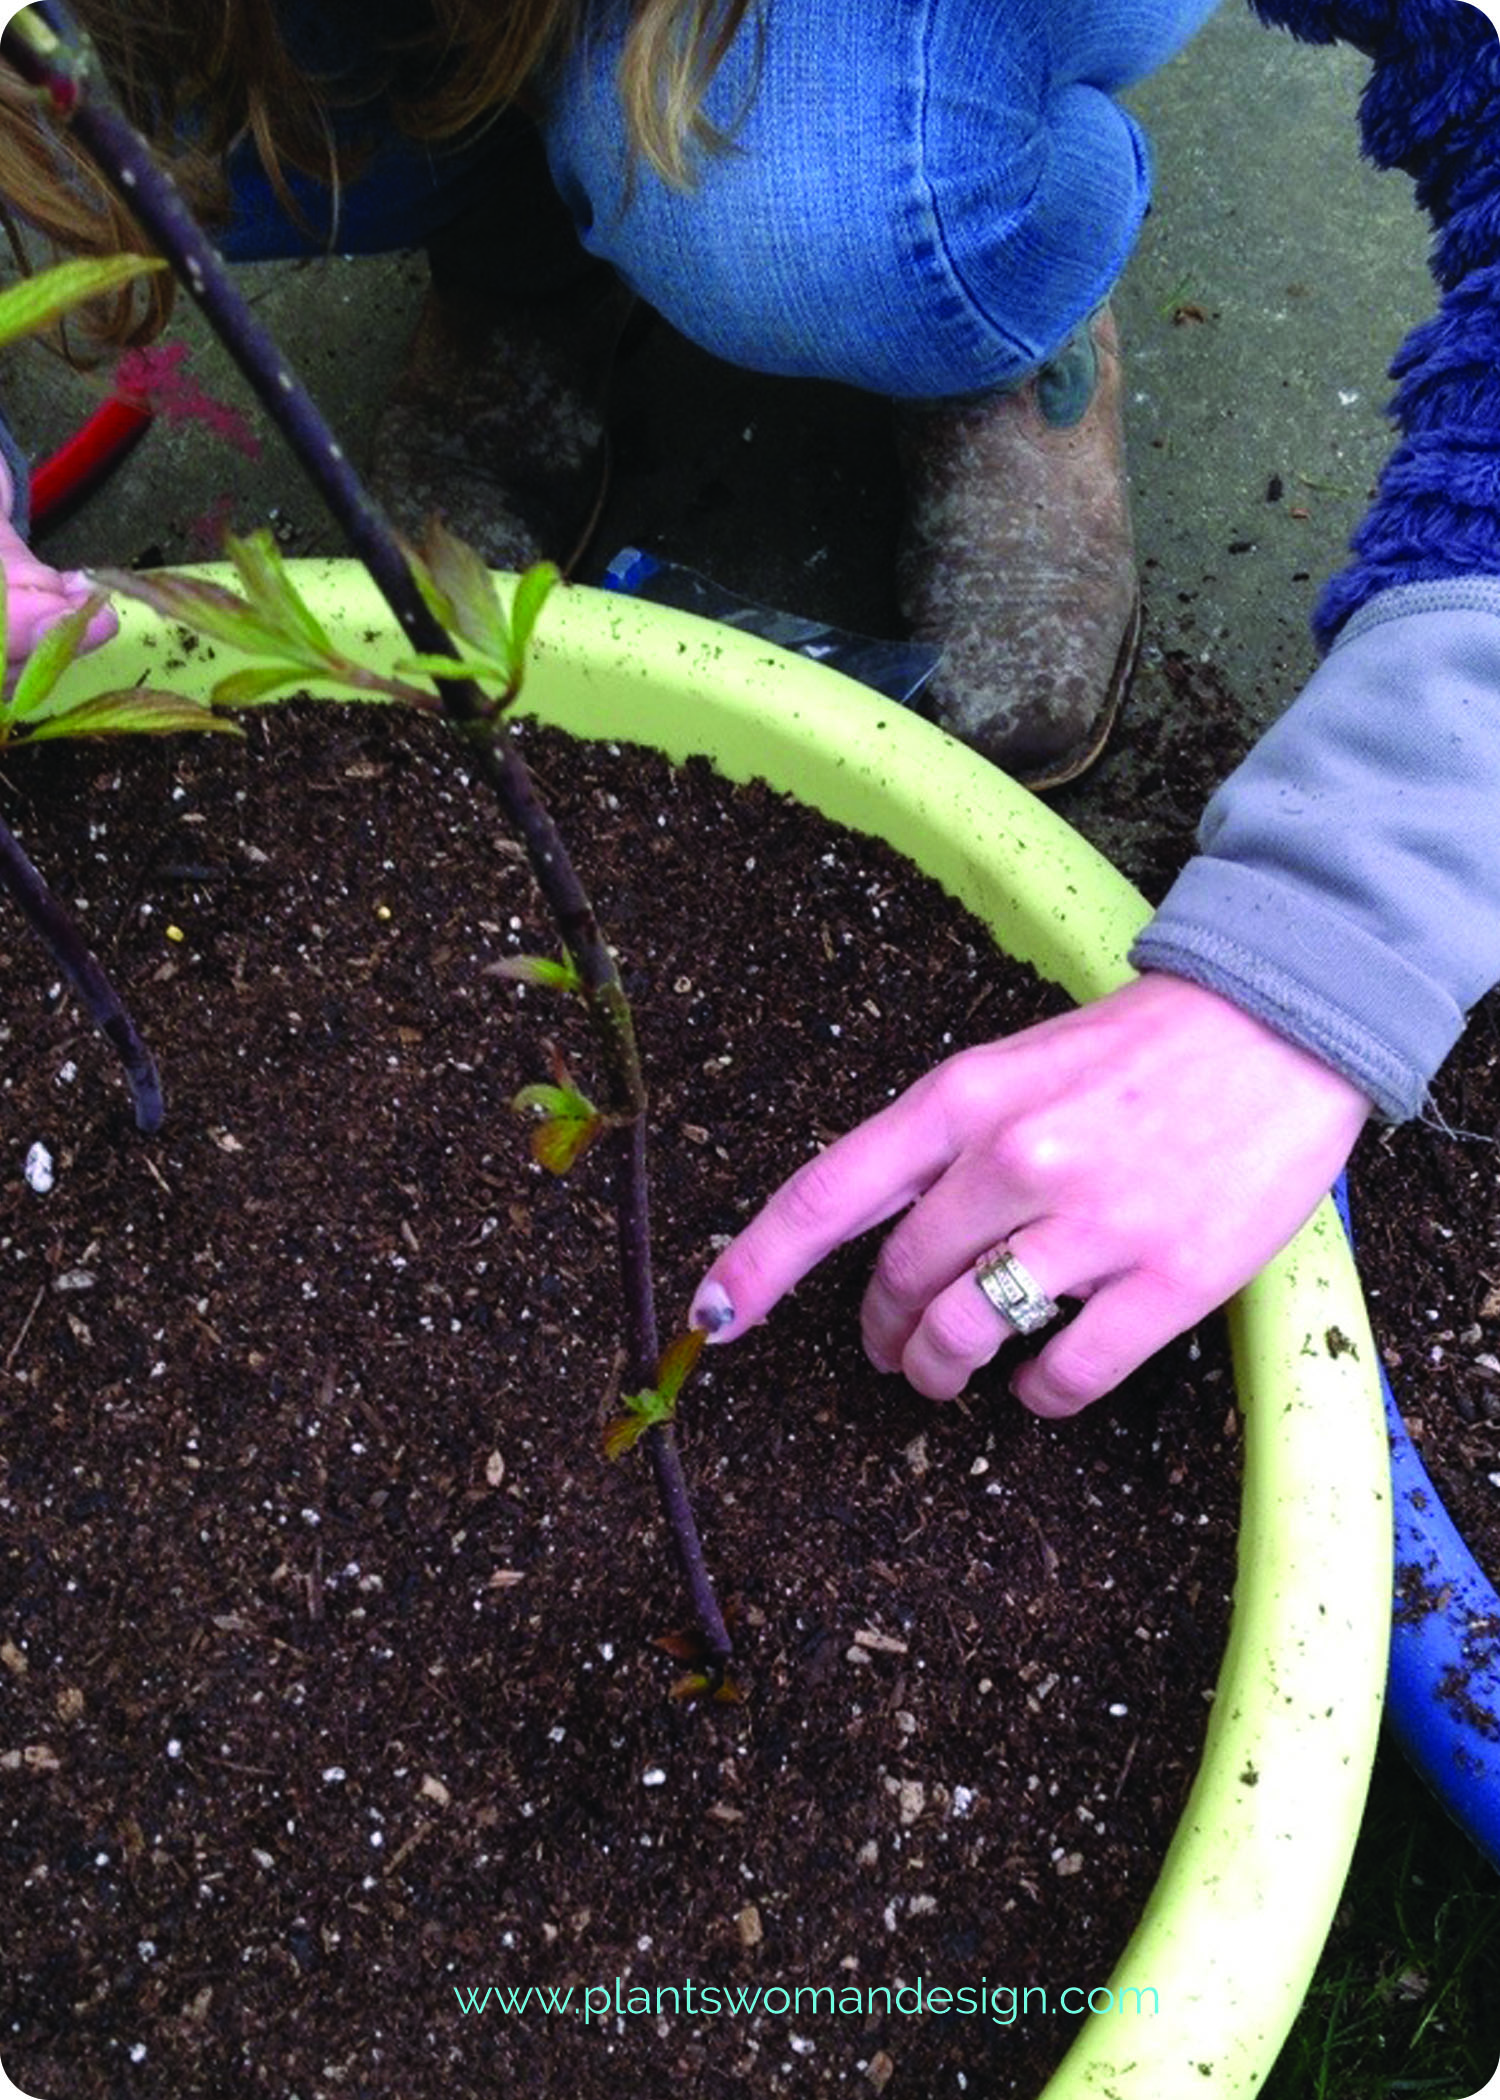
First you need to prep your container, if you haven’t already done so. Take a look at this post to see how to prep your container. Before planting the lettuce seeds take a moment to install some supports. These supports will be for the climbing beans we will plant in a few weeks. We want to put the supports in now so we will be ready to go when it’s time to plant the beans. You can choose to go to your local garden center and buy a support structure or recycle some twigs or thin branches from your yard. Jen took a look around her yard and cut some 3 ft branches of black twig dogwood.
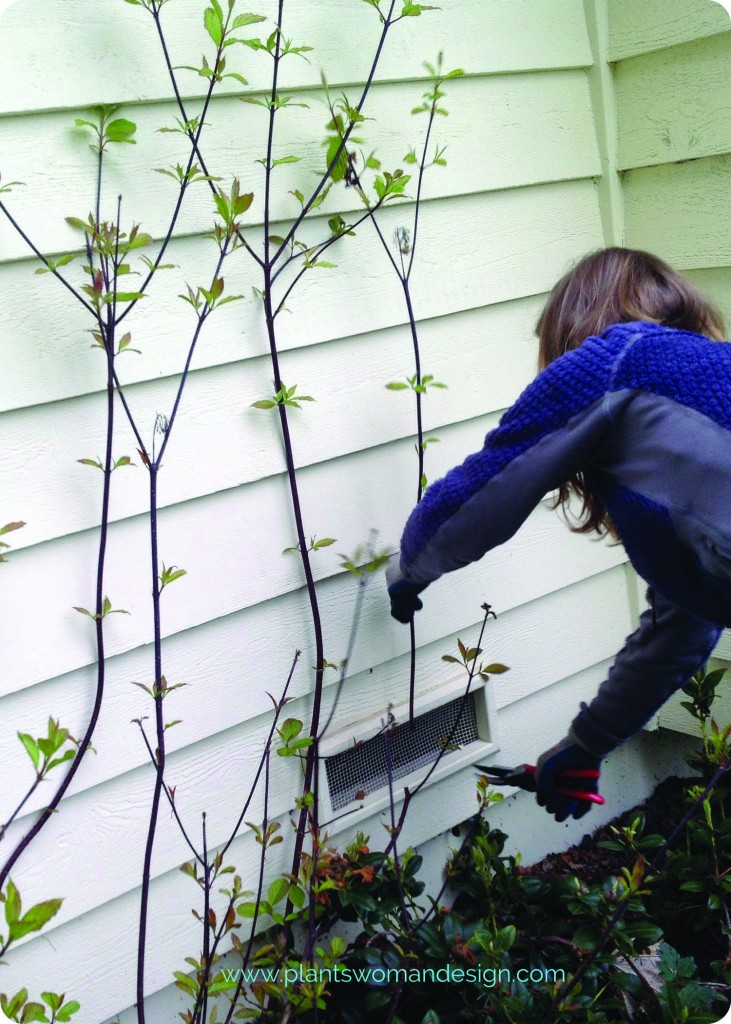
We will keep our eye on the black twig dogwood. They could root out because they are easy to start in water. Rooting out means they will send roots out and become new plants. We will see when we remove the beans after they are finished.
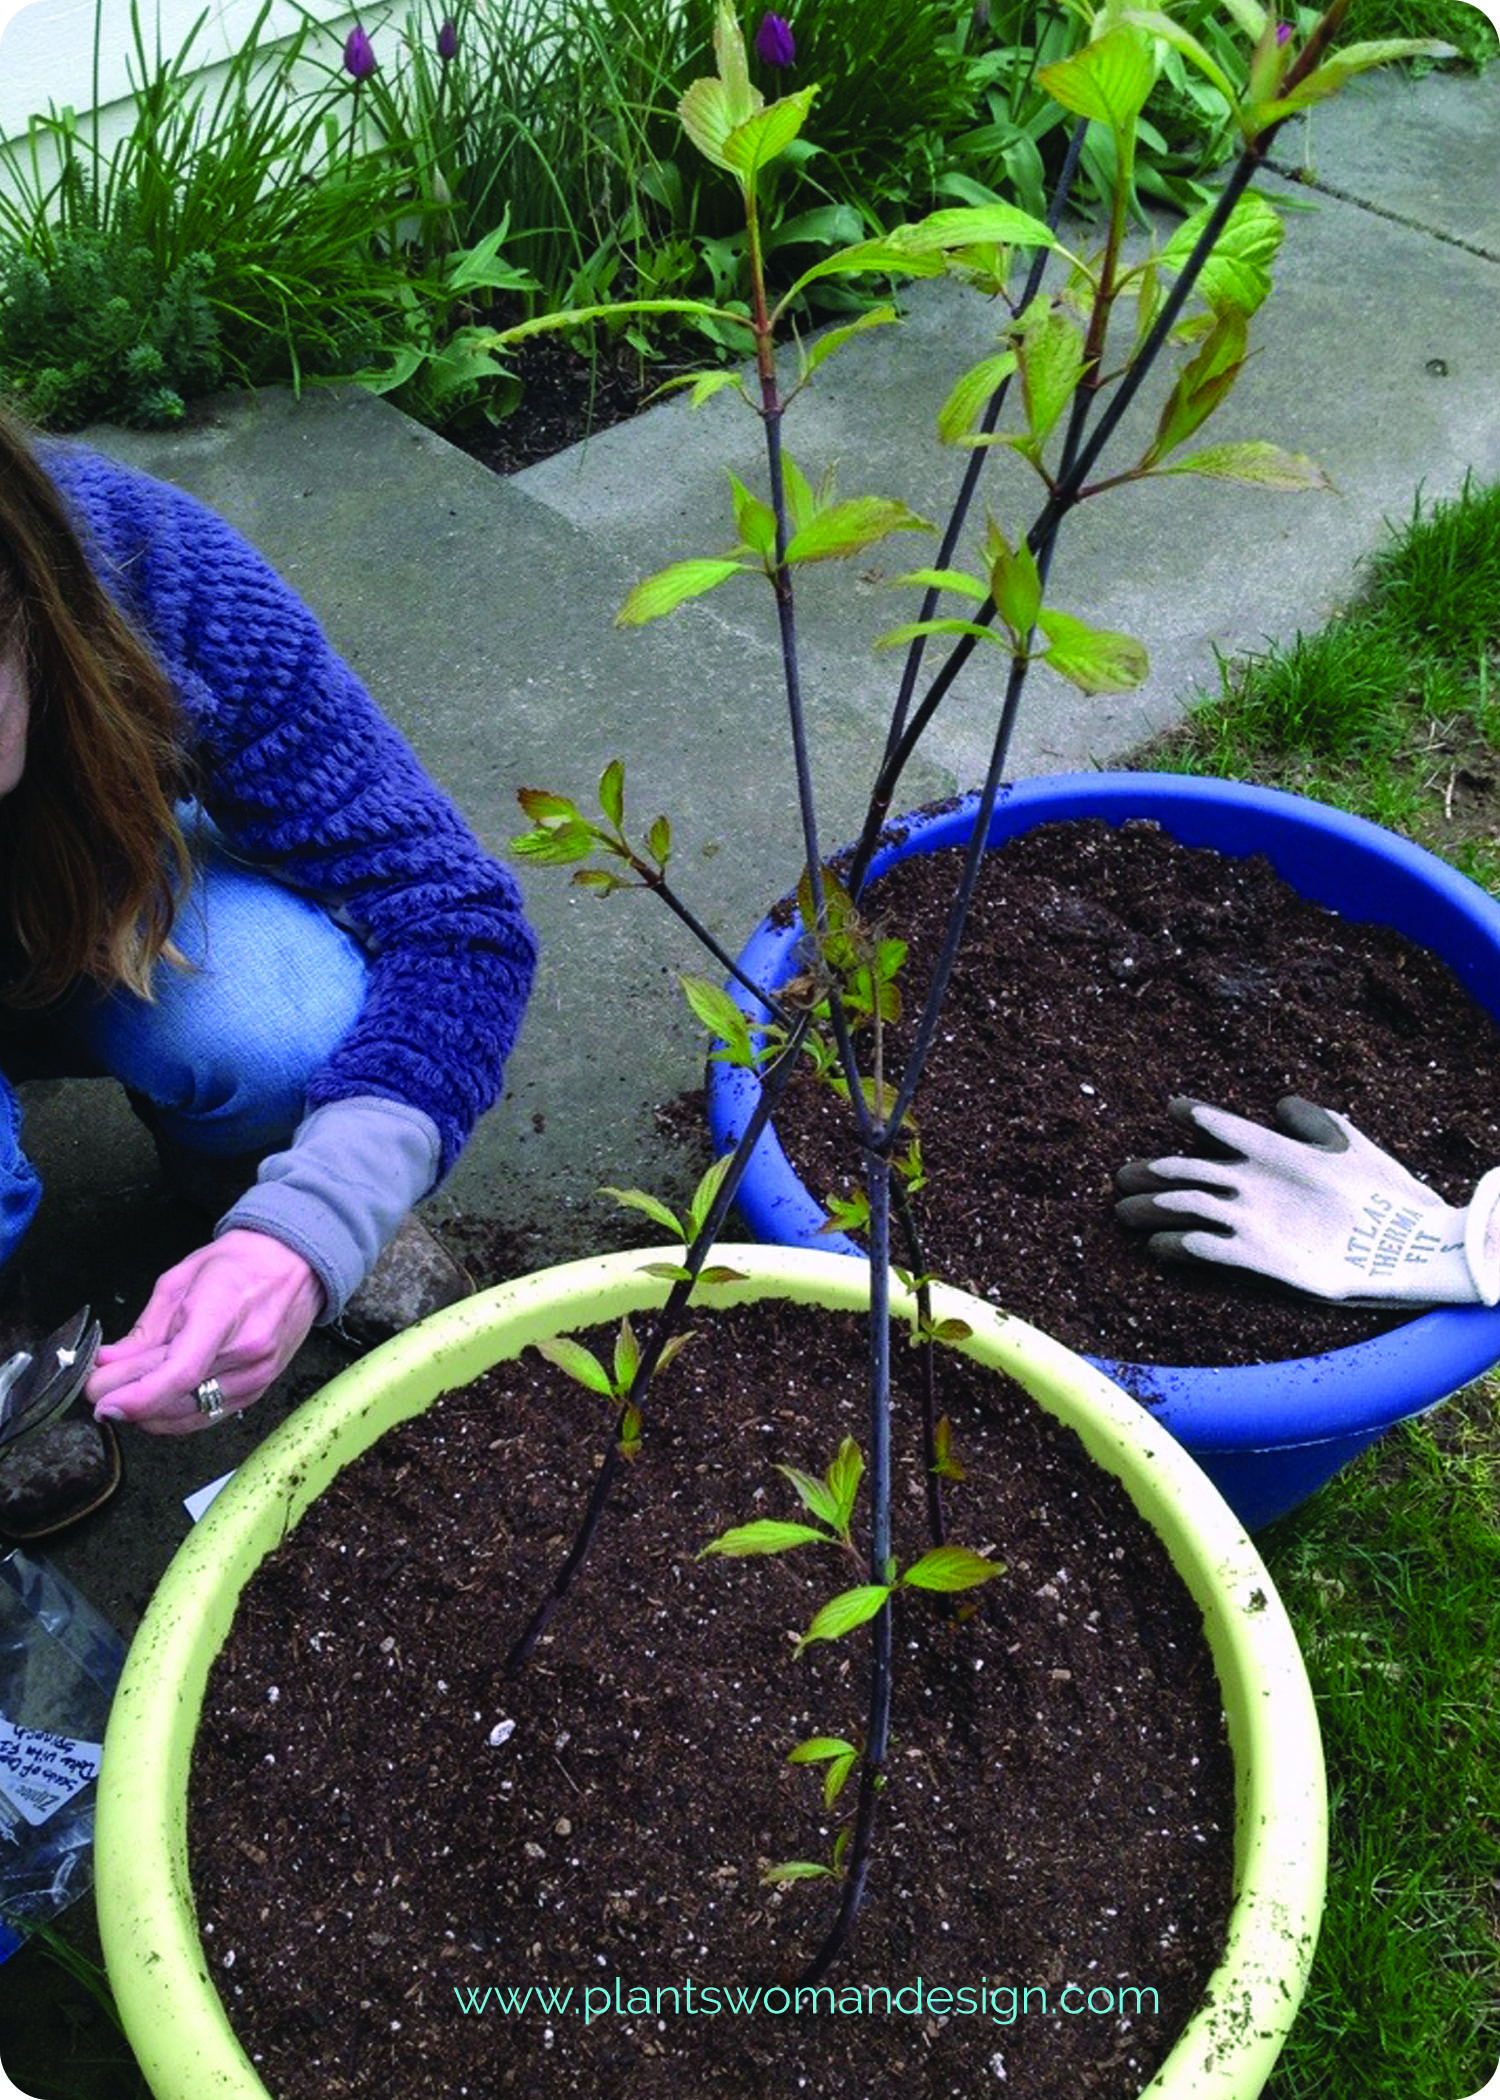
Set the twigs by pushing the supports into the soil creating a teepee like structure. When the beans grow up this structure it will create shad for the lettuce plants when the weather gets warmer. If you haven’t already, give your container a few taps and a good watering to help the soil settle. Firm down the soil around the container. You will want your final soil level to be about 2 inches from the top of the container.
It’s time to put the seeds down. To plant our lettuce we aren’t going to dig the seed in but instead place the seed on top of the soil and spread some additional soil over the seed. These little salad greens just need 1/8 of an inch of soil over them so it is easier to just add the soil after you have laid the seed. If you already used all your soil just scrape some off the top of the container and set it aside. Place the seeds about 1/4 – 1/8 inch apart. Don’t worry about being too exact or about what the back of the seed packet says about spacing. We will harvest this before it reaches maturity so proper spacing for creating heads doesn’t matter as much.
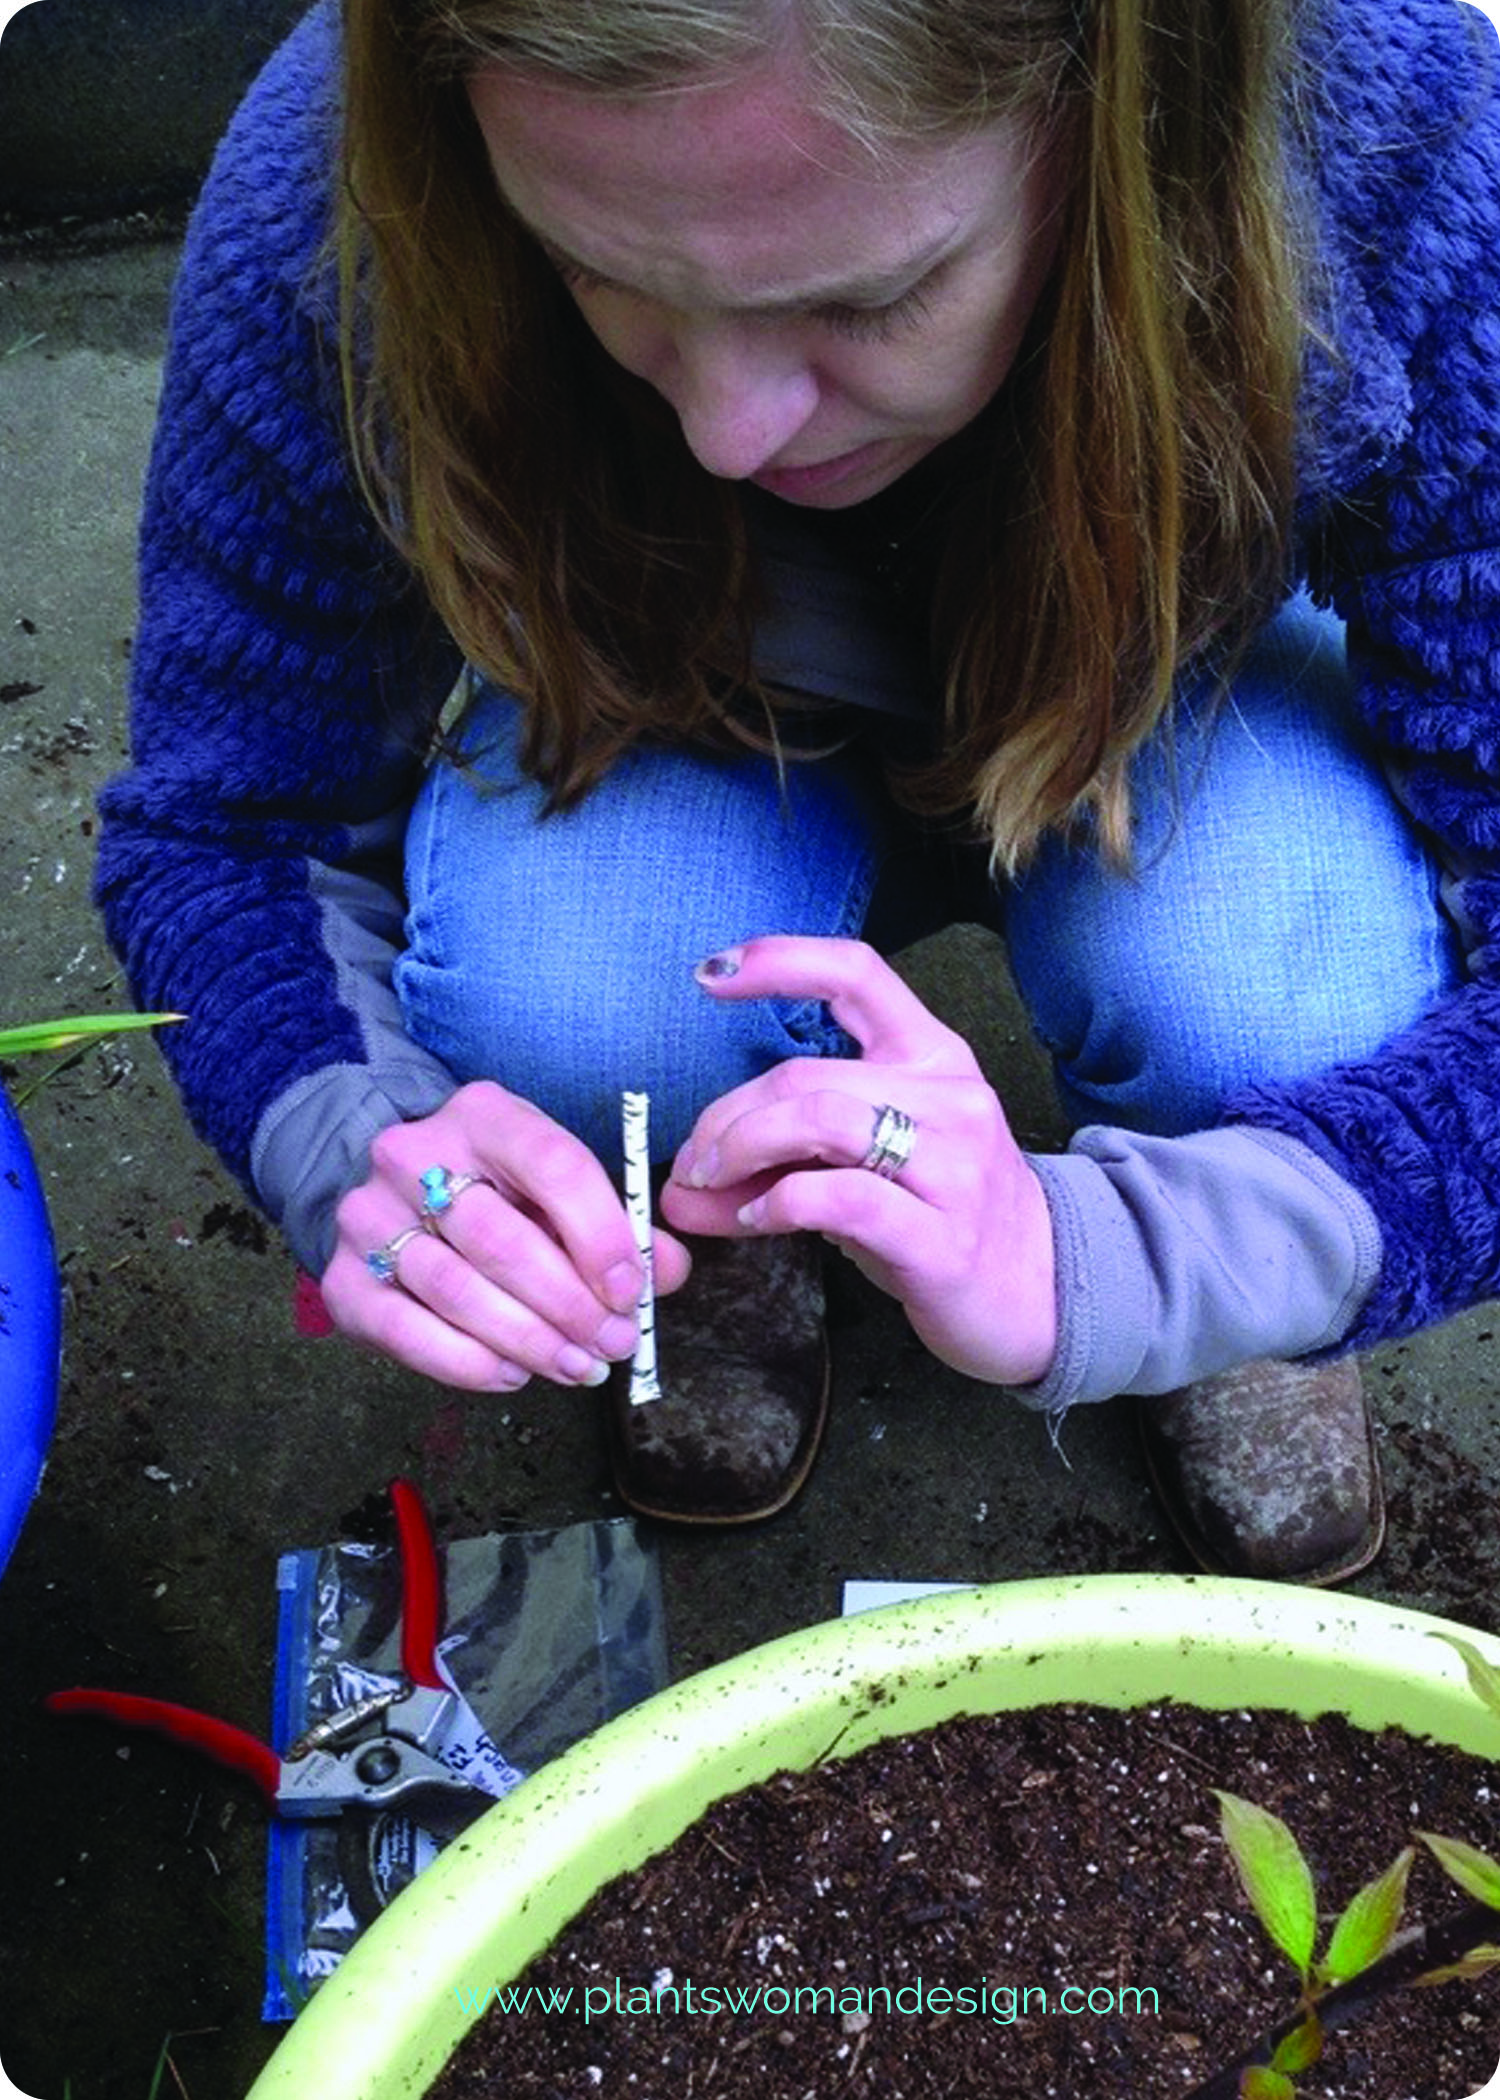
Once you’ve put all the seeds on the soil add the reserved soil lightly on top of the seeds. Press the soil down gently all around and water gently with a wand attachment if you have one. Be careful not to wash your seeds out of place.
And you are done!
We should see germination of the lettuce in about 7-10 days if the weather remains “normal” for this time of year. Before leaving you newly planted pot swing by your herb container if you planted one with us. Jen visited her herb container and cut some chives for baked potatoes. She can already harvest some of the things she just planted! How great is that? Remember, if you use scissors to cut vegetables or herbs, make sure they are not rusty. A rusty knife or scissors can bring rust to the whole plant. I usually just pinch with my fingers.
I’m off to the green house to check on my tomato seeds… I’ll be sure to let you know if they are up yet.


