by Susan | Oct 4, 2014 | garden food, LB Tutorial: Recipes
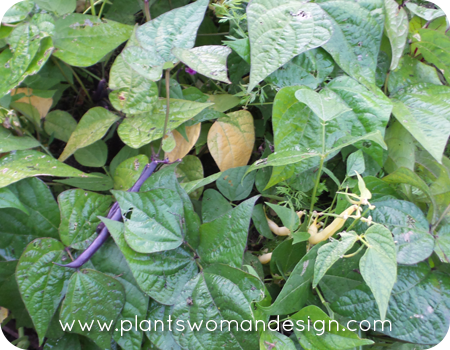
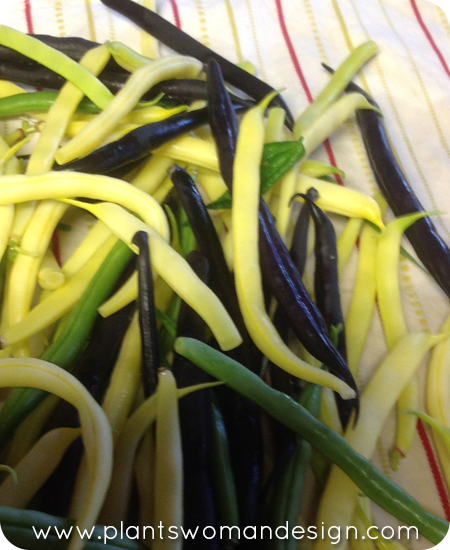
Things have been very successful in the July 4th Garden. This last week I picked my tri-color beans. I love the great colors of yellow, purple and green. My favorite beans are the romano Italian beans. It is like having steak on a vine. They are thick and have great substance. Sauteed with olive oil when young finished with a glaze of butter and Parmesan… Mmm, mmm, mmm, nothing finer. In the July 4th Garden they would not be ready yet as they have a longer maturity rate and require substantial staking. Yes they are on the list for next year… Meanwhile back to the tri-color beans. Flavor is good and they have abundant harvest for a bush type bean. Easy to use in stir-fries, sautés, bean salads, or quick blanched for snacking with dips. It is weird that they all taste the same but look so different. Watching the dark purple beans change to bright green when cooked is also fun. When I first grew them years ago I was disappointed when the purple ones lost their color. It was a great way to get kids to eat vegetables – who wouldn’t want to eat purple beans?
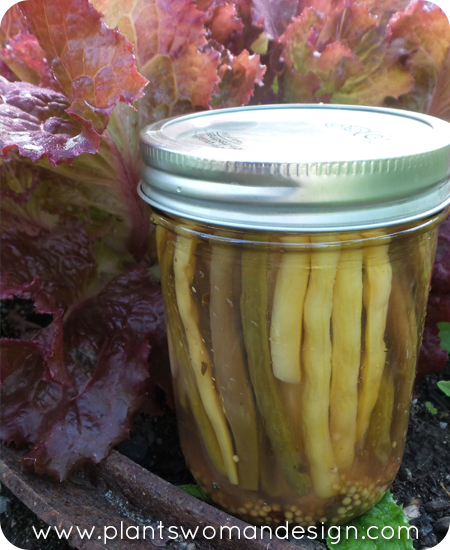
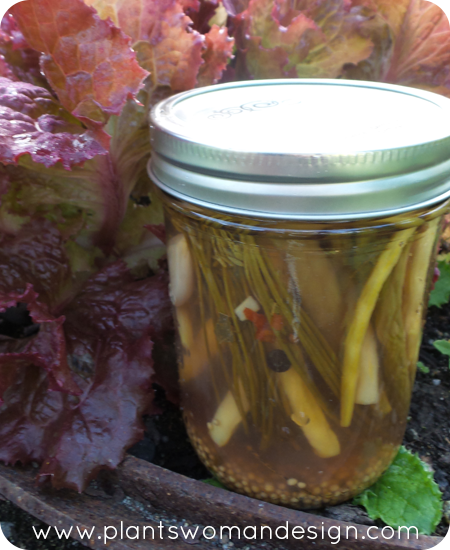
I learned how to make dilly beans several years ago from a good friend. Mary always had a big garden and harvested beans by the hundreds. Dilly beans are great as a snack, on sandwiches, wrapped in ham, on an antipasto platter and yes as a swizzle stick in a bloody Mary. My fresh beans from the garden are perfect for the dilly bean recipe. The key is freshness so you can’t really use beans that are too old or too mature and colorful beans work great.
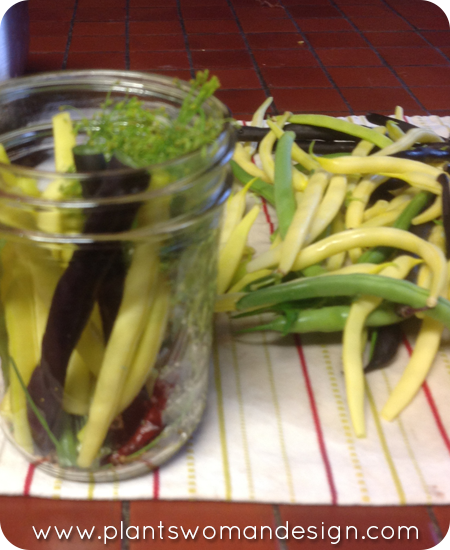
Dilly Beans
- 6 cups of water
- 1 cup pickling salt
- 6 cups distilled white vinegar
- 1 jar pickling spice
- 8 heads fresh dill weed
- 1/2 cup mustard seed
- 8 dried red chile peppers
- 16 cloves garlic peeled
- 1 teaspoon alum
- 5 pounds fresh green beans rinsed and trimmed to size
1. sterilize 8 1 pint jars and lids in boiling water for at least 5 minutes
2. combine the water pickling salt and vinegar in a large pot and bring to a boil When it begins to boil reduce heat to low and keep at a simmer while you pack the jars
3. in each jar place the following: 1 head of dill, 1 Tablespoon of pickling spice, 1 Tablespoon of mustard seed, 1 dried chile pepper, 2 cloves of garlic and 1/8 tsp of alum. pack beans into the spiced jars in a standing position.
4. ladle the hot brine into jars, leaving 1/2 inch of space at the top. Screw the lids onto the jars, and process in a hot water bath for 15 minutes to seal. Store for at least 2 weeks before eating.
by Susan | Oct 2, 2014 | garden food
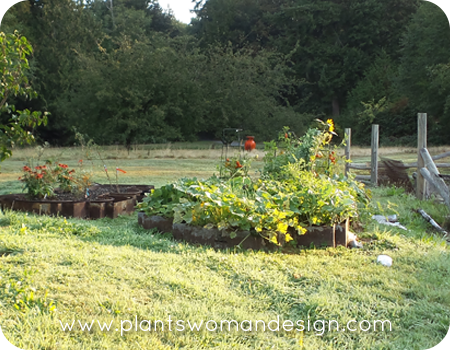
It is officially fall. Not in recent history did the summer actually last until the last day of summer but this year it did, 74 and lovely sun on the last day. As the rains started this afternoon I went out to take stock of the garden and see what did well and what did not. Some things surprised me.
Peas – I planted sugar snap peas. These were very successful; in fact I was just eating them yesterday. Often here in the PNW I have to plant them several times because the ground remains soggy for so many weeks during the main planting time (March or April). They are traditionally a plant that grows fast and wants cool weather. If it is warm the plant starts to dry up and the peas become hard. I was surprised they were so great. I ate them raw, in fresh salad, macaroni and potato salad, in stir-fries and simply cooked. I usually leave the pods on and pick them before they are totally mature (not fat with peas bursting through the outside). The pods are good for you too.
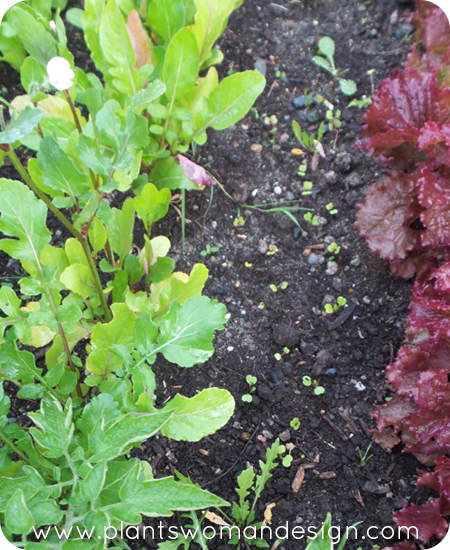
Lettuce – I planted three kinds. The red lettuce did well and still looks good and tastes ok. The romaine did not mature well and tastes bitter. The flashy trout back was really good. I noticed at the farmers market in August the flashy trout back lettuce was in many stalls, truly a testament to ease of growth and heat tolerance. Mine was planted behind the tomatoes and the peas so maybe the shade helped. The cucumbers loved it there too.
Arugula – Not really a surprise. It was really hot so the early spring and winter favorite was not that great. I got a couple of handfuls before it went to flower (Bolted). The chickens really enjoyed the peppery taste and were happy to help clear the line. I just popped in some more seeds two weeks ago for a fall crop and they are coming up nicely. This is a great fall/winter vegetable because it loves the cooler weather.
Spinach – Did not do well at all. I got a total of about 10 leaves, some were dried up and some just didn’t come up at all. It may have been a predator (rabbit) but they didn’t eat much of anything else. I have replanted for a fall crop and I see some germination. I’ll keep you posted.
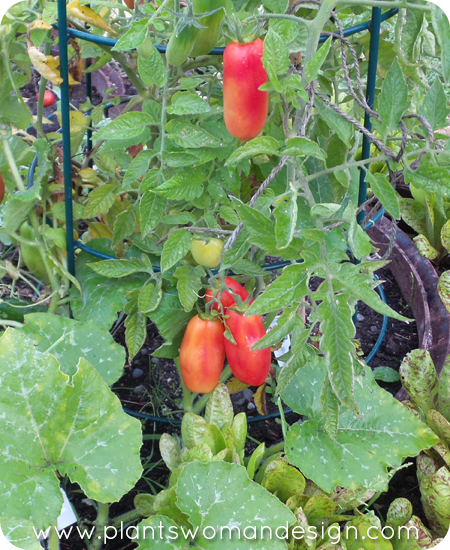
Tomatoes – I did cheat by planting already mature plants. They have rewarded me with many, many tomatoes, sweet and prolific. I love the fact that the plants don’t look that great but the fruit is wonderful. Usually my tomato plants look really great but hardly any fruit. The pear tomatoes I grew from seed are alive well and have fruit on them. I’m not sure they will ripen, but they may still have time.
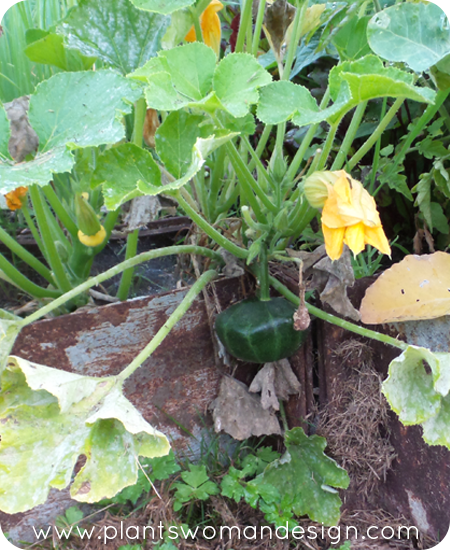
Patty pan squash – Did very well with good production. The plants are compact and a little close together but still produced well. The leaves are starting to get a little mildew on them now probably due to the closeness of the planting. Three colors again and great flavor out of all of them. I used them in stir-fries and sautés with other vegetables.
Beets – They were a little slow to start. I didn’t begin to see the crowns of the root until 2 weeks ago. It looks like they will be in the baby category but that is just fine with me, they are sweeter and cook faster that way.
Carrots and scallions are about the same as far as growth. They are baby sized and can be harvested now or left in the ground as the weather cools. Sometimes the carrots taste better after a cool period.
Pumpkins – The ghost pumpkins did well and I have several little pumpkins. I have great vines on the blue pumpkins but the fruit is so tiny it will probably fall off soon. The Cinderella pumpkins and regular orange pumpkin just struggled and didn’t do well. Conditions are the same for them except for some shade from other vegetables on the ghost pumpkins and blue pumpkins. I remember that is the old way to plant pumpkins between cornrows.
It was a great experiment in gardening. It is wonderful to eat what you grow. If you are hungry go to the garden not the store. I had pasta primavera several times and stir-fries too. We caught crab out of the water in front of my house and made a great meal with beans squash, potatoes and corn.
Anyone can do it and everyone should try at least once.
by Susan | Sep 24, 2014 | Plantswoman Design
While searching the nursery for Rhubarb I came across some interesting plants. While not finding the rhubarb I didn’t come away empty handed. My little finds didn’t look that great in their 1 gallon containers but I have faith that it will be an interesting experiment. It is amazing how many little experiments I try.
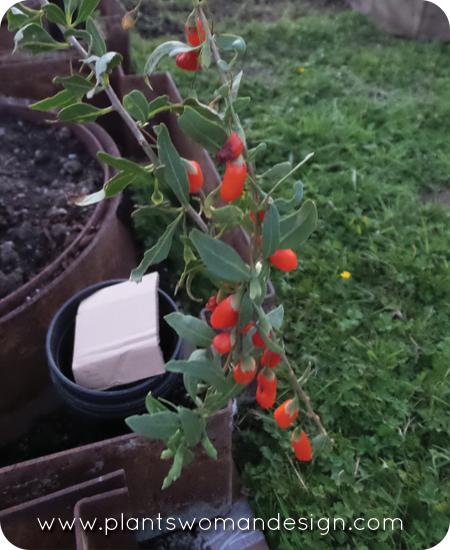
Crimson Star Gogi Berry
My first little find is the Crimson star TM Gogi Berry. It had fabulously interesting fruit hanging from long wand like branches. I even took a taste of the hanging orange berry. Not only is it good for you it tastes good which I usually see as a dried fruit and in juices.
The next little guy I found is a Lycium barbarum variety of Gogi Berry Plants and Garden Harvest Supply had some good advice…
“The Lycium barbarum variety of Gogi Berry are a perennial in zones 3 to 10, they are actually quite remarkably heat and cold tolerant. Goji plants are deciduous, which just means that they drop their leaves every year, usually once the first frost hits. Goji Berry plants are very adaptable, but for the very best results, test your soil, and then adjust the pH to between 6.8 – 8.1. You can add lime to raise the pH if necessary or aluminum sulfate to lower it.
To help your prepare this amazingly healthy superfood, we have discovered a cookbook, written by Dr. Donald R. Daugs, Goji and Wolfberry, Superfood Cook Book for Health, Flavor and Fun, filled with illustrations and 93 recipes for everything from breakfast to main dishes and including a chapter on appetizers!” (
Source)
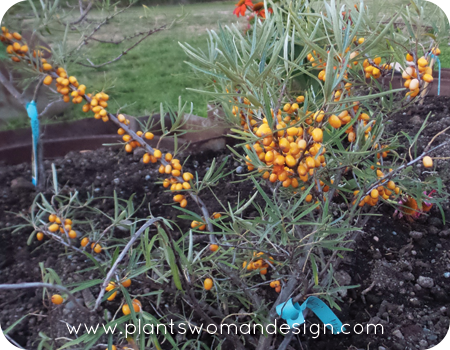
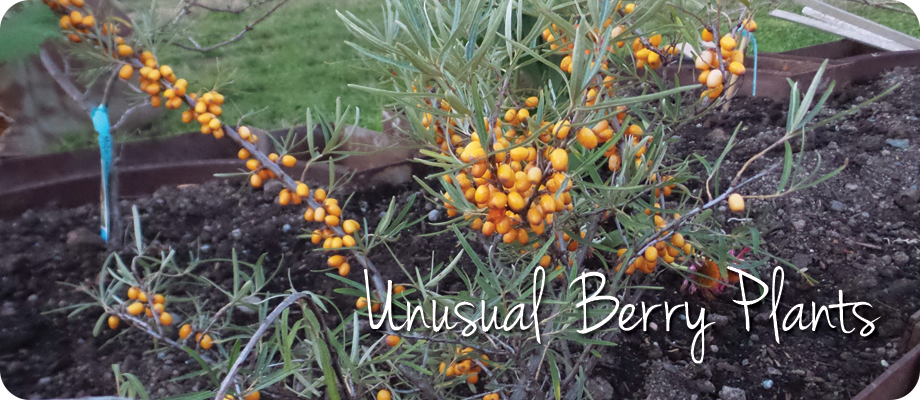
Female Sea Berry, you can see the male Sea Berry in the back to the left.
I also picked up a male and female Sea Berry, of course the berry is orange too. Here is some great info from MySeeds, “The Hippophae rhamnoides has plenty fans to recommend it as the Sea Berry is widely used for healing in Asia and Europe, where it is valued as a potent anti-oxidant, a source for Vitamin C and a healing oil. The attractive small tree or shrub, also called Sea Buckthorn, is likely the most widely grown, northern hardy, fruiting plant in the world, but most Americans have never heard of it! In Europe, the sour, flavorful fruit is sweetened and its orange-passion-fruit-like flavor makes fine sauces, jellies and a base for liqueurs. The plants, native to the Russian Far East, are incredibly productive and a great choice for backyard fruit production! Narrow silver leaves and plentiful round, yellow-orange fruit cover the 6-10′ tall, narrow, upright female forms. Give plants full sun and good drainage, and space them about 7′ apart or 3-5′ for a hedge. They are extremely hardy, to -50° F., disease resistant and easy to grow. Branches are used in floral displays, and commercial crops are harvested by cutting off entire fruit-laden branches. USDA Zones 3-9.” If you miss it in the nursery you can get it at Raintree Nursery on line. (source)
Less unusual but still a breakthrough that fruit growers in small gardens are excited about is the Raspberry Shortcake bush type raspberry. These are not running out of control canes everywhere type of raspberries. I got good production in my Miller Bay garden. This revolutionary, thornless raspberry is a little dwarf of a raspberry with an endearing compact growth habit that thrives in patio pots or in your landscape. It needs full sun, fairly neutral soil, moderate watering and good drainage. Fertilize in early spring with a balanced liquid fertilizer. It needs some chill factor. If leaves begin to yellow or droop in summer – apply a balanced liquid fertilizer and water well. It does have a compact habit and if planted in the landscape it will still produce new canes around the base of the plant. If you want it to stay in a container it is happy to oblige! (source)
I dropped one into the same garden bed as the Goji and Seaberrys. Of course the designer in me can’t resist adding a few accent plants while I’m at it. These Echinacea ‘someadobe’ have a fabulous color of orange with little bits of hot pink at the edges of the petals. Yummy color!
by Susan | Sep 13, 2014 | Plantswoman Design, pond
Often times customers will ask us to do something we have never done before. Of course I always say “YES!” Then my crew and I will do a little pow-wow and figure out how to do it. Occasionally we will tell our customer ‘this is new to us but we will do it for cost and you get to be our experimental model’. They are excited to see how we do it and we are excited to do something new. Most of the time we do a ‘mock up’ or try it for display. We want to be sure that something works before we put it into a landscape. We are always learning and experimenting to perfect our craft.
For today’s case we are building a koi pond. My babies moved with me and they needed a new home. They have spent the last month in a 300 gallon stock tank.
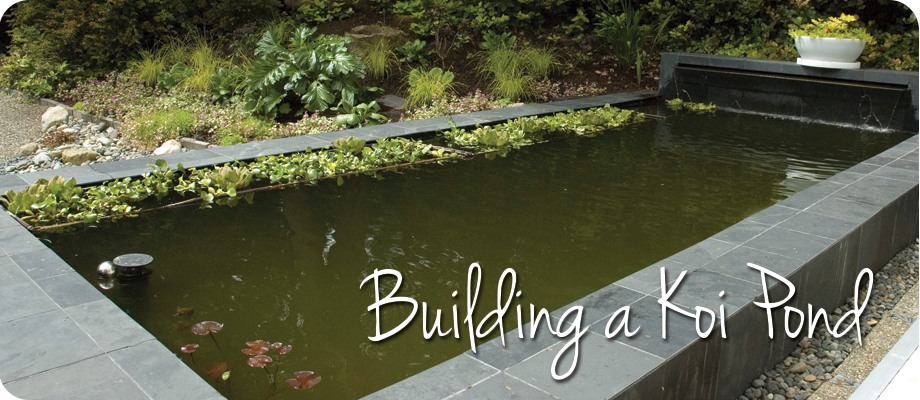
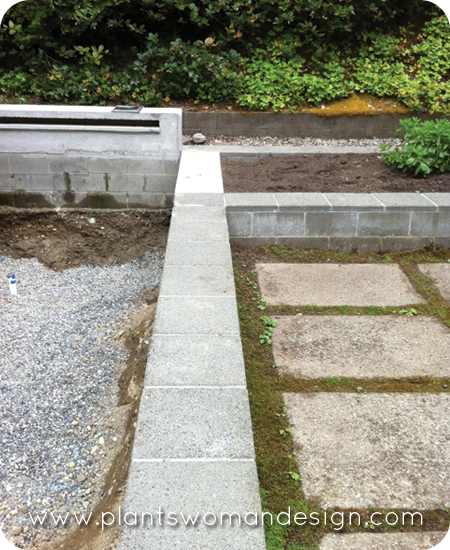
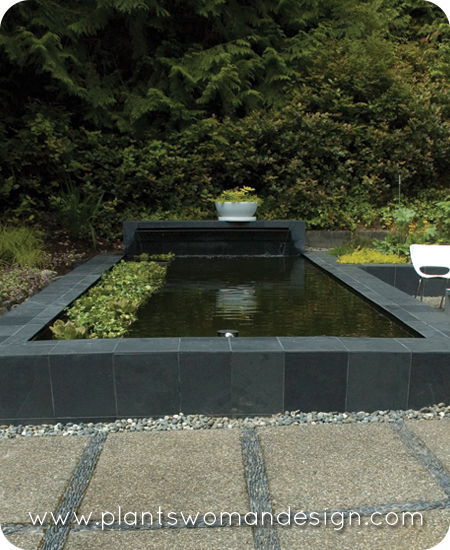
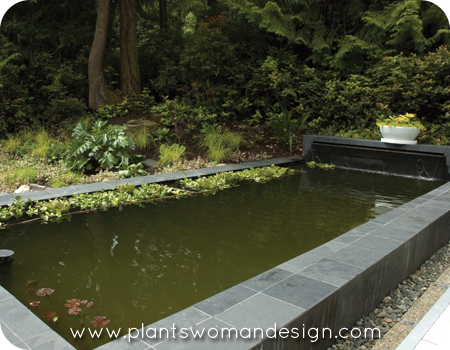 We have a customer that we helped with a koi pond for a couple of years ago. She had concrete planters in the back garden. We blocked one off and left it as a planting bed. The other bigger portion we dug out, plumbed and created a pond with a waterfall. In her project we used a spray on poly urea liner. The fabric was laid and the liner was sprayed against the wall and over the fabric. The wall was capped with black slate and it looks beautiful.
Here is the Slate Pond on Bainbridge Island before. It was concrete block and dirt.
 Here is the finished koi pond…
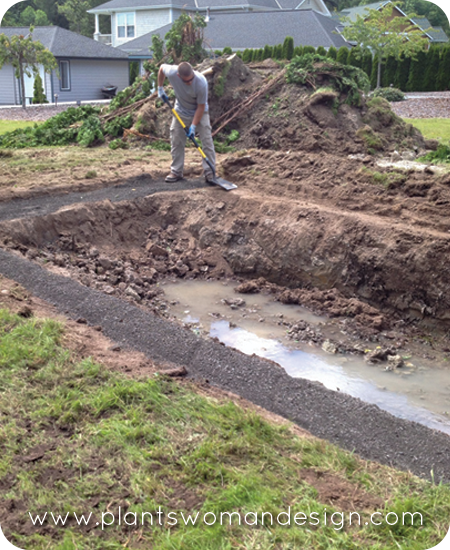
 To start the koi pond at the beach house we brought in the big diggers to start and then finished off by hand.

 For my koi pond we are using a rubber liner. The company that does the spray on was too busy spraying ponds for shrimp farming (who knew?). The challenge here is to get the liner to stick to the concrete block we used. We need to get the liner to attach to the concrete block and then we will put the stone on the top. We tried liquid nail (a construction glue) but it did not work. I went to a fabulous store called Atlas Supply where they have all types of adhesive! They are experts so they asked about what I was doing and gave me just the right product. I used a structural adhesive called M-1 and that did the trick. The liner is laid down and stuck to the top of the wall. Now time to fill the pond and move the fish.
When koi move they get a little freaked out and think that everything is out to get them. They jump and sometimes make it right out of the pond. I lost one that way because he jumped at night and I didn’t find him until the morning which was too late. Another one jumped during the day and I found him outside still breathing. He had been out a long time but I dumped him back in the tank and he survived and is happy. When I moved them to the bigger pond I put a piece of netting over the top to keep them in and predators out. That was in place for a couple of weeks and then I changed it to a wire cross wire system. I want to keep eagles and osprey’s from diving into the pond to fish for their supper. Unfortunately it did not keep this curious heron from investigating.
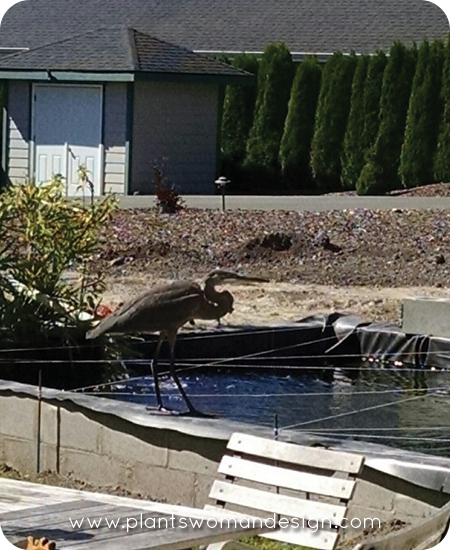 This weekend I will set up a wire around the perimeter to keep them from landing on the edge of the pond. I’m still working on the top and edges of the pond and will keep you posted on the continuing saga.
by Susan | Sep 5, 2014 | gardening
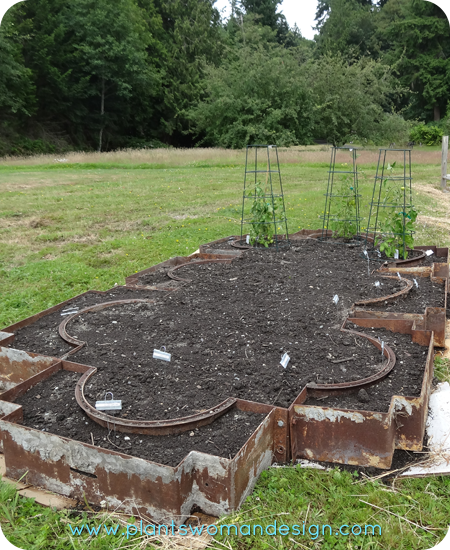
With my move to the new house I left my beloved veg garden behind. After the dust settled I wasted no time putting in a new raised bed garden at the new place on the 4th of July (you can read about it HERE). This is what it looked like after I planted it.
 Here’s what it looks like now…
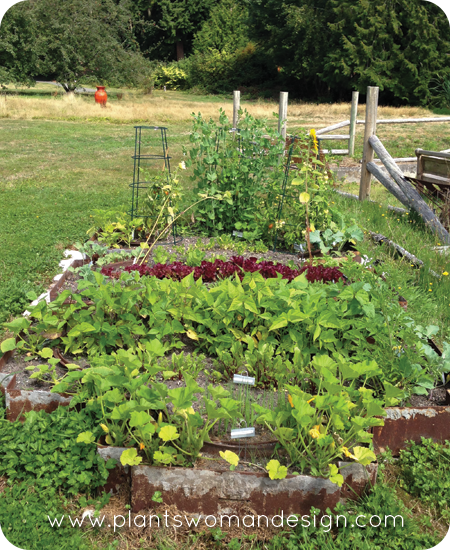 Such an amazing difference a month and a half makes! Thanks especially to the plentiful sunshine we’ve had this summer. Here is a close up look…
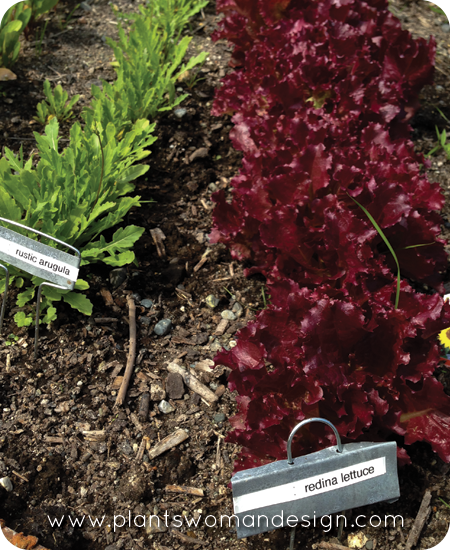
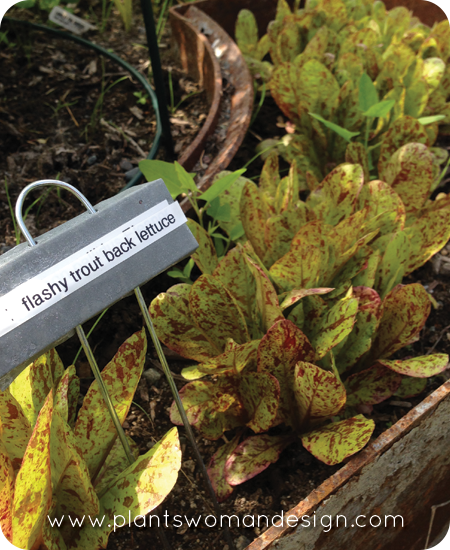
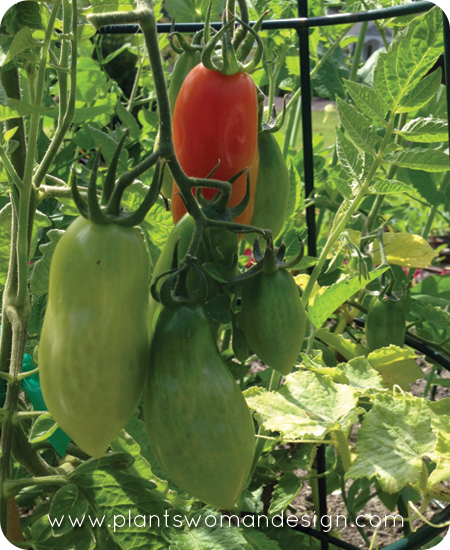
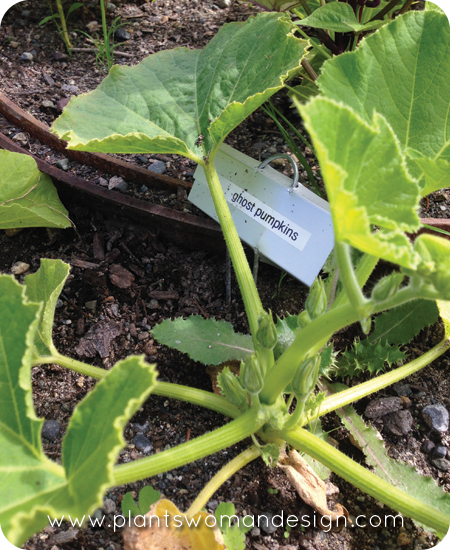 Not pictured is the collection of herbs tucked in here and there through out the beds. As you can see the garden is not heading autumn’s call to go to bed yet. Keep watering and keep harvesting!
by Susan | Sep 3, 2014 | Plantswoman Design
There is something amazing about summer gardens. The effort of plants to blossom and flower is magnified as the weather warms. Descriptive words like lush, blowsy, rich, saturated and intense give way to chaotic, over the top, mish-mash, and jungle. The weather this year has kept the descriptive words coming. Little rain with great sun has produced many flowers showing off plant combinations at their best. I want to share with you a few of the gardens I’ve had the pleasure of visiting this summer. There are several that make you stop, take a breath, and just enjoy the view.

pennisetum orientalis and tsuga mertensiana
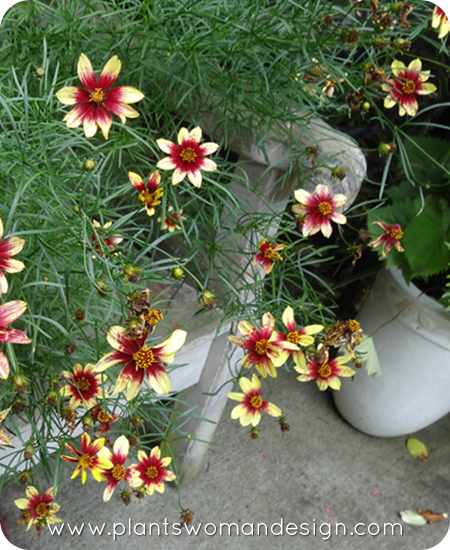
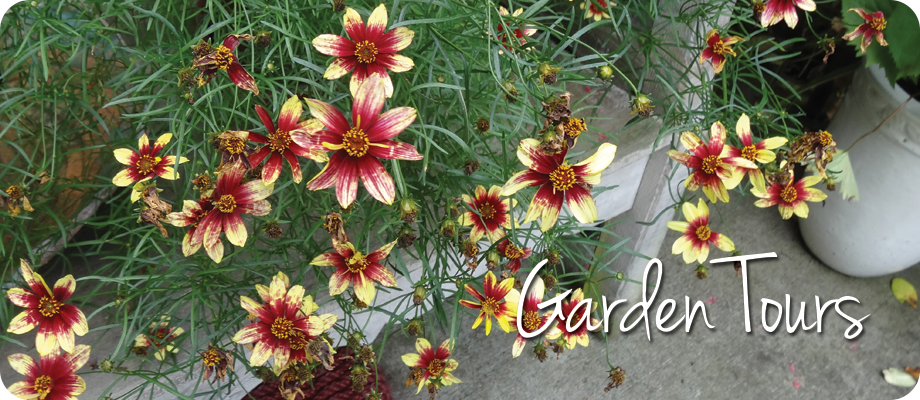
coreopsis
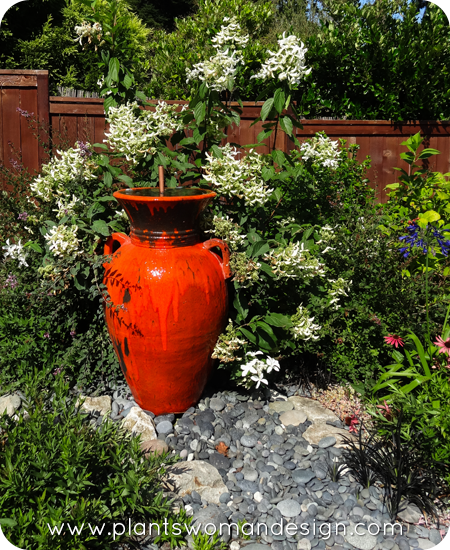
orange pot fountain

hot cannas
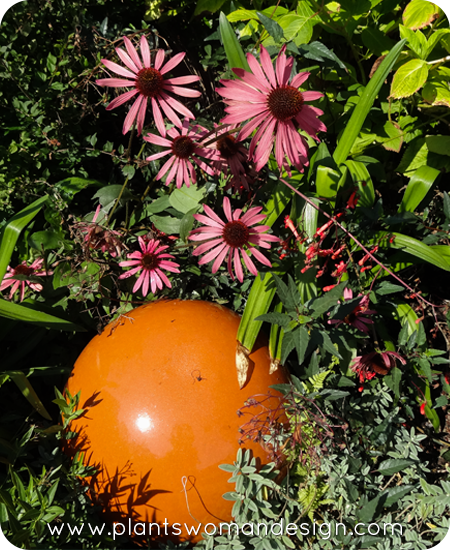
spicy orange and purple echinacea
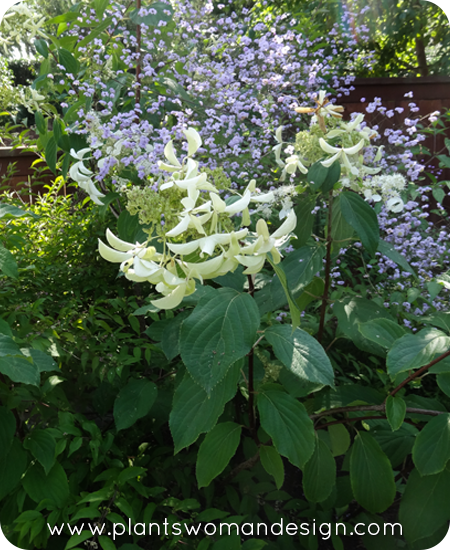
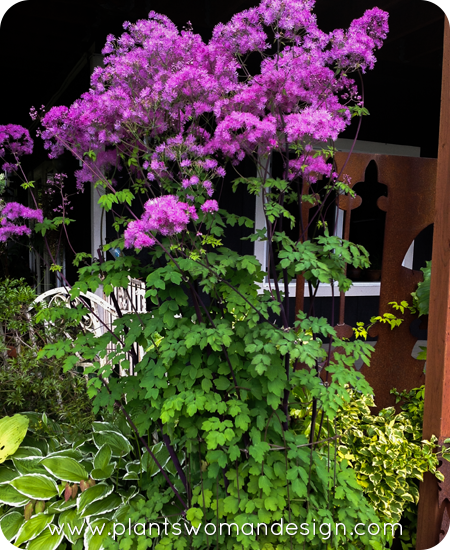
hydrangea and thalictrum
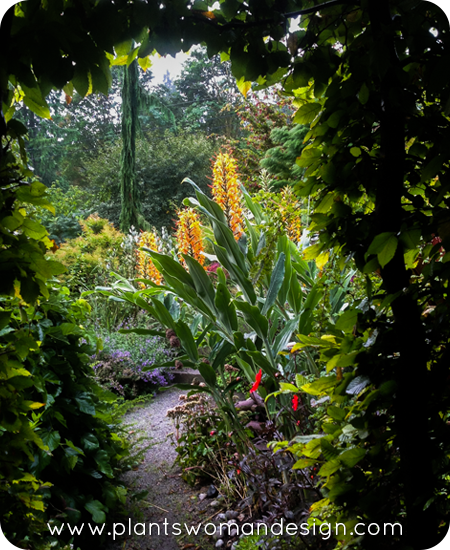




We would love to hear what says summer to you, your favorite plant combination, or favorite home grown summer food. Enjoy the last days!
by Susan | Aug 27, 2014 | Plantswoman Design
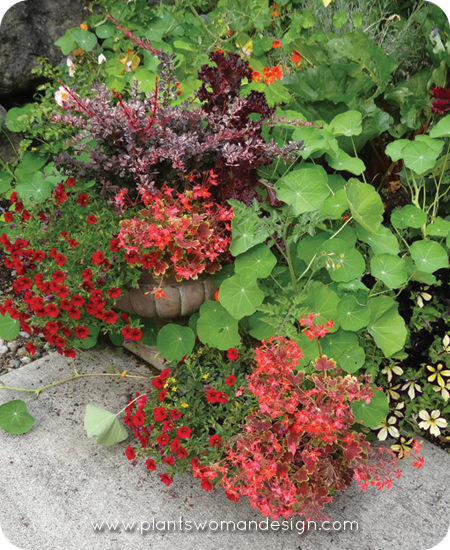
One of the best things a gardener could do to expand their knowledge and see new things are attending garden tours. We have many in our area such as Bainbridge in Bloom Garden Tour. The Bloom attracts several hundred people each year and benefits the Arts and Humanities foundation on Bainbridge Island. The gardens featured on the tour are typically from people who love to garden and have created gardens that are noteworthy. Many times they have been ‘done’ by designers (I’ve been involved in several from the ground up). Sometimes the owner is the catalyst and is involved in every aspect of the garden. This year I connected with a lovely gardener to help with a couple of areas in her garden. I first visited her in April when things were fabulous but really specific to a spring garden. She was concerned that things still be lush and in color when the tour came in July. I helped with a few plants and support for vines, another client of mine helped with the containers, and she and her husband did the rest. Here are a few of her containers…

 The garden is a small space around a large house in community with 4 other houses. I originally helped the builder with all the hedging, planning the outside planting beds and structures. I coordinated with the artists that created the fencing and artwork that is on each house, individual but repeated in style. This particular gardener is one of the original owners and created a beautiful garden.
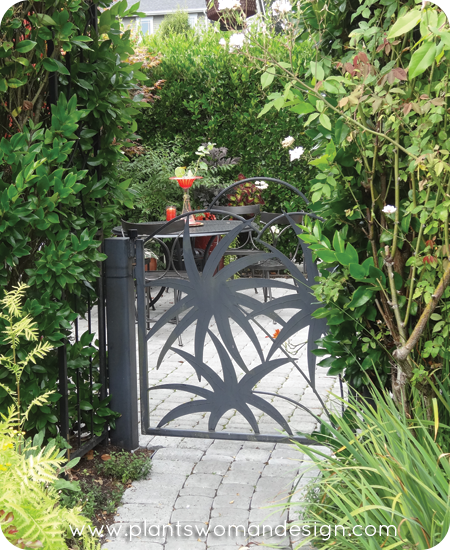
Michele Van Slyke Gate
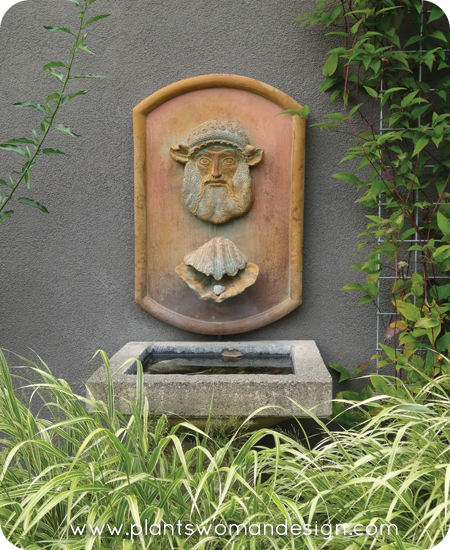
There are many different styles on a garden tour, her garden is a flower garden. One of the other houses in this community was also on the tour. That garden has the same spaces but treated in a evergreen/textured style. Contrast in leaf colors giving most of the interest instead of flowers. I was excited to see these two small gardens because many people have a small space to garden in and this helps showcase what can be done with small spaces.
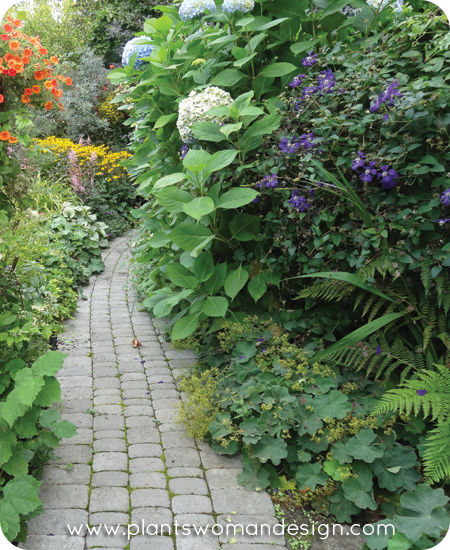
Back pathway
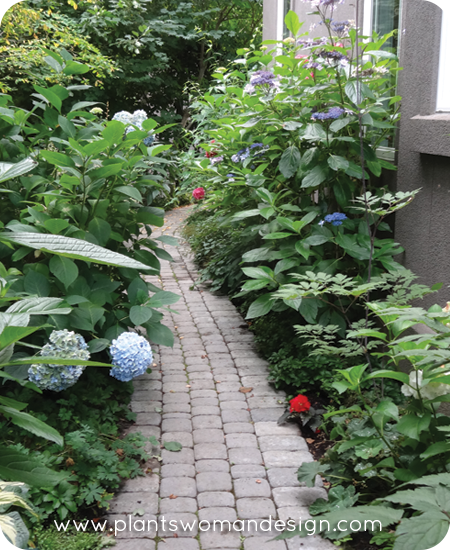
Side path
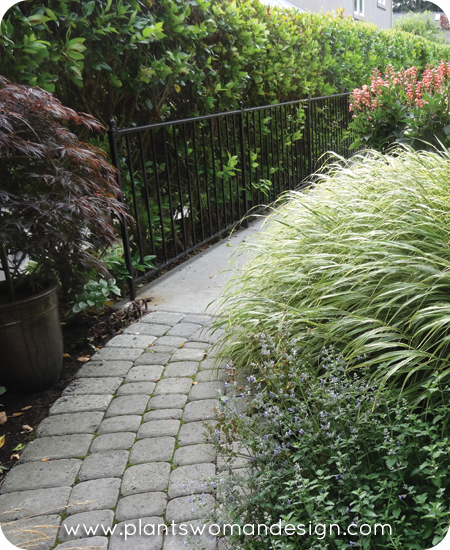
front path
I love pathways. A path tells a story. It shows progression, movement and a sense of purpose. The hedging and fencing keep the space limited on one side and the lush plantings soften the space. Closer inspection (because of the close quarters ) gives a real visual treat.
 This patio is the side entry to the house. A great space that is private and welcoming at the same time.

Side courtyard patio.

Patio sitting surrounded by summer.
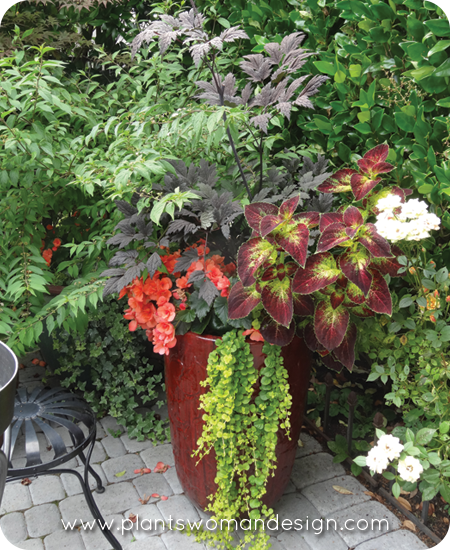 The containers by Sue Lukin are a fabulous addition to this sweet space. Concrete pavers are original to the space and are easy to maintain.
When I asked the owner what she liked most about the garden tour she said it helped her appreciate her garden more. While a labor of love on her part she thought that when the same people came back several times to look at at the plantings and wander in her garden she felt satisfied that they understood it and her through it. It felt like sharing a passion and that was unexpected.
Garden tours are like that. Go with an open mind and enjoy all the bits and pieces of each garden. Some things you will love and some things you can forget but the experience and the connection with another gardener is really the joy.
by Susan | Aug 8, 2014 | Nursery Visits
It has been an AMAZING summer. Even today I sit outside to write this post I can feel the sun on my face and a warm breeze in my hair. For those of you unfamiliar with the PNW it can be sweatshirts and wool socks all the way through August sometimes. Not this year though, 80’s 90’s, crazy warm. Last week though we had rain. Yep two whole days of rain. The true northwest natives said “Yes! That feels great”. People who are semi Northwest Natives said “oh no, summer is over”, and newbies’ said “that’s what I thought, it always rains here”. When summer finally gets here it is a well deserved and closely kept secret.
On one particularly rainy day I was checking on my projects in Seattle and thought it was a perfect day to check out the plants and displays at one of my favorite garden spots, Ravenna Gardens. They do a fabulous job of display and their plants are always happy and healthy. In fact I always wonder ‘where are the sale racks?’ because there are never any sad plants ready to go home with you for 1/2 price.
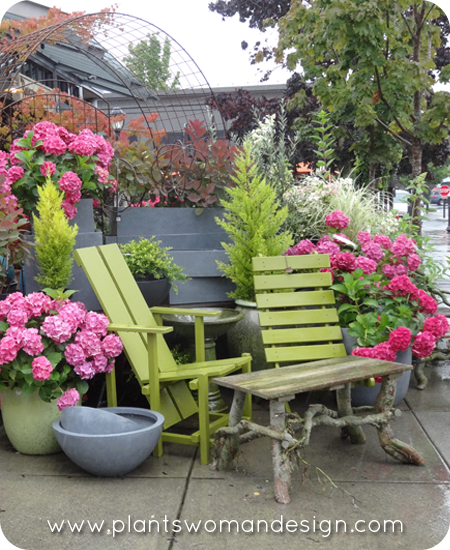 Many of you know I’m not a big fan of pink but the combination of pink and green here is a real punch of color that even I can appreciate.
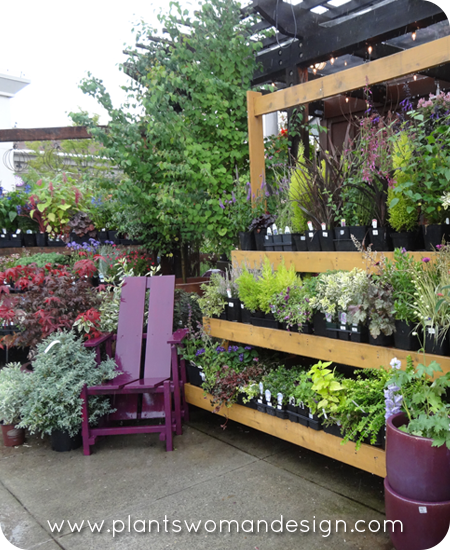 The purple and green combinations are easy to pick from.
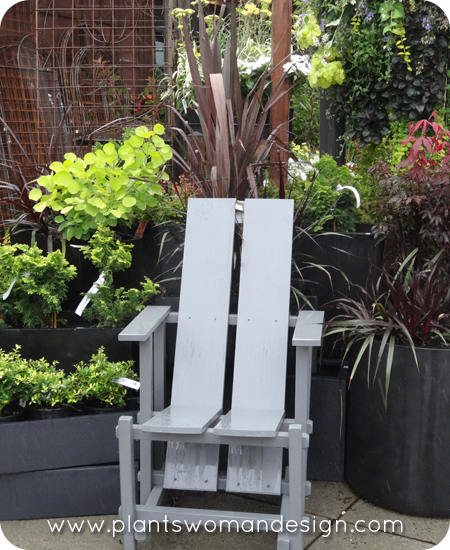 Black is one of the hardest things to use in the garden. This combination is great. Not only do they use black but also gray. The contrast between light and dark, soft and hard, shiny leaves and matte makes this a sophisticated pallet with a modern feel.
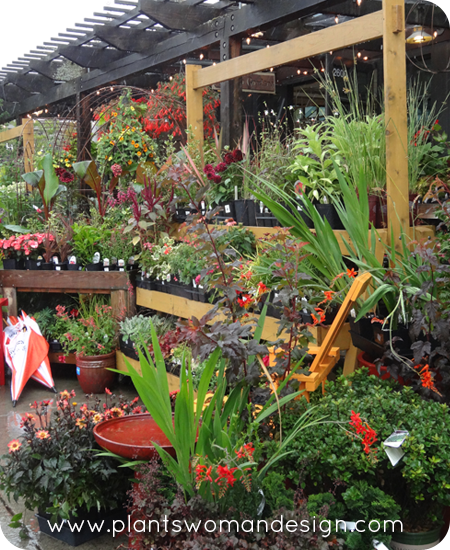 I love orange and red together. This was a good transition between the black and dark red leaves. The way the plants are displayed help with the selection of combinations here.
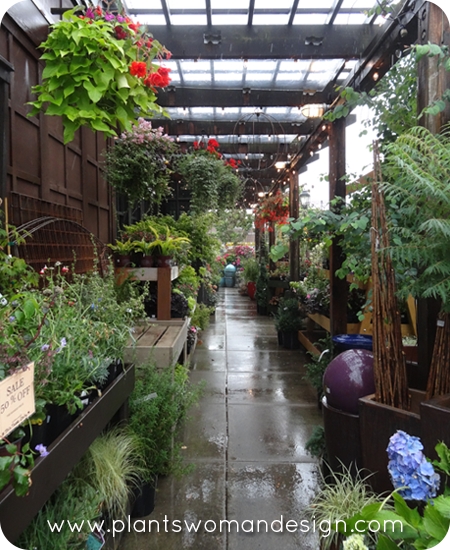 Shade plants are grouped together under cover so you can pick things that like the same conditions.
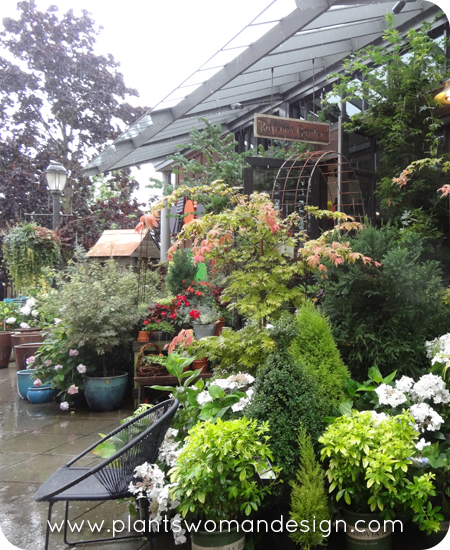 White and green classic combinations.
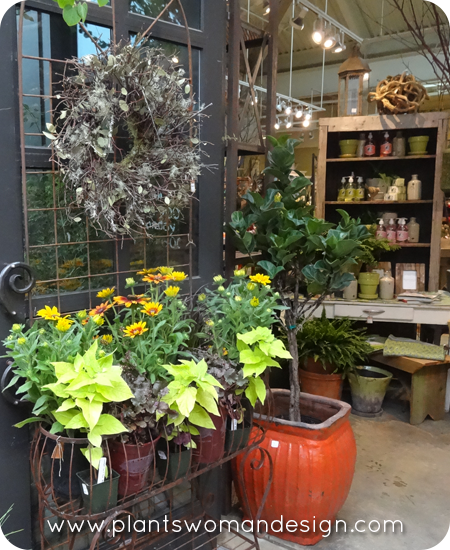 When you come to Ravenna Gardens you get a chance to see different combinations that the employees come up with. Yellow /orange and bright green is unusual. I do love the rust accents around it and the wreath of dried plant material. You also get a chance to see inside the shop which is also great!. Let me know what is your favorite garden shop. I’ll go on another adventure to visit.
by Susan | Jul 24, 2014 | garden food, Traveling Plantswoman
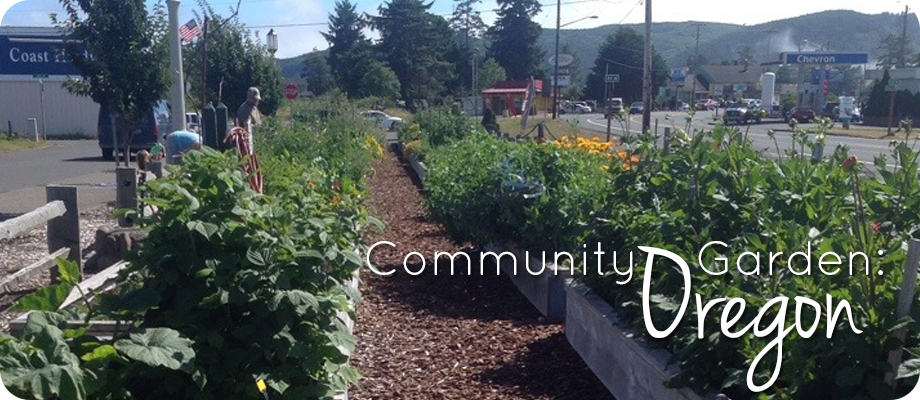
I’m not sure if this should be a ‘Traveling Plantswoman” post or not. I was traveling with my sister and her friend and I don’t usually visit many gardens when I travel with other folks. We normally focus hiking, golfing, and hot tubbig so as not to bore my companions with ‘Garden Stuff’, however, it is never far from my thoughts. As we were driving to do one of the ‘sanctioned’ activities I just couldn’t help myself this time. I hollered “Sorry…. I have to”. There on the side of the road was an abundance of raised beds and lush plants. It was between the busy 101 hwy and another road and there was a rail car at one end and beautiful gardens. We pulled into a parking space and spotted a family harvesting and planting so, of course, I had to talk to them and see what this garden was all about.
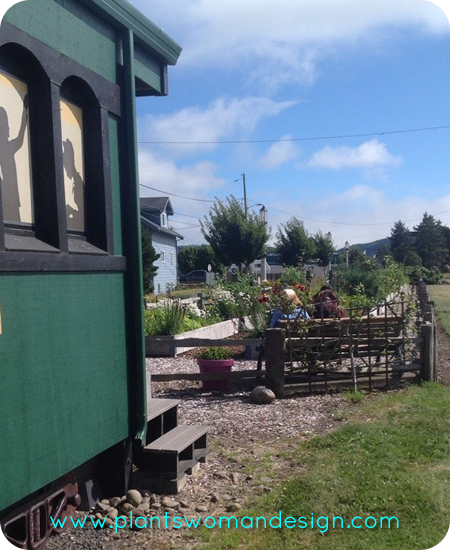
Frank and his wife Jennifer and their three kids were working in the garden. I was excited to see someone and to get a chance to ask them about the garden. They had just harvested a bag of onions and Jennifer had broken off the tops to give to the kids. These were little kids and they were eating them like celery or carrots and really enjoying them. They had a new crop of lettuce just planted and little baby radishes were almost ready to pick.
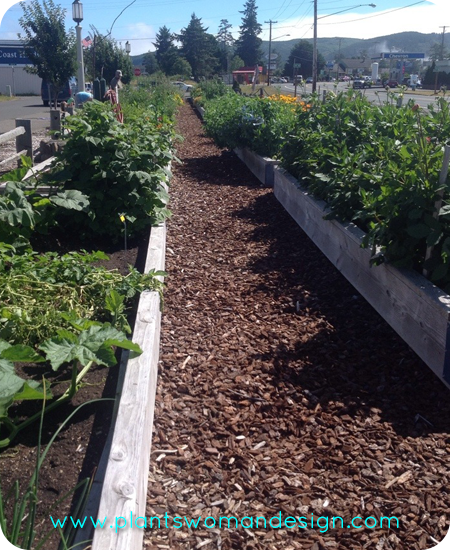 Fred took time to explain how they came to be there. They were a low income family who had used one of the scholarships to get a plot. They knew the two people on either side of their plot and they shared the produce. They were excited about teaching their children where food came from.
The family had not had a garden before but said they had help from other people in the community garden. They could email if they had a question and usually got a quick response. It was surprising how easy it was to grow vegs. They had a few problems that were unexpected. One problem they face is deer. How those beasties found this garden between two busy roads is amazing. But I guess if you plant it they will come. The other problem is thieves. I was surprised!
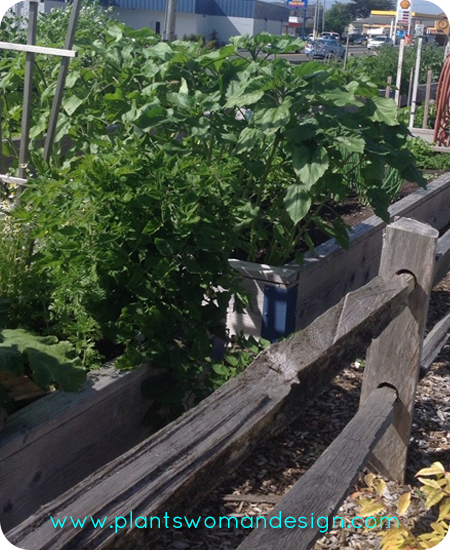
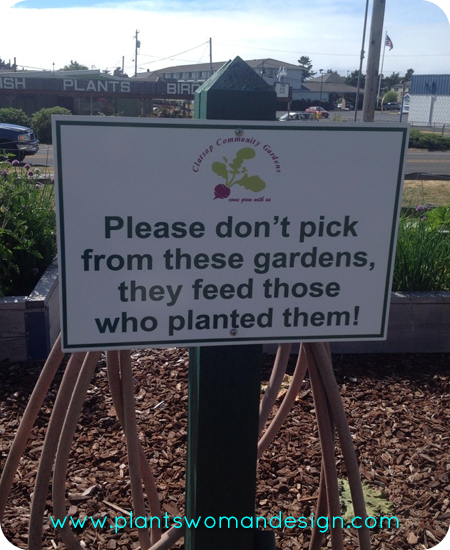

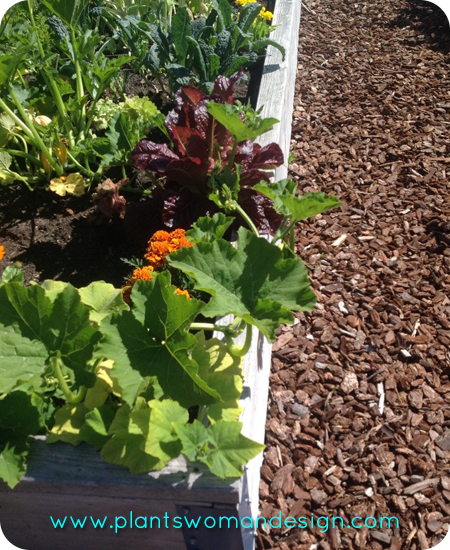
Community gardens can be anywhere and this garden clearly exemplifies that. We’ve had a couple of community garden posts (Albany Park, Albany Park #2 and Peterson) and we are glad to add this one to our list. It is exciting that more and more parents and communities want to help connect kids with “where food came from”.
Have you found a local community garden? Send us pictures!!! We want to see it.


