by Susan | Apr 18, 2014 | garden food, LB Tutorial: Growing Food, Little Bytes, Plantswoman Design
After last week’s post ‘Spring Yes, Spring’ it is time to get the lettuce in the containers. We are going to plant a mixed container with lettuce and spinach leaving room to plant green beans in just a few weeks.
*For more information about making your own lettuce mix check out this post from earlier this week.
As we talked about before lettuce is a cool weather crop. It germinates in low temperature and grows well early spring. You can keep growing it through the summer if you provide some cool shade. If the temps get too warm the lettuce and spinach will bolt. This means going to seed instead of just producing green leaves. I am in zone 7 here, which means my last frost date is usually April 15th. Check the chart at www.almanac.com to find your last frost date. The seed packets will also give the information on the back of the packet.
For this Little Byte we are going to use the Territorial Seed Company’s “City Garden Mix” seed pellets. These are great little inventions that have multiple seeds in a pellet form. The salad greens we are going to grow will be ‘cut and come again’. ‘Cut and come again’ means we will not spread the seeds out and grow the lettuce to a full head but instead cut the leaves as they are getting mature and harvest baby lettuce and spinach leaves. You see young lettuce and baby spinach both for sale. We are going to mix it with Catalina spinach.
Let’s get started!
First you need to prep your container, if you haven’t already done so. Take a look at this post to see how to prep your container. Before planting the lettuce seeds take a moment to install some supports. These supports will be for the climbing beans we will plant in a few weeks. We want to put the supports in now so we will be ready to go when it’s time to plant the beans. You can choose to go to your local garden center and buy a support structure or recycle some twigs or thin branches from your yard. Jen took a look around her yard and cut some 3 ft branches of black twig dogwood.
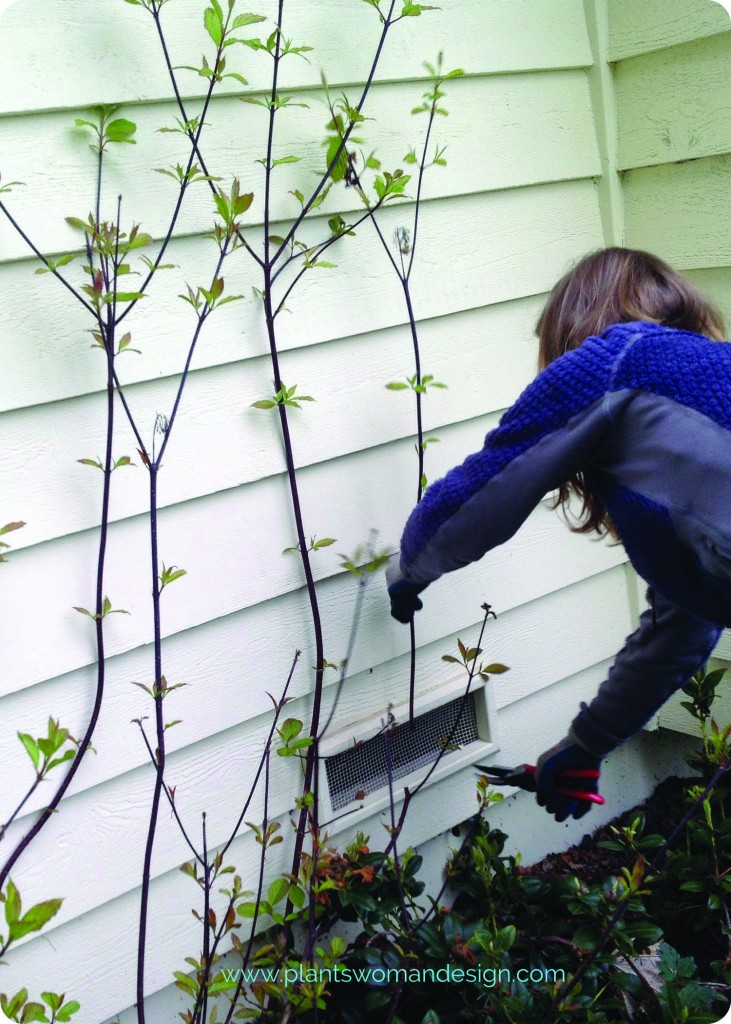
We will keep our eye on the black twig dogwood. They could root out because they are easy to start in water. Rooting out means they will send roots out and become new plants. We will see when we remove the beans after they are finished.
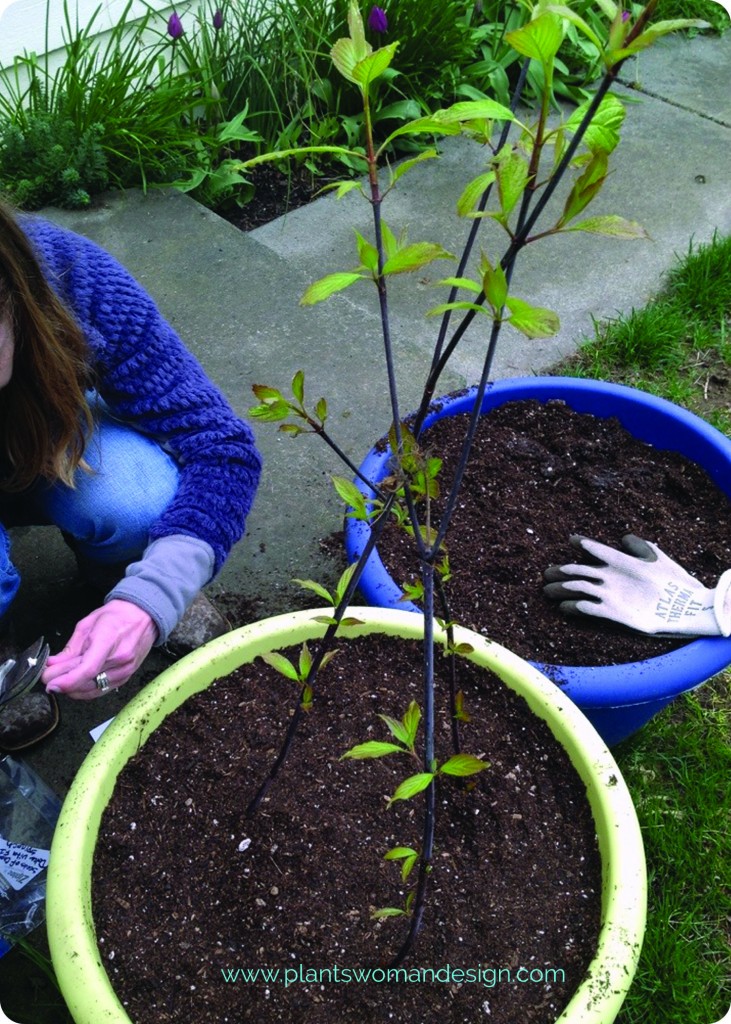
Set the twigs by pushing the supports into the soil creating a teepee like structure. When the beans grow up this structure it will create shad for the lettuce plants when the weather gets warmer. If you haven’t already, give your container a few taps and a good watering to help the soil settle. Firm down the soil around the container. You will want your final soil level to be about 2 inches from the top of the container.
It’s time to put the seeds down. To plant our lettuce we aren’t going to dig the seed in but instead place the seed on top of the soil and spread some additional soil over the seed. These little salad greens just need 1/8 of an inch of soil over them so it is easier to just add the soil after you have laid the seed. If you already used all your soil just scrape some off the top of the container and set it aside. Place the seeds about 1/4 – 1/8 inch apart. Don’t worry about being too exact or about what the back of the seed packet says about spacing. We will harvest this before it reaches maturity so proper spacing for creating heads doesn’t matter as much.
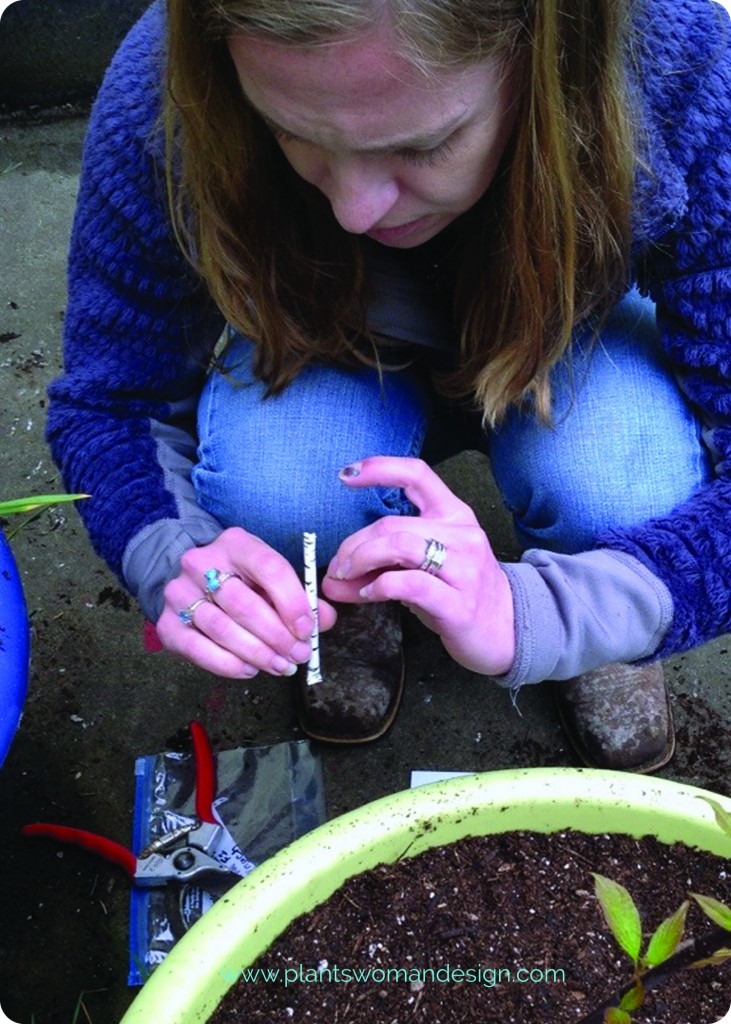
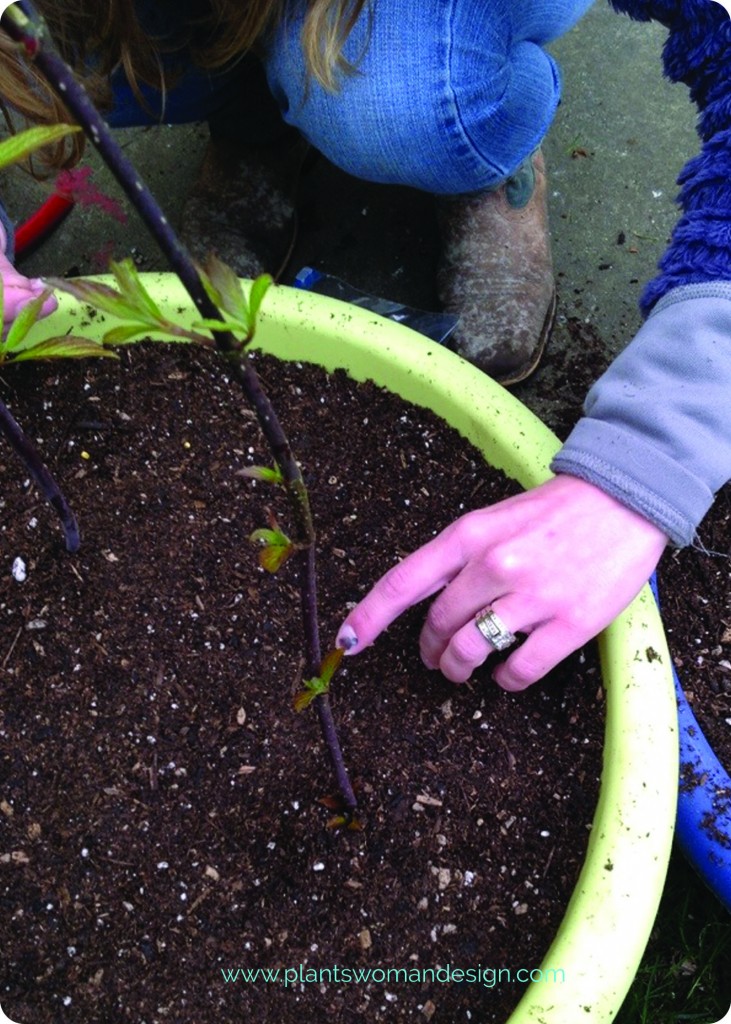
Once you’ve put all the seeds on the soil add the reserved soil lightly on top of the seeds. Press the soil down gently all around and water gently with a wand attachment if you have one. Be careful not to wash your seeds out of place.
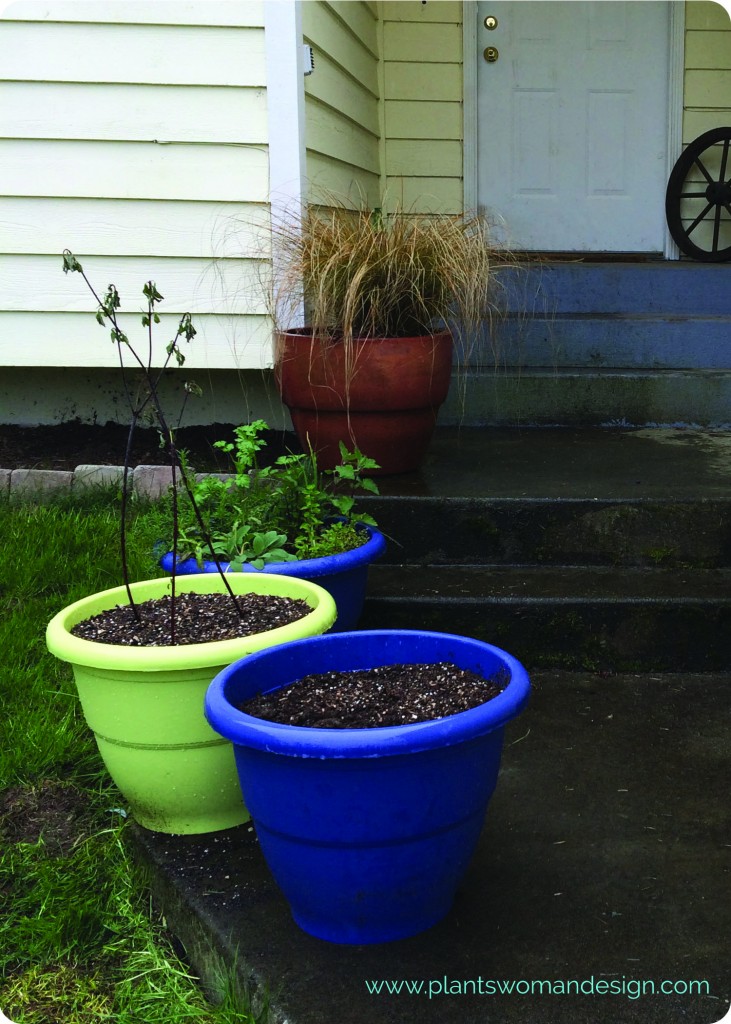
And you are done!
We should see germination of the lettuce in about 7-10 days if the weather remains “normal” for this time of year. Before leaving you newly planted pot swing by your herb container if you planted one with us. Jen visited her herb container and cut some chives for baked potatoes. She can already harvest some of the things she just planted! How great is that? Remember, if you use scissors to cut vegetables or herbs, make sure they are not rusty. A rusty knife or scissors can bring rust to the whole plant. I usually just pinch with my fingers.
I’m off to the green house to check on my tomato seeds… I’ll be sure to let you know if they are up yet.
by Susan | Apr 16, 2014 | garden food, LB Tutorial: Growing Food, Little Bytes, Plantswoman Design
Its almost time. Earth is warming, sun is shinning and now I can stop pacing in front of the window and start planning, purchasing, and planting. Lettuce is one of the first things of the season you can plant. There are some fun ways to start planting with introductions of new lettuce blends and new ways to deliver the blends.
While visiting the nursery and looking for new lettuce seeds I was amazed at how many there were. Seems like that is the trend right now. Of course that started me to thinking why blend only lettuces together. When you go to the store there are all different blends for salad mixes. You will see spinach blended with baby romaine, baby beets, and lettuces, and so on. So I thought why not plant them together. They can all be growing about the same time with different rows, I typically cut my salad greens when they are young so don’t really worry about ‘maturity’ dates.
So off I go to do research. For our purposes we need to know germination rate (how long it takes the seed produce something green that we can see). We want all of our seed to germinate within a few days of each other. This means they will be ready to harvest in their ‘baby greens’ state about the same time. Most salad greens can be treated as ‘cut and come again’.
Strangely enough some seed packets don’t have very much information. I think all seed packets should give basic information and some uniformity would be great. One packet will say how to plant, spacing and harvest but not give a germination rate. A couple even gave recipes! The seed packet is pretty small so I’d rather see great information about the seed, as much as is available, instead of a recipe.
Some rules of gardening to keep in mind as you choose your mix.
1. Same temperature for germination. Don’t use warm weather crops with cool weather crops.
2. Same time of germination. You want seedlings to show up about the same time within a few days or a week.
3. Use good quality seed and no old seed. Many people know that seed can be saved over one season to the next. The seed will still come up but germination rates are decreased.
4. Planting depths should be about the same. 1/2 in to 1/4 inch choose the 1/4 inch depth for all. 1 inch to 1/4 inch choose another variety closer to the same.
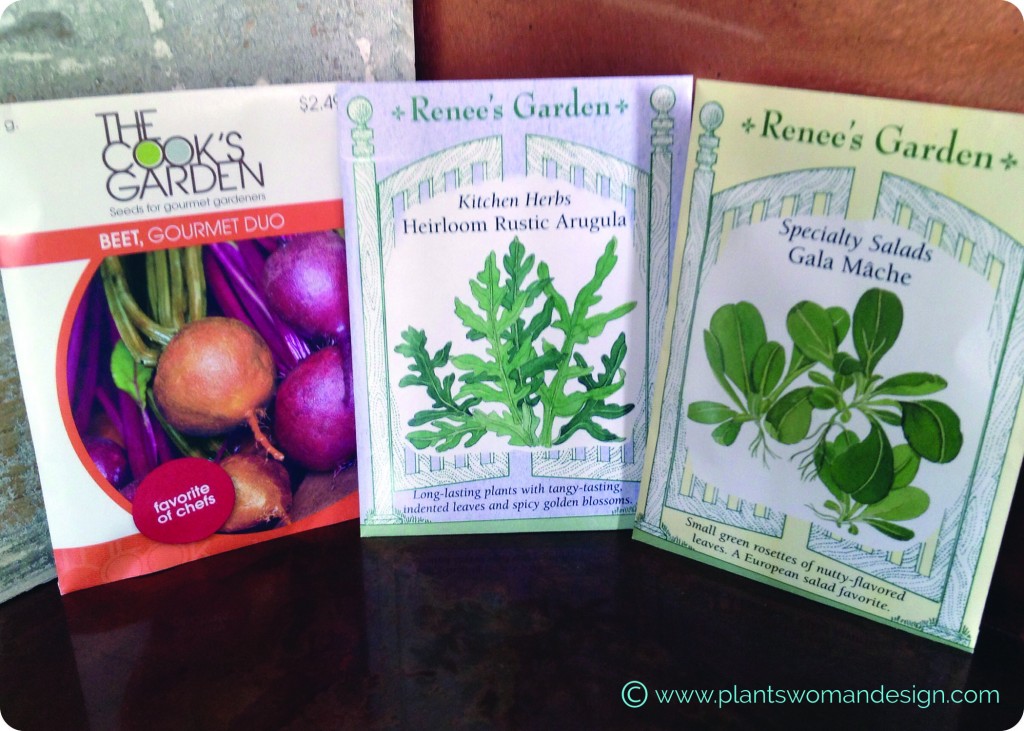
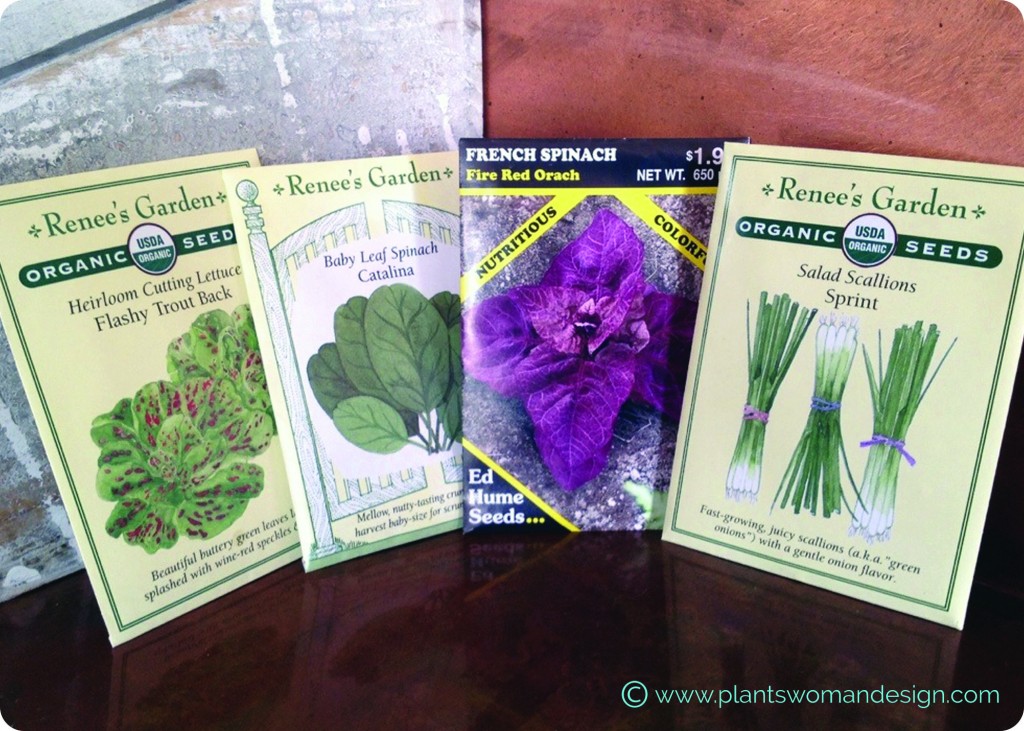
I picked out some great seeds to mix up:
- Gala Mache- Lamb’s lettuce (European favorite) – Renee’s Garden Seeds
- Rustic arugula – an heirloom variety from Italy – Renee’s Garden Seeds
- Red and Golden beets – Cooks Garden Seeds
- Flashy Trout Back Lettuce , Heirloom Cutting Lettuce -Renee’s Garden Seeds
- Catalina Spinach Baby Leaf Spinach – Renee’s Garden Seeds
- Fire Red Orach, French Spinach – Ed Hume Seeds
- Sprint Salad Scallions, Green onions – Renee’s Garden Seeds
Side Note: The French Spinach is not a true spinach (interesting right?). It has purple leaves, very nutritious and can be harvested young or cooked like green spinach when it matures.
The scallions can be cut with the rest of the greens to add a mild onion flavor. Beet greens can be cut and harvested young too. We will only use part of the seed packets in the mix and use the rest in a separate row of the garden and allow them to mature into full heads of lettuce.
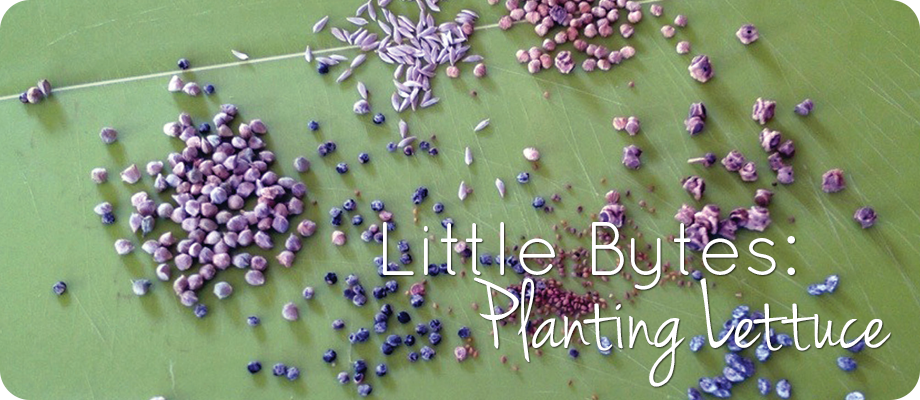
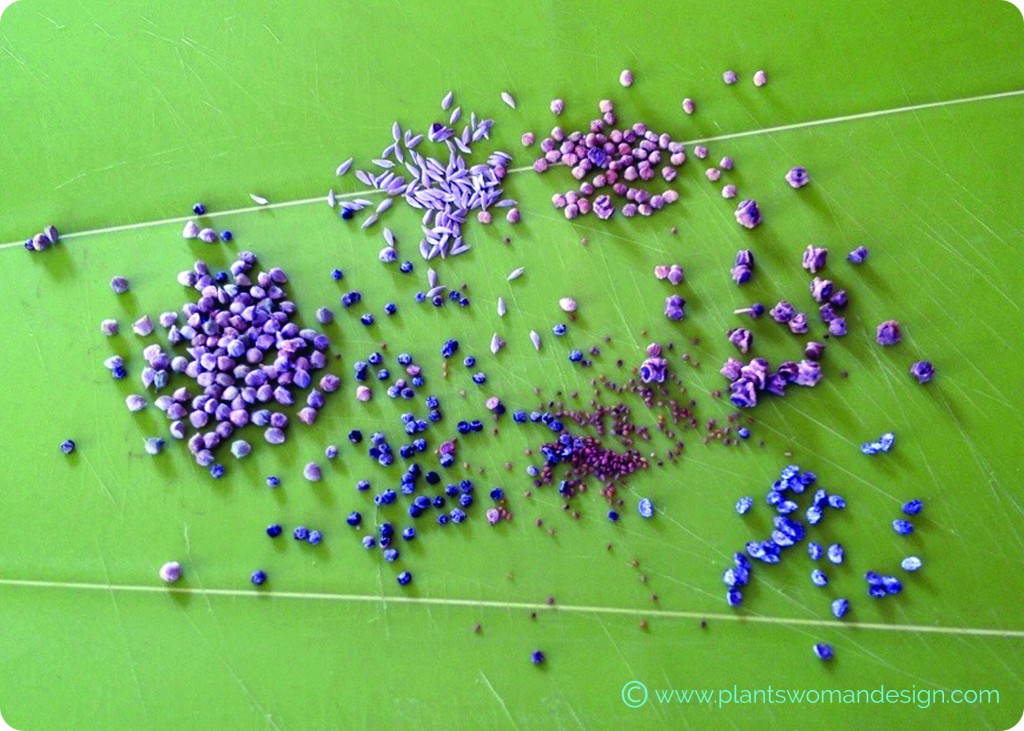
When I was ready to plant my crop I poured the seeds out together on a mat to mix. Then I funneled them back into the pack for spreading into my prepared soil.
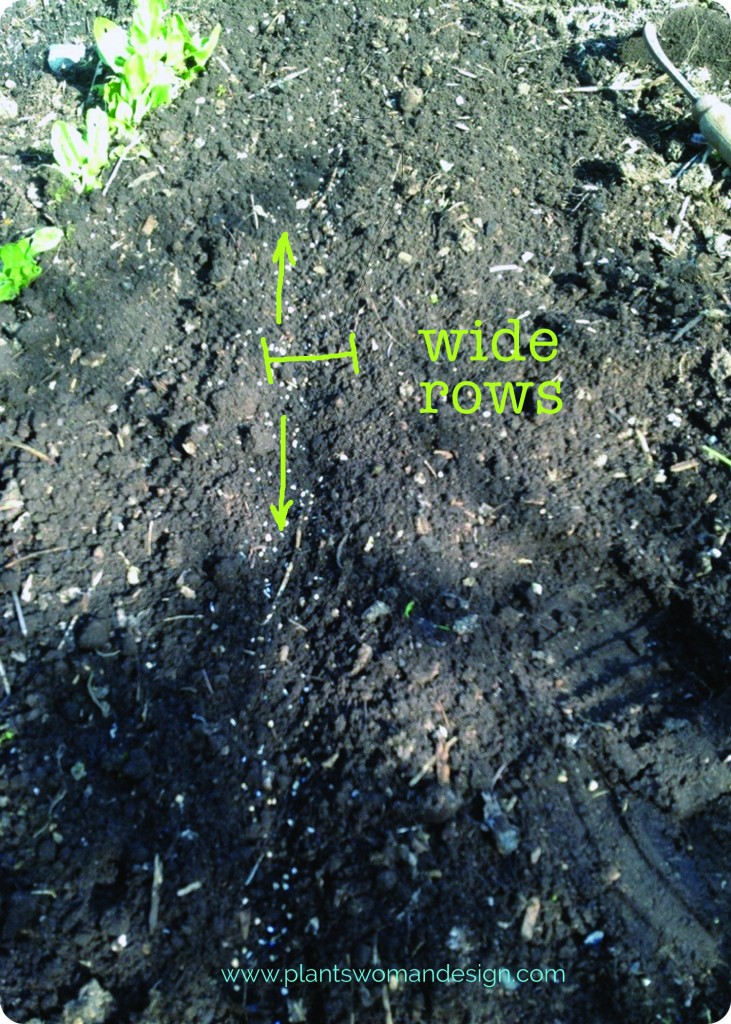
 Today is March 23rd and I will go out and plant my seed mix. The earth feels fairly warm and is nice and crumbly, nice to work. I mixed them together into a seed envelope so they could be spread easily. I scattered thinly and then went back over the same line. The bigger heavier seed came out first and the smaller lighter seed came out after. The row is a little broader than my regular rows but I want to cut them in bigger sections so that will work.
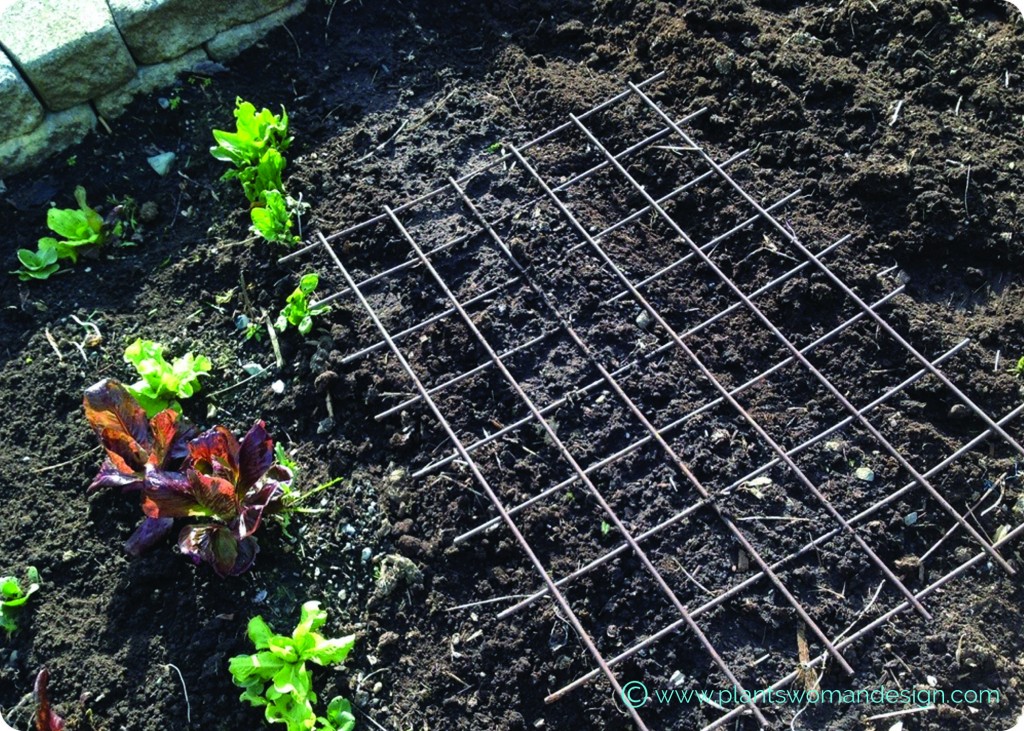
 I watered the row in well and placed a grid of metal over the top. I will remove it when I start to see germination. It keeps the birds from going back into the newly tilled up space and eating the seeds. In some cases (the peas) I leave it in place the peas grow through it and it protects from rabbits and cats digging.
 Let’s talk about soil real quick… My soil had organic matter dug into it in the fall and is ready to plant now. I really spend a lot of my energy getting good viable soil that is strong and has lots of organic matter and worm action. This means I won’t have to do a lot of fertilizing later on. Everything we grow needs a good foundation of soil. This helps with pests and diseases because you have really healthy plants. I will fertilize with a diluted fertilizer only once in the season when the seedlings are about 1 inch tall.
I’ll keep you posted on how the seed mix is doing. Let me know if any of you try out a mix of your own…..


