by Susan | Oct 4, 2014 | garden food, LB Tutorial: Recipes
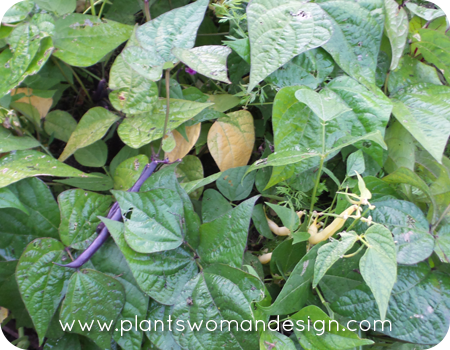
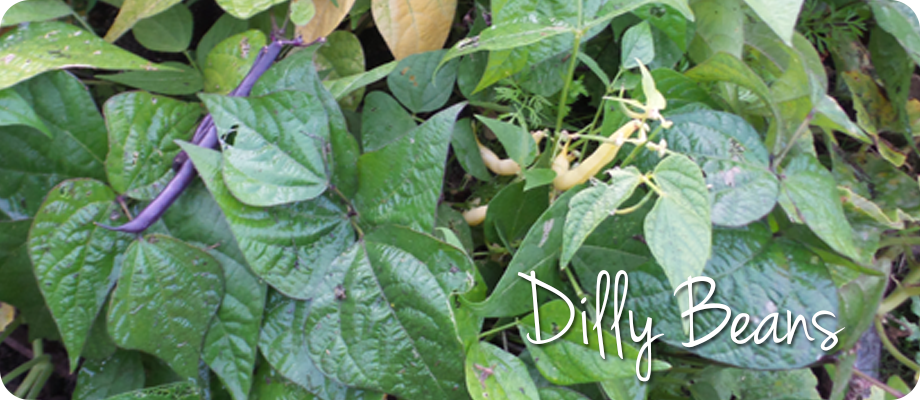
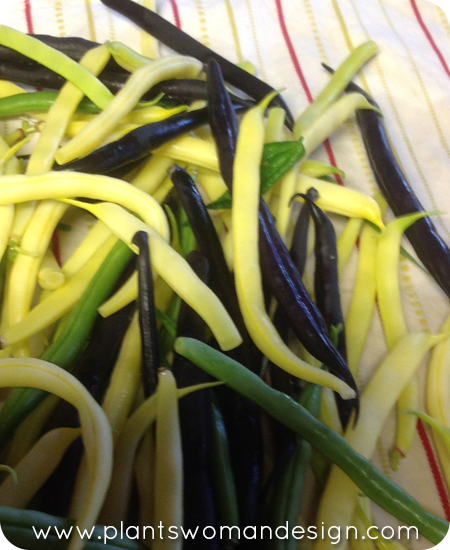
Things have been very successful in the July 4th Garden. This last week I picked my tri-color beans. I love the great colors of yellow, purple and green. My favorite beans are the romano Italian beans. It is like having steak on a vine. They are thick and have great substance. Sauteed with olive oil when young finished with a glaze of butter and Parmesan… Mmm, mmm, mmm, nothing finer. In the July 4th Garden they would not be ready yet as they have a longer maturity rate and require substantial staking. Yes they are on the list for next year… Meanwhile back to the tri-color beans. Flavor is good and they have abundant harvest for a bush type bean. Easy to use in stir-fries, sautés, bean salads, or quick blanched for snacking with dips. It is weird that they all taste the same but look so different. Watching the dark purple beans change to bright green when cooked is also fun. When I first grew them years ago I was disappointed when the purple ones lost their color. It was a great way to get kids to eat vegetables – who wouldn’t want to eat purple beans?
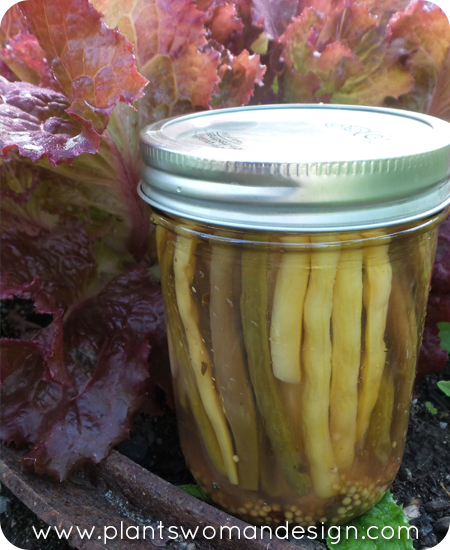
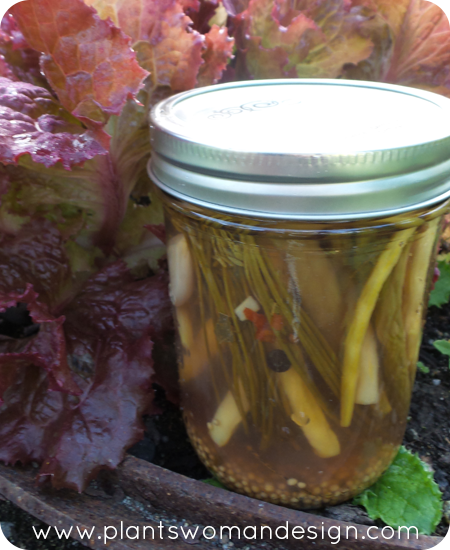
I learned how to make dilly beans several years ago from a good friend. Mary always had a big garden and harvested beans by the hundreds. Dilly beans are great as a snack, on sandwiches, wrapped in ham, on an antipasto platter and yes as a swizzle stick in a bloody Mary. My fresh beans from the garden are perfect for the dilly bean recipe. The key is freshness so you can’t really use beans that are too old or too mature and colorful beans work great.
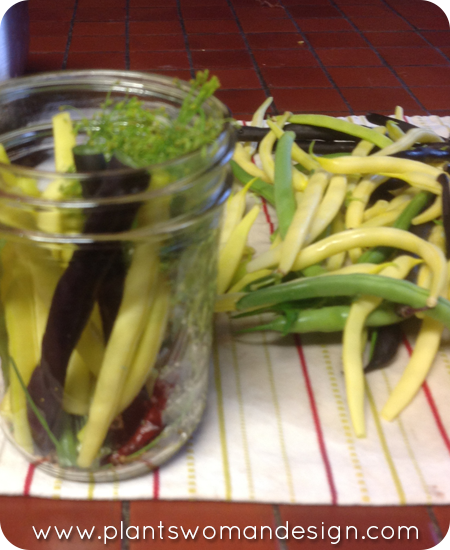
Dilly Beans
- 6 cups of water
- 1 cup pickling salt
- 6 cups distilled white vinegar
- 1 jar pickling spice
- 8 heads fresh dill weed
- 1/2 cup mustard seed
- 8 dried red chile peppers
- 16 cloves garlic peeled
- 1 teaspoon alum
- 5 pounds fresh green beans rinsed and trimmed to size
1. sterilize 8 1 pint jars and lids in boiling water for at least 5 minutes
2. combine the water pickling salt and vinegar in a large pot and bring to a boil When it begins to boil reduce heat to low and keep at a simmer while you pack the jars
3. in each jar place the following: 1 head of dill, 1 Tablespoon of pickling spice, 1 Tablespoon of mustard seed, 1 dried chile pepper, 2 cloves of garlic and 1/8 tsp of alum. pack beans into the spiced jars in a standing position.
4. ladle the hot brine into jars, leaving 1/2 inch of space at the top. Screw the lids onto the jars, and process in a hot water bath for 15 minutes to seal. Store for at least 2 weeks before eating.
by Kristen | Aug 15, 2014 | garden food, LB Tutorial: Recipes
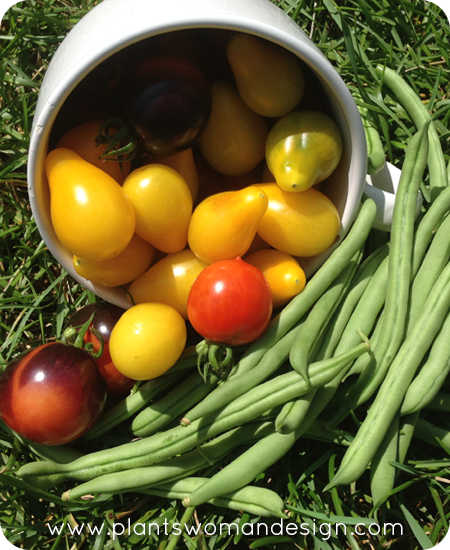 I went to the garden to check on the pumpkins on Monday and grabbed a large soup mug on my way out as an after thought. After all, you should never go into the garden without something to collect your fruit and veg in. This particular trip found my container woefully inadequate. Our tomatoes are looking amazing and between the three families that tend the garden we seem to be keeping up with what the tomatoes can produce. The beans are coming in nicely as well. We thought a beetle had damaged them but they seem to be coming along just fine.
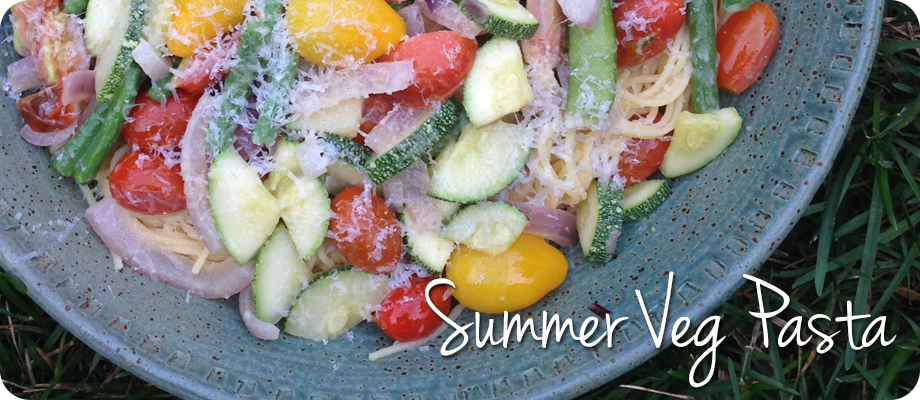
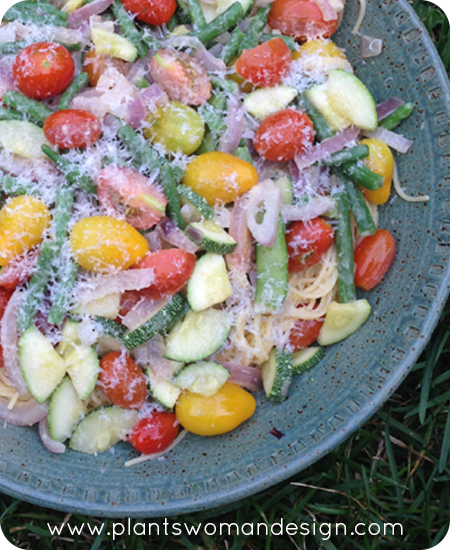 One of our favorite recipes to make with veggies is a Pasta Primavera Pronto recipe adapted from Epicurious.com. The original recipe calls for frozen veg, which is great for winter evenings when you’ve been cooped up in the house too long and cabin fever is starting to set in. But in the summer when fresh veg is available it would be a travesty not to use it in this amazing dish. Here is our recipe for Fresh Pasta Primavera.
Fresh Pasta Primavera
- 3/4 lb fresh green beans, snapped and cut in half
- 1/4 lb fresh peas
- 1 small to medium zucchini cut into bite size pieces
- 1 red onion, cut into quarters through the root end then sliced thin
- 3 dozen small tomatoes (we used cherry, grape, yellow pear and quartered indigo rose)
- 8 garlic cloves, finely chopped
- 1 lb dried spaghetti (we used Barilla Gluten-free spaghetti)
- 1/4 cup olive oil
- 1/4 teaspoon dried hot red pepper flakes
- 3 tablespoon unsalted butter
- 1/4 cup finely grated Parmigiano-Reggiano cheese
Bring a large stock pot of water to a boil. Add green beans and peas and parboil for 2 minutes. Remove veggies from the boiling water with a slotted spoon or small strainer and set aside. Do not pour out the boiling water!
While the veggies are parboiling, heat the olive oil in a large skillet over medium-high heat. When the oil is hot add garlic and red pepper flakes. Cook for 45 seconds, taking care not to burn the garlic, to make a spicy garlic oil. Pour the oil and all the garlic and pepper bits into a small container and set aside.
Return the veggie infused water to a boil, add the dried pasta, cook until al dente. When the pasta is finished, strain in a colander and place in a serving dish. Toss the pasta with the spicy garlic oil you made earlier (garlic bits and all).
While the pasta is cooking saute the red onions in the skillet with a touch more olive oil until they begin to soften. Add the zucchini. When the zucchini is heated through add the tomatoes. When the tomatoes have begun to warm, make a space in the middle of the pan and toss in the butter and grated cheese.
When the tomatoes have been well heated and the butter melted, layer the contents of the skillet over the pasta. Grate additional cheese over the dish to taste and serve immediately.
NOTES: You can use any combination of veggies that you want to use. We used beans, zucchini and tomatoes because that’s what we had on hand (we almost always use broccoli but were fresh out this round). The one veggie I would never omit if I didn’t have to is the tomatoes. They add a fresh burst of flavor you just can’t replace. I know some folks have a hard time with onion and garlic. You can modify these items to your taste but don’t skimp on the garlic if you can help it. We tend to keep the onions bigger so our little ones can pick them out. If you like yours smaller by all means dice those babies! We have not tried any other oils than olive oil for this recipe. If you try coconut oil or any other kind let us know how it turns out.
by Kristen | Aug 13, 2014 | Community Gardens, LB Tutorial: Growing Food
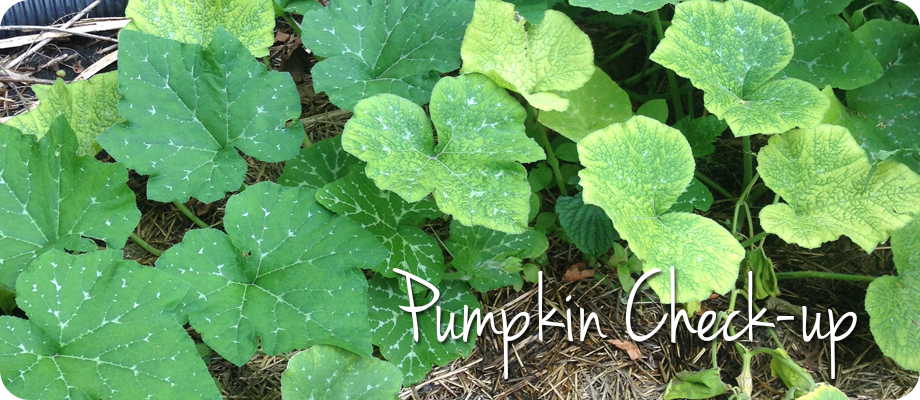
At the beginning of August we talked about hand pollinating pumpkins (you can read about it HERE). You might remember I had one little problem when I went out to make baby pumpkins. I only had male flowers and didn’t see any female flowers. After a few days of checking in with the pumpkins I still don’t see any female flowers. But when I went to the garden today I saw something a little different…
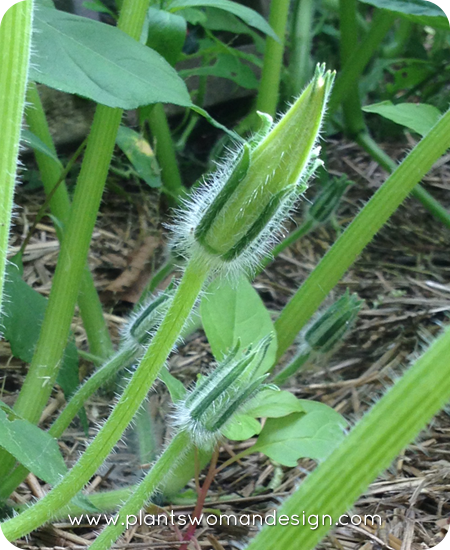
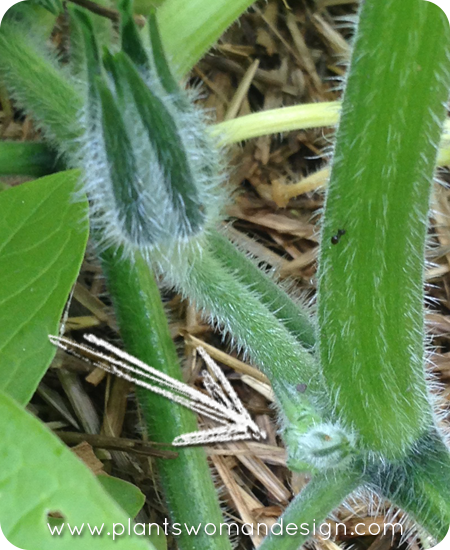 You can see the bigger flower, which is likely to be a male flower again, but lower on the stem is another bud. This one looks different and I haven’t seem them like this before. It’s so much smaller, closer to the stem but coming out of the same joint. It’s also a little plumper than what the male flowers look like this small. I could be wrong but I’m really, really hoping this is a female flower. REALLY hoping…
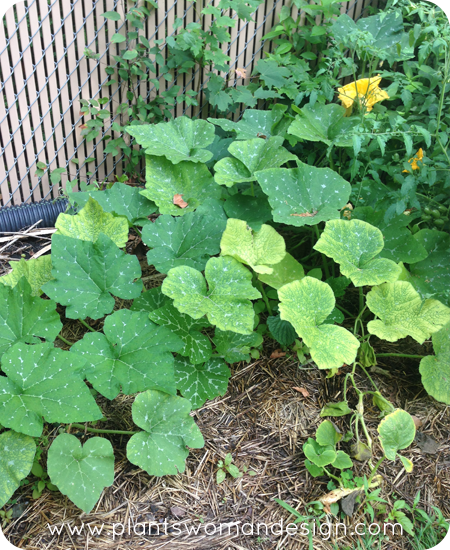 Other things I noticed about the pumpkin vines. After the pumpkin vines began to grow they started running behind the tomatoes. I asked the Plantswoman and she said they were probably getting too much sun so they found a shadier spot. Once the trees fully leafed out above the pumpkins providing more shade the vines started to find their way back to their intended spot. I’m actually glad they retreated behind the tomatoes because their vines are ginormous! It will be difficult to find the rest of the flowers and spy out the fruit since the tomatoes are heavy with fruit but we will make it work.
So, I’m keeping my fingers crossed these pumpkin vines will produce an actual pumpkin. I’ll keep you posted!
by Kristen | Aug 1, 2014 | LB Tutorial: Growing Food, Little Bytes
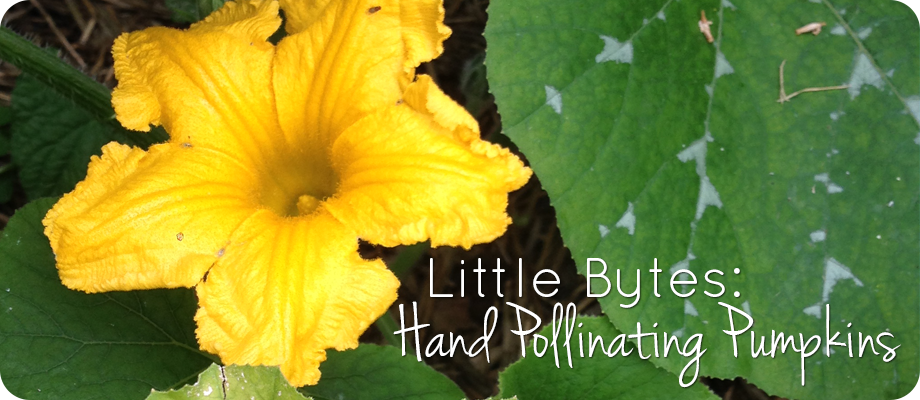
You may remember that the kids and I planted pumpkins this past spring and I’m happy to report we’ve had some success. Here are three of our pumpkins growing over at the Albany Park community garden. They are pretty happy and seem to be making their way behind the raised bed of the tomatoes. In hindsight I think I would have trellised them to make use of the vertical space we have. Definitely making a note about that for next year.
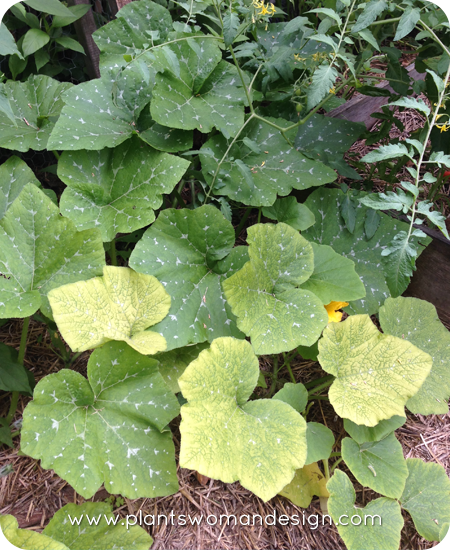 At this moment we have one blooming flower and two spent flowers. After talking with the Plantwoman she mentioned I should probably hand pollinate the pumpkins.
(insert crickets)
“How do I do that?” I say. “With a paintbrush” she says. “Yeah, but how?” I say “Do you have a video or something showing how to do it?”
A few minutes later I have THIS video on my phone and all makes a lot more sense. I watched it a few times specifically watching for what the difference is between male and female flowers which, although not specifically mentioned in the video, is clear to see. So, off to the garden with myself to see about my pumpkins.
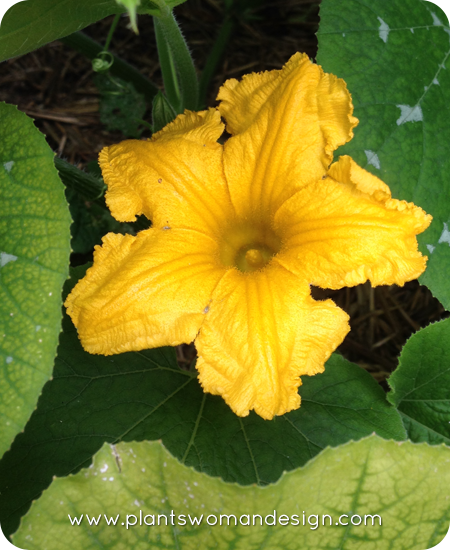 I check our one blossom and it seems to be a male flower. So, I check the other spent blooms, they too seem to be male flowers.
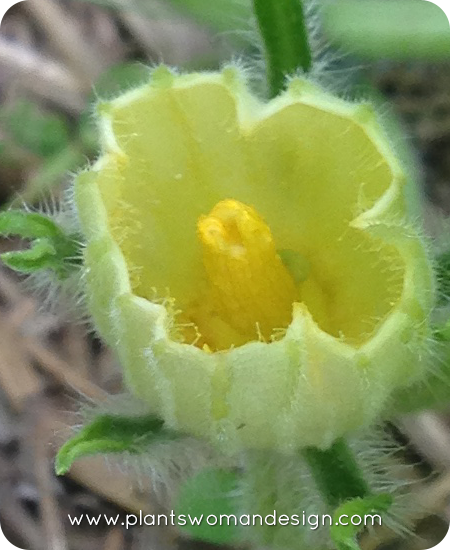 So, no hand pollinating for me today. We have quite a few more blossoms coming up so we aren’t done yet. Unfortunately, according to my research, the way the blossoms are stretching up from the stem means they are also likely male flowers. Female flowers would be closer to the vine with a pre-fruit or ovary just behind the flower just waiting to be fertilized. I guess this happened to my Aunt last year and there isn’t really anything one can do about it except wait.
Why is this important? Bees. Or the lack of them in most cases. Since pumpkins grow separate male and female flowers they rely on bees and other insects to pollinate the female flowers. Without pollination you won’t see any fruit so you may have to take matters into your own hands, literally. Male flowers are first to appear to help attract the pollinators with the female flowers following. Because of that I’m not going to worry too much about only having male flowers right now. When the time comes, however, I will know what I need to do.
by Susan | Jul 23, 2014 | LB Tutorial: Growing Food
Are you ready to harvest some herbs? By now the herbs we started in the spring should be growing strongly and have good depth of flavor. Today let’s use them in a very simple way… herb butter! You can find herb butter in many restaurants across the nation used on steak, baked potatoes or simply spread on bread.
Ingredients –
- 1/2 cup real butter (should be soft but not melted)
- 2 Tb fresh parsley
- 2 Tb fresh rosemary
A word about butter… I love Costco butter in the big 1 lb packages as it has a great flavor to start with. I also like the Irish butter from Trader Joe’s. It is about 1/2 the cost of the same Irish butter from our local specialty market. Kerrigold is the brand used in the photos.
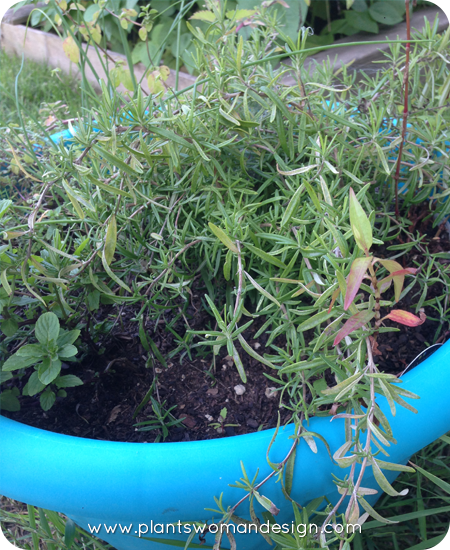 If you haven’t already, harvest the needed herbs from your herb garden taking care to leave some on the plant. You will want to use only the leaves not the stems or flowers. Use clean scissors or kitchen shears to harvest.
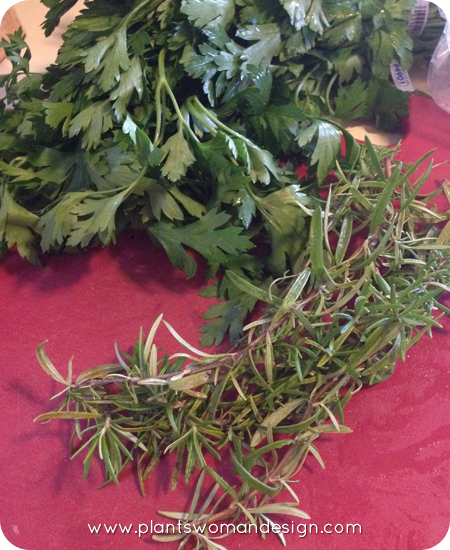 Don’t have enough on your plant? Don’t worry, fresh herbs from the farmer’s market or grocery store will work just fine. Using the kitchen shears or a chef’s knife chop the herbs finely.
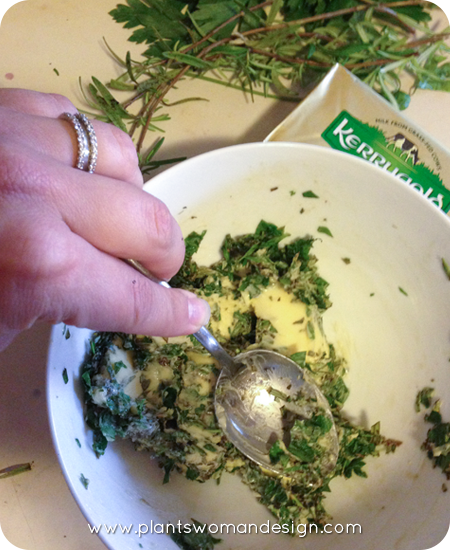 Gently stir the herbs into the butter with a spoon.
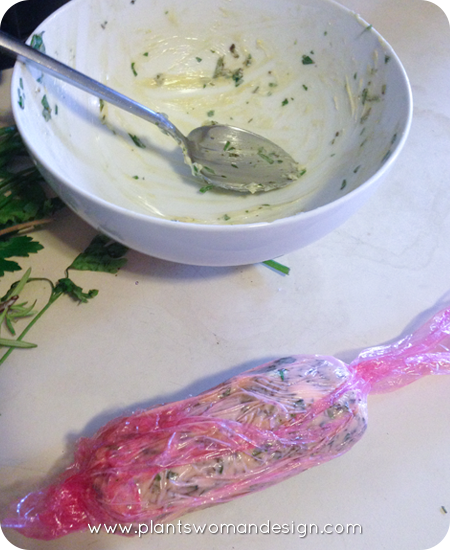 Chill in a decorative dish or shallow pan (great for using a small scoop to serve). Here I wrapped the butter in plastic wrap to shape into a log for easy cutting and sharing. Refrigerate for 2-3 hours before using. This butter is great for making a day ahead for better flavor.
 After your meat is grilled (or roasted if you are using chicken) simply place a scoop or slice of your fabulous herb butter as you serve and enjoy!
Here are a couple of combinations for other butters.
- basil ribbons and garlic (crushed) — garlic bread
- oregano and basil and marjoram — Pasta Primavera with fresh veg
- cilantro and sweet hot peppers — steak fajitas
- sea salt and oregano — hot grilled corn or other vegs
Use the same process outlined above and get cooking! We hope you enjoy making herb butter. Please share your creative cooking herb butters with us in the comments.
Up next is tomato basil bruschetta, YUM!
by Susan | Jul 11, 2014 | LB Tutorial: Growing Food, Little Bytes
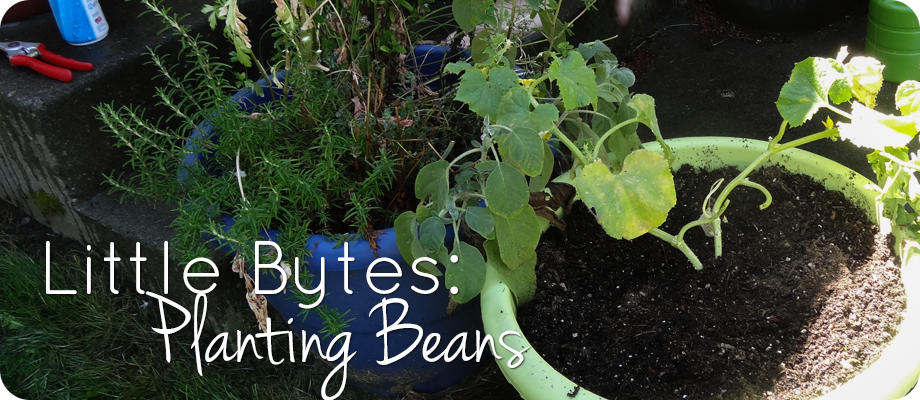
Today we are going to plant beans in the lettuce pot. Jen’s lettuce and spinach did really well but now they are tall and straggly. The leaves no longer are mild and sweet but are starting to get bitter. We pulled them out and broke up the soil to prepare it for planting beans. The soil in the container still has lots of good organic matter and nutrients left for another crop.
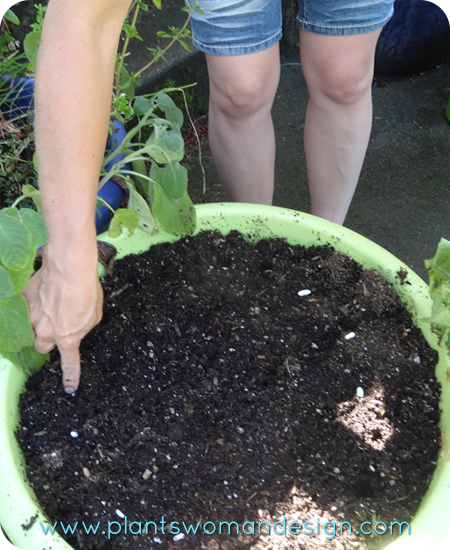
Jen placed the beans in a circle around the edges and left a place in the middle for a cucumber plant. The seeds around the edges get pushed into the soil to about the first knuckle on Jen’s finger. Then she gently pushed the soil over the holes and firmed it down.
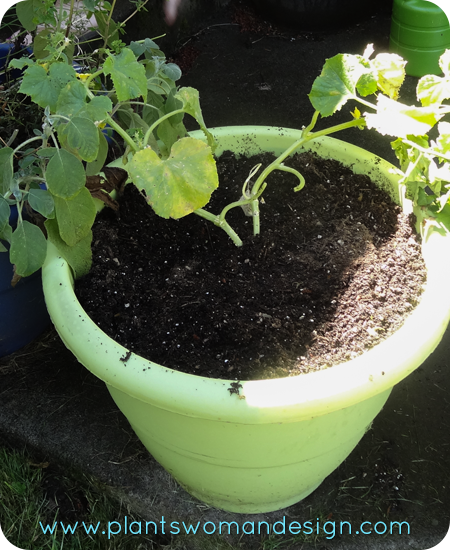 Her family loves cucumbers so we took a trip to the nursery. Even though the variety of starts on the shelves is dwindling we found pumpkins and cucumbers. The cucumbers have two seeds in each 4 inch pot. They are a little overgrown being about 20 inches long with blossoms and even a baby cucumber. If they were smaller I would gently tease them apart and give them each their own space about 12 inches apart. Since these guys are already so big their roots are very intertwined so I will leave them undisturbed except to gently rough up the edges. The pot is between the other two so the vines can scramble over to the other pots as it grows.
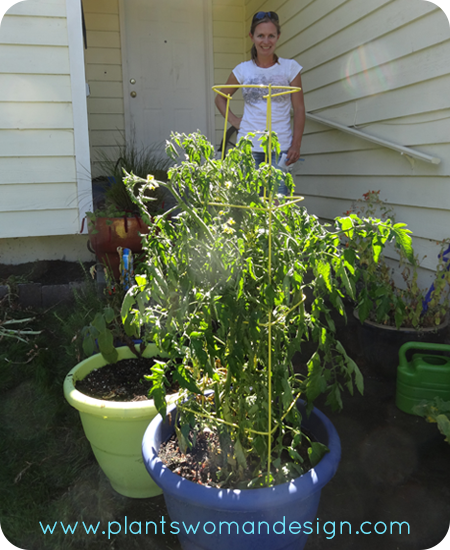
While we were there Jen added a cage around the tomato. It is growing well and needed some support to keep growing upwards. The basil is growing below it.
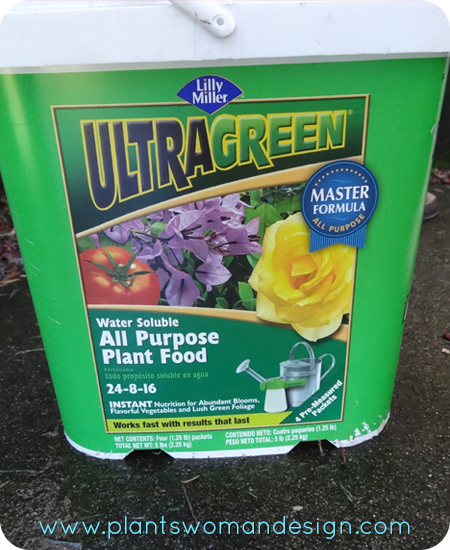
We also gave some fertilizer to the tomato and the cucumber starts. We used a fertilizer that is for blossom and fruit. Following the directions we mixed the fertilizer with water and added it to the containers.
Can’t wait to see what happens!
You can put together a quick container for fresh beans too. Take a look at THIS post to put your pot together and get out there!!!
by Kristen | Jun 18, 2014 | garden food, Little Bytes
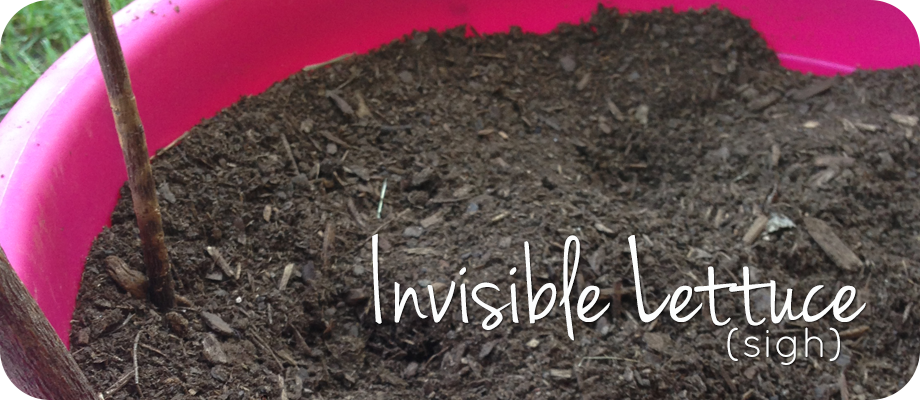
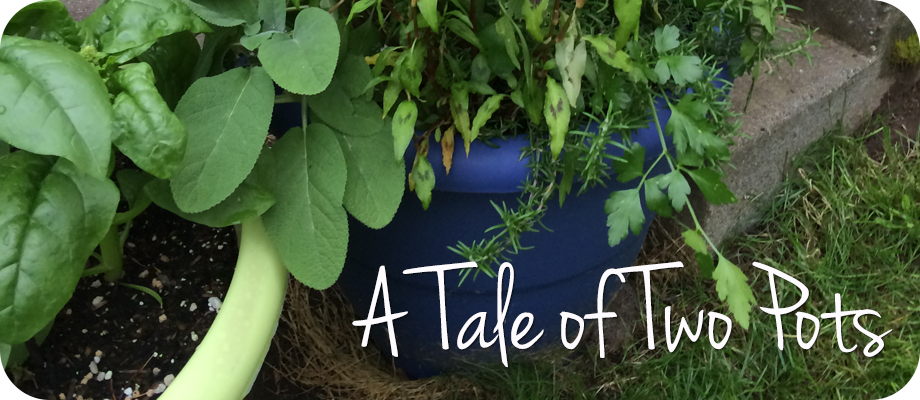
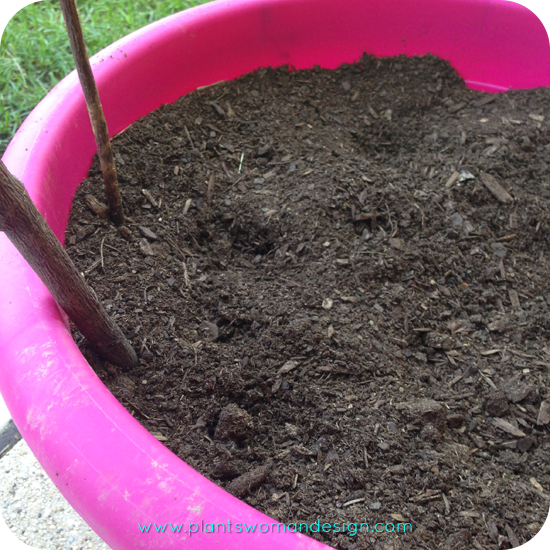 Introducing a new variety of lettuce!!! It’s invisible! Or maybe just not there… (sigh) Certainly not for lack of trying though! You can check out my post on planting our lettuce HERE, we really did plant seeds, they just didn’t come up. We planted the pot and left it on the patio where it would get morning sun and the rain would get to it (not that I planned to forgo watering). The next day I checked on the container and it had a small hole dug into the center of the pot. I filled the hole back in, watered and left it. The next day the hole was back with a bit of other disturbance. After about a week of this I started to assume it was the squirrels or birds. After a few more days I called the Plantlady and gave up hopes of actually seeing lettuce. Shortly after coming back from our vacation the kids were outside playing with the neighbor kids and they were having great fun digging in the planter.
Sigh…
Let’s talk about this a little bit. I am not having great success with any of my spring plant projects except the pumpkins which turned out great. My herb pot isn’t that great and the lettuce was a no show. I haven’t killed anything yet but we still have a bit of growing season left so let’s hold the verdict on that one (the lettuce doesn’t count). But here’s the thing… I’m not giving up. I suppose I could get all supped up about these “failures”, declare I have a “black thumb” and vow never to grow anything again but that would be ridiculous. A few failed plantings does not a “black thumb” make. Instead, I need to keep planting and experimenting to see what I am good at growing. Besides what kind of example would I be setting for E and Little Chef? Little things make a huge impact for our little ones so I need to get back out there and try again.
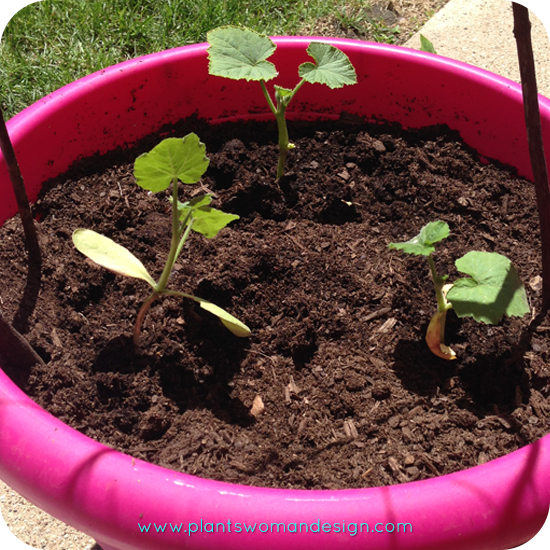
So, what do you do when a plant or seeds you’ve planted don’t come up? It’s time to re-plant! I could have put more lettuce seed down but we have a plethora of pumpkin plants to find homes for so we put three in our now plant-less container.
 And the coveted watering job goes to Little Chef!
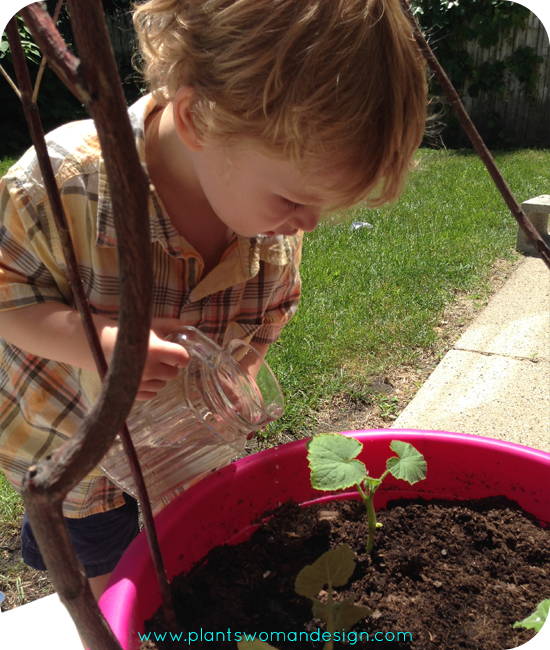 I’m telling you, if you have kids or grand-kids, watering duties are a great way to get your little guys out into the garden. Of course digging is Little Chef’s preferred activity when it comes to containers of dirt but now that something is actually growing there watering is where it’s at.
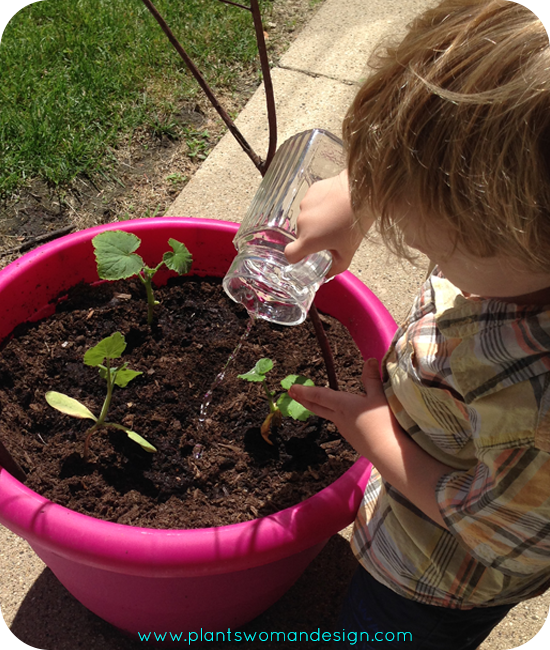 So, now the pumpkins have a home to take over and the kids have a bigger target to water. We didn’t find an effective labeling technique for this batch of pumpkins so I really don’t know what type of pumpkins are in this container. It will be a lovely surprise to share with you this fall.
by Kristen | Jun 10, 2014 | garden food, Little Bytes
Hello friends and happy June!!! I know, I’m a little late to the June party, it just goes to show how fast the month is flying by. Now that we are about half way through June it’s time to go back and visit some of our planting projects from the spring. As you may remember Jen and I planted herb pots back in April/May (you can read about HERE and HERE).
Here is Jen’s pot…
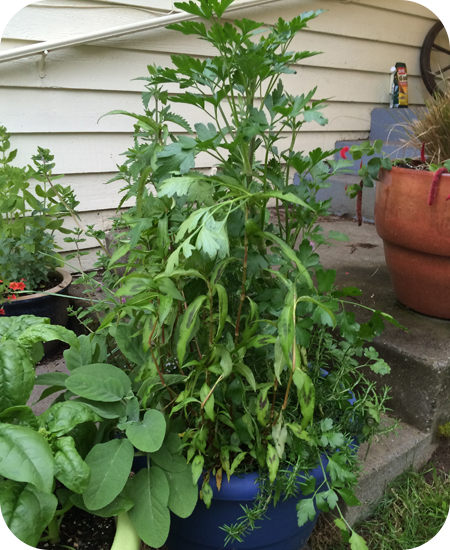
Such a lovely pot with the flat leaf parsley reaching to the heavens with the Thai basil not far behind. It looks so delicious!
And then there is my pot… Sigh.
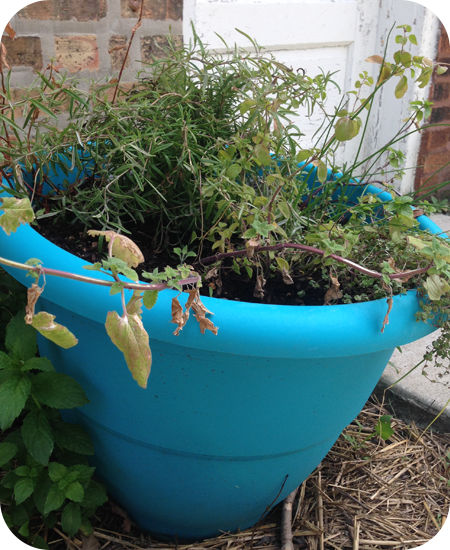 My kids have a book by Sandra Boynton called Red Hat, Green Hat in which a turkey insists on putting articles of clothing on in the wrong manner. The book simply says “oops”. My pot is definitely feels like an “oops” and I must say I’m a little disappointed. We just returned from a 2.5 week trip back to the Northwest and before we left we dropped the pot off at our community garden for the duration of our trip. Now before you go thinking that I’m about to blame the state of my herbs on my fellow community gardeners I’m not. They did what they could, even moving the pot to a shadier spot as it didn’t seem to be taking the sunlight very well. I’m so thankful they were able to take care of our herbs and pumpkins while we were gone. If not for them all of our plants would be gone.
After conferring with my Plantlady we agree the herbs simply need more water. Unfortunately in our work to get ready for our trip it’s likely I neglected my plant duties and forgot to water before we left not giving it a great start before we moved it to the community garden. My husband and I will transport the container back to our house this week and nurse it back to health. I’ll keep you posted on our progress.
Back to Jen’s pot. We will be posting some yummy recipes to use with our home grown herbs so stay tuned. In the meantime drop us a line and let us know what your favorite herb uses are. Do you dry yours or use them fresh? What’s your favorite dish? We’d love to hear from you!

by Kristen | Apr 30, 2014 | garden food, LB Tutorial: Growing Food, Little Bytes
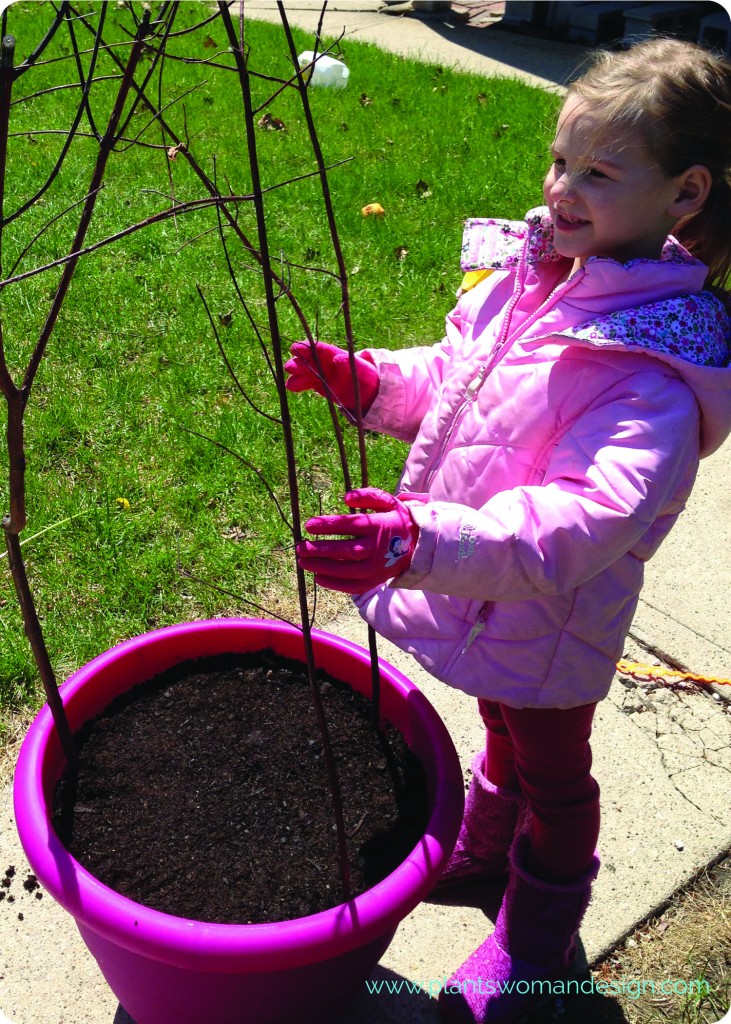
Hello everyone, Kristen here with our completed lettuce container. We had one of those perfect moments when the stars aligned and weather cleared giving us about an hour or so to get out and play in the dirt. If you missed our previous post with the instructions click HERE. My assistant for the day was my daughter, E (gloves and princess spade provided, via Easter basket, by the Plantswoman (aka G-ma)). When E found her basket she was so excited to have garden gloves and a spade all her own. She asked me if she could be a Junior Plantswoman and I told her that would be just fine. So, with out further ado here is our first, unofficial, Jr Plantswoman here to show you how we planted our lettuce seeds.
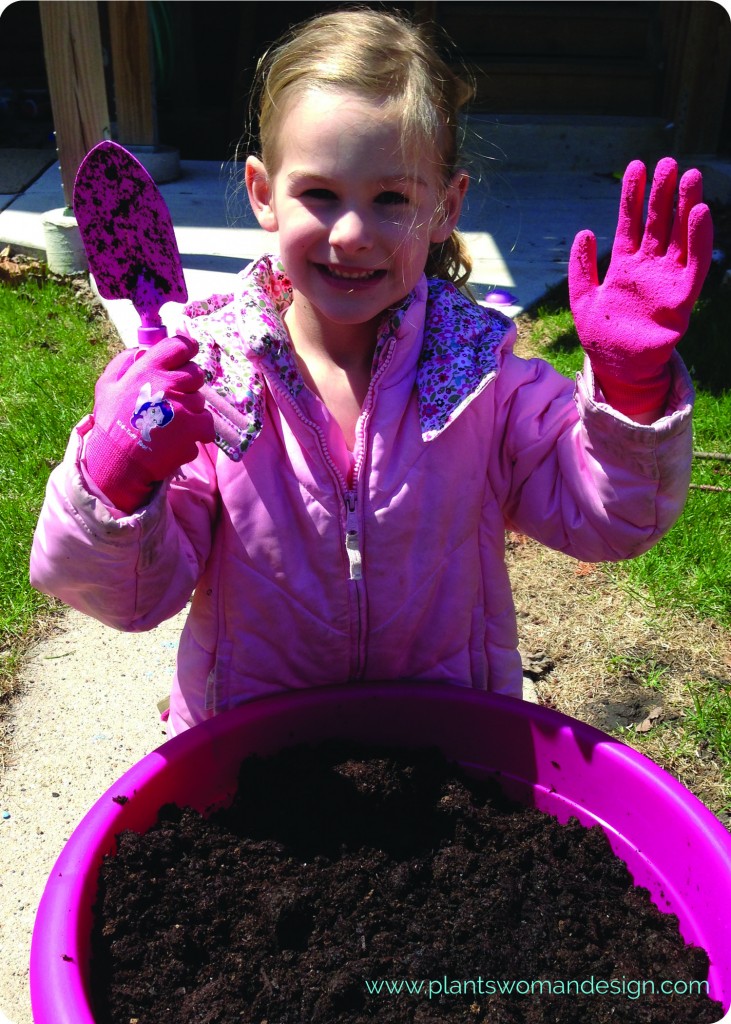
After preparing our pot as outlined HERE we installed our supports for our future beans. We used some branches we spotted on the college campus while walking home from school a couple weeks back. I had a true “I am my mother” moment as I stopped the stroller, ran over to the maintenance crew and asked if I could have some of the branches they were pruning. After the foreman gave me a funny look he said I could help myself. I’ve been saving the branches for an indoor project but I can spare a few for our lettuce containers. That being said, while Jen’s branches may bloom since she cut them fresh, I highly doubt my branches will do anything as they are pretty much dried out.
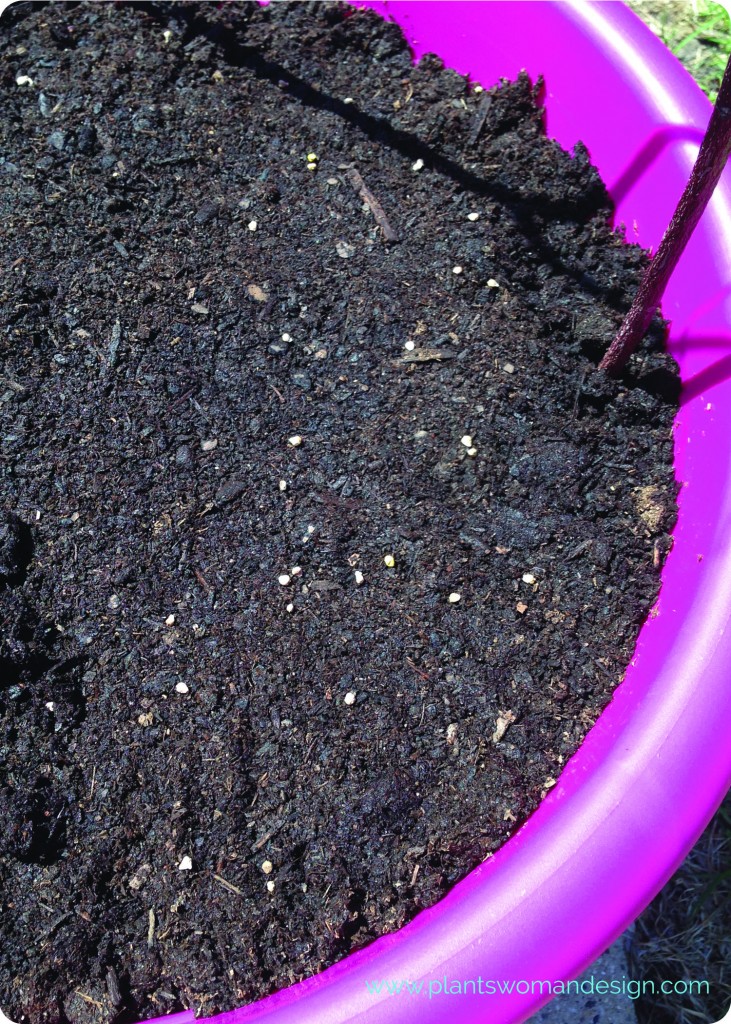
Once the support branches were secure we added our seed. E really wanted to dig holes for each seed so I had to catch her before she dug in, literally.
She spread the seed…
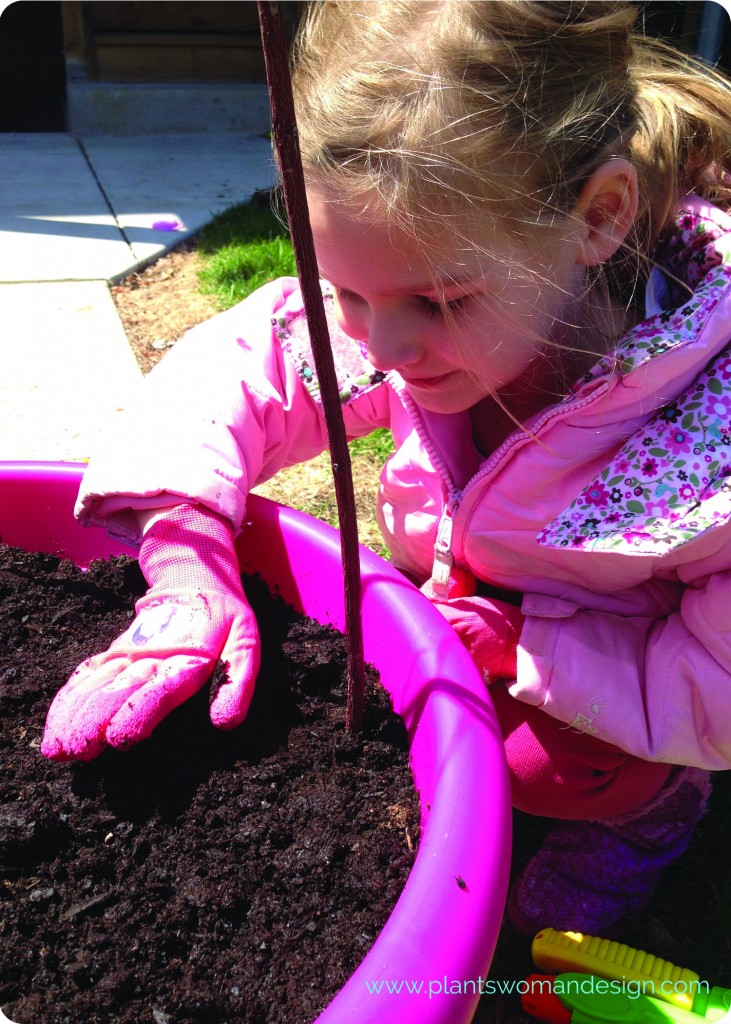
 …covered it with more soil…
 …and pressed the soil down lightly (for a 5 year old that is).
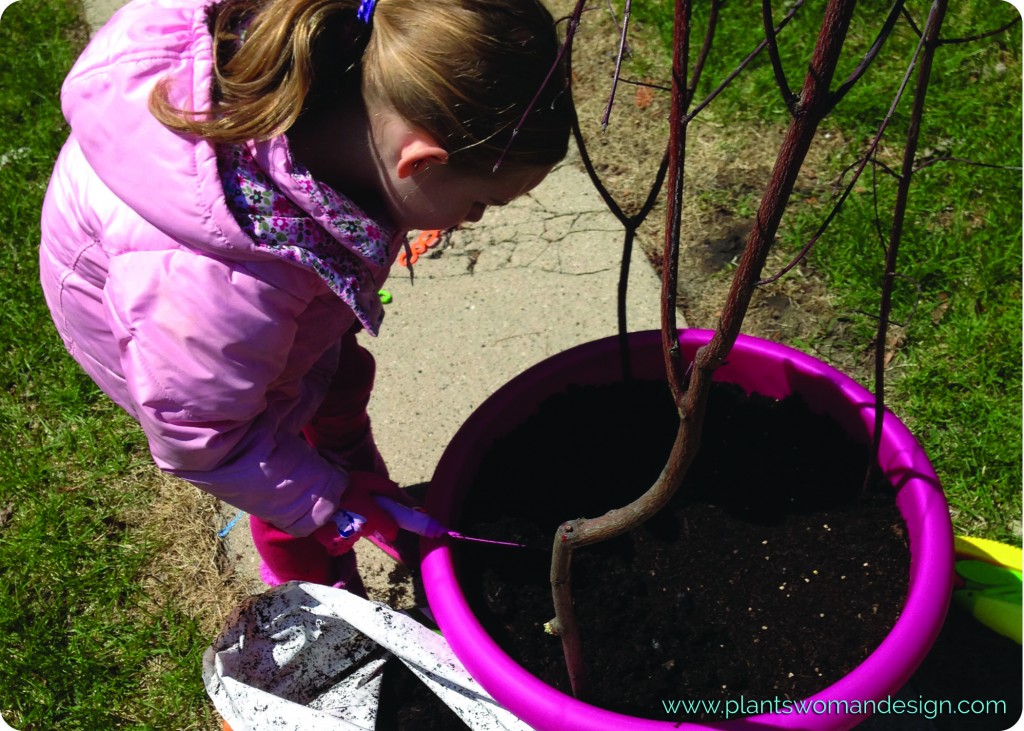
 This is where we ran into a problem. The tutorial Jen and Susan did said to gently water with a wand attachment. We don’t have a wand attachment. It’s not that we can’t get one but we didn’t have one at that specific moment so we improvised. This idea is all over Pinterest and I thought we would give it a try.
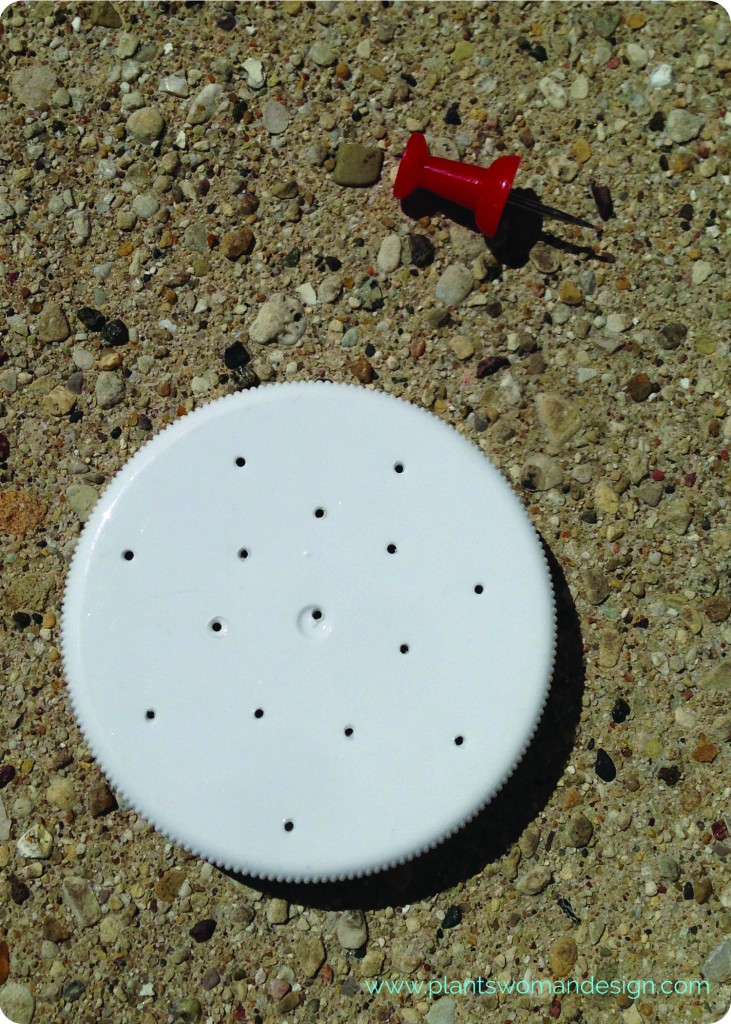
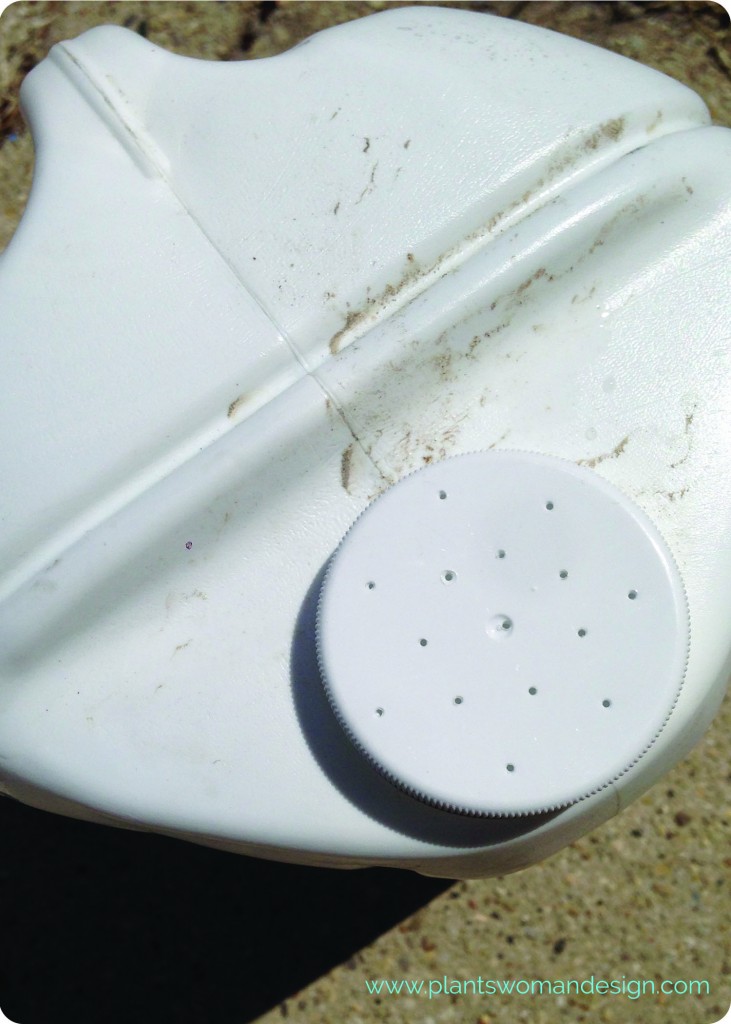
To make your own milk jug watering can you’ll need:
- A gallon size plastic milk jug with lid (ours is from milk we bought at Costco).
- Regular thumb tac
Once you’ve rinsed out your jug thoroughly take the thumb tac and push it through the lid numerous times. Then take the tac and make a hole or two by the handle of the jug to help the jug pour correctly. Fill your jug with water (since E was going to do the watering I only filled it half way), put the lid on and water whatever your heart desires.
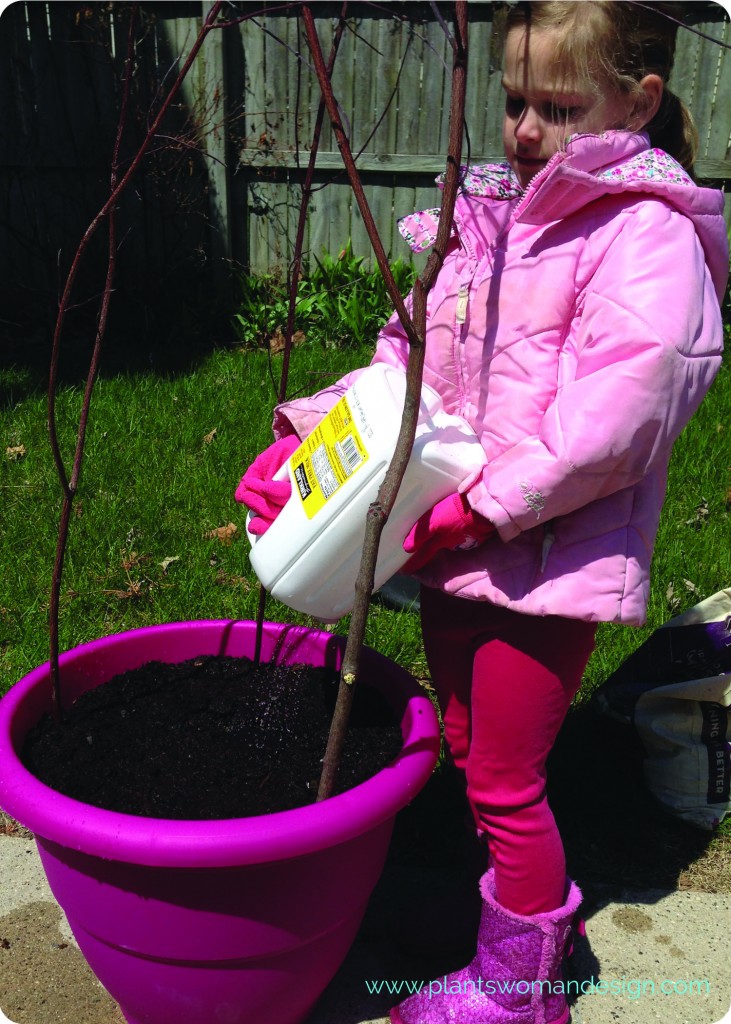 I’m pleased to tell you this little jug worked fairly well. E said it was super slow but I was okay with that because the whole point of using a wand attachment was to make sure you don’t wash the seeds away.
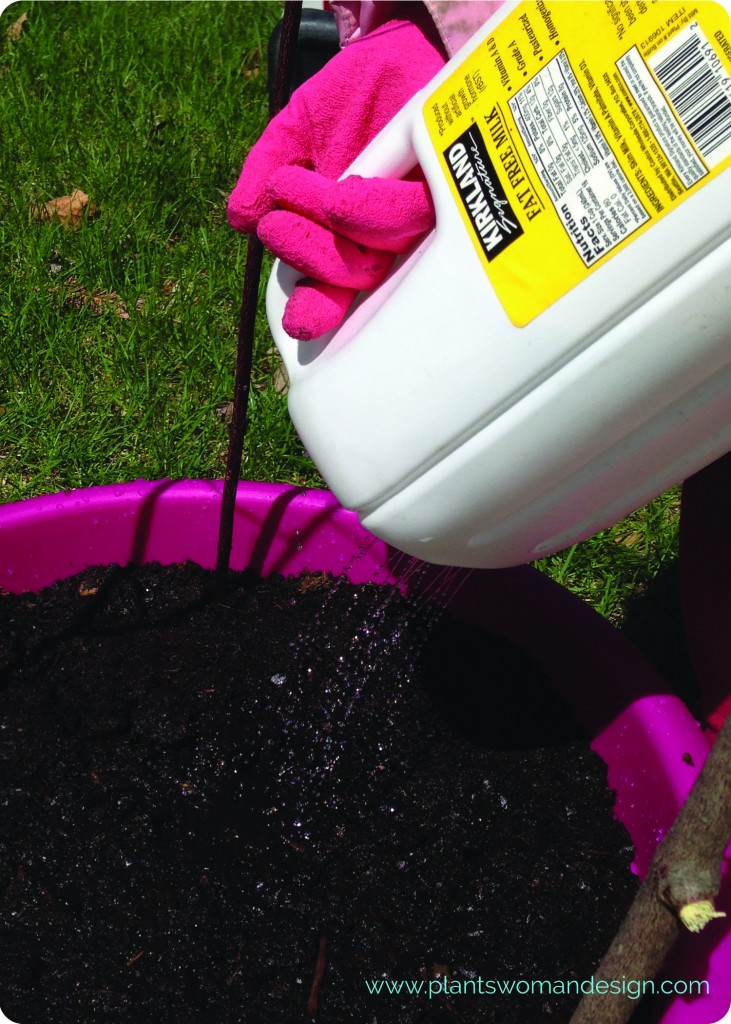 And the absence of a water powered wand made sure I didn’t get soaked in the process either.
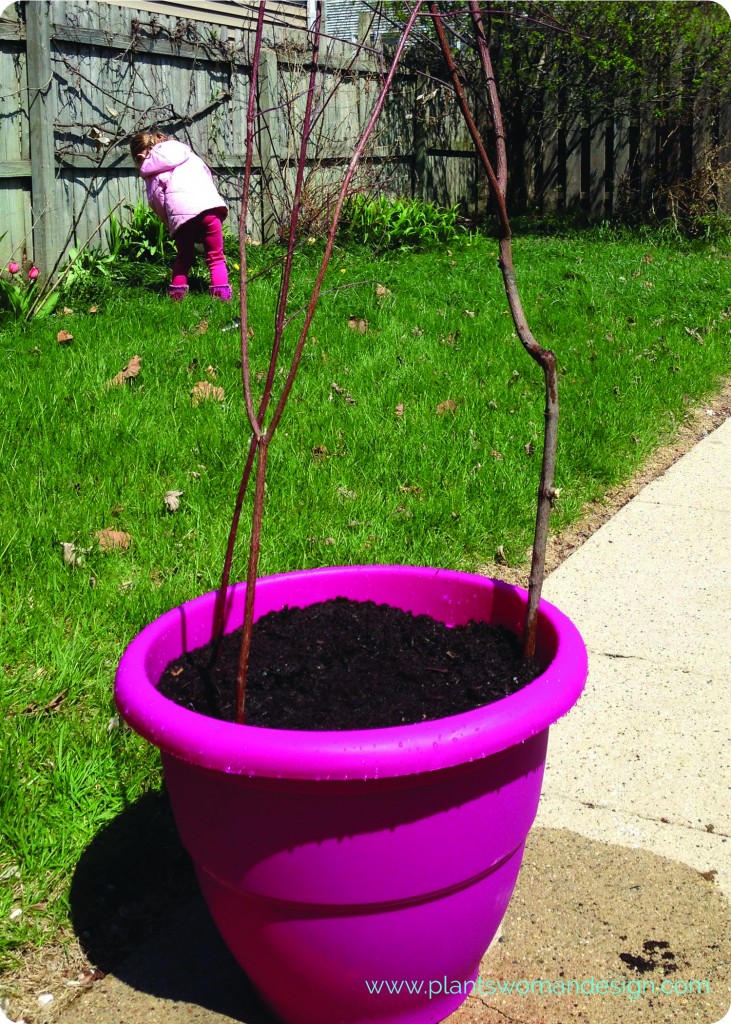 Our finished container doesn’t look like much. But give it time, it will be bursting with fresh, organic, baby lettuce in no time. And if you find you have a little water left over in your jug why not take a walk around your yard and give any thirsty plants a drink. Or better yet, have your kid do it.
We hope you’ve enjoyed learning all about lettuce with us. Did you follow along with us? Send us a picture via email to us at info(at)plantswomandesign(dot)com. We’d love to see it!


 One of our favorite recipes to make with veggies is a Pasta Primavera Pronto recipe adapted from


 If you haven’t already, harvest the needed herbs from your herb garden taking care to leave some on the plant. You will want to use only the leaves not the stems or flowers. Use clean scissors or kitchen shears to harvest.


