Fall Garden List

Fall Garden List

Welcome to those clicking over from our newsletter!  Here are more details on my top 10 ‘to-do’s’ for the Autumn.  If you didn’t get this from our newsletter sign up!  It’s free and we typically send newsletters about once a month. With out further ado here is my list of things to do this month in the garden.
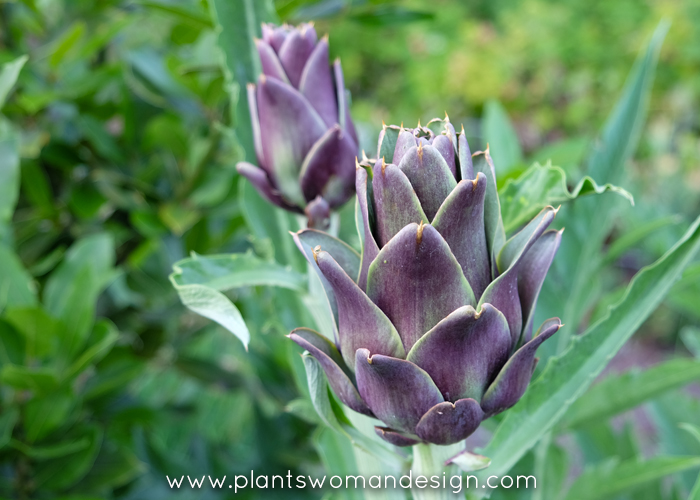
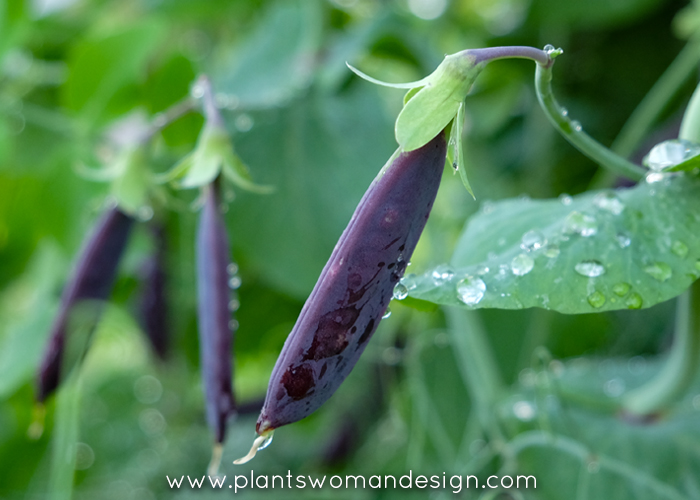
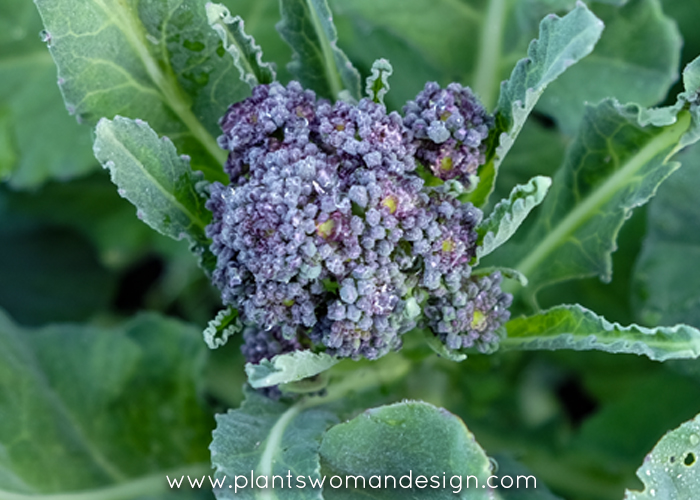
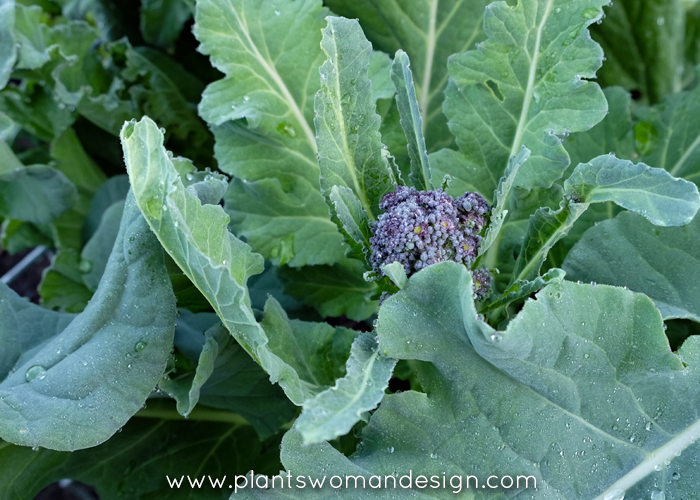
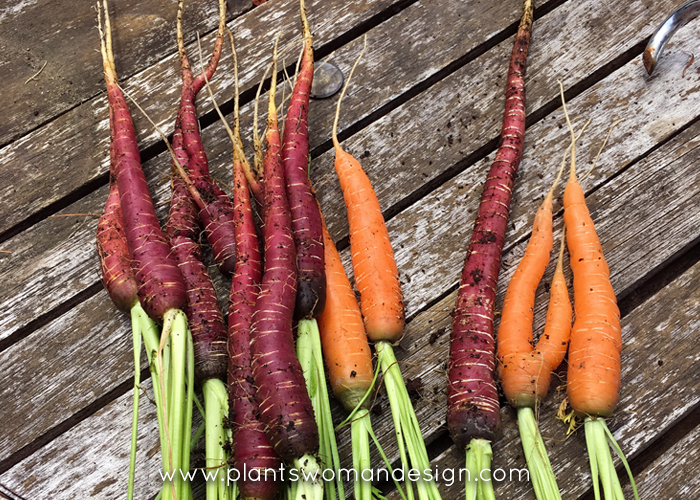
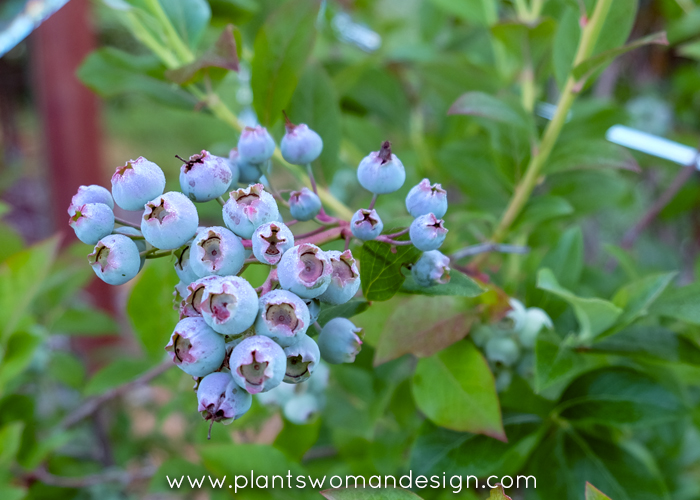
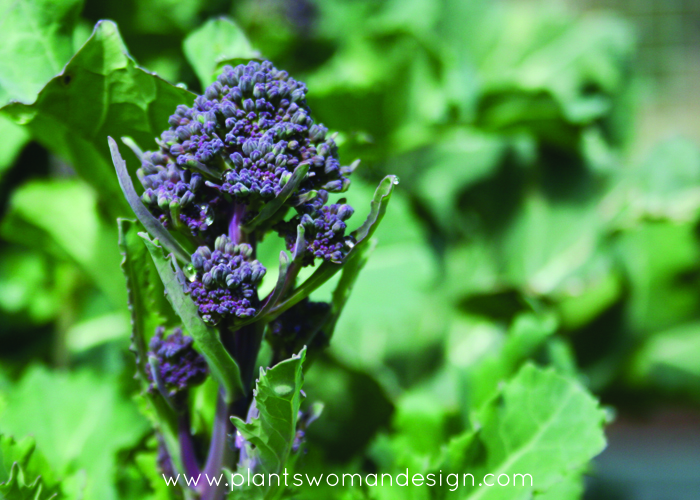
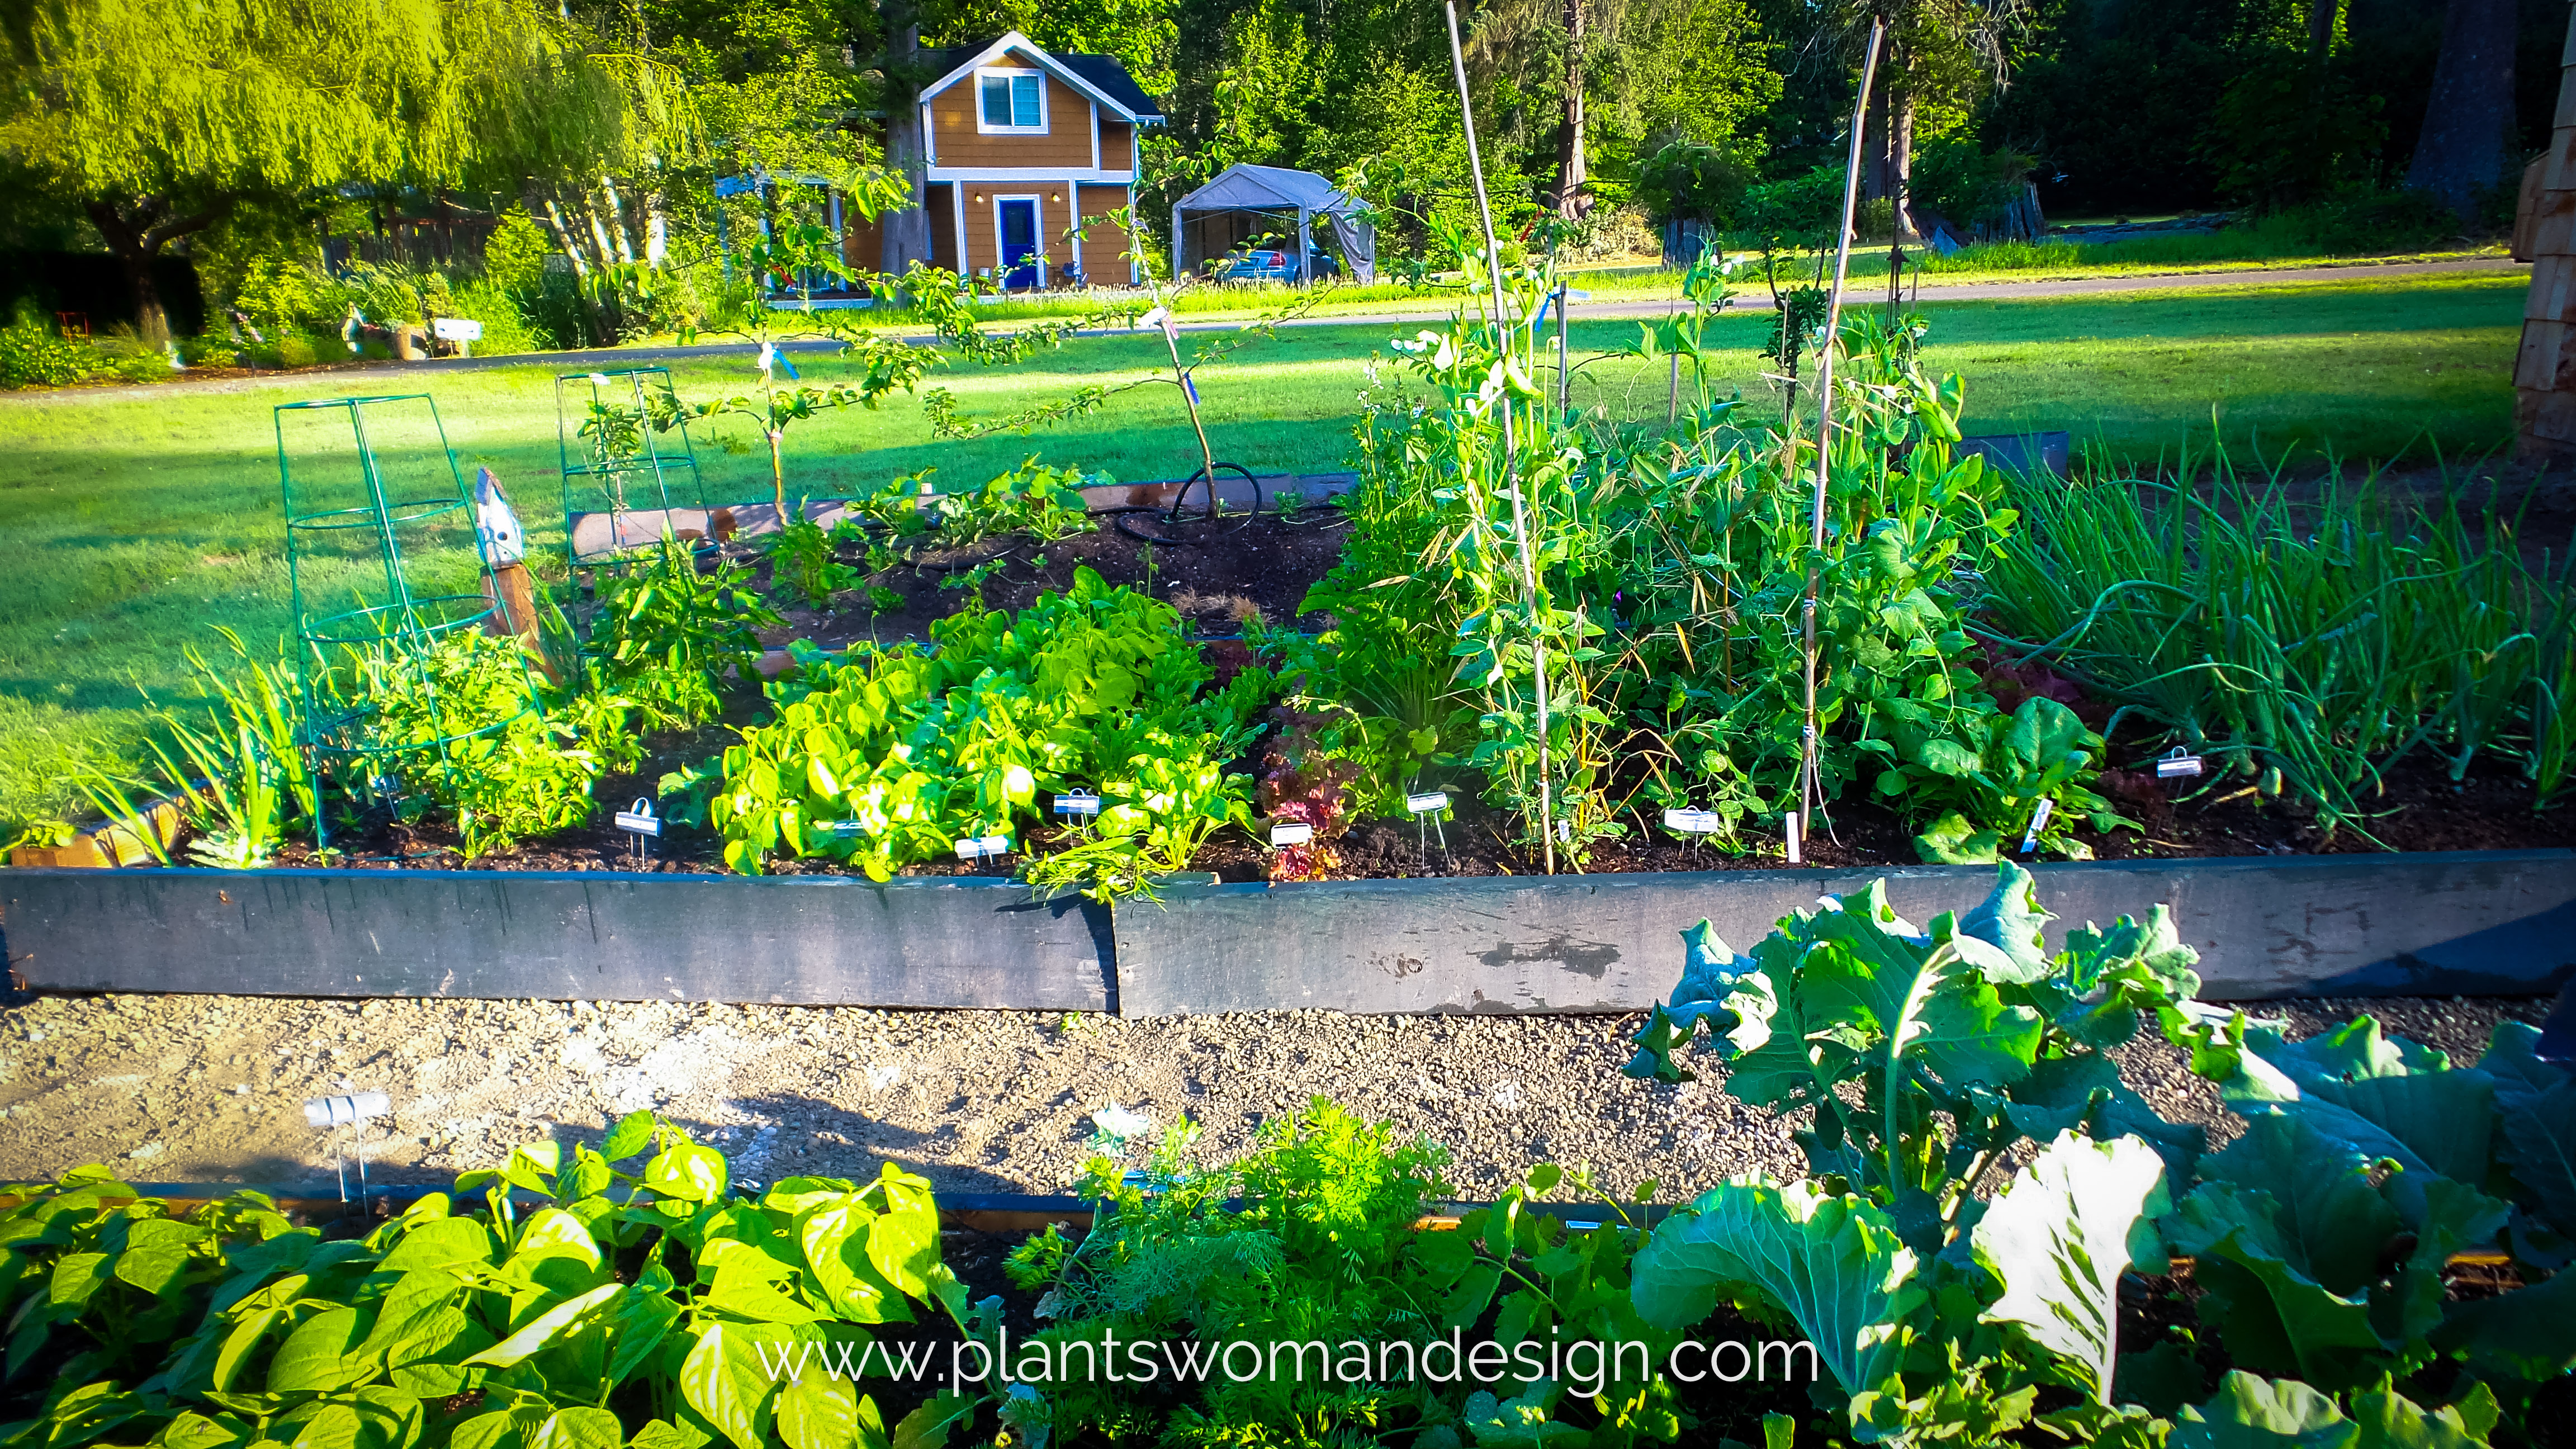
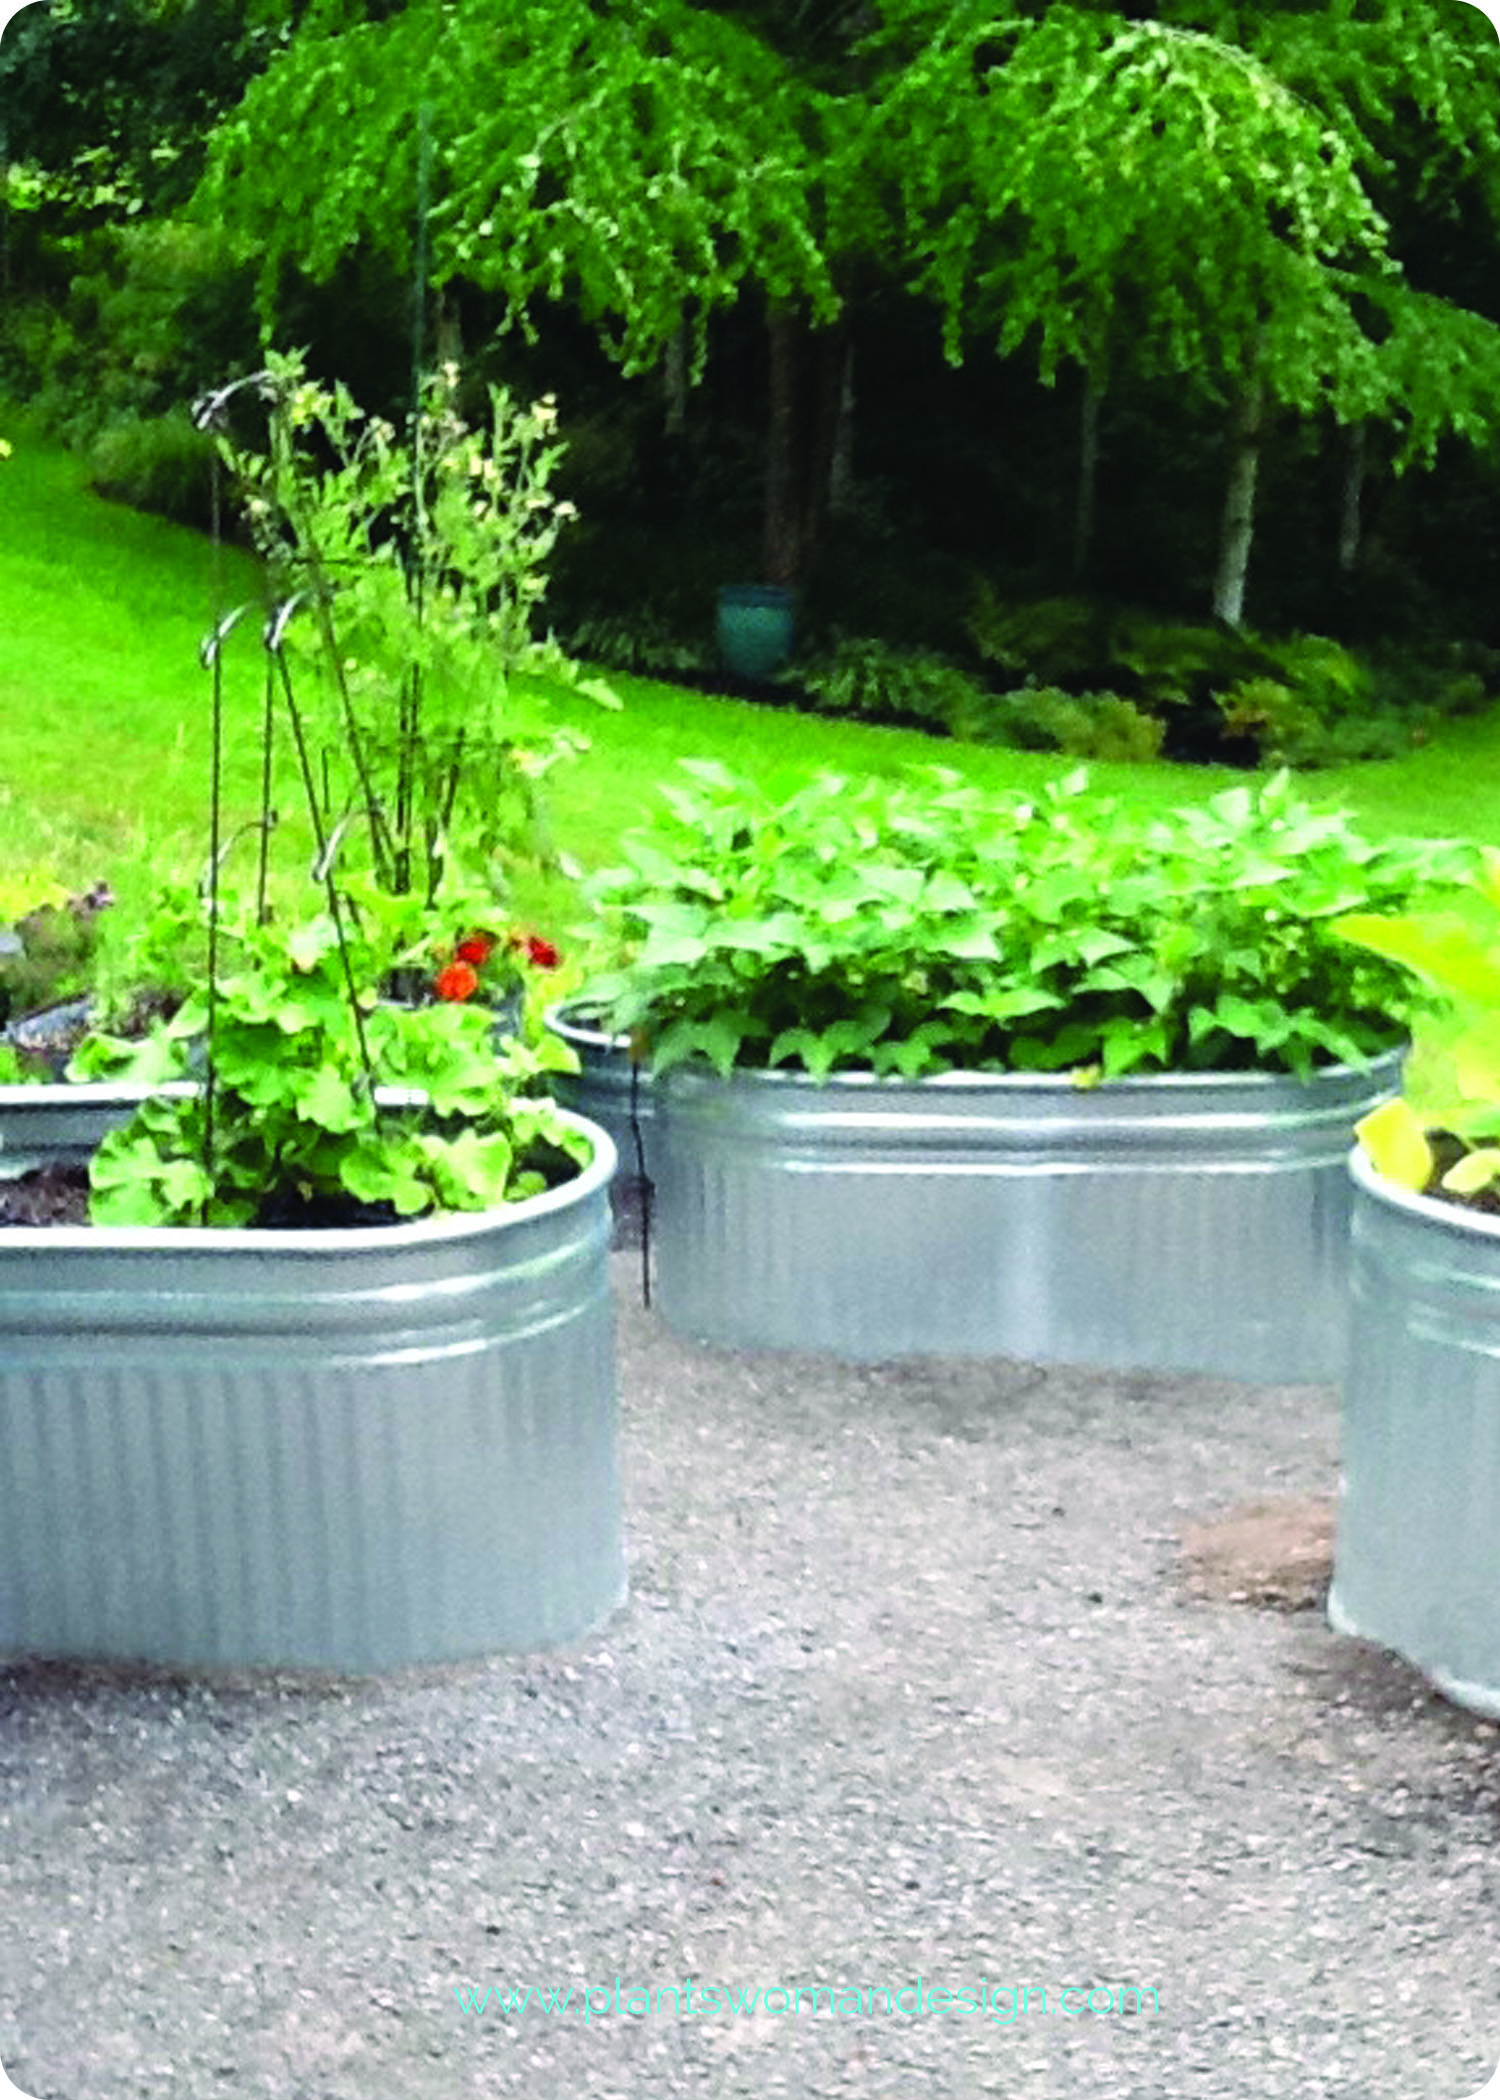
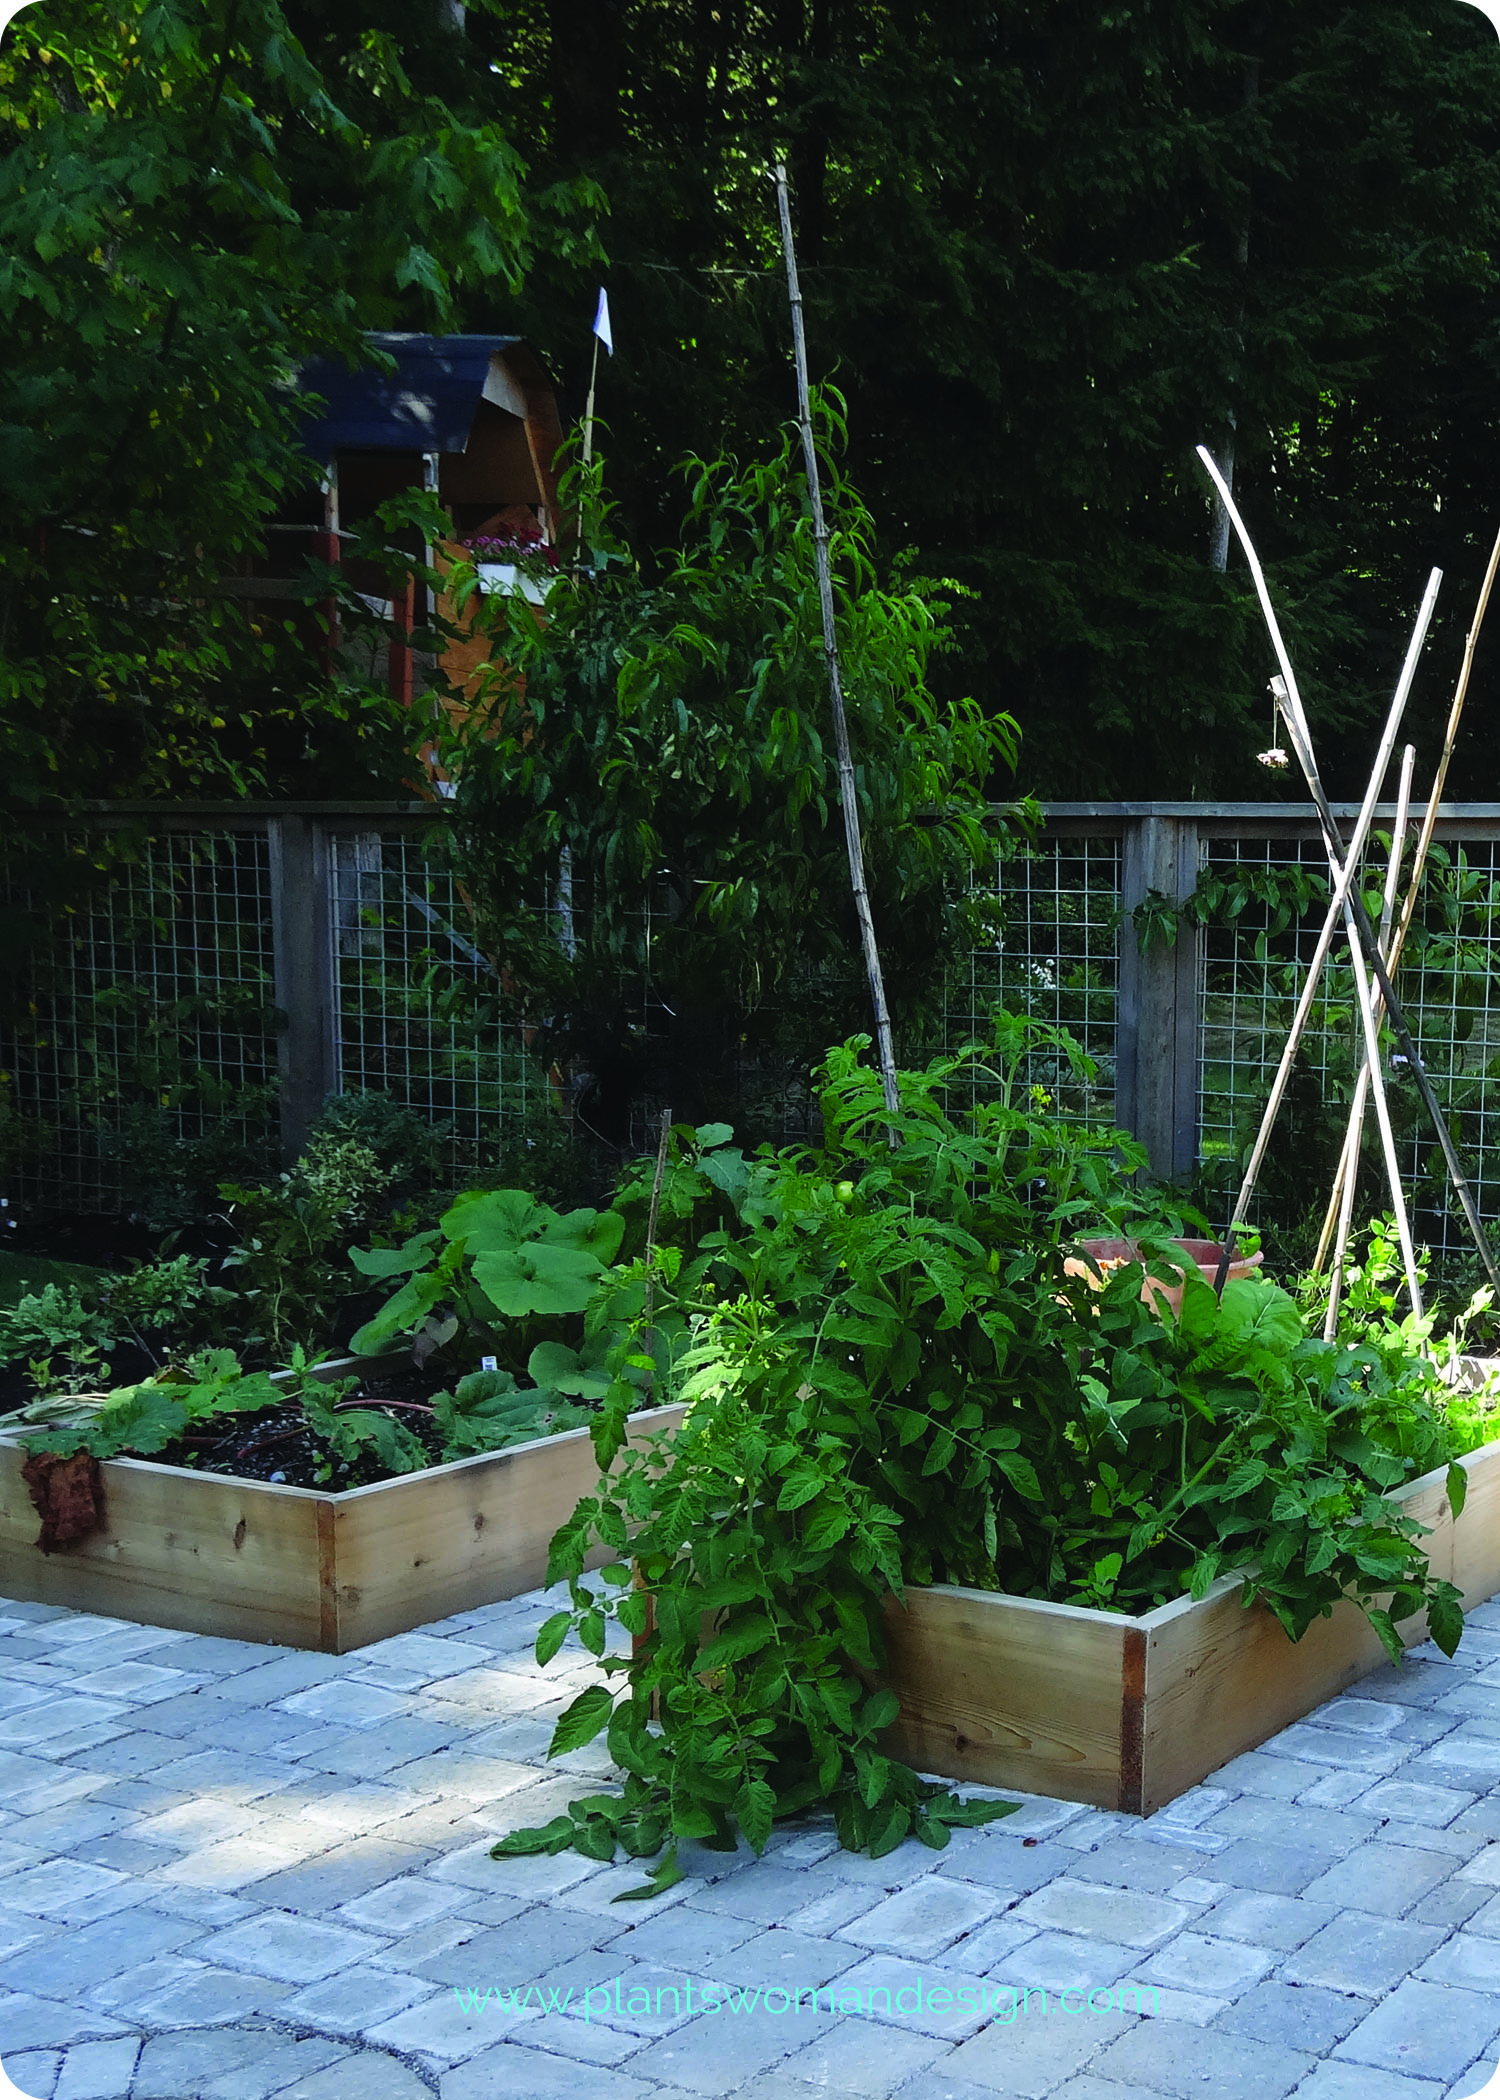
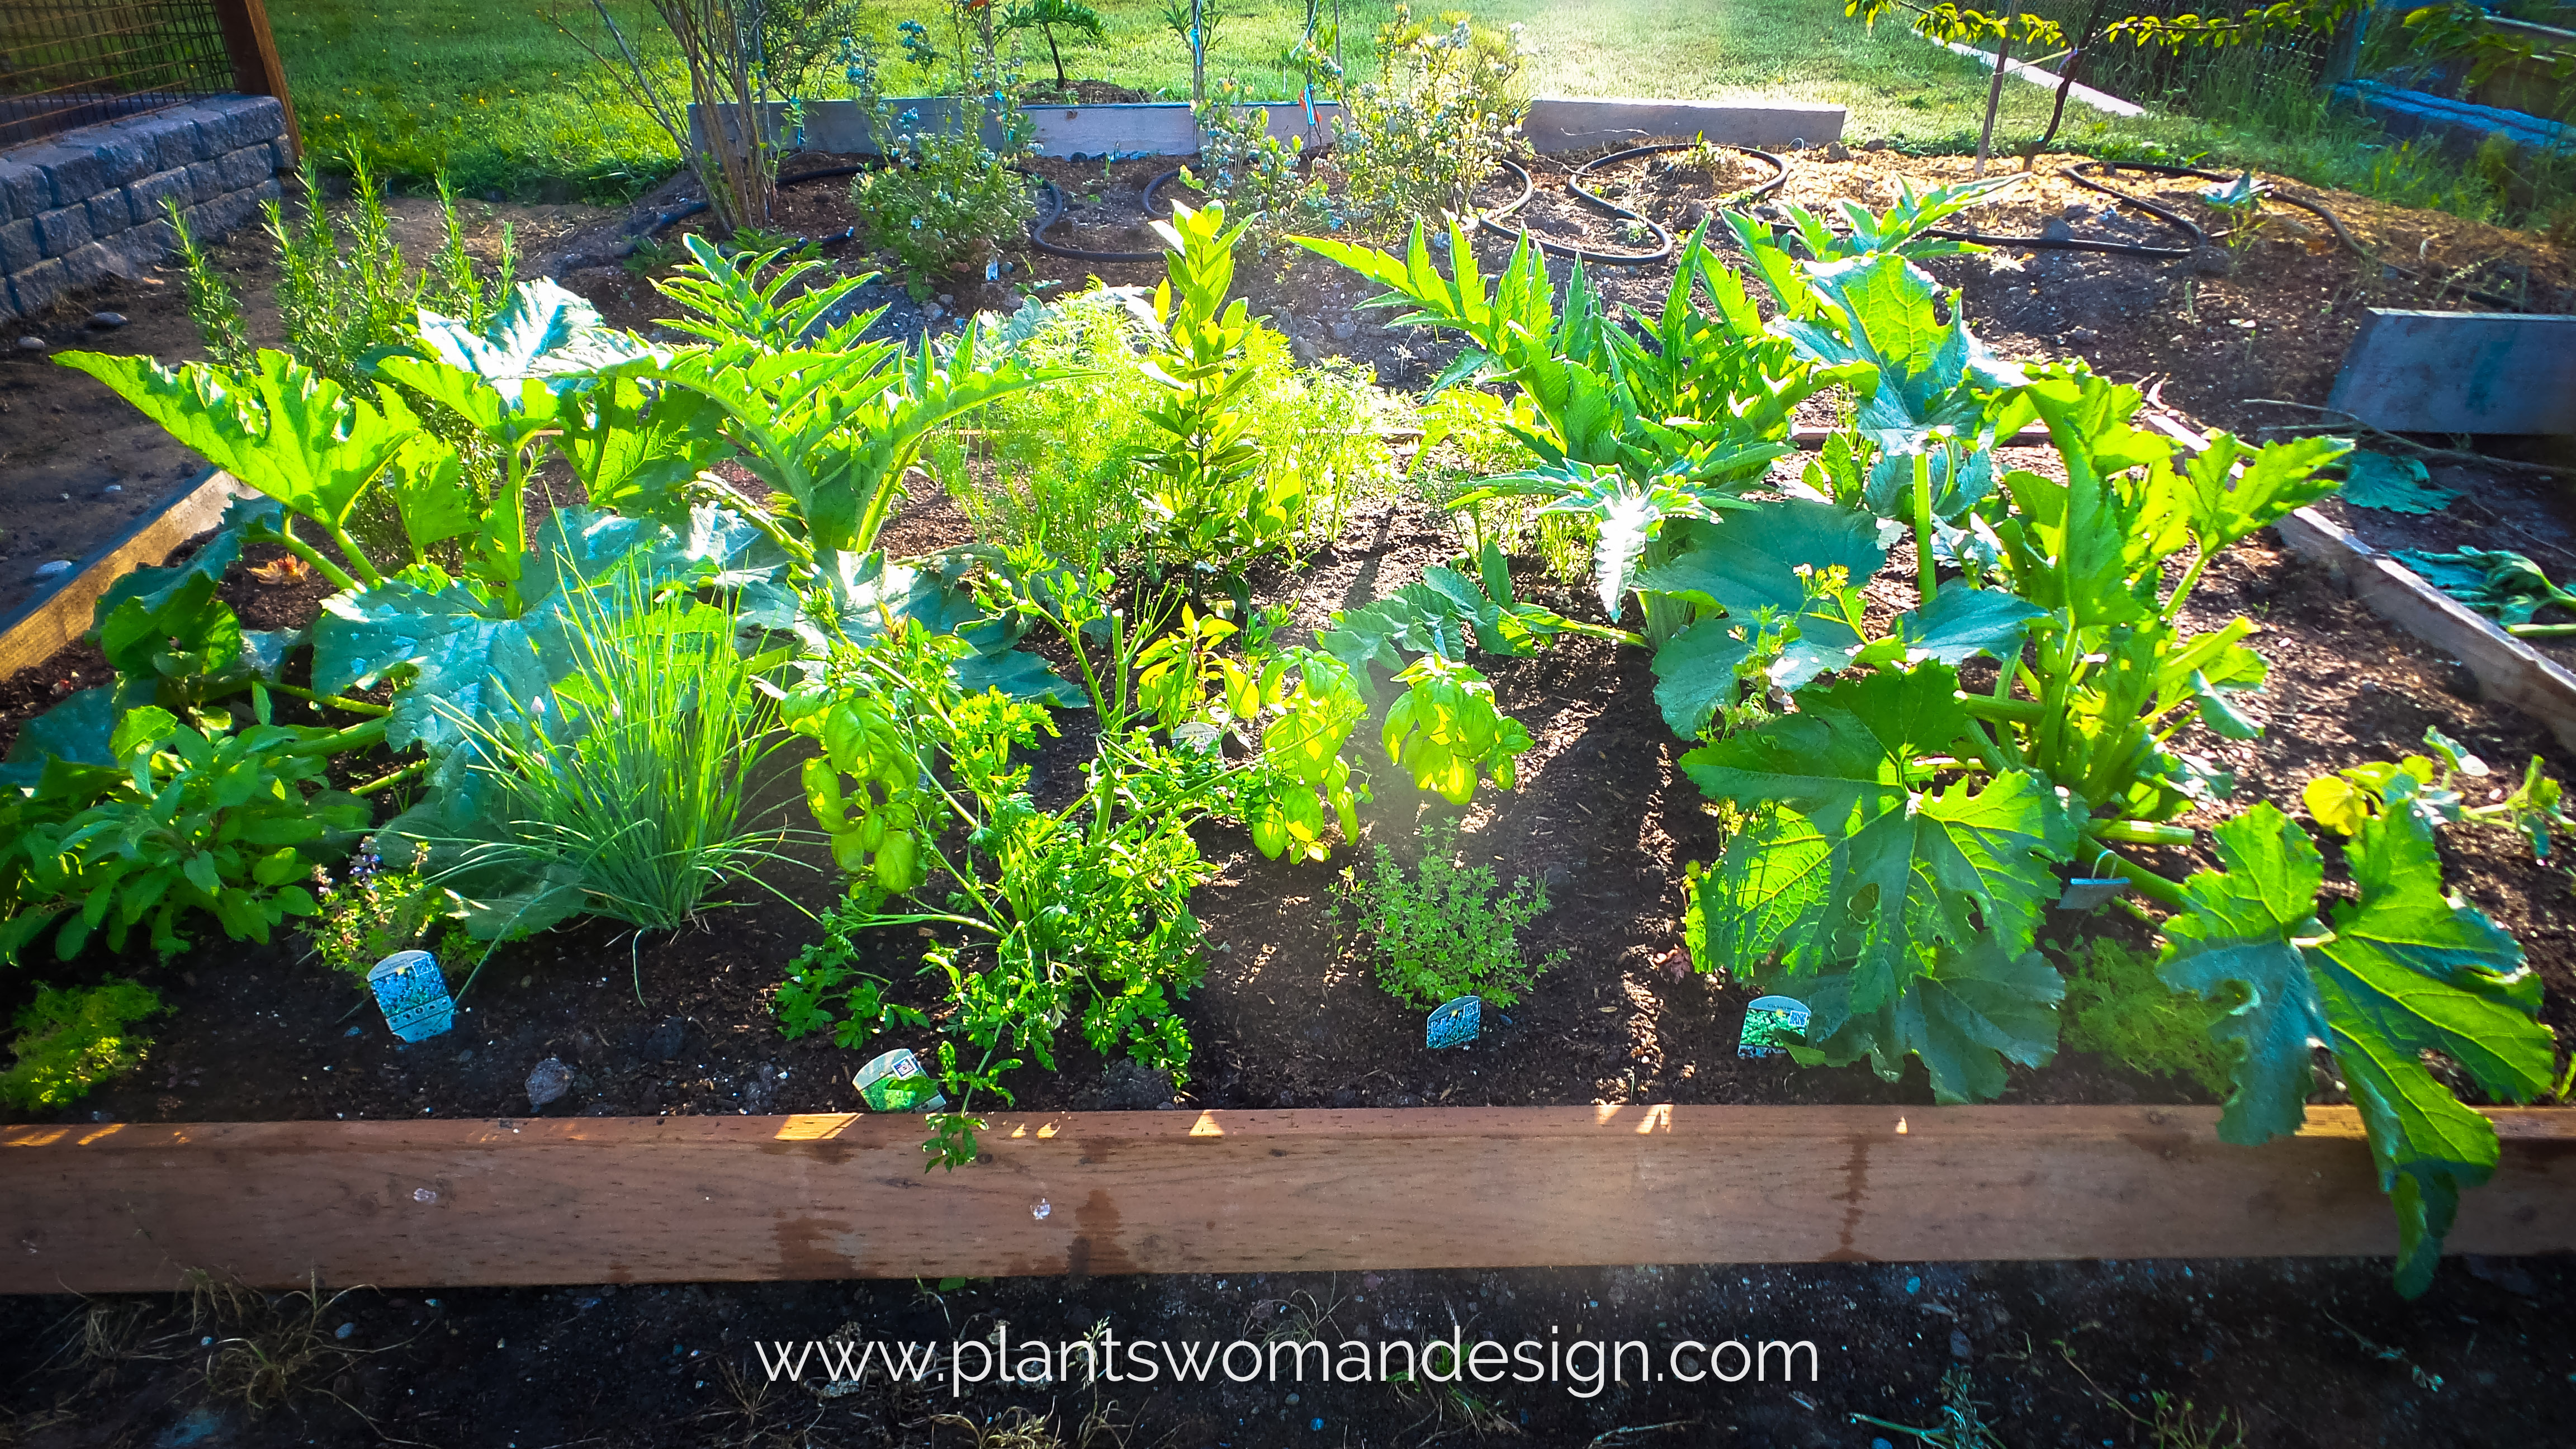
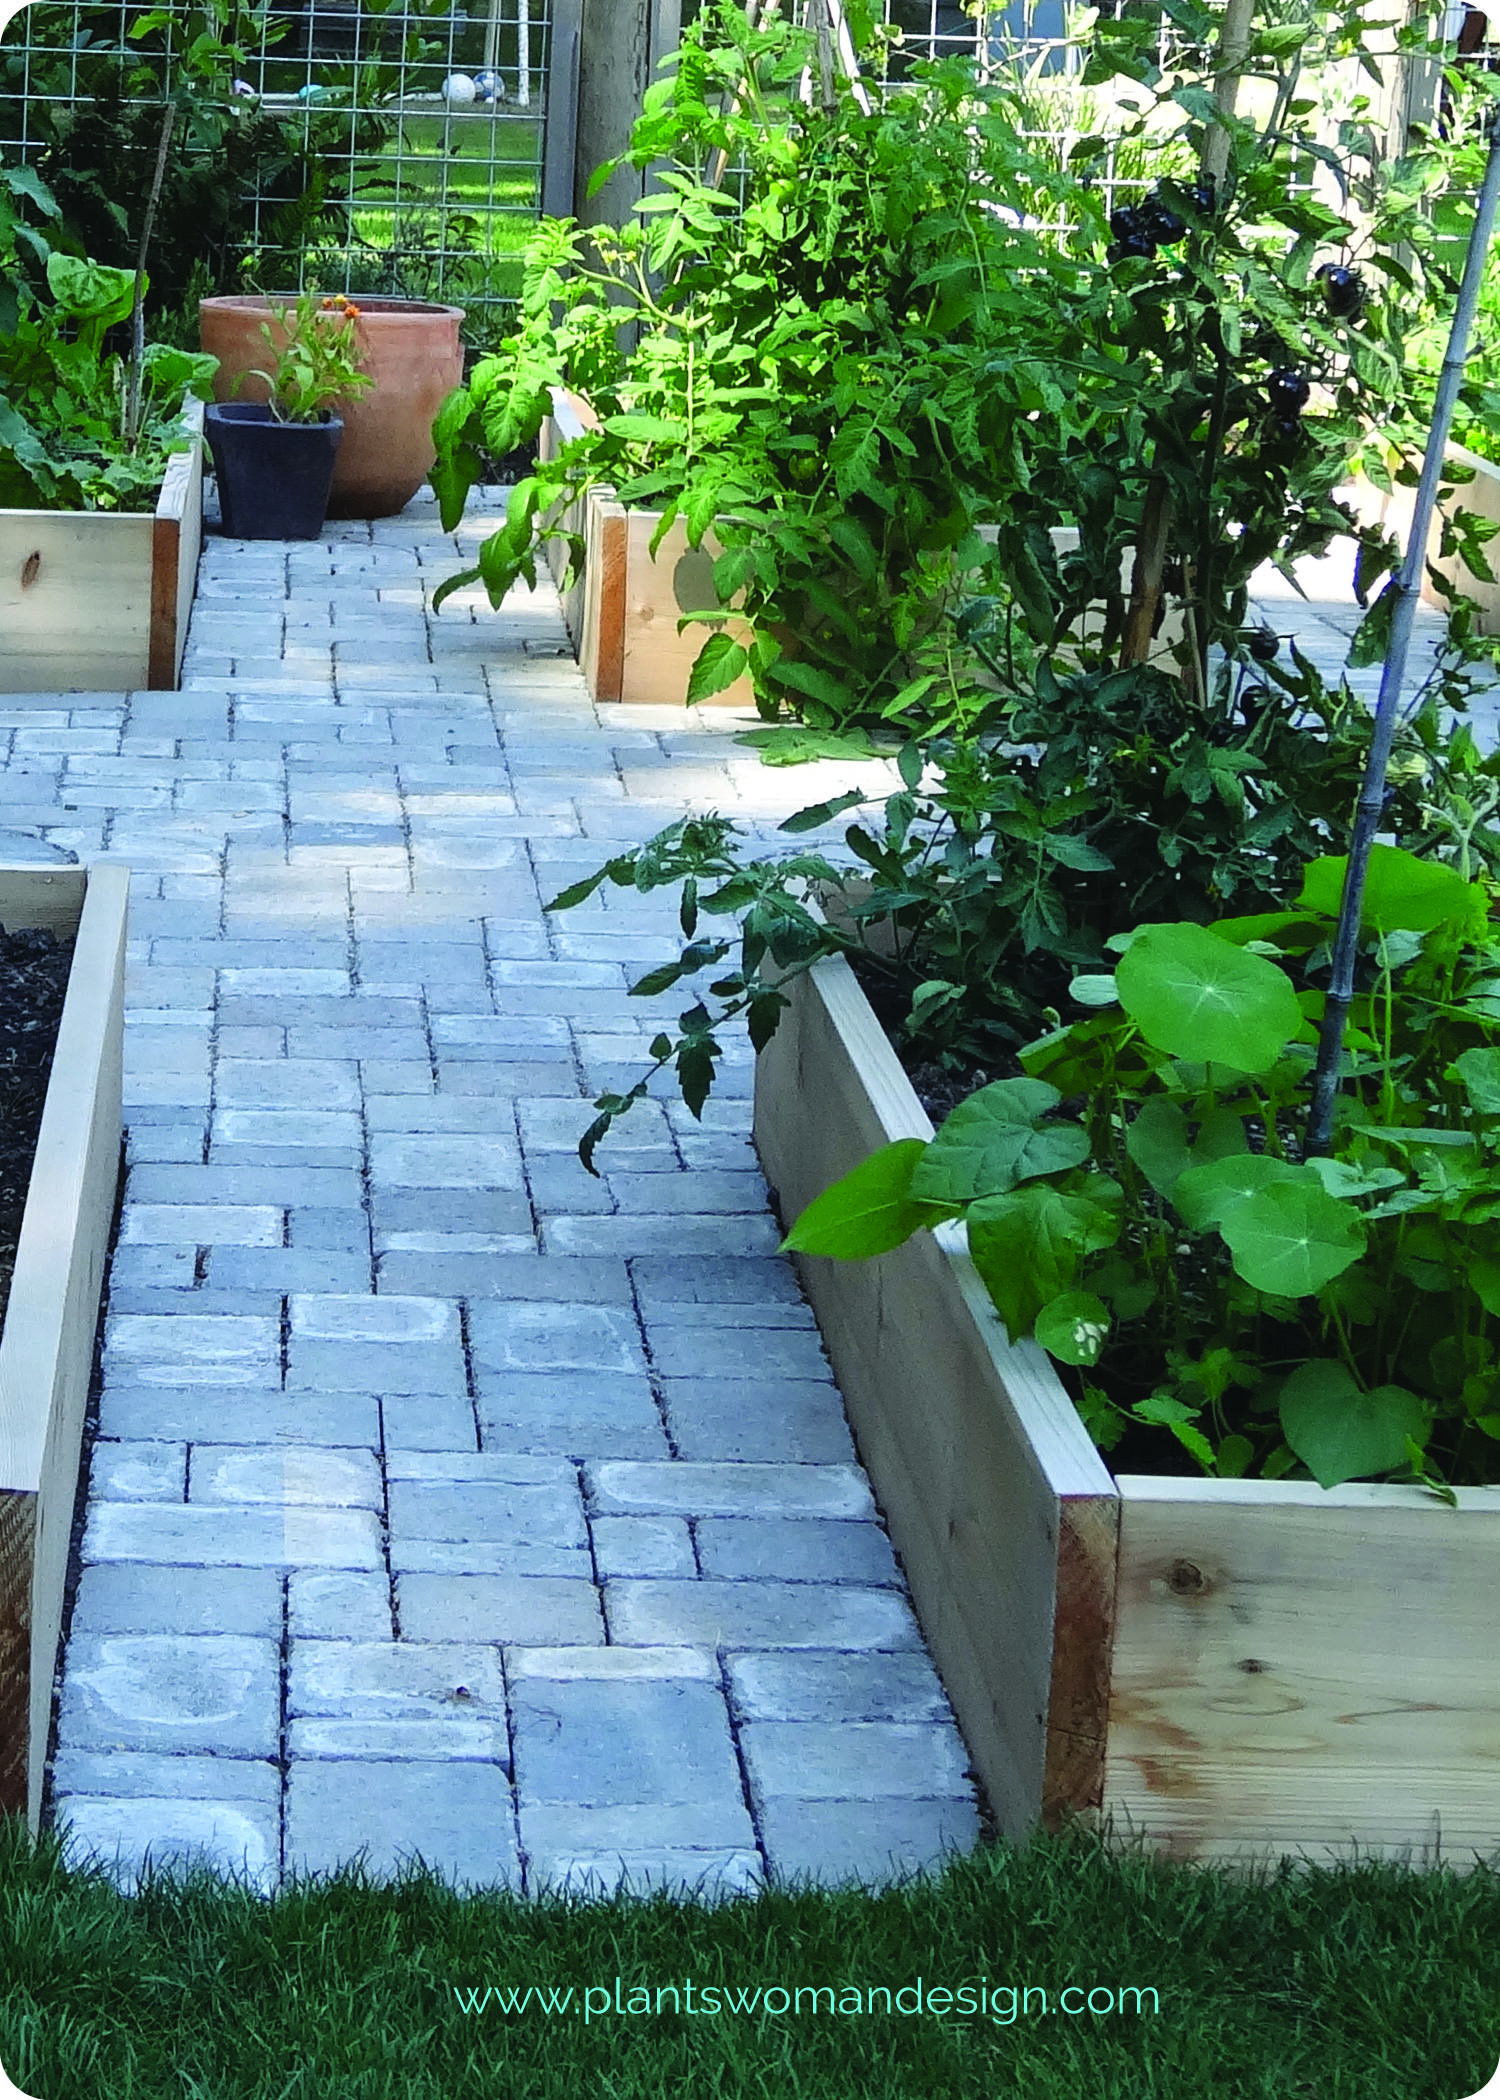
  1. Harvest tomatoes and other vegetables that are warm season plants. As the nights cool the ripening process will slow down and rain will bring on some rot potential in the warm season plants. Broccoli, kale, cauliflower, brussel sprouts all are happy to have the cooler weather and will thrive.
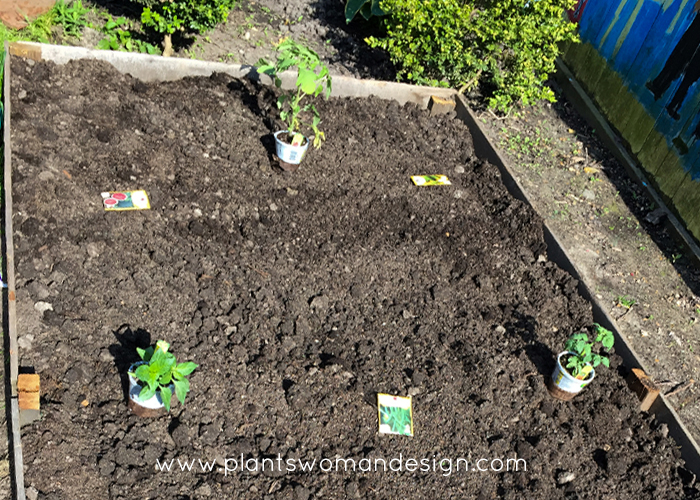
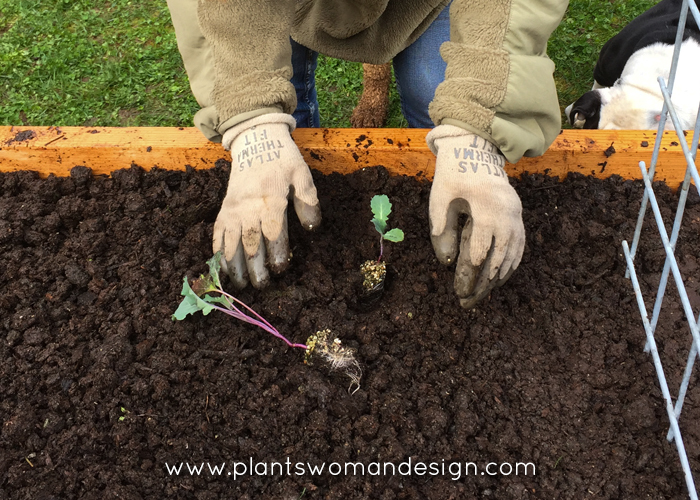
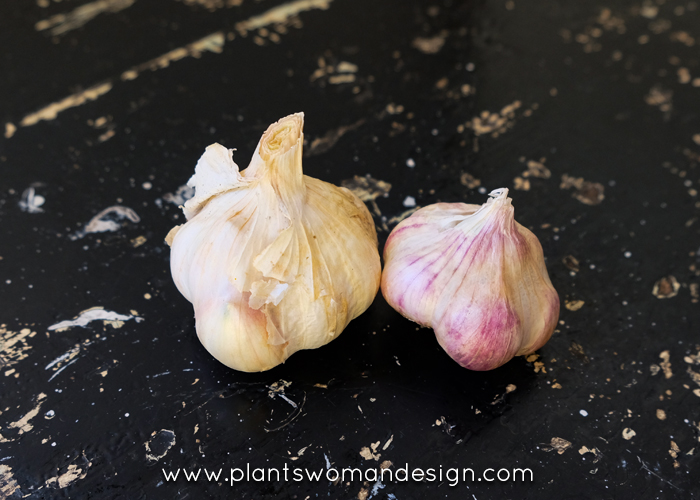
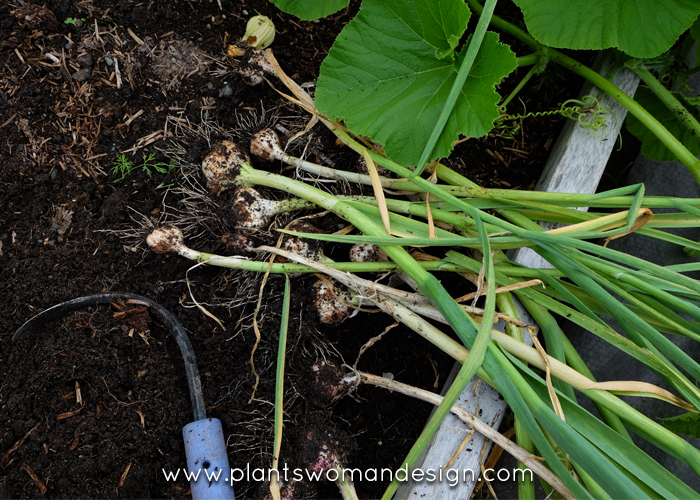
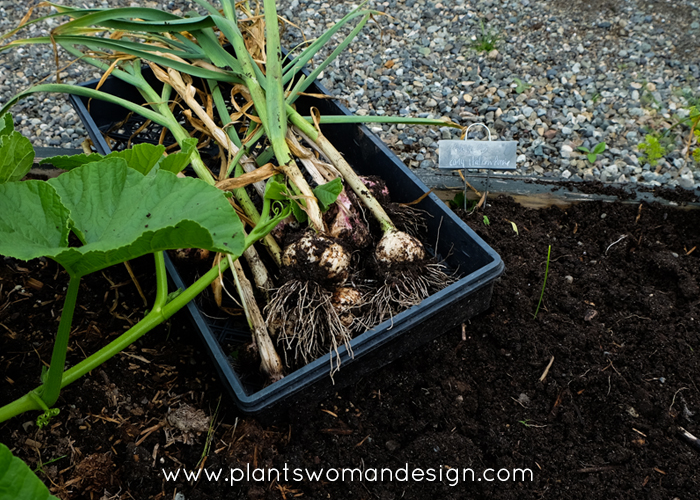
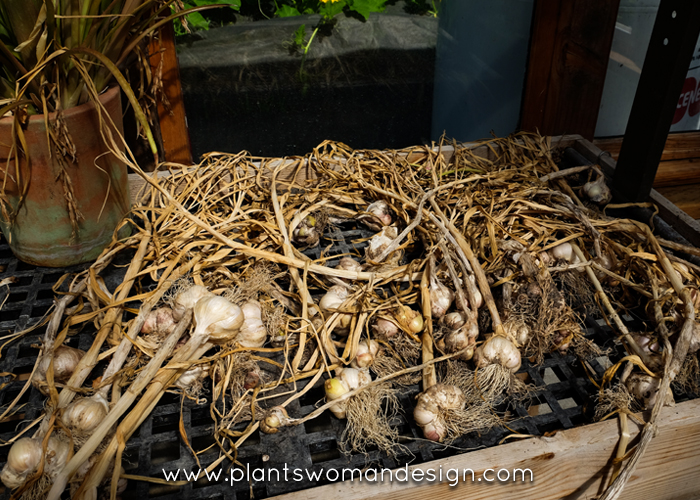
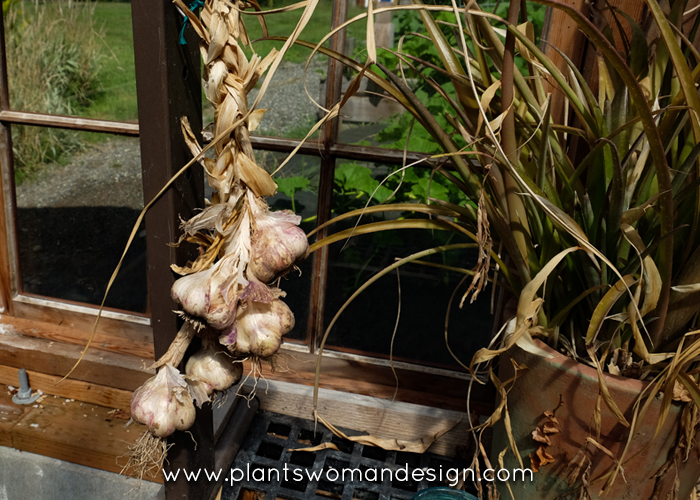
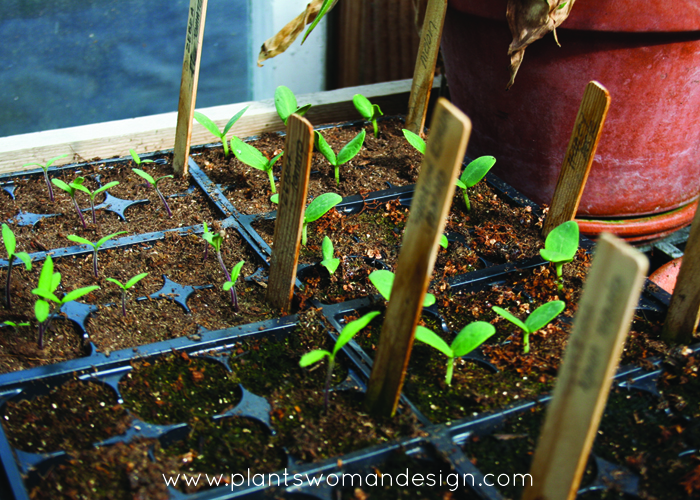
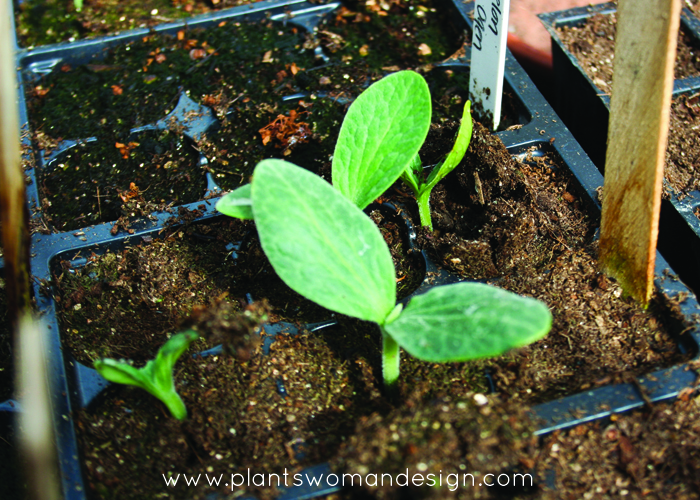
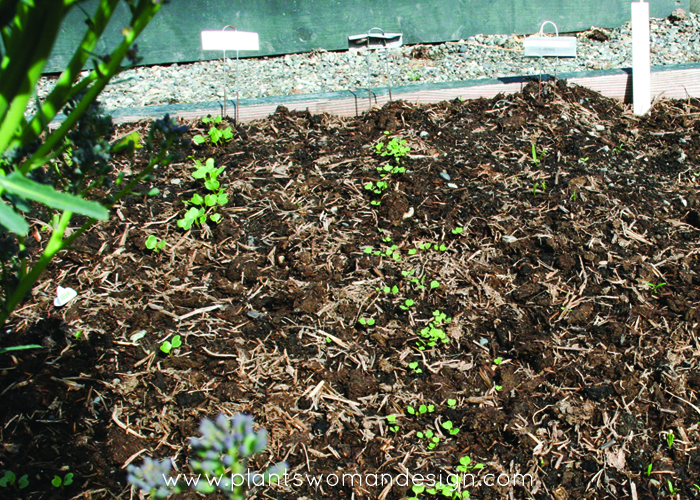
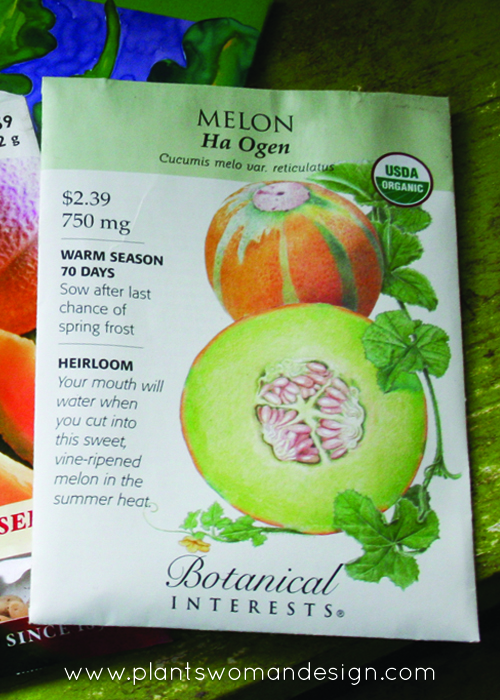
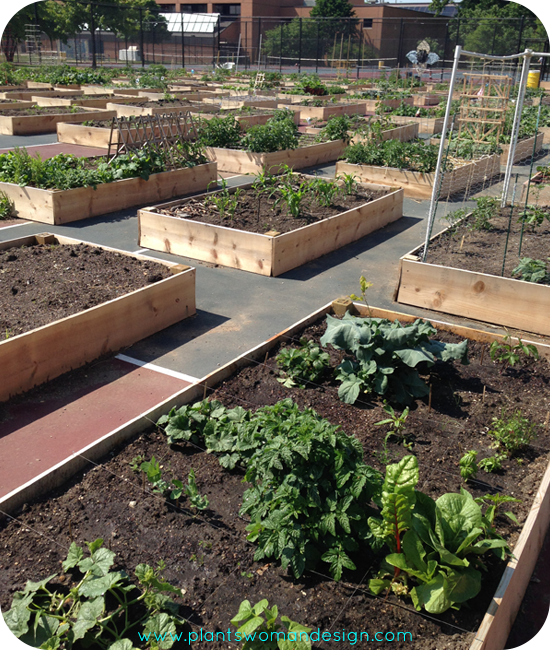
  2. Plant cool season crops, along with leafy salad crops like arugula, spinach, and lettuce. These will germinate in the 60-degree days and you can harvest for a couple of months in my zone 7-8 garden. You can also put in starts of broccoli, kale, cauliflower, and Brussel sprouts (check your local nursery). Also available now are garlic bulbs for next year’s harvest.
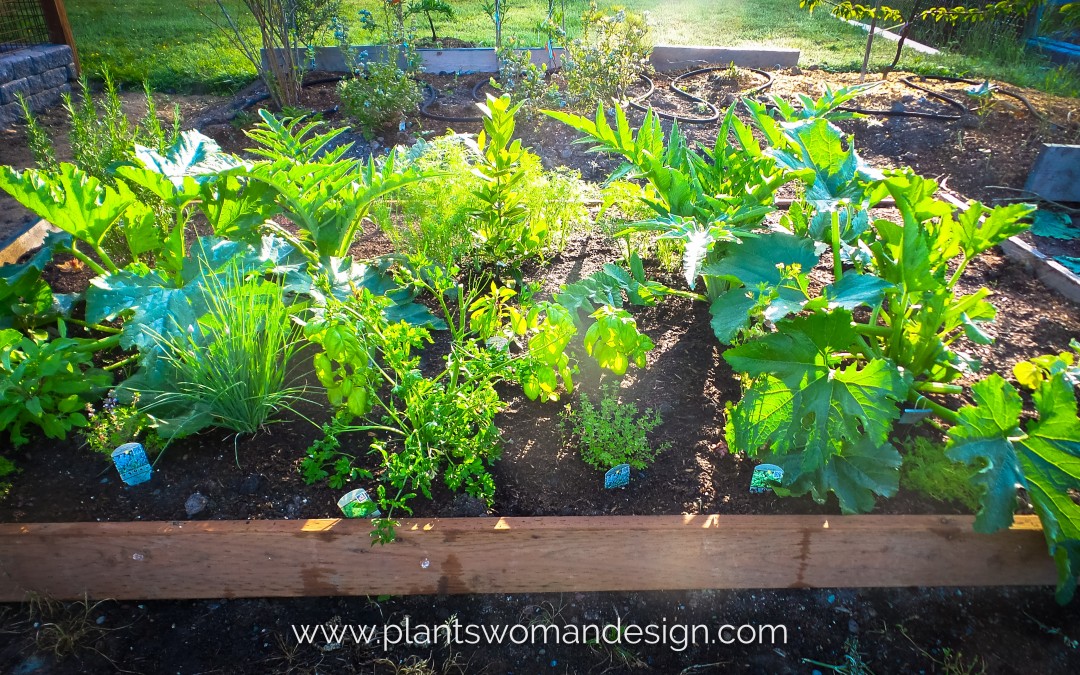
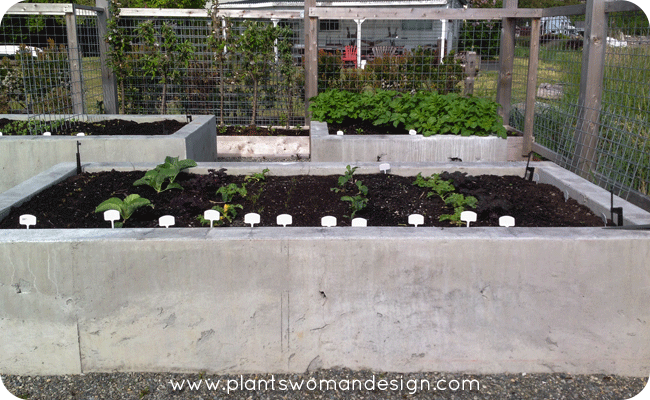
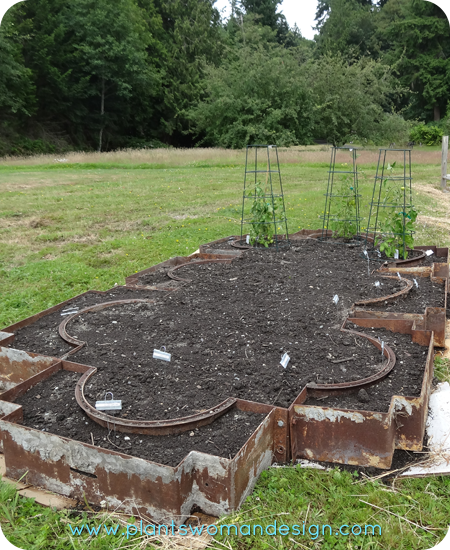
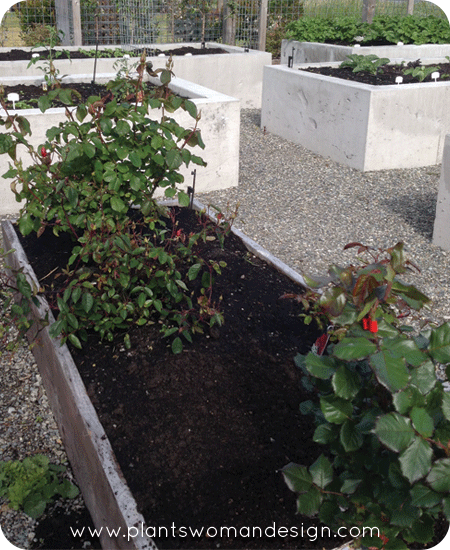
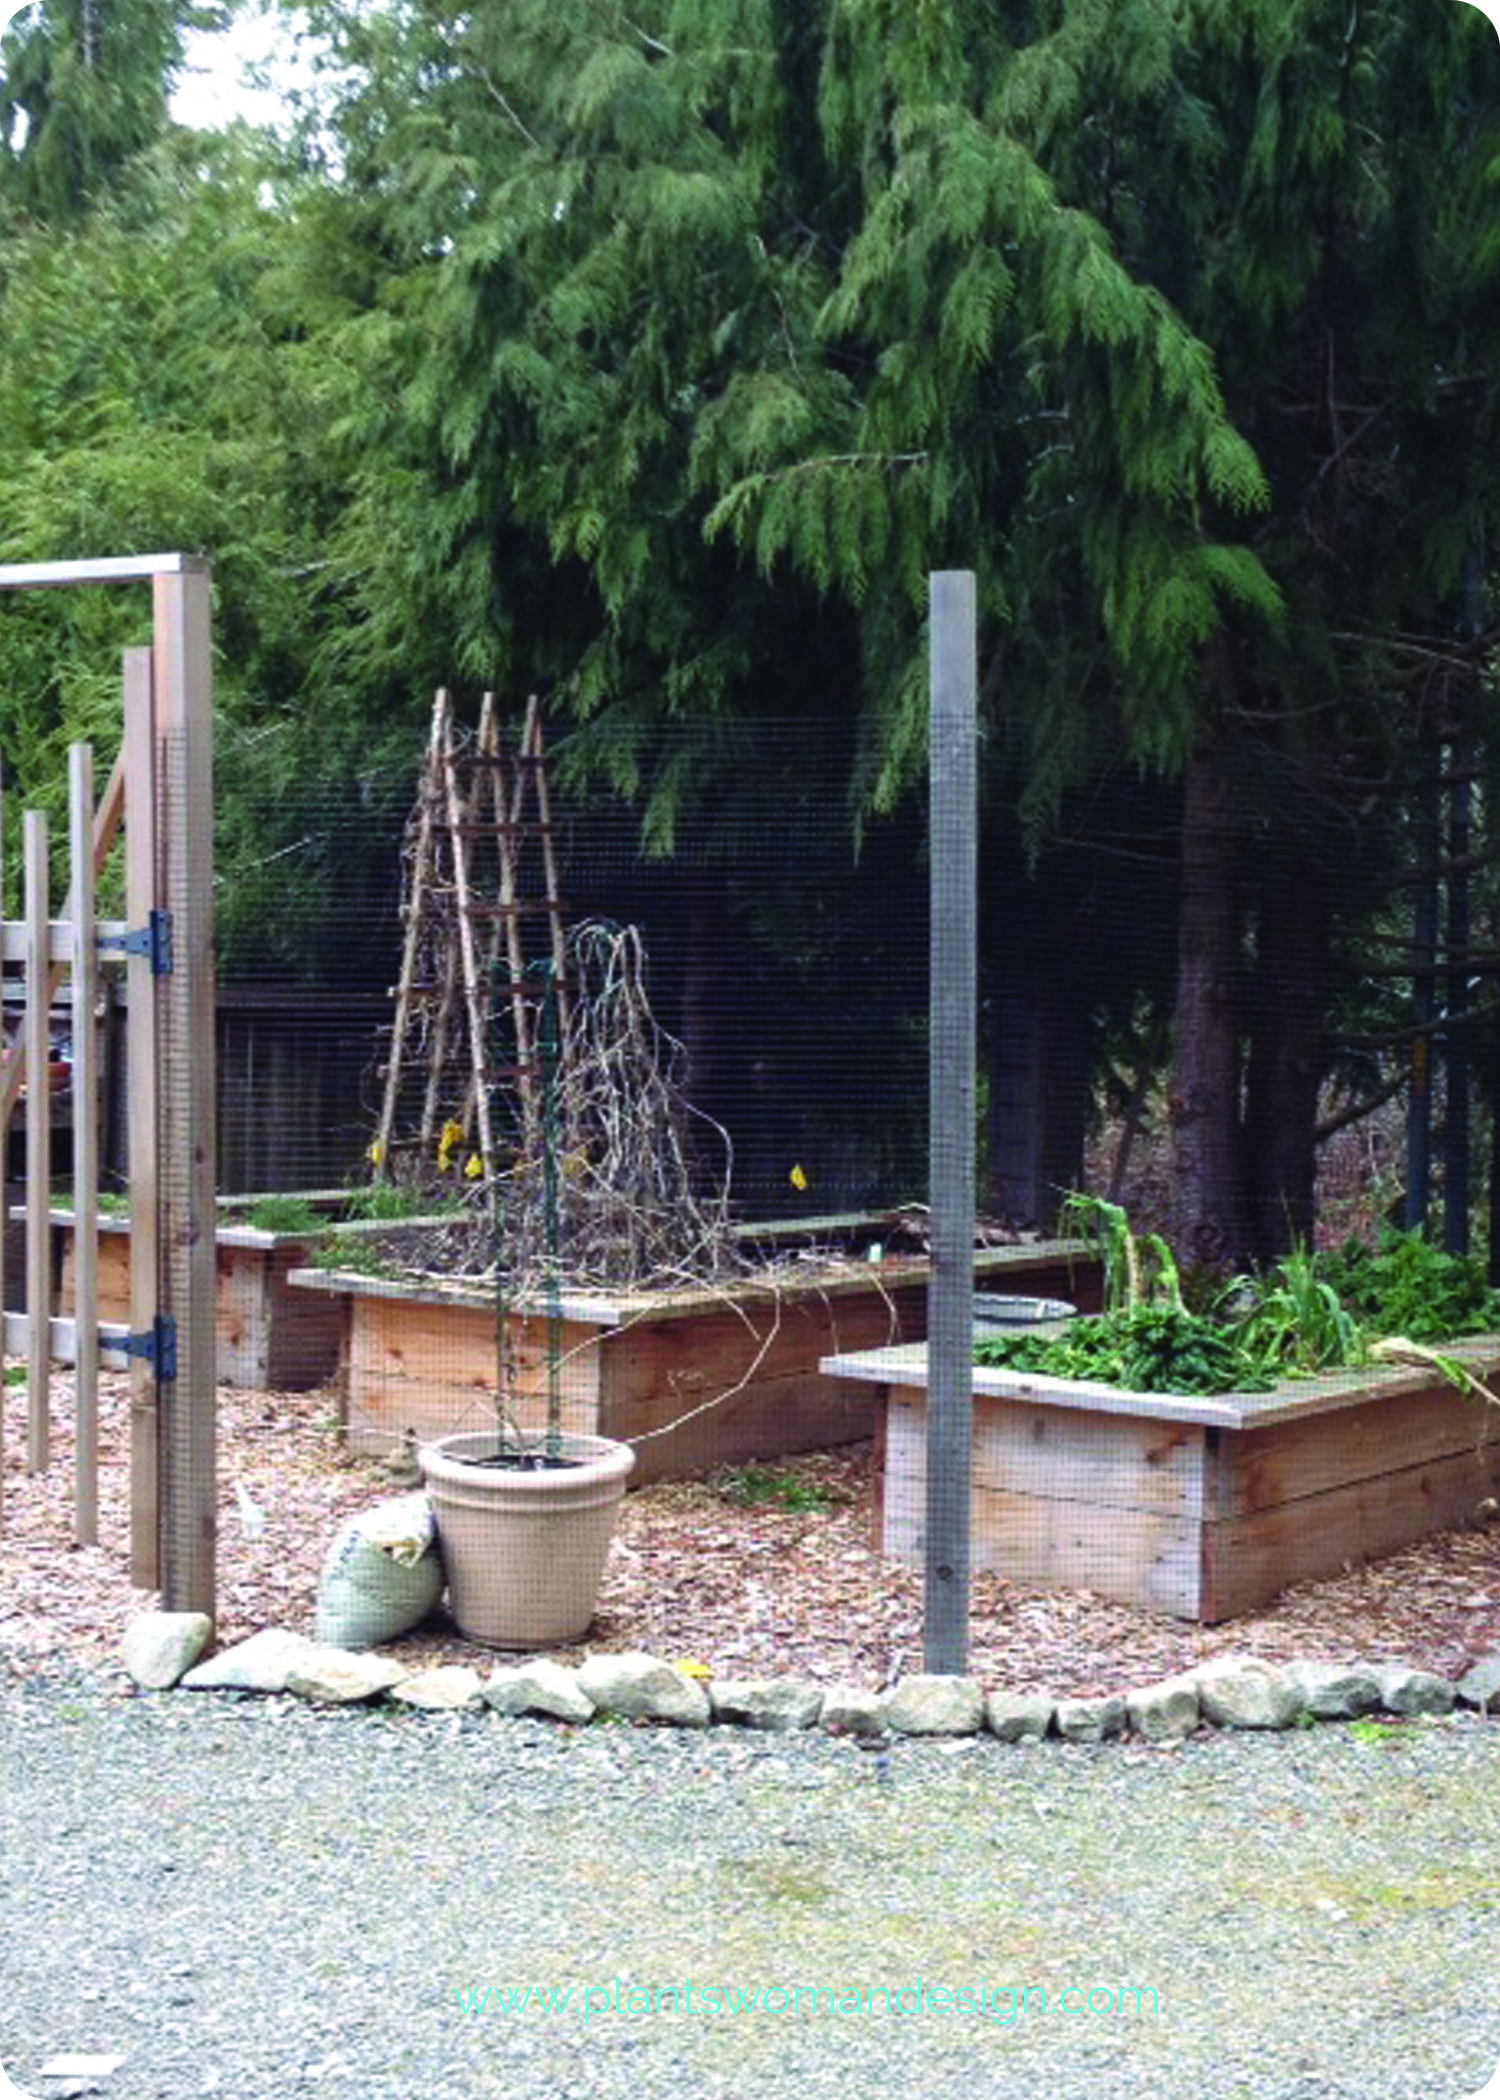
  3. Remove any dead plants from the summer and think about replanting now for good root growth in the fall and establishment for next year. Some of the plants that did not make it in my garden were planted in the late spring and early summer. A long dry summer was the culprit in their demise. The plants I planted last fall did well.
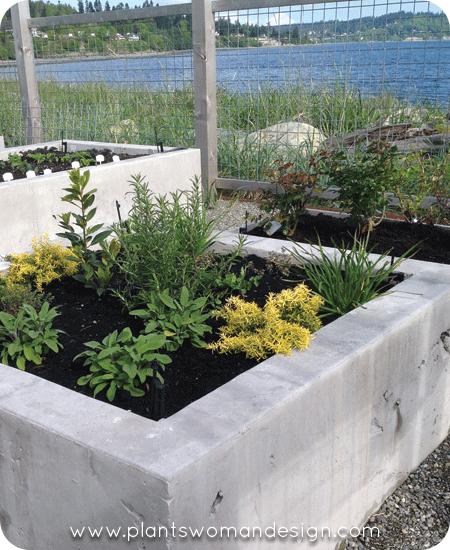
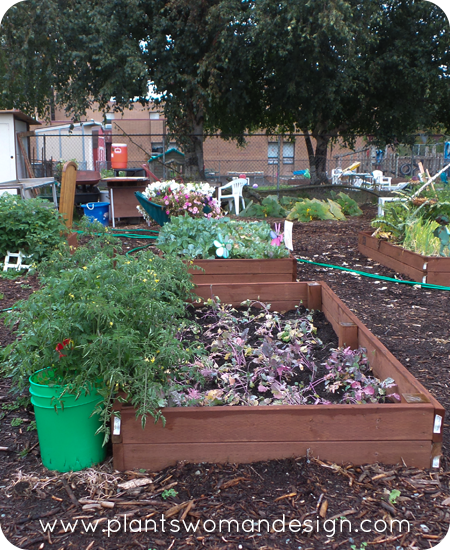
  4. Weed any persistent weeds and cover area with mulch. This will keep weeds in check for next year and feed the plants during the winter.
  5. Prune fruit trees as the growth slows. Learn about pruning different kinds of trees so the pruning you do is effective not harmful. See my blog post on pruning espalier trees.
  6. Start dividing plants that have overgrown their spots. Iris, persicaria, sedums, and campanula are some that need to be divided in my garden. I will pot them up and give away or sell. This is a great by product of a successful garden.
  7. Clean out the greenhouse and prepare for winter. If you have a greenhouse this is a good time to get it ready. See my blog post on greenhouse prep. If you don’t have a greenhouse there are several ways to overwinter plants that aren’t hardy. Look for an upcoming post on DIY cold frames and mulch holding beds.
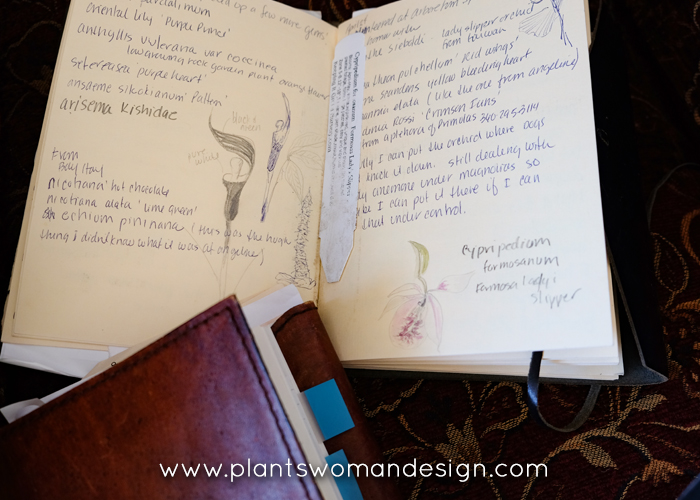
  8. Write it down. Keep good records of what did well in the vegetable garden and what did not. I have a beautiful tomato called indigo rose in the garden. It is pretty but it will not ripen. I have about 200 tomatoes on the plant and have had about 10 ripe ones. They have been a lovely black color since June. Yes, I’ve pruned it many times. Yes, I’ve eaten them and they are really not ripe. I won’t grow it again.
Two good books to help with this are ‘Week by Week Vegetable Gardener’s Handbook by Ron Kujawski and Jennifer Kujawski, and Vegetable Gardener’s Journal from Cool Springs Press. I also record my progress in the main garden in a garden journal. I have several filled journals on the shelf that have a record of gardens from when I first began gardening to the one that is ½ filled now. Sometimes, now, I spend more time on my blog posts than in the journal but the posts do tie to my gardening through the year. Plants I love, weather, plants I killed, where I got them, bulbs and seeds I planted, it all goes in the journal.
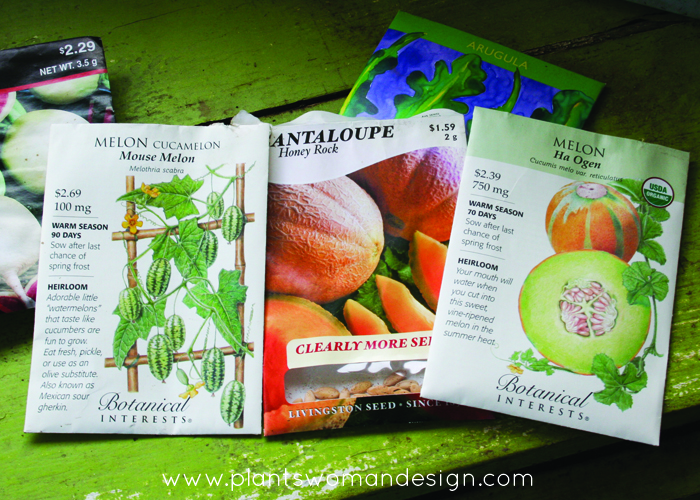
  1. Save seeds. I have saved seeds from various plants for years. It is easy to do and provide next years starts for no money and blank seed packets are available online. There is also lots of information about how to save seeds. A good resource is a free handbook on line at http://howtosaveseeds.com/toc-handbook.php. I also like ‘Seedswap’ by Josie Jeffery. It has a section on how to save seeds but also how to connect with seed banks, starting seeds, and growing on. It is just great reading about seeds in general.
10. Turn compost pile if you have one, and remove any weedy debris piles. I like to save a woody debris pile for insects to overwinter. In the Pacific Northwest, your compost pile should be kept in a fairly dry area. If there is a lot of moisture and leafy vegetation it will be a breeding ground for snails and slugs instead of habitat for small animals and insects.
Color in the Vegetable Garden

Color in the Vegetable Garden

We have all seen great pictures and even visited designed vegetable gardens. Some great potager, or kitchen, gardens are famous for their beautiful symmetrical designs. My kitchen garden sports simple raised beds in a fairly linear design. I’m planning on revamping the configuration of the beds next year.  I’ve found that the long beds that are wide (6 feet) are easy to plant but hard to harvest. Stepping into the bed is not optimal and sometimes there are such a tangle of plants in the middle the harvest is lost. That, however, does not keep me from planning some good color combinations in the veg garden.

This year I experimented with purple. I already had purple artichokes from last year and they are lovely again this year.   Not only do they lend great sculptural qualities but their color is amazing. A combination of purple and green that holds it color even when dried for fall decoration.

Purple peas are growing, rambling and producing the loveliest pea pods. The peas inside are green and flavor is amazing. The pods are too tough to eat but there are so many pods that the harvest is good for shelled peas. This is a tendril pea so the strange flower like tendrils were odd looking for me. I did pick some and did a quick sauté to go with halibut cheek. Pretty great!


Sugar Magnolia Tendril Peas:

70 days A marvelous innovation in sugar snap pea breeding from Dr. Alan Kapuler, the first ever purple podded sugar snap pea! We love the dusty purple blue pods that really pop in a sea of green foliage. … The flavor is perfect, not too sweet, with a great snap!

[From Territorial Seeds]


Purple broccoli is another purple plant that has a wonderful color with contrasting dusty sage green leaves. The flavor is great and it produces well. Baby leaves can be used in salad as well.  My plant came from the nursery in a pack and unfortunately, they don’t list the seed variety on the plants. I have tried the purple sprouting kind before and it is best in the fall and winter. It over wintered and produced small broccoli pieces all winter.

In my blog post, Easter Gift Of Plants, we planted purple carrots at my grand daughter, Kayla’s, request. They’ve done well and are great to eat, beautiful to look at in salads. (that garden is doing quite well!)

Of course, you can’t help but love the purple blue color of blueberries in the garden. The fresh lovely blush or purple/blue as it becomes deep blue is so beautiful. In the early morning with dew they become a reflection of the sky and the green leaves around them. These are an unknown variety rescued from a garden under construction. The border around the fruit beds are Vaccinium Bountiful Blue, an evergreen blueberry that produces great fruit and is beautiful all year round. Fine Gardening has this to say about it.

An award winning variety with the bluest foliage of all! Pink-blushed flowers produce a large crop of large, sweet, juicy berries on a compact, mounded shrub. Perfect for massing in the landscape or featuring in large tubs. Self fertile, though planting another variety may yield a more prolific harvest. Requires just 150-200 winter chill hours. Semi-evergreen in mild climates.

Care: Provide rich, acidic, well-drained soil. Water regularly during the growing season to maintain a deep, extensive root system. In extremely hot and arid summer areas, best with some shelter from harsh, reflected afternoon sun. Before new growth begins, prune off twiggy growth, leaving only main stems to prevent overbearing.

Read more: http://www.finegardening.com/bountiful-blue-blueberry-vaccinium-corymbosum#ixzz4mp1pdVz0
Follow us: @finegardening on Twitter | FineGardeningMagazine on Facebook

There are two more purple things in the garden that are not quite ready yet. Some seed samples from Burpee seed included a Depurple cauliflower hybrid. The plants are doing well but not ready for a picture yet. Burpee seed description.

Ravishing new purple cauliflower with buttery-sweet flavor.

Full Description

In foodie land, cauliflower is now a thing—a flavorful, delicious thing—inspiring culinary rapture, with food writers reaching for apt superlatives. ‘Depurple’, a ravishing new purple cauliflower, is a trendsetter with delectably textured, buttery-sweet, nuttily nuanced lavender-blue florets. Adds magical color and savory rich flavor served fresh, broiled, sautéed; as fritters, or in a summery cool purple soup. The distinctive color comes from anthocyanins, the antioxidants found in red wine, so purple cauliflower is more nutritious too. To retain the color, sprinkle with vinegar or lemon juice before steaming, roasting, or sautéing. A must-have selection for 2017.

80 days to maturity, sun, plant in fall or spring.

I also picked up some purple brussel sprout seeds from Territorial seeds.   The Rubine Brussel Sprout seeds are in the house now.   They are 4 leaves and will be ready to go out in about two weeks. 85 days. An heirloom variety not often seen in the garden. Rubine offers up a bountiful harvest of gorgeous 1-1 1/2 inch purple-red sprouts that are full of wonderfully rich old-time flavor. A striking addition to any vegetable patch and a gourmet special for your table. Grows to 24 inches and performs best when planted early.

I’ll keep you updated on progress and will take pictures of the varieties as they continue to produce. Many of the seeds are available for fall planting so it is not too late to start gardening in color!

Mother’s Day Garden

Mother’s Day Garden

Not to be outdone by the Easter Garden the grand-kids in Illinois (zone 6a) planted a garden with their mom for Mother’s Day.  Let’s join Kristen for a quick tour…

raised bed garden plantswoman design

We started prepping our garden back at the end of April.  If we wanted to we could call our little garden the Secret Garden because it is hidden from view in the side yard of the neighborhood church’s 2-flat.  Most people don’t even know there are garden plots back there unless they are brave enough to ask the right question to the right person.  It is a perfect little spot for us amongst a few people lucky enough to get a spot.  Our patch is roughly 8’x16’.  We used the boards from a section of old fencing to build the retaining border and used drywall screws to secure the boards to wooden stakes we drove into the ground with a hammer.  This proves that you can build a garden bed with just about anything you have on hand.  It doesn’t have to be perfect or Pinterest worthy.

raised bed garden plantswoman design

While we were digging through the soil to put in the raised bed boarders we found tons of worms doing their work, which was such a good sign.  Our son made it his job to find as many as possible and ended up finding the biggest worm any of us had ever seen in life.  Even with all the worms the soil here is full of clay.  We amended the soil with manure and compost.  Our daughter just couldn’t believe we were planting seeds in poop.  We assured her it was ‘clean’ poop but that didn’t help.

On Mother’s Day we joined the throngs of people at Home Depot and purchased three tomato plants and a red bell pepper start along with seeds for watermelon, cucumber, carrots, beans, lettuce and spinach.  Because of our small space, we chose bush varieties for the melons, cucumber and beans.  Just like the Easter Garden we also found seed tape for the spinach.

raised bed garden plantswoman design

Back at the garden we laid out the seed packets to find the best placement for each vegetable.  Because of how the sun travels over the garden we chose to forego traditional rows and plant in groups instead.  With the tallest plant, the beans, in the middle and the vines in the corners, so they could spill out over the edge if needed, I’m hoping the design will make the best of the sunny hours.  When the time comes to stake up the tomatoes and beans I want to take a page from the Planstwoman show garden and use metal tubing to prop them up.

raised bed garden plantswoman design

Since planting the garden we had a week of 85+ degree weather which really gave our seeds a good start.  It has been chilly and wet since then but the sprouts fighting their way up through the soil.

What have you planted in your garden this spring?

raised bed garden plantswoman design

Easter Gift of Plants

Easter Gift of Plants

It is always a struggle to find something to give to a 16 year old for Easter… Dress? No GMA. Little white gloves, hat, chicks, bunnies, stuffed animals? No GMA. This girl doesn’t even like candy that much. A Starbucks card is good but pretty ordinary. So, this year I just asked her… ‘A Vegetable Garden’ was the answer.

WHAT? A garden? How fun! I can so do that.

raised beds plantswoman design

Raised beds were necessary so with the help of her Dad they made two raised beds a few weeks ago. They have dogs, cats, goats, and horses so anything edible needs protection! Last Saturday on a rainy (surprise, surprise) morning I brought a little dump truck full of soil and washed manure. Kayla, her mom, and I filled the boxes in about an hour while slipping and sliding in the spilled soil and rain. Lovely thing about soil with the manure is the amazing amount of worms!

planting raised beds plantswoman design

Kayla had a huge list of plants that I ordered from Botanical Interest Seeds and Territorial seeds. So many that they will not all fit into the beds. She did her research and picked things that will be the right size for their raised beds. And fun things too like 3 Colored Carrots, Purple Beans, and sunflowers!

broccoli raised beds plantswoman design

Of her huge list only the early season crops – sugar magnolia peas, little snow pea, Bullet Lettuce, pot and patio lettuce blend, Olympia Spinach, and Kaleidoscope carrot collection, could be planted now. We also had some purple broccoli and green broccoli starts to plant.

bean trellis raised beds plantswoman design

We used a left over piece of galvanized fencing to support the peas (they get 24 inches tall).   The soil in the beds was so wet and clumpy it was like planting in mud. We may have to replant some of the seeds if they don’t make it because of the wet. We also put some grow cover over the beds to protect the soil from excess compaction and to raise the temperature of the soil for germination. Good thing we did because the temperature two days later was 28 degrees. The average last frost date for Seattle area is March 24th. Guess this year is anything but average. We have also had 60% of the total average rainfall for the year already.

We will continue to report on the status of the Easter present.

Happy Spring!

kayla's garden plant list plantswoman design

Mason Bee Harvest: 2016

Mason Bee Harvest: 2016

This has been a good year for my mason bees and they were fabulous in my garden. The apple trees were loaded with fruit and the veg garden did well. Now It is time to harvest the bees again this year. One of things I did different this year was to use cardboard tubes along with the wooden trays. The tubes were added next to the tray in the house. They were a little hard to get out because they were wet and swollen with rain. The little bees also went behind the nesting block and built quite a metropolis out of mud. Not having seen this before I was a little worried about the possibility of mud houses being wasps instead of bees. A quick call to Crown Bees assured me that these were industrious bees that created a little adobe home because they ran out of room in the tubes. The solution? More tubes of course. I had already tripled the number from last year!
mason bee harvest plantswoman design
mason bee harvesting paper tubes plantswoman design
A few little known facts about mason bees (or maybe they aren’t): Yes, you should harvest the bees every year. Pollen mites will eat pollen then attach themselves to the bee and be reintroduced to the tubes when they come back to lay eggs. Harvesting them assures clean tubes and no mites on the cocoons. Yes, you can have two harvests each year. When the tubes fill up in the summer you can pull them out and put in clean ones. It won’t be quite time to actually harvest them so Crown Bees recommends hanging them outside in a Bee Guardian Bag so they have the warmth to mature but are protected from predators. No, don’t use drilled wood, plastic straws, or bamboo straws.  These are hard to clean and harvest the bees. If you have some already there is a special technique using a paper bag that allows them to leave the nesting material and not be able to come back to it. Providing the new tubes nearby will insure that they will move into the new accommodations instead of old nesting material. No, one size does not fit all. Crown Bees is now selling different sized tubes to encourage small native bees to nest with the other bees. They are hearing from other gardeners about the bees that are nesting in smaller holes and now provide good nesting material to encourage native bees to hang out with the ones you bought or the community that you are fostering each year. Mason Bees: bee keeping made easy, and stingless. Everyone should get involved.
Garlic Harvest

Garlic Harvest

As the pumpkins start to take over the garden bed I know it is time to harvest the garlic.  You may remember that I planted garlic last fall. I can tell it is ready to harvest because the tops are starting to turn yellow. Some gardeners wait until the tops are completely brown but I don’t like to take a chance that they will start to flower. This will break up the head and sometimes makes the garlic bitter and very strong in flavor.

garlic harvest plantswoman design

A handy hoe that I got as a gift works wonders for digging the heads. Running it along side the row loosens the roots without damaging the head. There are two different kinds of garlic but I don’t really care to keep them separate. The plant tray is a good thing to put the harvest on so they can be cleaned easily letting the soil and water falling back into the bed.

garlic harvest plantswoman design

The greenhouse is mostly empty right now so the plant tables are available to dry out the heads. These have been drying about 2 weeks now. A final brush of the remaining soil and clipping off the roots and they are ready for storage.

garlic harvest plantswoman design

You can still make a braid of garlic at this point in time if you want. The ones I made while the tops were still green had some problems with rotting. A beautiful head of garlic is better than a beautiful braid with moldy garlic. Store them in a dry spot until ready to use. The garage is a great place for my storage. Not too hot and dry.

Cheers to a lovely garden harvest!

Mid-Century Woodland Garden

Mid-Century Woodland Garden

A beautiful house with history and modern lines, a stand of old mature fir trees, and wonderful clients, what more could a designer ask for?

This lovely home was remodeled and updated about 6 years ago. Built many years ago without permits it was a definite challenge. A sensitive contractor and clients with good design esthetics made for a gracious custom home. After the remodel the garden was kept clean and tidy but did not really have the same level of design and materials as the house did.

I was excited to be involved. Some of the challenges of the site were the same as in the house. How to keep the eclectic history of the garden with large trees and native plants while creating an entry walk worthy of the house. A bamboo fence added a little of an Asian feel, leaving it was important because of the history but we didn’t want the garden to be a Japanese style garden. I minimized it with a much more dominate walkway and plantings that draw the focus down to the entry of the house.

Before

ferncliff before, plantswoman design

Before

ferncliff before, plantswoman design

Before

ferncliff before, plantswoman design

Thinning out the Acer circinatum, native Vine Maple, was a hard sell for my clients. Getting to see the thin lines of trunks with their twists and beautiful bark, uncluttered the mid level of the garden was an important element. It becomes a lighter space, and you are able to view the entry while walking through the tall dark fir trees, and lovely light green trunks and leaves of the maples.

ferncliff, plantswoman design

The walkway was created out of poured concrete that was acid washed. Subtle down lighting illuminated the area to walk on without giving too much light that would distract from the garden itself. By creating an indirect path it gives an opportunity to pause on the way down to the front door.   Sometimes walkways that go down to an entry are more difficult to feel at ease on. The front cement stoop was removed and stone tiles that match the inside hallway stone were added. This creates a visual that draws the eye from the front porch through the entire house to the view out the front windows. A sense of arrival that is a real reward for walking down the pathway.

ferncliff, plantswoman design

Stone on the edges of the walkway (Silver Falls Ledgestone) keep the walkway clean from higher soil levels along the path. These are also softened with a combination of two types of Baby Tears. Bright green plant foliage also lightens up the area. Japanese maples and mugo pines were on the property along with some additions from the client’s other home. Many of them were moved into new positions that made them more important. Focal points were created in different areas, with dog proof groundcovers on the edges of the pathways. A fine gravel, granite ¼ inch minus, (also called decomposed granite) gives a solid pathway that is still friendly to dog paws.

Guests are always excited to come and visit and while sorry to leave, the walkway gives a beautiful, totally different perspective on the way out.

Design ideas: 

Work with what you can keep on a site. You don’t always have to take everything out and start over. Leaving some of the plants on a site give a sense of history to a garden.

Design for all the users of the garden. The first bright green grass I used (hakonechloa macra aureola) had to be replaced because the clients two dogs loved it so much they ate it. The acorus graminus, sweet flag grass, is just as lovely without the same attraction for the dogs.

Create interesting perspectives from different areas of the garden. Coming in should be different than leaving and cameos of special plants can be scattered around the garden.

And So It Begins…

And So It Begins…

The days have been very warm for April and the garden beds are ready to plant. I don’t know about you but sometimes I get carried away with new seeds I’ve purchased and forget about the old ones. This year I sorted through my boxes of seeds and found several packs with just a few seeds left that were outdated. Wondering about the germination of old seeds (and reading about them too) I decided to plant some in the greenhouse to see if they would germinate.

expired seeds germinating

The zucchini seeds were from 2011 Italian seed source. Out of 12 planted 6 came up which is actually a pretty good ratio. I will get them into the garden this next week. My first vegetables were planted last week using the expired seeds also. Germination was a little spotty but it is warm this year and there is plenty of time to reseed if needed. Seeds of spinach, arugula, lettuce and radishes went into the beds that still look a little rough.

seedlings in mushroom compost

Mushroom compost is my usual amendment for the vegetable beds. This year instead of my purchase of bagged mushroom compost I decided to purchase it by the yard. The compost was not as smooth and delicate as the bagged goods. I was hoping that it would breakdown a little more after the prep of last month. It didn’t really look like much of a change but I took the chance and planted anyway.    The seedlings are tough! They are coming through the organic matter just fine.

melon seed packages, botanical interests

New to me this year are the Cucamelon or Mouse Melon and the Ha Ogen Melon. Last year my first ever cantaloupe was so thrilling. I know, thrilling, really? Well, never thinking it was possible to grow them, and then actually eating them was, for me, thrilling.

I found a recipe on #gardenchat for pickled Cucamelons. They were so beautiful I had to try them. They are not up in the greenhouse yet but I should see them soon.

Here are the specifics for the Cucamelon:

botanical interests cucamelon seeds, cucamelon seed package

Cucamelon Mouse Melon HEIRLOOM Seeds

Melothria scabra

90 days. Cute, grape-sized fruits look like tiny watermelons but have a cucumber flavor, often with a hint of tartness. Also called sandita or Mexican sour gherkin because the fruits turn more sour as they mature. Long vines up to 10′ produce plenty of “watermelons” to harvest from summer to fall. Plants don’t seem to be affected by insects that typically cause problems with cucumbers and melons. A terrific container or hanging basket variety!

Days to Emerge:
7 – 21 Days
Seed Depth:
1/4″
Seed Spacing:
3 seeds per mound
Mound Spacing:
4′
Thinning:
Not required

When to sow outside: 1 to 2 weeks after average last frost, and when soil temperature is at least 65°F.

When to start inside: 4 to 6 weeks before average last frost.

Harvesting: Pick fruits when about the size of a grape or under 1″ long for best flavor. As fruits mature, sourness increases.

The Ha Ogen melon matures in less time than the Cucamelon so it should do even better in my garden. I’m still remembering a melon I had in the San Juan’s at a farmer’s market there. It was amazing and looked similar to this one. Hopefully it will taste the same.

Here are the Melon Ha Ogen details:

botanical interests melon ha ogen seeds, melon ha ogen seed package

Melon Ha Ogen Organic HEIRLOOM Seeds

70 days. One of the sweetest, most aromatic melons you will ever taste! Ha Ogen is quick-growing, open-pollinated melon that has a long history of devoted connoisseurs. The 3–5 pound fruits are pale green inside with a salmon-colored ring around the seed cavity and a sweet and spicy flavor. If you have room in your garden to grow only one melon this year, Ha Ogen should be your first choice!

Days to Emerge:
5-10 days
Seed Depth:
1/2″
Seed Spacing:
2-3 seeds per mound
Mound Spacing:
4′-6′ apart
Thinning:
Not required

When to sow outside: 1 to 2 weeks after average last frost, and when soil temperature is above 60°F.

When to start inside: Recommended for cold winter climates. 2 to 4 weeks before average last frost. To minimize transplant stress, use paper or pulp pots and transplant pots directly into soil.

Harvesting: Harvesting at the right time is very important with melons. Commercial growers harvest before melons are ripe, forcing them to ripen off the vine, but the last few days of ripening on the vine put a lot of sugars into the melon; so melons taste significantly better when vine ripened. How do you know when Ha Ogen melons are ripe? A ripe melon will have a pleasant, fruity aroma at the blossom end; and a crack will form on the stem right near the point of attachment (this is called the “slip stage”). In a few days, the melon will detach from the vine with little effort and pressure. If it is somewhat difficult to detach the fruit from the vine, the melon is not ready yet. Do not allow to over-ripen.

purple broccoli
rhubarb

In the garden right now the purple sprouting broccoli from last year and the rhubarb are looking great! Almost time for some rhubarb deserts!

Every gardener should plant a seed. There is something about the anticipation of the plant emerging from the soil that creates spring. It is actually your tangible contribution to the cycle of life. While instant gratification is all the rage and can definitely be seen in the massive amounts of seedlings in the stores the planting of the seed itself in the warm earth connects you to the earth in a different way. Even if you usually don’t plant seeds, give it a try. Whether flower seeds or vegetable seeds give it a try this year. Oh! I think I still have some expired seeds to share too! Just leave a comment and I’ll send you some.

Raised Bed Gardening

Raised Bed Gardening

As I wait for the seeds to arrive it’s time to start working on my garden beds. I choose to use raised bed gardening for my vegetable beds and have helped many customers to do the same.

Raised bed gardening has several advantages. They give a greater depth of soil (which results in better roots), improve drainage, and the soil is quicker to warm up in the Spring. The beds don’t require tilling or double digging to improve the soil. In fact the more you stay off of them and don’t compact the soil the better it is.

I’ve made raised beds out of galvanized tubs, cedar, concrete, and stone. All of these bring the garden up to a level that it is easy to work in. My method is open box wood built with leftover planks from a long ago garden show. The grass was removed and boxes built and put in place. Some people just leave the grass and pile soil on top but I feel the breakdown of possibility of grass and weeds coming through is not worth the chance.

Here are some tips to get your raised bed garden ready for the spring.

  1. Remove any old plants and weeds out of the beds. I have some broccoli and leeks left in the garden from last year. Now it is time to remove them and create space for the next planting. There are some weeds that seem to return every year and now is the time to get the jump on them. I leave the onions and garlic that I planted last fall alone except to add some bone meal to the sides to give them a little boost. Living with a zone 7 garden the ground is not frozen but this year it is absolutely saturated with water. When pulling the old plants from the beds I try to knock most of the soil from the roots so the soil stays in the bed. The roots and tops of the leeks go into the compost bin, the weeds into the debris pile, and the leafy bits to the chickens. Everybody is happy.

(see the notes below about how I sort my garden piles)

  1. Check for holes and needed repairs to make sure every thing is sound for the upcoming year. There are some rodent holes in the edges of the beds so I work in some large rocks under the corners to block up holes. My chickens can also be messy in there so sorting out the soil and raking it is needed. I don’t dig into the soil at all right now for two reasons. First, the soil is too saturated with water and digging through it will break down the structure of the soil. Second, resting the soil and adding amendments on top create good worm action.
  1. Add mushroom compost to the top of the beds. During the gardening year the beds can lose soil from harvesting. Topping up the beds with mushroom compost creates a perfect bed for new seedlings. Usually the compost from the bin is saved for the non-vegetable beds. The ornamental beds love it and if there are a few weeds left in the compost they are easily dealt with.

Garden Piles:

Compost

gets vegetable leftovers, leaves, cuttings, and prunings.   It also gets the clean out of the chicken coop including the white pine chips and manure. Newspaper and cardboard too.

Debris

gets weeds, clumps of grass, cedar branches, any invasive plants like lamium, horsetail, or bamboo.

Woody

gets bamboo stakes, left over wood from projects, larger branches from fallen trees or wind damage

Looking for some raised bed inspiration?