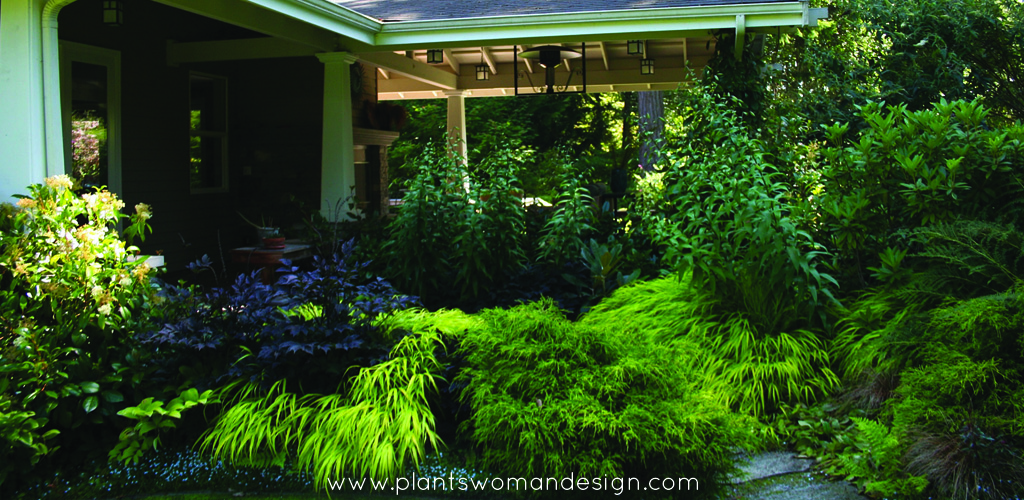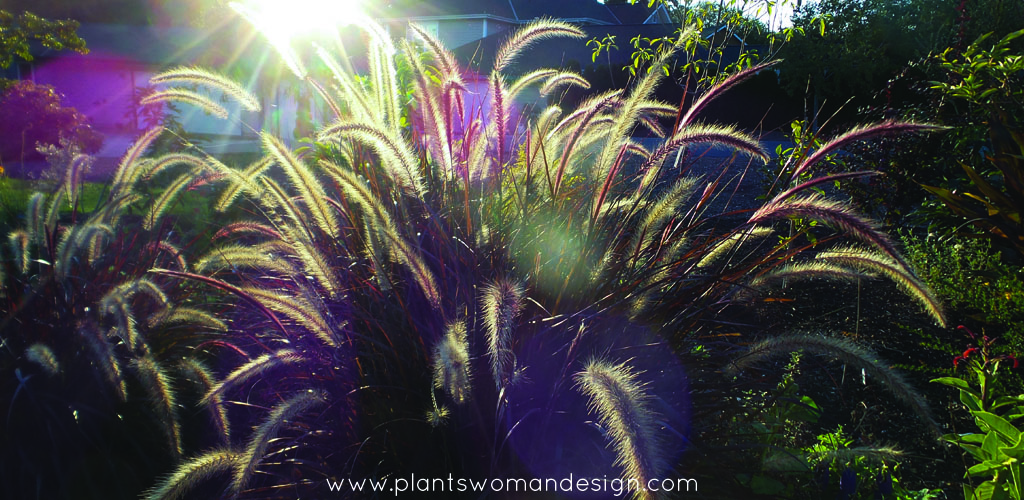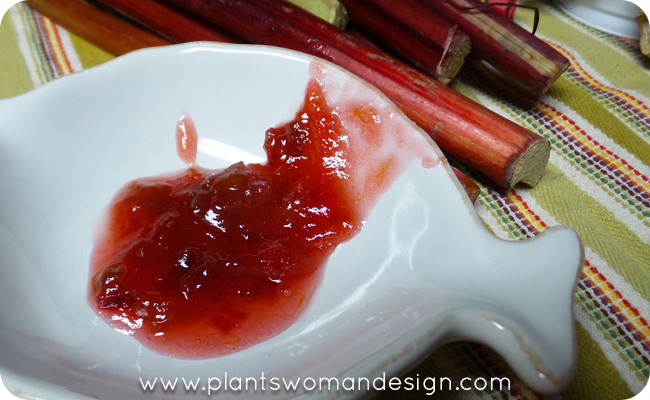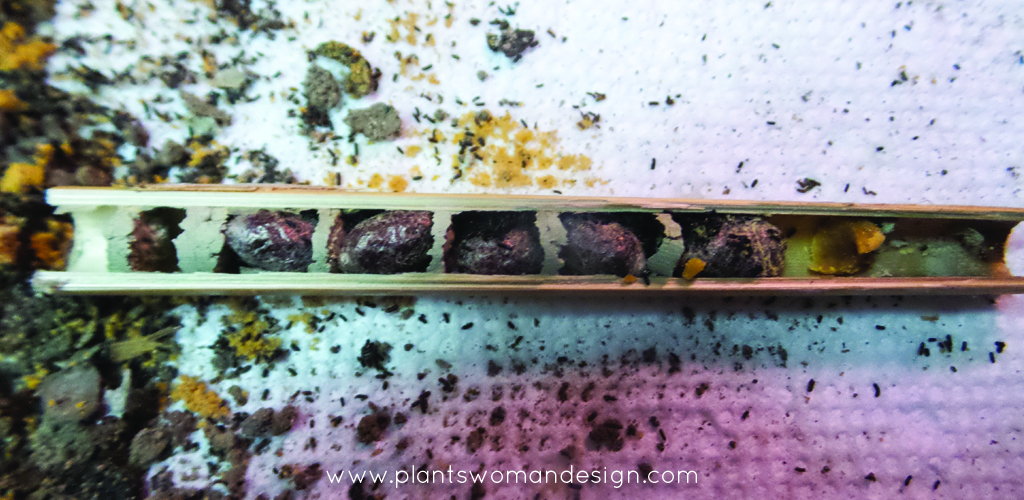
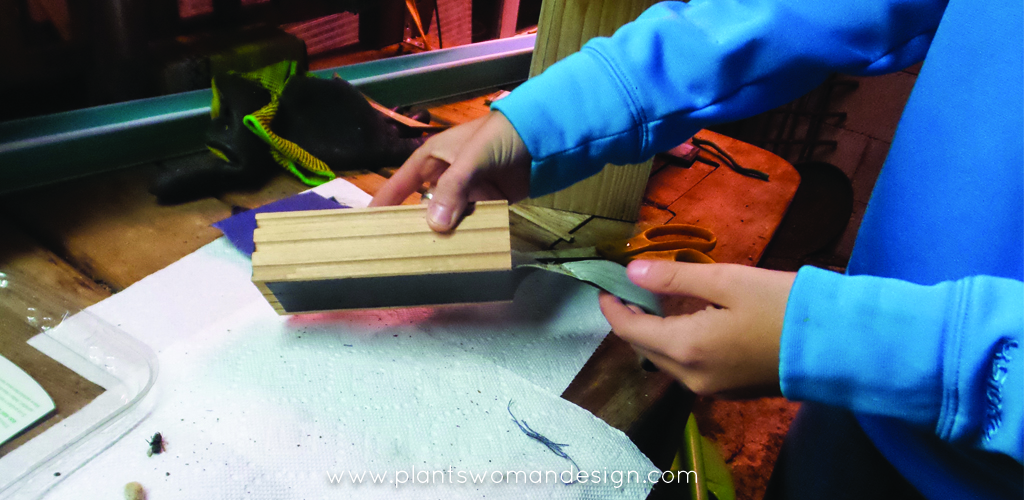
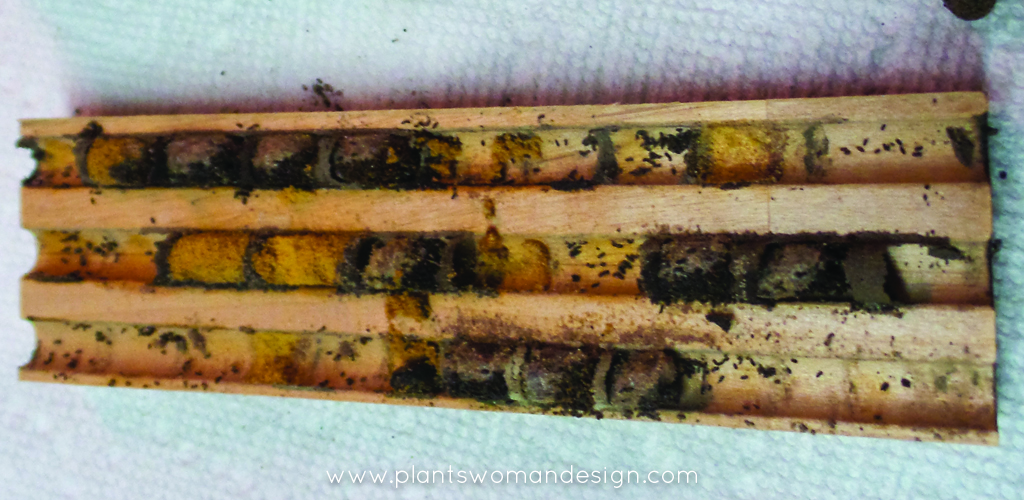


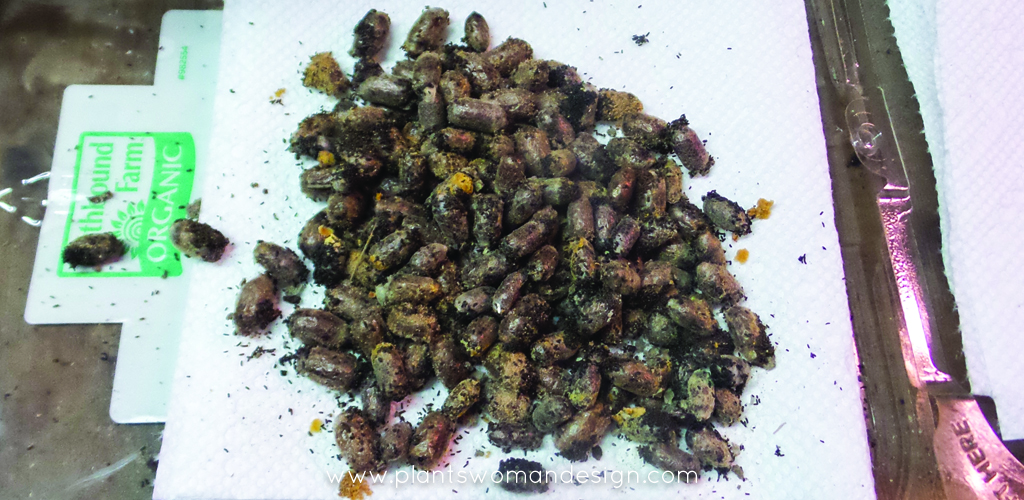

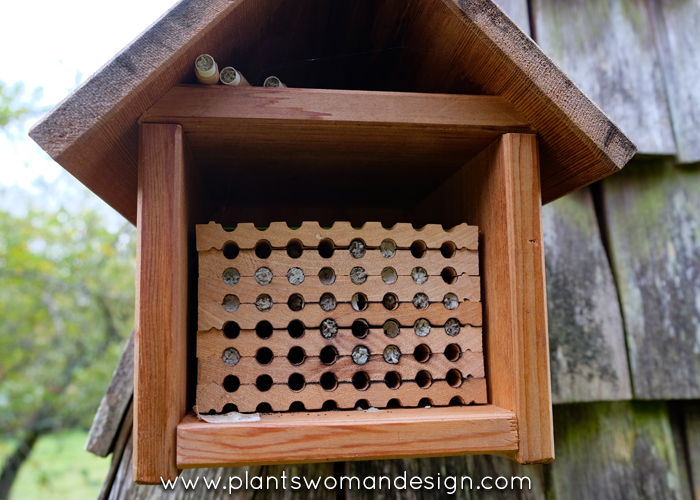
This has been a good year for my mason bees and they were fabulous in my garden. The apple trees were loaded with fruit and the veg garden did well. Now It is time to harvest the bees again this year. One of things I did different this year was to use cardboard tubes...
Bulb Layering
I recently went to a lecture by Helen Dillon, a great plantswoman from Ireland. She was amazing, great personality and good showcase of her garden through pictures. One of the things she showed was her method of layering bulbs. The pots that she used were medium sized metal garbage cans.
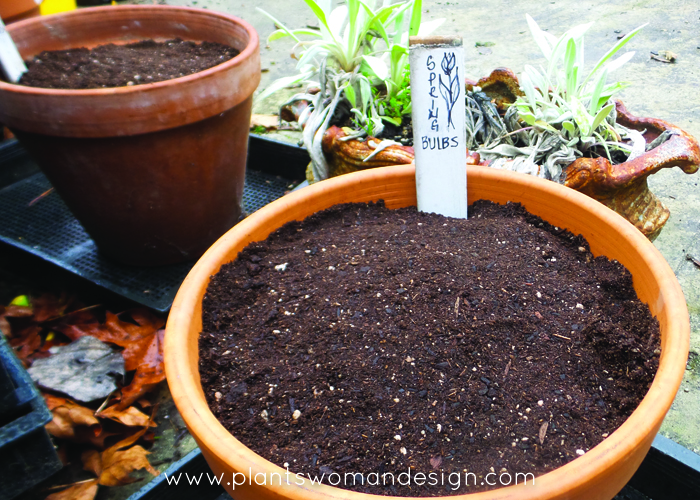
Today, using her methods, I did some containers of my own. I like to use clay pots because they go better with the rest of my garden. When they are blooming I tuck them into a garden bed that needs color or just used on their own to bring a breath of spring that lasts for several weeks.
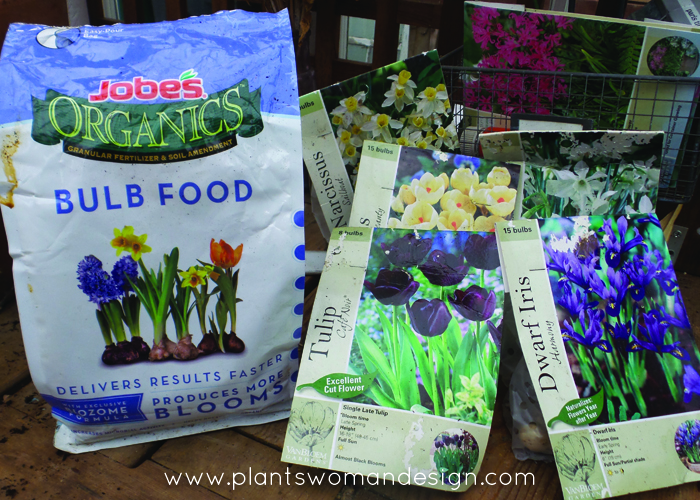
Here are some of the bulbs we will use in our containers. You will also need some fresh potting soil, and bulb food. Choose a good color combination that you will enjoy. The important thing is to choose a late tulip, a mid season tulip or narcissus, and small crocus and iris that are both early season bloomers.
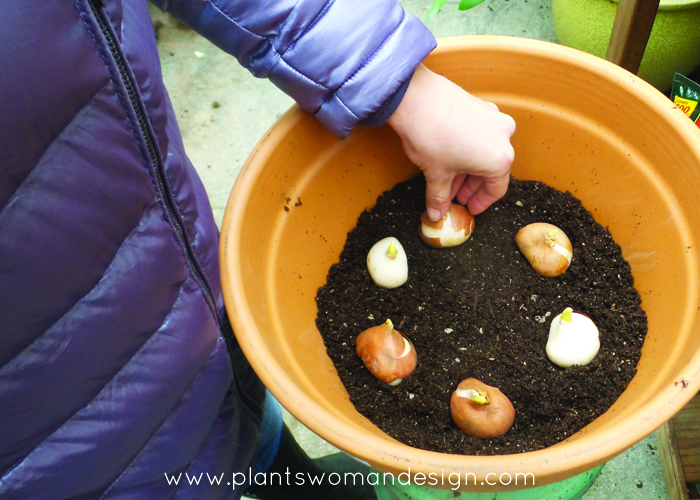
Place soil in about 1/3 of the container. Add the late season bulbs around the soil and sprinkle with bulb food.
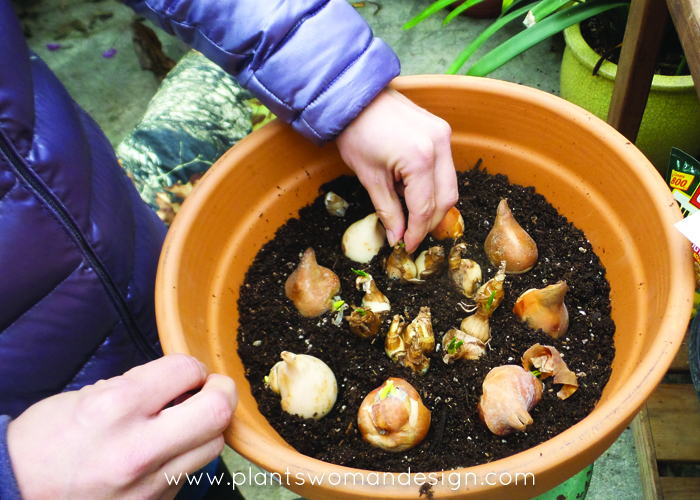
Add a layer of soil and firm down. Add the mid season bulbs next. You can make patterns by putting them in groupings within the pot if you wish.
Add the small crocus and iris, follow with the bulb food and more soil. I usually put the shorter growing bulbs around the edge and the taller ones in the center. The yellow crocus will look great with the dark purple iris.
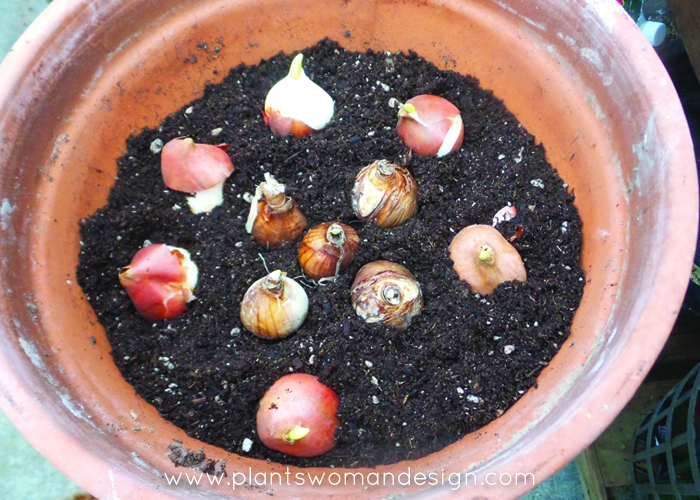
The container will have a succession of flowers starting with the crocus and iris, then the mid season tulips or narcissus will come up through the dying foliage and the late season tulips will follow.
Don’t worry about the bulbs being planted deep. The bulbs will come up anyway. They can be replanted after bloom in the garden for next year’s flowers.
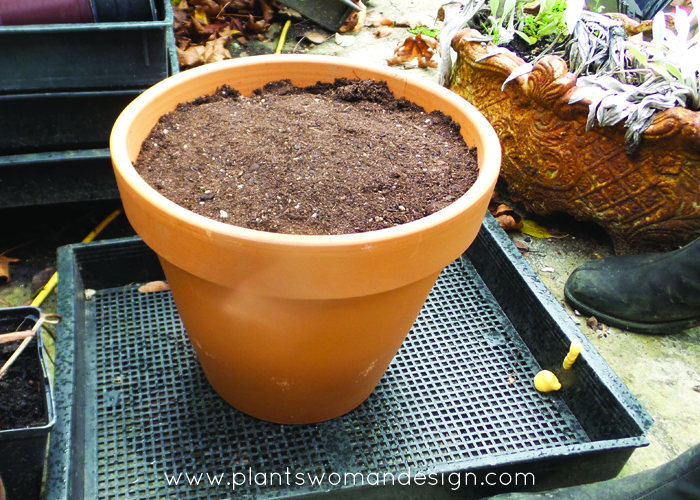
When finished, set the pots outside where they will stay cool and get watered. Putting the containers on a plastic tray will keep them from freezing and cracking. It is best to use a freeze proof container but the air space under the pot will add an extra layer of protection.
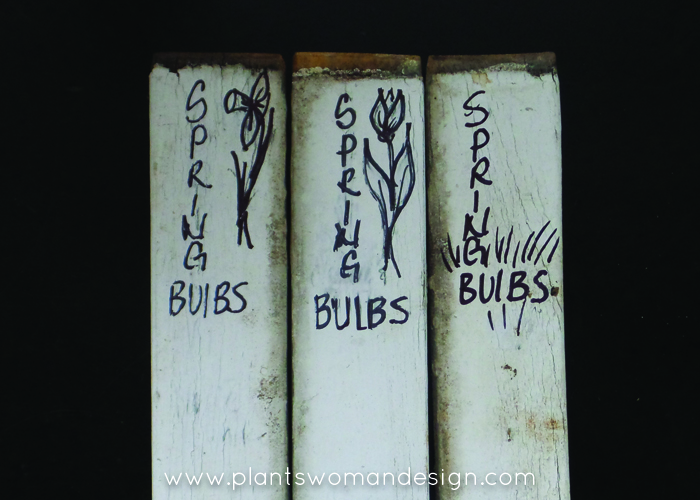
I like to re-use and recycle things so the plant labels are pieces of wood from a broken shutter. Simply use a Sharpie to describe the planting and maybe draw a little flower to decorate. Best of all have fun doing it, and enjoy the flowers this next spring.