by Susan | Oct 4, 2014 | garden food, LB Tutorial: Recipes
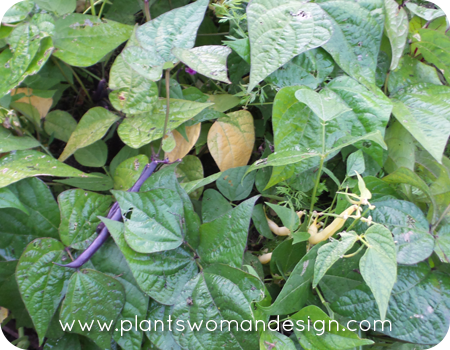
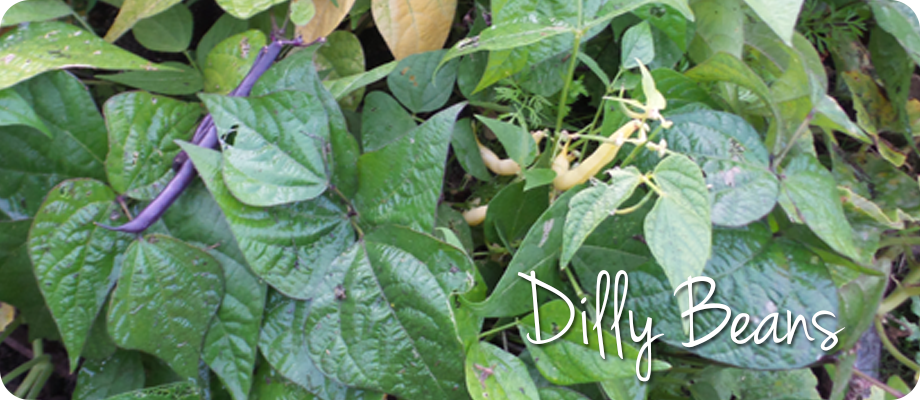
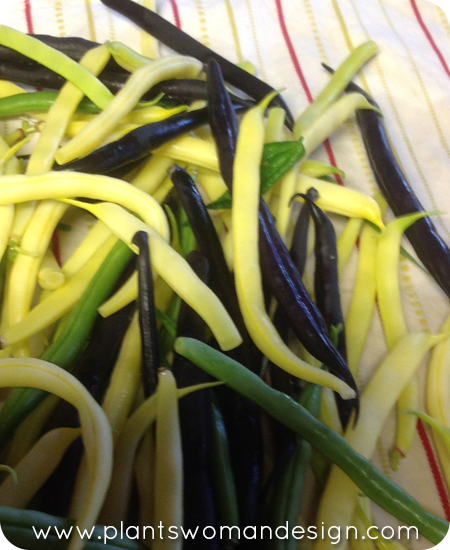
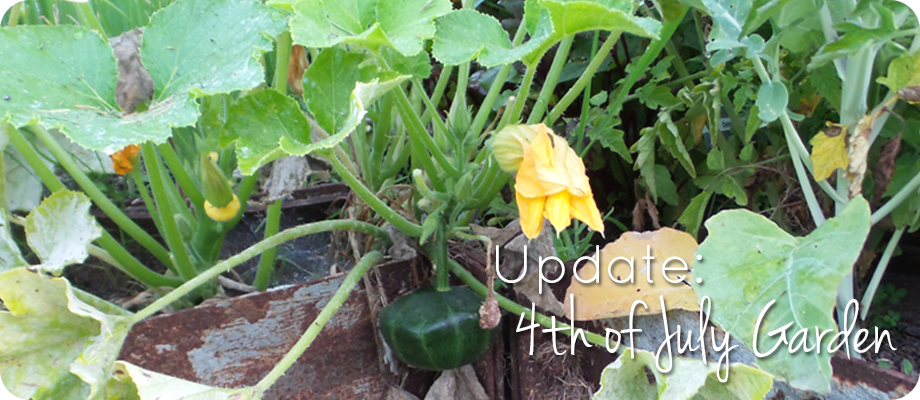
Things have been very successful in the July 4th Garden. This last week I picked my tri-color beans. I love the great colors of yellow, purple and green. My favorite beans are the romano Italian beans. It is like having steak on a vine. They are thick and have great substance. Sauteed with olive oil when young finished with a glaze of butter and Parmesan… Mmm, mmm, mmm, nothing finer. In the July 4th Garden they would not be ready yet as they have a longer maturity rate and require substantial staking. Yes they are on the list for next year… Meanwhile back to the tri-color beans. Flavor is good and they have abundant harvest for a bush type bean. Easy to use in stir-fries, sautés, bean salads, or quick blanched for snacking with dips. It is weird that they all taste the same but look so different. Watching the dark purple beans change to bright green when cooked is also fun. When I first grew them years ago I was disappointed when the purple ones lost their color. It was a great way to get kids to eat vegetables – who wouldn’t want to eat purple beans?
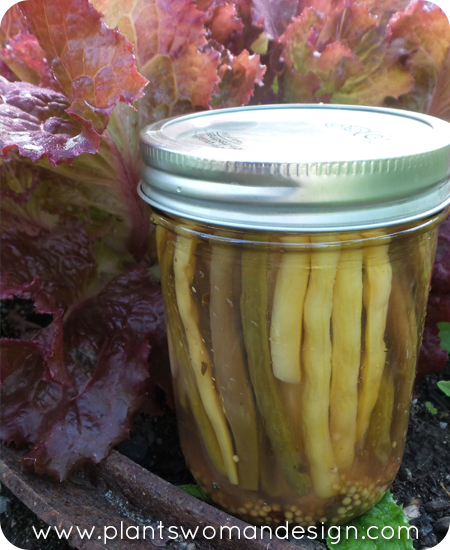
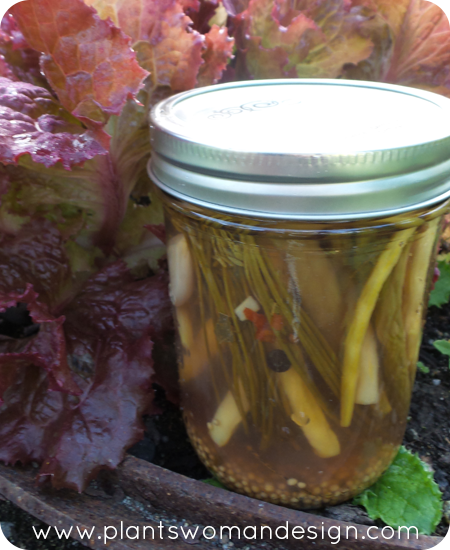
I learned how to make dilly beans several years ago from a good friend. Mary always had a big garden and harvested beans by the hundreds. Dilly beans are great as a snack, on sandwiches, wrapped in ham, on an antipasto platter and yes as a swizzle stick in a bloody Mary. My fresh beans from the garden are perfect for the dilly bean recipe. The key is freshness so you can’t really use beans that are too old or too mature and colorful beans work great.
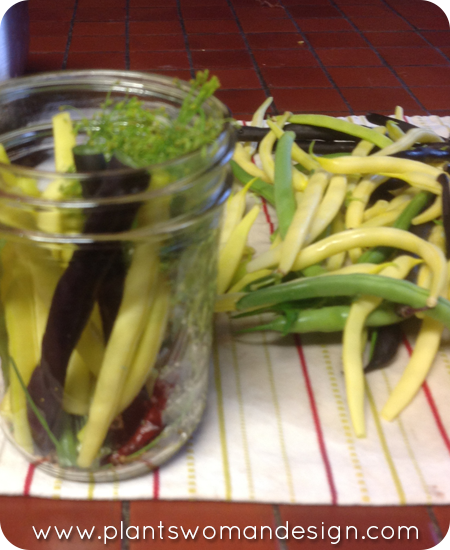
Dilly Beans
- 6 cups of water
- 1 cup pickling salt
- 6 cups distilled white vinegar
- 1 jar pickling spice
- 8 heads fresh dill weed
- 1/2 cup mustard seed
- 8 dried red chile peppers
- 16 cloves garlic peeled
- 1 teaspoon alum
- 5 pounds fresh green beans rinsed and trimmed to size
1. sterilize 8 1 pint jars and lids in boiling water for at least 5 minutes
2. combine the water pickling salt and vinegar in a large pot and bring to a boil When it begins to boil reduce heat to low and keep at a simmer while you pack the jars
3. in each jar place the following: 1 head of dill, 1 Tablespoon of pickling spice, 1 Tablespoon of mustard seed, 1 dried chile pepper, 2 cloves of garlic and 1/8 tsp of alum. pack beans into the spiced jars in a standing position.
4. ladle the hot brine into jars, leaving 1/2 inch of space at the top. Screw the lids onto the jars, and process in a hot water bath for 15 minutes to seal. Store for at least 2 weeks before eating.
by Susan | Oct 2, 2014 | garden food
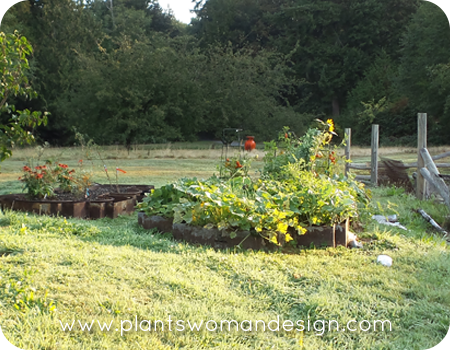
It is officially fall. Not in recent history did the summer actually last until the last day of summer but this year it did, 74 and lovely sun on the last day. As the rains started this afternoon I went out to take stock of the garden and see what did well and what did not. Some things surprised me.
Peas – I planted sugar snap peas. These were very successful; in fact I was just eating them yesterday. Often here in the PNW I have to plant them several times because the ground remains soggy for so many weeks during the main planting time (March or April). They are traditionally a plant that grows fast and wants cool weather. If it is warm the plant starts to dry up and the peas become hard. I was surprised they were so great. I ate them raw, in fresh salad, macaroni and potato salad, in stir-fries and simply cooked. I usually leave the pods on and pick them before they are totally mature (not fat with peas bursting through the outside). The pods are good for you too.
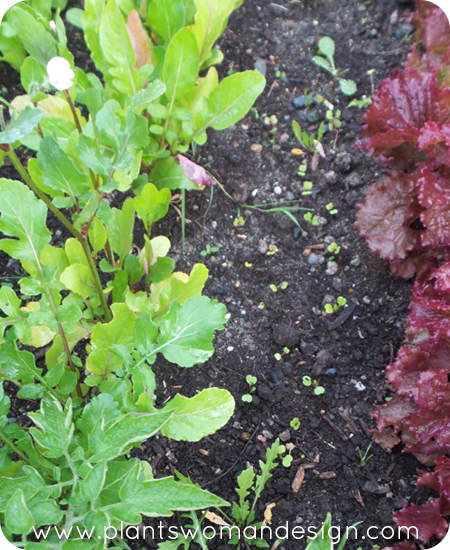
Lettuce – I planted three kinds. The red lettuce did well and still looks good and tastes ok. The romaine did not mature well and tastes bitter. The flashy trout back was really good. I noticed at the farmers market in August the flashy trout back lettuce was in many stalls, truly a testament to ease of growth and heat tolerance. Mine was planted behind the tomatoes and the peas so maybe the shade helped. The cucumbers loved it there too.
Arugula – Not really a surprise. It was really hot so the early spring and winter favorite was not that great. I got a couple of handfuls before it went to flower (Bolted). The chickens really enjoyed the peppery taste and were happy to help clear the line. I just popped in some more seeds two weeks ago for a fall crop and they are coming up nicely. This is a great fall/winter vegetable because it loves the cooler weather.
Spinach – Did not do well at all. I got a total of about 10 leaves, some were dried up and some just didn’t come up at all. It may have been a predator (rabbit) but they didn’t eat much of anything else. I have replanted for a fall crop and I see some germination. I’ll keep you posted.
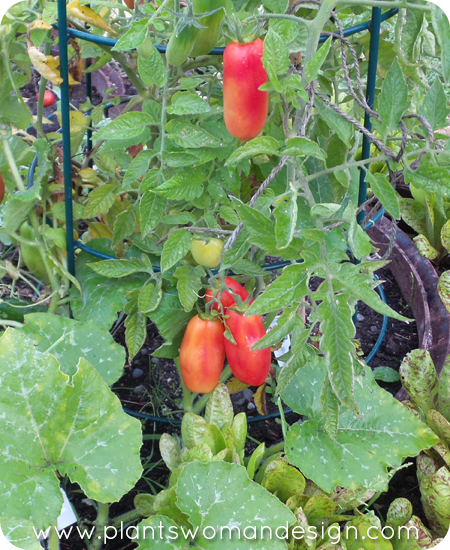
Tomatoes – I did cheat by planting already mature plants. They have rewarded me with many, many tomatoes, sweet and prolific. I love the fact that the plants don’t look that great but the fruit is wonderful. Usually my tomato plants look really great but hardly any fruit. The pear tomatoes I grew from seed are alive well and have fruit on them. I’m not sure they will ripen, but they may still have time.
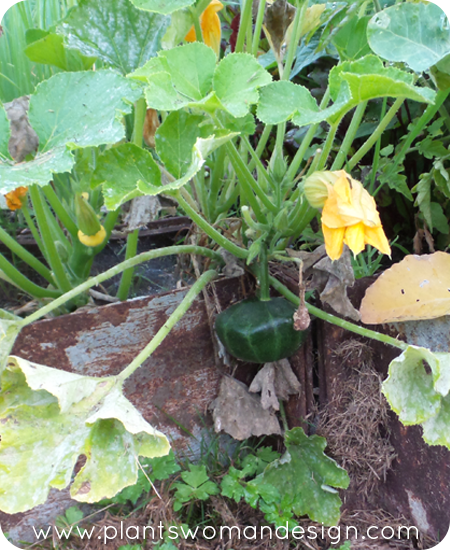
Patty pan squash – Did very well with good production. The plants are compact and a little close together but still produced well. The leaves are starting to get a little mildew on them now probably due to the closeness of the planting. Three colors again and great flavor out of all of them. I used them in stir-fries and sautés with other vegetables.
Beets – They were a little slow to start. I didn’t begin to see the crowns of the root until 2 weeks ago. It looks like they will be in the baby category but that is just fine with me, they are sweeter and cook faster that way.
Carrots and scallions are about the same as far as growth. They are baby sized and can be harvested now or left in the ground as the weather cools. Sometimes the carrots taste better after a cool period.
Pumpkins – The ghost pumpkins did well and I have several little pumpkins. I have great vines on the blue pumpkins but the fruit is so tiny it will probably fall off soon. The Cinderella pumpkins and regular orange pumpkin just struggled and didn’t do well. Conditions are the same for them except for some shade from other vegetables on the ghost pumpkins and blue pumpkins. I remember that is the old way to plant pumpkins between cornrows.
It was a great experiment in gardening. It is wonderful to eat what you grow. If you are hungry go to the garden not the store. I had pasta primavera several times and stir-fries too. We caught crab out of the water in front of my house and made a great meal with beans squash, potatoes and corn.
Anyone can do it and everyone should try at least once.
by Kristen | Sep 10, 2014 | garden food
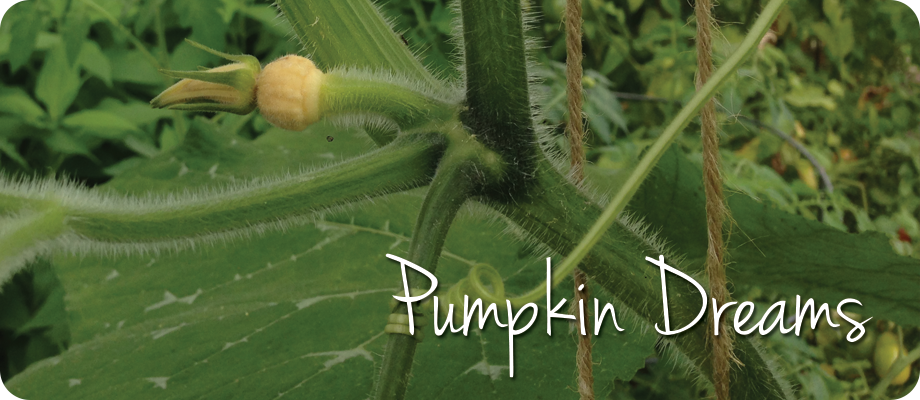
Well folks, it looks like we may get pumpkins after all! After weeks of waiting for a female flower to emerge I think we finally have one. When I got back from our little vacation I visited our little community garden and the pumpkin vines were staging a bit of a coup over the tomatoes, the vines were just huge and a bit rambunctious.
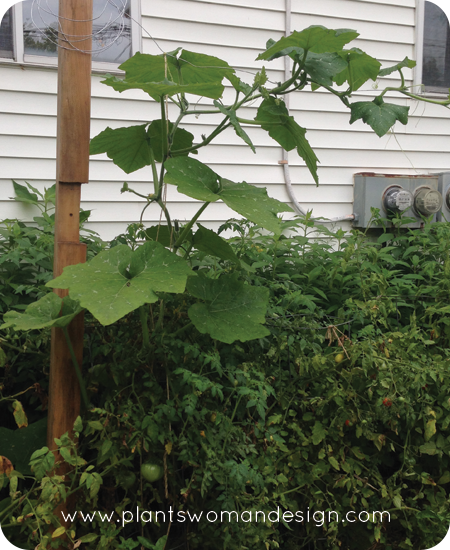 As I looked through the vines I was looking for the elusive female flower. I came across many, many male flowers but not one female flower until I checked the rambunctious vine growing through the tomatoes and there she was.
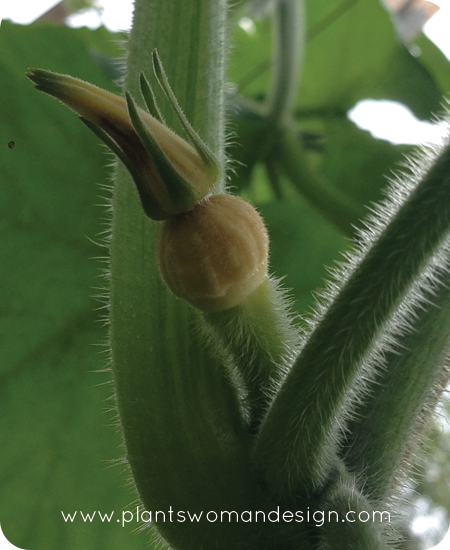 This bloom was low to the vine and has a bulbous growth just behind the bud. When the flower blooms we will see if we can’t get to some hand pollinating. We will keep an eye out for more female flowers and keep you updated on our progress.
by Kristen | Aug 15, 2014 | garden food, LB Tutorial: Recipes
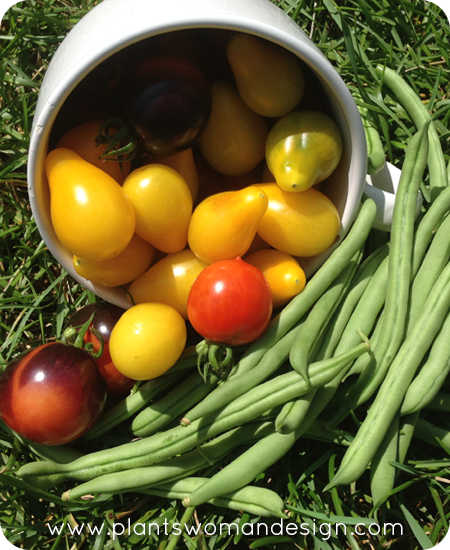 I went to the garden to check on the pumpkins on Monday and grabbed a large soup mug on my way out as an after thought. After all, you should never go into the garden without something to collect your fruit and veg in. This particular trip found my container woefully inadequate. Our tomatoes are looking amazing and between the three families that tend the garden we seem to be keeping up with what the tomatoes can produce. The beans are coming in nicely as well. We thought a beetle had damaged them but they seem to be coming along just fine.
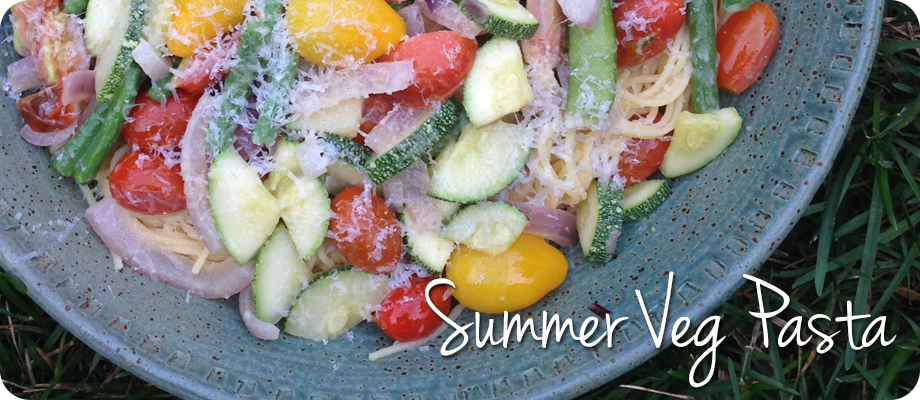
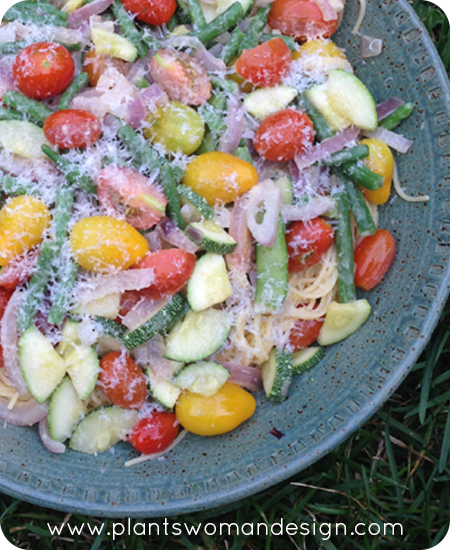 One of our favorite recipes to make with veggies is a Pasta Primavera Pronto recipe adapted from Epicurious.com. The original recipe calls for frozen veg, which is great for winter evenings when you’ve been cooped up in the house too long and cabin fever is starting to set in. But in the summer when fresh veg is available it would be a travesty not to use it in this amazing dish. Here is our recipe for Fresh Pasta Primavera.
Fresh Pasta Primavera
- 3/4 lb fresh green beans, snapped and cut in half
- 1/4 lb fresh peas
- 1 small to medium zucchini cut into bite size pieces
- 1 red onion, cut into quarters through the root end then sliced thin
- 3 dozen small tomatoes (we used cherry, grape, yellow pear and quartered indigo rose)
- 8 garlic cloves, finely chopped
- 1 lb dried spaghetti (we used Barilla Gluten-free spaghetti)
- 1/4 cup olive oil
- 1/4 teaspoon dried hot red pepper flakes
- 3 tablespoon unsalted butter
- 1/4 cup finely grated Parmigiano-Reggiano cheese
Bring a large stock pot of water to a boil. Add green beans and peas and parboil for 2 minutes. Remove veggies from the boiling water with a slotted spoon or small strainer and set aside. Do not pour out the boiling water!
While the veggies are parboiling, heat the olive oil in a large skillet over medium-high heat. When the oil is hot add garlic and red pepper flakes. Cook for 45 seconds, taking care not to burn the garlic, to make a spicy garlic oil. Pour the oil and all the garlic and pepper bits into a small container and set aside.
Return the veggie infused water to a boil, add the dried pasta, cook until al dente. When the pasta is finished, strain in a colander and place in a serving dish. Toss the pasta with the spicy garlic oil you made earlier (garlic bits and all).
While the pasta is cooking saute the red onions in the skillet with a touch more olive oil until they begin to soften. Add the zucchini. When the zucchini is heated through add the tomatoes. When the tomatoes have begun to warm, make a space in the middle of the pan and toss in the butter and grated cheese.
When the tomatoes have been well heated and the butter melted, layer the contents of the skillet over the pasta. Grate additional cheese over the dish to taste and serve immediately.
NOTES: You can use any combination of veggies that you want to use. We used beans, zucchini and tomatoes because that’s what we had on hand (we almost always use broccoli but were fresh out this round). The one veggie I would never omit if I didn’t have to is the tomatoes. They add a fresh burst of flavor you just can’t replace. I know some folks have a hard time with onion and garlic. You can modify these items to your taste but don’t skimp on the garlic if you can help it. We tend to keep the onions bigger so our little ones can pick them out. If you like yours smaller by all means dice those babies! We have not tried any other oils than olive oil for this recipe. If you try coconut oil or any other kind let us know how it turns out.
by Kristen | Jul 28, 2014 | Community Gardens, garden food
Spring and summer have been off to slow start where we are but that is not deterring our tomatoes! We’ve got lots of tomatoes coming in and ripening quickly. Beside the few pictured here we also have Brandy Wine and Amish Mom tomatoes coming right along.
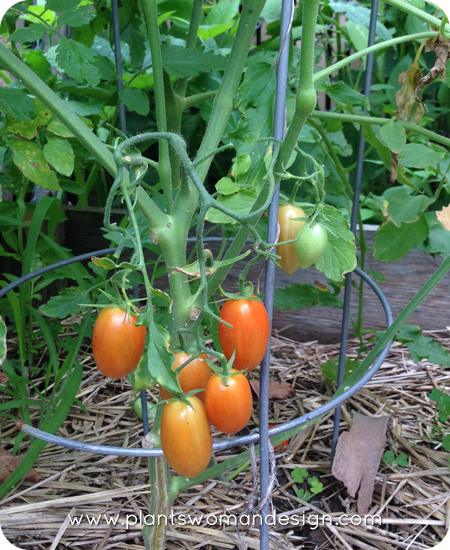
Here are our grape tomatoes. There are so many more in the upper vines just waiting for a few more sunny days.
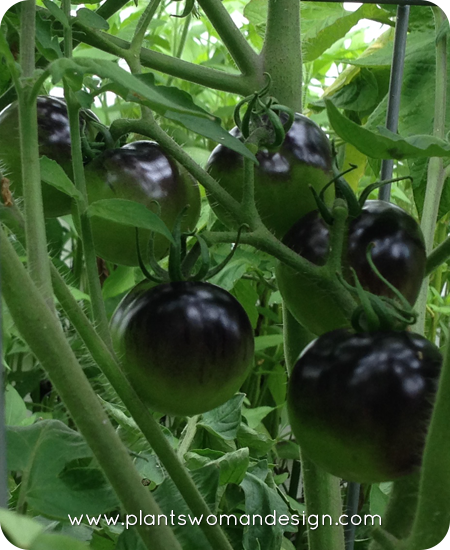
 Idigo Rose tomatoes… This one still kind of freaks me out a little. Tomatoes are in the Nightshade family and the poisonous version sports little tomato like fruits that start green, go red and then black. I’m sure these will be delicious once I get over the life threatening part.
 Yellow pear tomatoes still growing. When they are ripe they will be a lovely yellow color. There have been a few that we’ve tasted already but the flesh is a bit mealy. No complaints here though and the kids don’t seem to care.
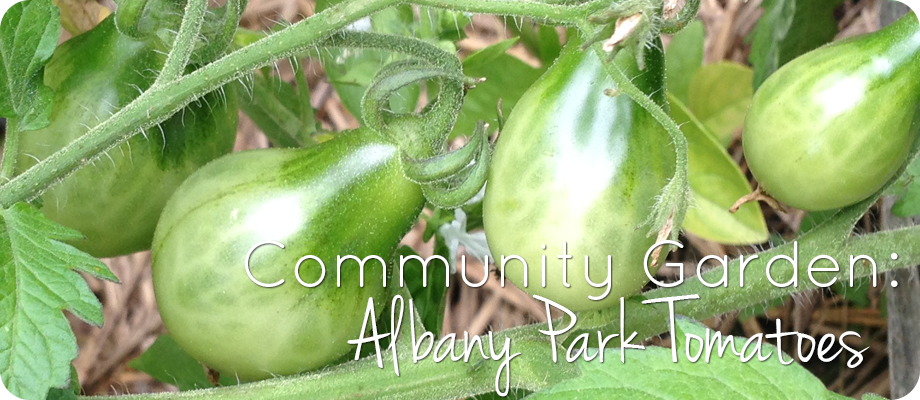
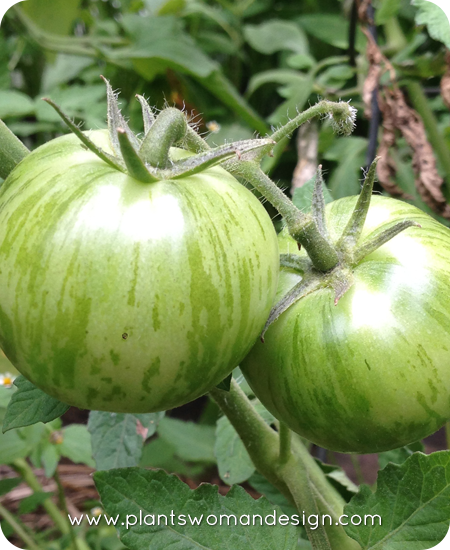
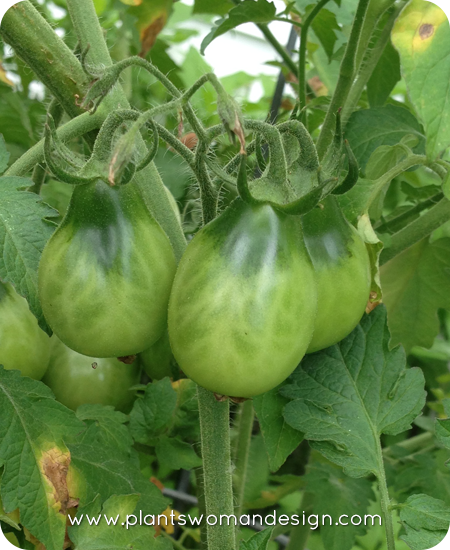 And last but certainly not least, green zebra tomatoes. Subconsciously I’ve been waiting for these guys to get red and then I read their name again. They are supposed to be green! I pulled gently on some that looked ‘done’ and they fell into my hand so we can put them into the rotation of harvest.
That’s what is going on in our garden right now. What are you harvesting in your garden?
by Susan | Jul 24, 2014 | garden food, Traveling Plantswoman
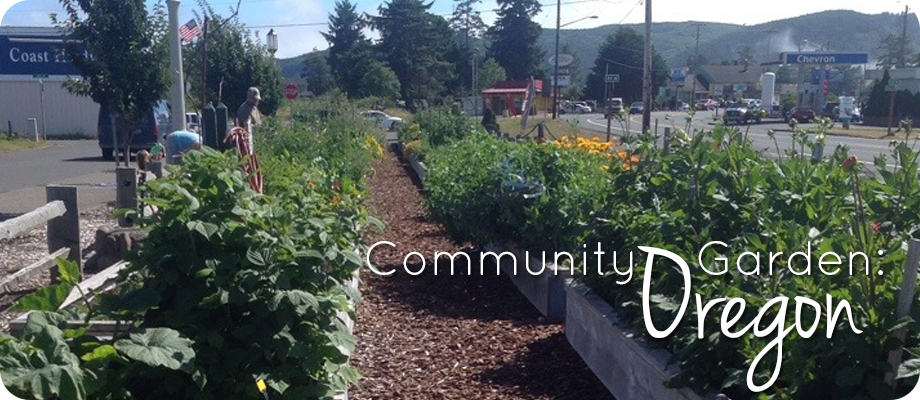
I’m not sure if this should be a ‘Traveling Plantswoman” post or not. I was traveling with my sister and her friend and I don’t usually visit many gardens when I travel with other folks. We normally focus hiking, golfing, and hot tubbig so as not to bore my companions with ‘Garden Stuff’, however, it is never far from my thoughts. As we were driving to do one of the ‘sanctioned’ activities I just couldn’t help myself this time. I hollered “Sorry…. I have to”. There on the side of the road was an abundance of raised beds and lush plants. It was between the busy 101 hwy and another road and there was a rail car at one end and beautiful gardens. We pulled into a parking space and spotted a family harvesting and planting so, of course, I had to talk to them and see what this garden was all about.
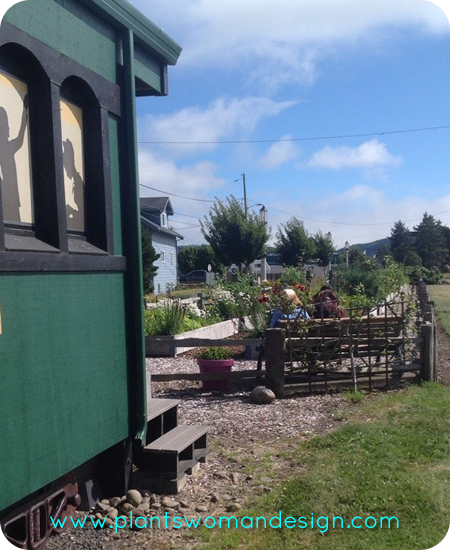
Frank and his wife Jennifer and their three kids were working in the garden. I was excited to see someone and to get a chance to ask them about the garden. They had just harvested a bag of onions and Jennifer had broken off the tops to give to the kids. These were little kids and they were eating them like celery or carrots and really enjoying them. They had a new crop of lettuce just planted and little baby radishes were almost ready to pick.
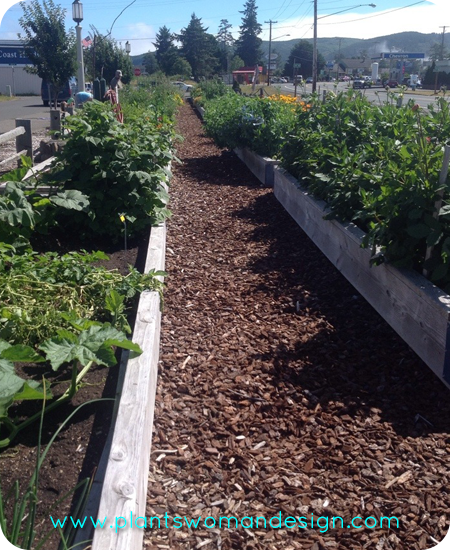 Fred took time to explain how they came to be there. They were a low income family who had used one of the scholarships to get a plot. They knew the two people on either side of their plot and they shared the produce. They were excited about teaching their children where food came from.
The family had not had a garden before but said they had help from other people in the community garden. They could email if they had a question and usually got a quick response. It was surprising how easy it was to grow vegs. They had a few problems that were unexpected. One problem they face is deer. How those beasties found this garden between two busy roads is amazing. But I guess if you plant it they will come. The other problem is thieves. I was surprised!
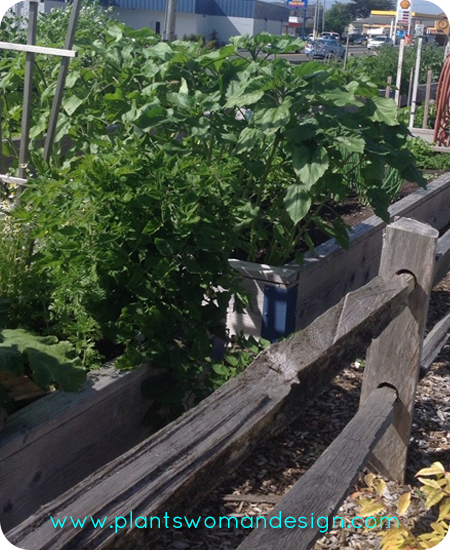
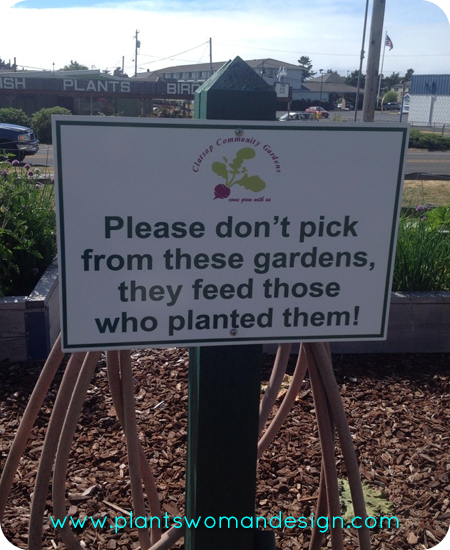

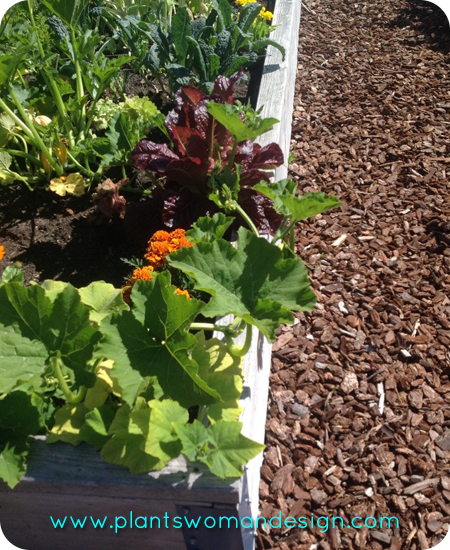
Community gardens can be anywhere and this garden clearly exemplifies that. We’ve had a couple of community garden posts (Albany Park, Albany Park #2 and Peterson) and we are glad to add this one to our list. It is exciting that more and more parents and communities want to help connect kids with “where food came from”.
Have you found a local community garden? Send us pictures!!! We want to see it.
by Susan | Jul 9, 2014 | garden food
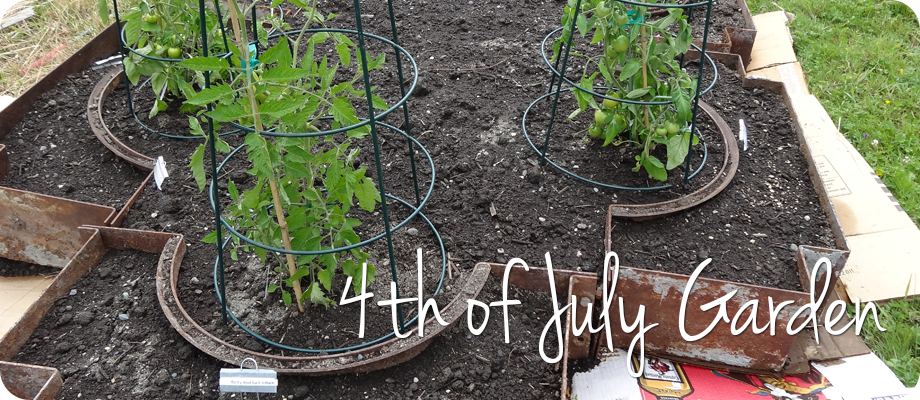
As many of you know I just moved into a new house. It is wonderful with acres of grass (read between the lines –no garden beds). Before I left my old house I had already planted a vegetable garden. The email yesterday from the new owners said “thank you for the raspberries, rhubarb, arugula, and peas”. I do miss the fresh things from my old garden!! I usually fix meals for one or two, lots of family on occasion but on a day to day basis just for me. Can I just tell you that I have liquified so many bags of store bought lettuce and turned carrots and cucumbers into limp messy things. I don’t eat store bought produce fast enough to keep it fresh and the veg garden has been the perfect solution. I can simply get lettuce by the hand full instead of by the bag, one or two little sweet carrots leaving the rest in the ground, or a handful of beans and a little sweet onion. So great!
Even with all this grass and being a little late in the season I thought, I can do a veg garden. Here is a little trick I learned along time ago and it still works today. This method uses cardboard as a barrier between soil and other grass, and weeds. As the cardboard breaks down it breaks down the grass underneath it also. It also gets rid of weeds that are there. Sadly it will not get rid of horsetail or morning glory but most perennial weeds will be dead. I know many great gardeners on Bainbridge Island that have reclaimed all their garden beds this way. For my use the veg garden will not put down deep roots and the 18 inches of soil will be sufficient. In the fall I can spread it out or turn it under and use the beds again.
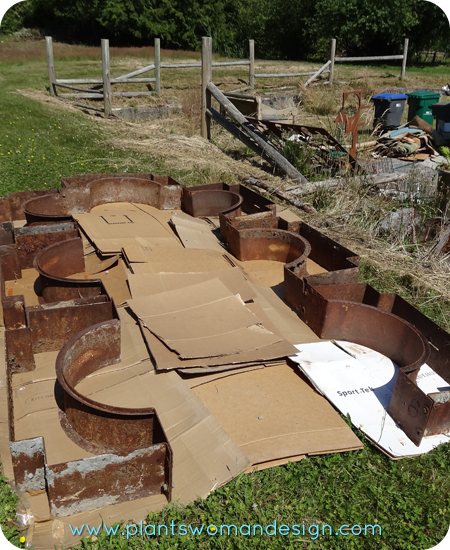
First I spread down a thick layer of cardboard (Lots of moving boxes :)). Then I added some metal edging recycled from a precast concrete company (has to look good). The a couple of big scoops of great organic soil from my favorite supplier (Short’s family farm magical soil) and presto (or Shazam)I have a veg bed ready to plant.
I started this project on July 4th and the nursery’s are empty of all veg starts except tomatoes and basil. I grab tomatoes and go home to look for seeds. I looked at the packets and most of them are 60 – 90 days to maturity. We have had a great summer so far with warm weather. That means maturity by September 30 and that is totally feasible so why not? Yes some things are cool weather crops so lettuce, spinach, and arugula may have to be picked fast or shaded. The pumpkins will grow fast in the warmth (81 today), and basil LOVES heat. Beans, beets, and zucchini are good anytime. I got three 1 gallon tomatoes with fruit on them already, so it looks like a garden right away. They should be ready to harvest first. It is interesting that I’m really between seasons at this point. The spring starts are gone and our winter veg starts aren’t here yet. I never really realized that happened. Definitely a “Who knew” moment!
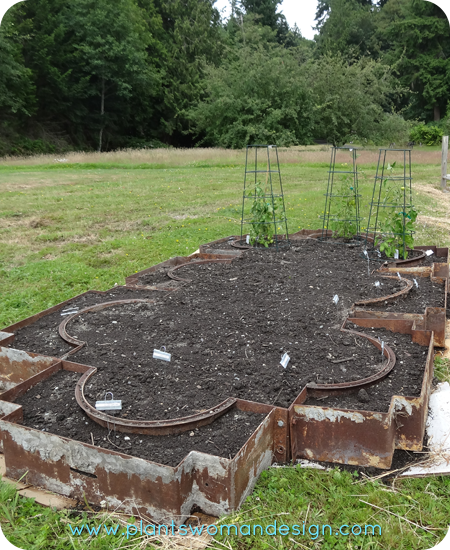
So today I planted ghost, fairytale, and halloween pumpkins. Basil and three tomatoes (black kilm, roma, and century). Rustic and regular arugula, Catalina and dolce vita spinach, flashy trout back and redina lettuce, and super sugar snap peas. The beans are tricolor and the beets are gourmet blend. I found a couple of seeds in a packet of romensco zucchini and tri-color patty pan squash. Remember that the packets tell us the average time to maturity. Even so, I really like to eat the babies, which means I don’t have to wait for full maturity. Small zucchini and squash are best and don’t forget fried squash blossoms.
I am amazed in my industry (gardening) how many people don’t do vegetable gardening. It is silly really. I will keep you posted as to what happens. What vegetables are hard for you to live without?
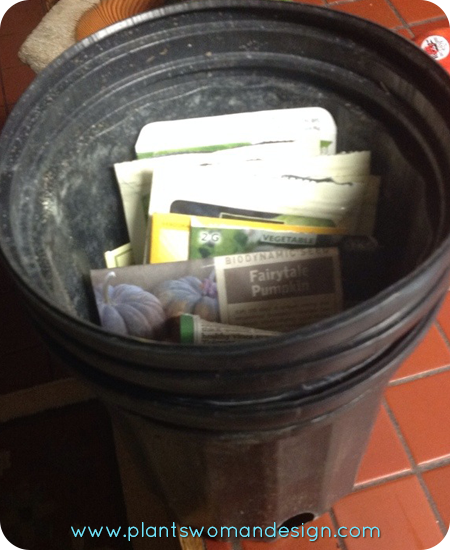
And just in case you feel you need special equipment or organizers for your seeds it’s a lie. Here’s my nifty seed organizer…
by Kristen | Jun 18, 2014 | garden food, Little Bytes
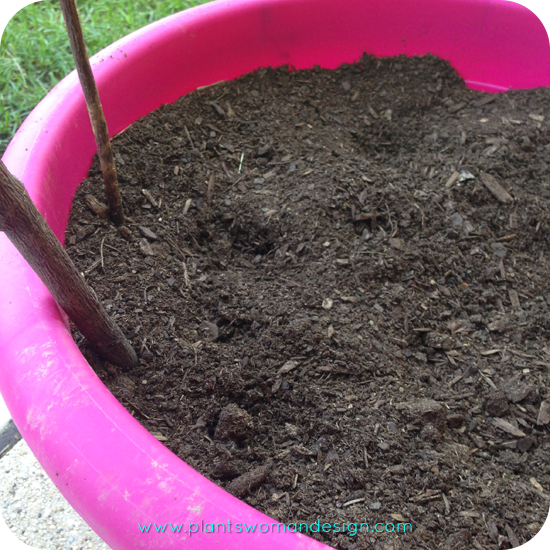 Introducing a new variety of lettuce!!! It’s invisible! Or maybe just not there… (sigh) Certainly not for lack of trying though! You can check out my post on planting our lettuce HERE, we really did plant seeds, they just didn’t come up. We planted the pot and left it on the patio where it would get morning sun and the rain would get to it (not that I planned to forgo watering). The next day I checked on the container and it had a small hole dug into the center of the pot. I filled the hole back in, watered and left it. The next day the hole was back with a bit of other disturbance. After about a week of this I started to assume it was the squirrels or birds. After a few more days I called the Plantlady and gave up hopes of actually seeing lettuce. Shortly after coming back from our vacation the kids were outside playing with the neighbor kids and they were having great fun digging in the planter.
Sigh…
Let’s talk about this a little bit. I am not having great success with any of my spring plant projects except the pumpkins which turned out great. My herb pot isn’t that great and the lettuce was a no show. I haven’t killed anything yet but we still have a bit of growing season left so let’s hold the verdict on that one (the lettuce doesn’t count). But here’s the thing… I’m not giving up. I suppose I could get all supped up about these “failures”, declare I have a “black thumb” and vow never to grow anything again but that would be ridiculous. A few failed plantings does not a “black thumb” make. Instead, I need to keep planting and experimenting to see what I am good at growing. Besides what kind of example would I be setting for E and Little Chef? Little things make a huge impact for our little ones so I need to get back out there and try again.
So, what do you do when a plant or seeds you’ve planted don’t come up? It’s time to re-plant! I could have put more lettuce seed down but we have a plethora of pumpkin plants to find homes for so we put three in our now plant-less container.
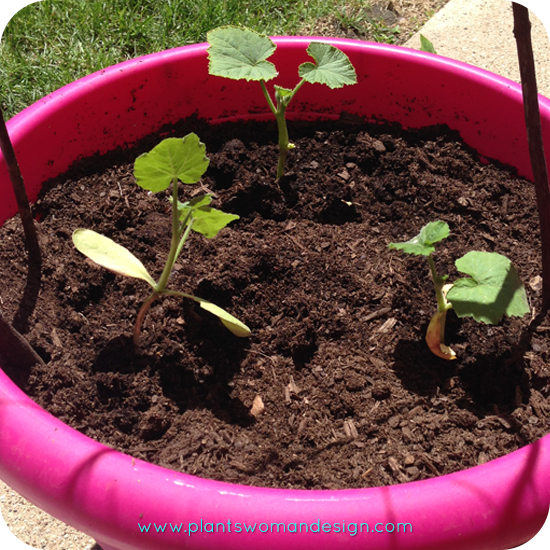 And the coveted watering job goes to Little Chef!
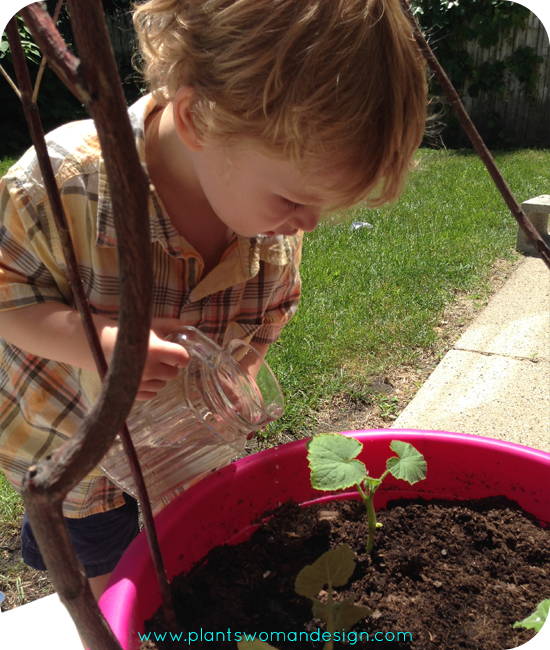 I’m telling you, if you have kids or grand-kids, watering duties are a great way to get your little guys out into the garden. Of course digging is Little Chef’s preferred activity when it comes to containers of dirt but now that something is actually growing there watering is where it’s at.
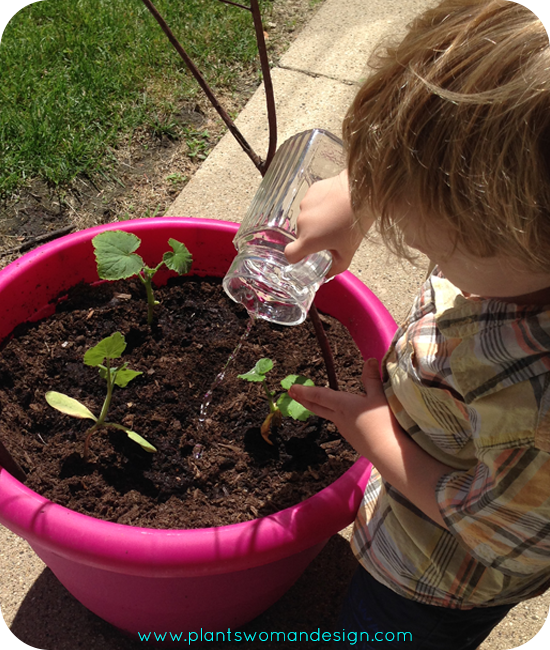 So, now the pumpkins have a home to take over and the kids have a bigger target to water. We didn’t find an effective labeling technique for this batch of pumpkins so I really don’t know what type of pumpkins are in this container. It will be a lovely surprise to share with you this fall.
by Kristen | Jun 10, 2014 | garden food, Little Bytes
Hello friends and happy June!!! I know, I’m a little late to the June party, it just goes to show how fast the month is flying by. Now that we are about half way through June it’s time to go back and visit some of our planting projects from the spring. As you may remember Jen and I planted herb pots back in April/May (you can read about HERE and HERE).
Here is Jen’s pot…
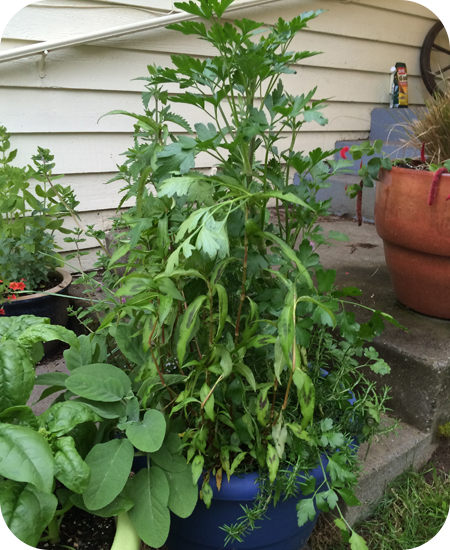
Such a lovely pot with the flat leaf parsley reaching to the heavens with the Thai basil not far behind. It looks so delicious!
And then there is my pot… Sigh.
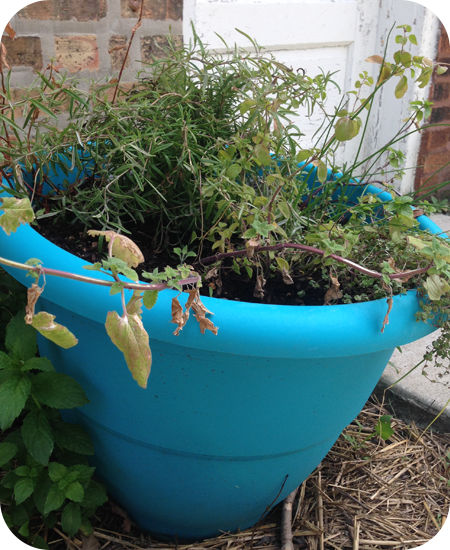 My kids have a book by Sandra Boynton called Red Hat, Green Hat in which a turkey insists on putting articles of clothing on in the wrong manner. The book simply says “oops”. My pot is definitely feels like an “oops” and I must say I’m a little disappointed. We just returned from a 2.5 week trip back to the Northwest and before we left we dropped the pot off at our community garden for the duration of our trip. Now before you go thinking that I’m about to blame the state of my herbs on my fellow community gardeners I’m not. They did what they could, even moving the pot to a shadier spot as it didn’t seem to be taking the sunlight very well. I’m so thankful they were able to take care of our herbs and pumpkins while we were gone. If not for them all of our plants would be gone.
After conferring with my Plantlady we agree the herbs simply need more water. Unfortunately in our work to get ready for our trip it’s likely I neglected my plant duties and forgot to water before we left not giving it a great start before we moved it to the community garden. My husband and I will transport the container back to our house this week and nurse it back to health. I’ll keep you posted on our progress.
Back to Jen’s pot. We will be posting some yummy recipes to use with our home grown herbs so stay tuned. In the meantime drop us a line and let us know what your favorite herb uses are. Do you dry yours or use them fresh? What’s your favorite dish? We’d love to hear from you!


 One of our favorite recipes to make with veggies is a Pasta Primavera Pronto recipe adapted from


